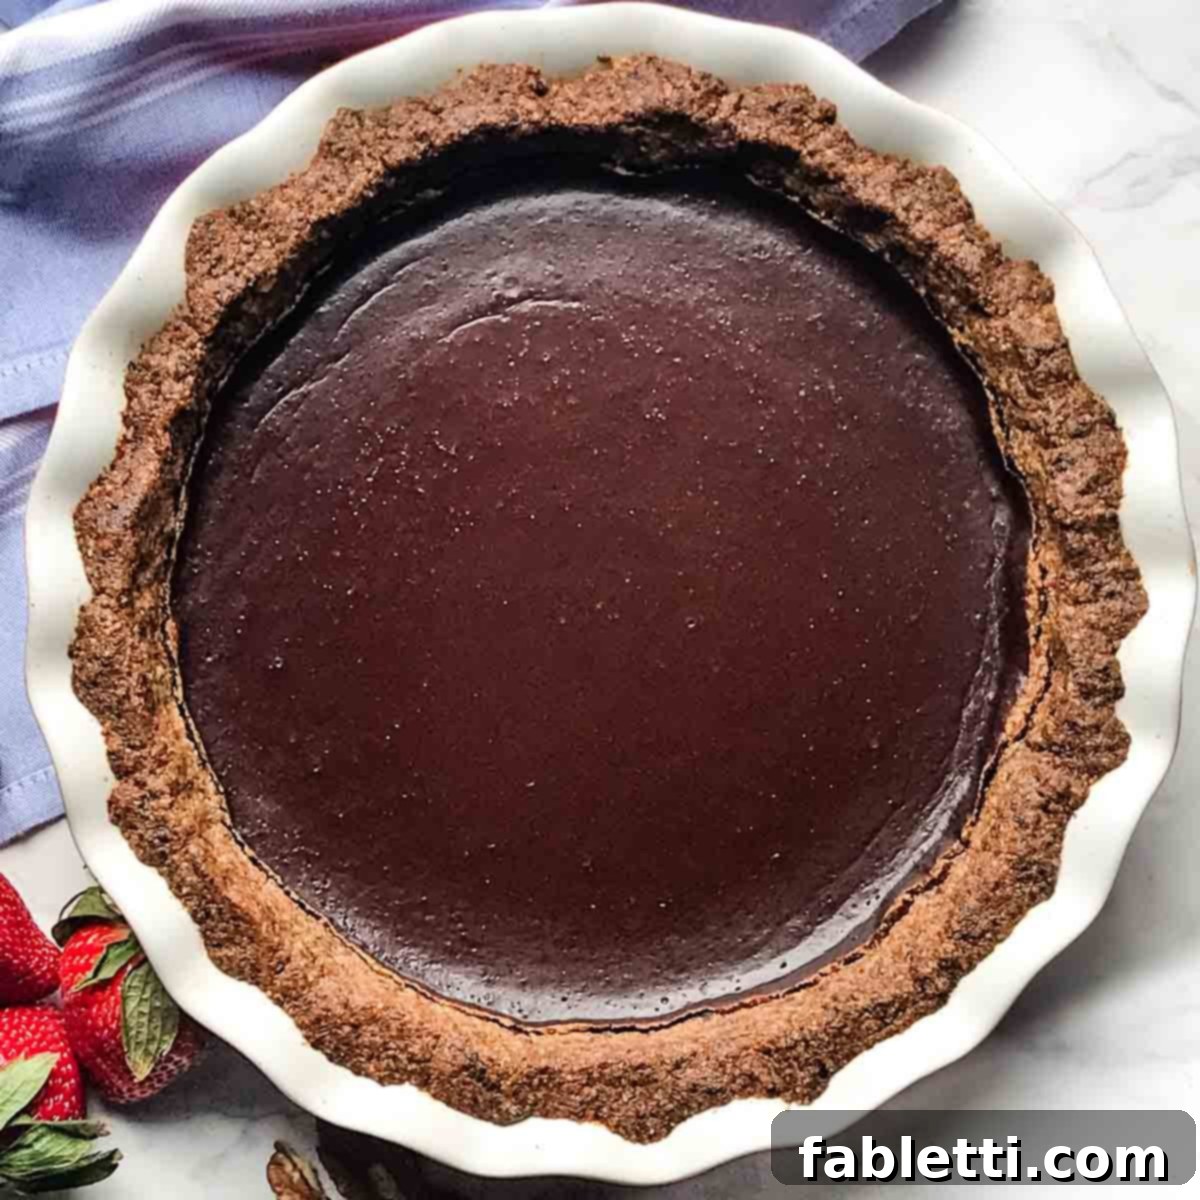
Indulge in a truly remarkable dessert that tantalizes your taste buds without compromising your health goals. This healthy chocolate pie offers a rich, decadent experience with its velvety smooth, dairy-free filling nestled within a perfectly crunchy, naturally sweetened nutty crust. More than just a dessert, this easy-to-make chocolate pie recipe is a versatile treat, ideal for special occasions like Passover or simply to elevate your everyday Tuesday into something extraordinary.
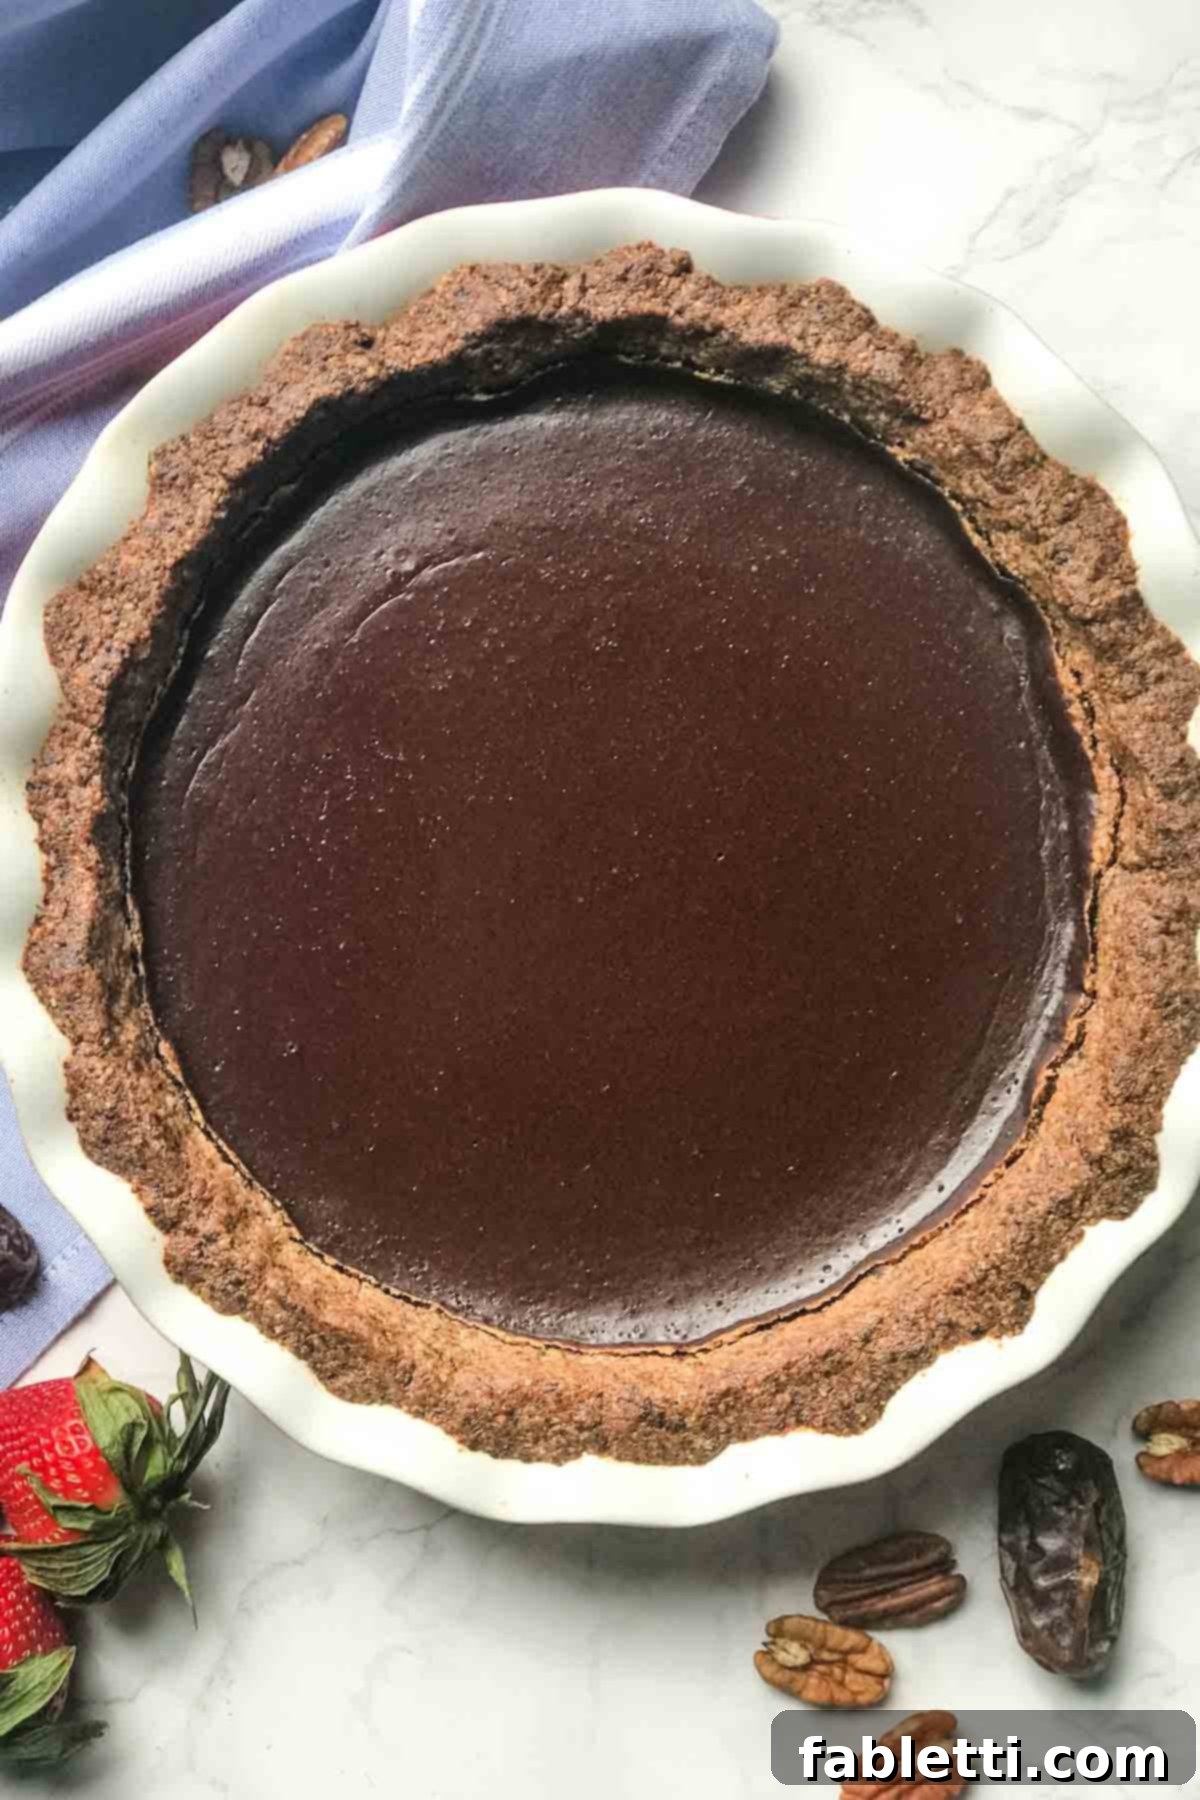
There’s something deeply comforting about a classic chocolate pie, evoking fond memories of childhood and simpler times. My own journey with chocolate pie began with a more conventional version, often crafted from pre-made crusts and instant pudding mixes – convenient, yes, but not aligned with a conscious approach to eating. This recipe is my healthier homage to that beloved dessert. It captures all the nostalgic charm and irresistible flavor, but reimagined with wholesome, nourishing ingredients that support your well-being.
Believe it or not, healthy pies are not only achievable but also incredibly delicious and surprisingly simple to prepare. This decadent yet healthy chocolate pie is a testament to that philosophy. If you’re passionate about wholesome, plant-based desserts, you’ll also adore my incredible vegan no-bake strawberry pie, which features a similar, versatile crust. For those craving a creamy vegan filling crowned with vibrant fresh fruit, my blueberry tart recipe is an absolute must-try and a perennial favorite.
Exploring more Healthy Passover Recipes? Uncover new and exciting ways to savor Kosher for Passover dishes while maintaining a balanced diet. Dive into a collection of Vegetarian and Vegan Recipes for Passover that promise both flavor and nutrition.
Why This Healthy Chocolate Pie Will Be Your New Favorite Dessert
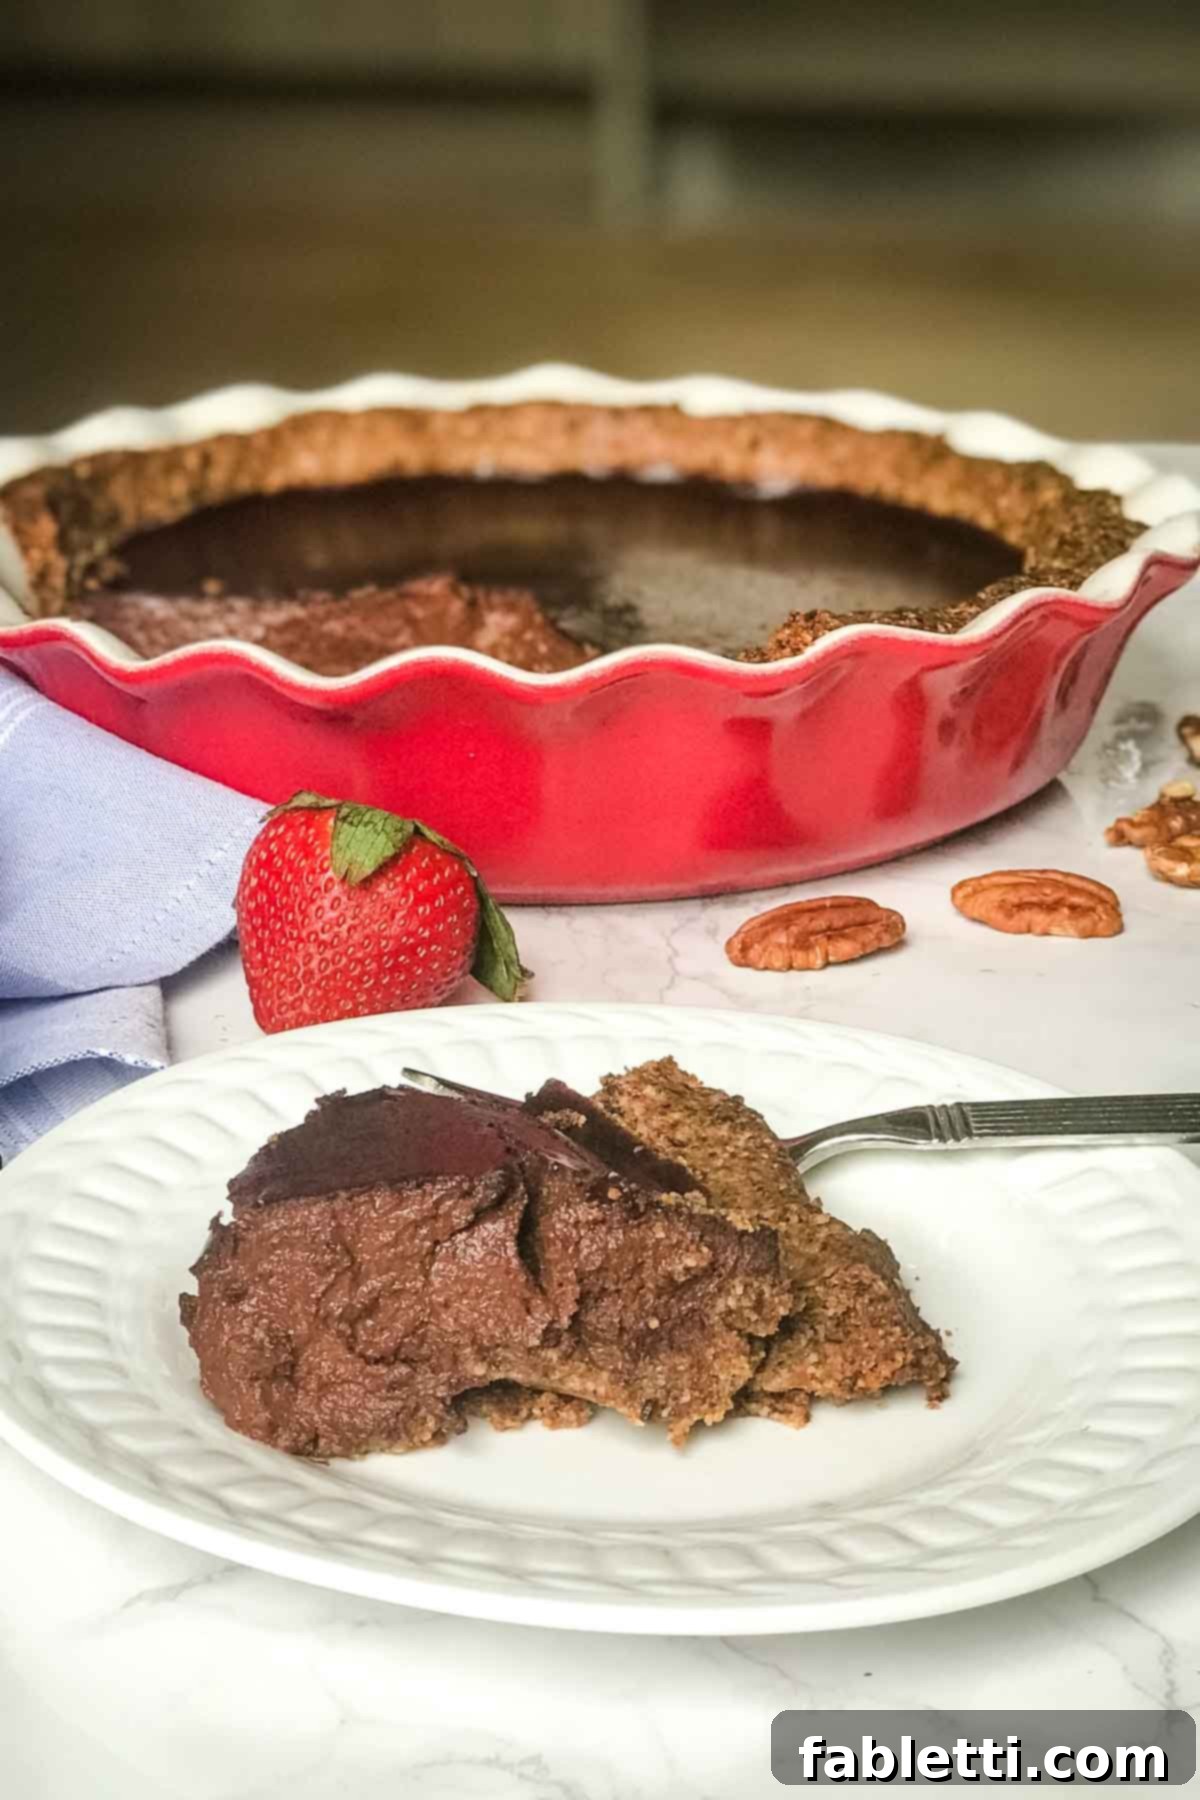
- Irresistible Chocolate Indulgence: Let’s be honest, everyone loves chocolate. This pie delivers a profound, satisfying chocolate flavor that’s both comforting and luxurious. It’s the ultimate treat for chocoholics seeking a guilt-free pleasure.
- Perfectly Dairy-Free: Whether you’re lactose intolerant, follow a vegan diet, or simply prefer to limit dairy, this pie is an exquisite solution. Its creamy texture is achieved through plant-based ingredients, ensuring a rich mouthfeel without any dairy.
- Decadent Texture, Wholesome Ingredients: Imagine the luxuriousness of rich chocolate pudding or a light chocolate mousse, but elevated. This filling is perfectly complemented by a delightful nutty crust, naturally sweetened with fiber-rich dates. It’s a symphony of textures and flavors that feels utterly indulgent yet is packed with goodness.
- Effortlessly Easy & Quick: Don’t let its sophisticated taste fool you – this pie is incredibly simple to make. You can whip up this stunning dessert in as little as 10 minutes of active prep time, making it ideal for busy schedules or spontaneous cravings.
- Free from Refined Sugars: Say goodbye to processed white sugar! The crust is sweetened naturally with dates, which not only provide a delightful sweetness but also come loaded with beneficial fiber. Paired with healthy fats and protein from nuts, this combination helps maintain stable blood sugar levels.
- A Dessert You Can Feel Good About: Made with truly healthy ingredients, this pie blurs the lines between dessert and nutritious snack. You could legitimately serve a slice for an afternoon pick-me-up or even as an unconventional, delicious breakfast (just be sure to choose high-quality dark chocolate with minimal added sugars).
- No Added Oil: The rich, satisfying flavor and texture of the crust are naturally enhanced by the healthy fats found in pecans. This eliminates the need for any added oils, contributing to a lighter, more wholesome dessert.
- Celebration-Ready for Passover: This pie adheres to Passover dietary guidelines (assuming all ingredients are certified Kosher for Passover), making it a fantastic addition to your Seder table or any festive gathering during the holiday. It’s a delicious way to emphasize the “celebrating” aspect of Passover.
- A Delicious Solution for Dark Chocolate Overload: If you find yourself with an abundance of dark chocolate (is there really such a thing?), this recipe offers the perfect, delectable way to put it to good use.
Crafting Your Wholesome Nut and Date Pie Crust
The foundation of any great pie is its crust, and this one is exceptional for its health benefits and ease of preparation. This healthy pie crust is made with just two simple, yet powerful, whole-food ingredients: pecans and Medjool dates. It’s a no-bake wonder that comes together in minutes!
- Pecans: These buttery nuts are not just for flavor; they are an excellent source of healthy monounsaturated fats, antioxidants, and essential minerals like iron, zinc, and magnesium. Their natural oils provide richness and help bind the crust without any added butter or oil.
- Medjool Dates: Nature’s candy, Medjool dates provide the perfect amount of natural sweetness and caramel-like flavor, eliminating the need for refined sugar. They are also rich in dietary fiber, which aids digestion and helps stabilize blood sugar levels, preventing the energy spikes and crashes associated with processed sugars.
- The harmonious blend of pecans and dates creates a crust that is both flavorful and wonderfully textured, offering a delightful chewiness and crunch that perfectly complements the creamy chocolate filling. It’s a wholesome start to a truly delicious pie.

Begin by pulsing the raw pecans in your food processor until they form a coarse meal. Next, ensure your Medjool dates are pitted (if they aren’t already) and add them to the ground pecans. The dates should be soft and moist to ensure the best binding. If your dates seem a bit dry, you can soak them in warm water for 10-15 minutes, then drain thoroughly before adding.

Continue to pulse the mixture, periodically scraping down the sides of the food processor bowl. You’re aiming for a consistency where the mixture is crumbly but sticky enough to hold together when pressed between your fingers. Avoid over-processing to prevent it from becoming a smooth paste; a little texture is desirable for the crust.
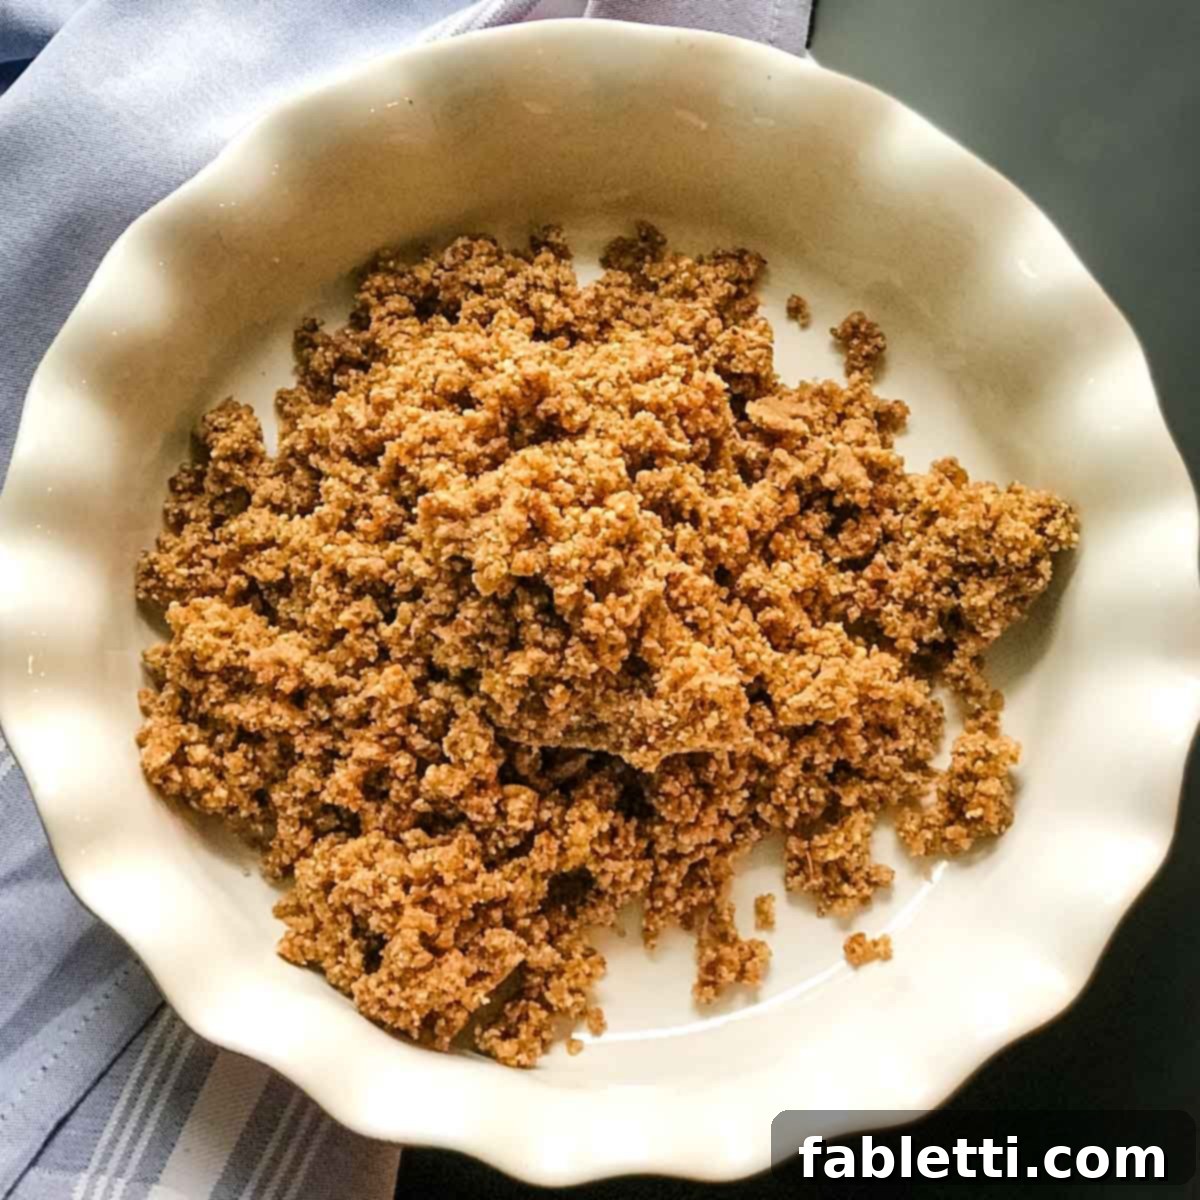
Once your crust mixture reaches the desired consistency, transfer it directly into a pie plate. A 9-inch ceramic or glass pie dish works perfectly.

Using your clean hands, firmly press the crumbly mixture evenly into the bottom and up the sides of the pie dish. For a super compact and smooth bottom, use the flat bottom of a drinking glass to press down firmly, ensuring an even base. Once pressed, set aside your beautiful, wholesome pie crust.
Essential Ingredients for Your Creamy Chocolate Filling
- Your Choice of Plant Milk: The beauty of this dairy-free pie lies in its flexibility. You can use soy milk, oat milk, almond milk, cashew milk, or any combination of your favorite non-dairy milks. Each offers a slightly different nuance in flavor and creaminess. For the healthiest option, always read labels carefully to choose a brand with minimal additives and no added sugars. Better yet, consider making your own homemade almond milk for the freshest and purest taste.
- High-Quality Dark Chocolate: The star of the show! For the richest flavor and added health benefits, opt for high-quality dark chocolate. You can use chocolate chips, but often chocolate bars (especially those with a high cacao content, like 70% or more) offer superior flavor and less sugar. Roughly chop chocolate bars for easy melting. Dark chocolate is packed with antioxidants and can contribute to a deeper, more sophisticated chocolate experience.
- Eggs (with a Vegan Alternative): This specific recipe utilizes eggs to achieve its traditional custard-like, set texture. They contribute to the pie’s structure and richness. However, if you require a strictly vegan version, fear not! You can easily adapt this recipe by using my dedicated vegan chocolate pudding recipe, which is crafted with silken tofu for an equally creamy and decadent filling. Please note that flax eggs are not a suitable substitute for this particular pie recipe as they won’t provide the necessary setting properties.
- A Pinch of Sea Salt: Just a touch of sea salt in the filling helps to enhance the chocolate’s natural flavors, creating a more complex and balanced taste profile. It beautifully counters the sweetness and amplifies the richness of the dark chocolate.
Step-by-Step Guide: How to Make This Healthy Chocolate Pie
Creating this healthy chocolate pie is a straightforward process that yields incredibly impressive results. Follow these simple steps for a dessert that’s sure to delight.
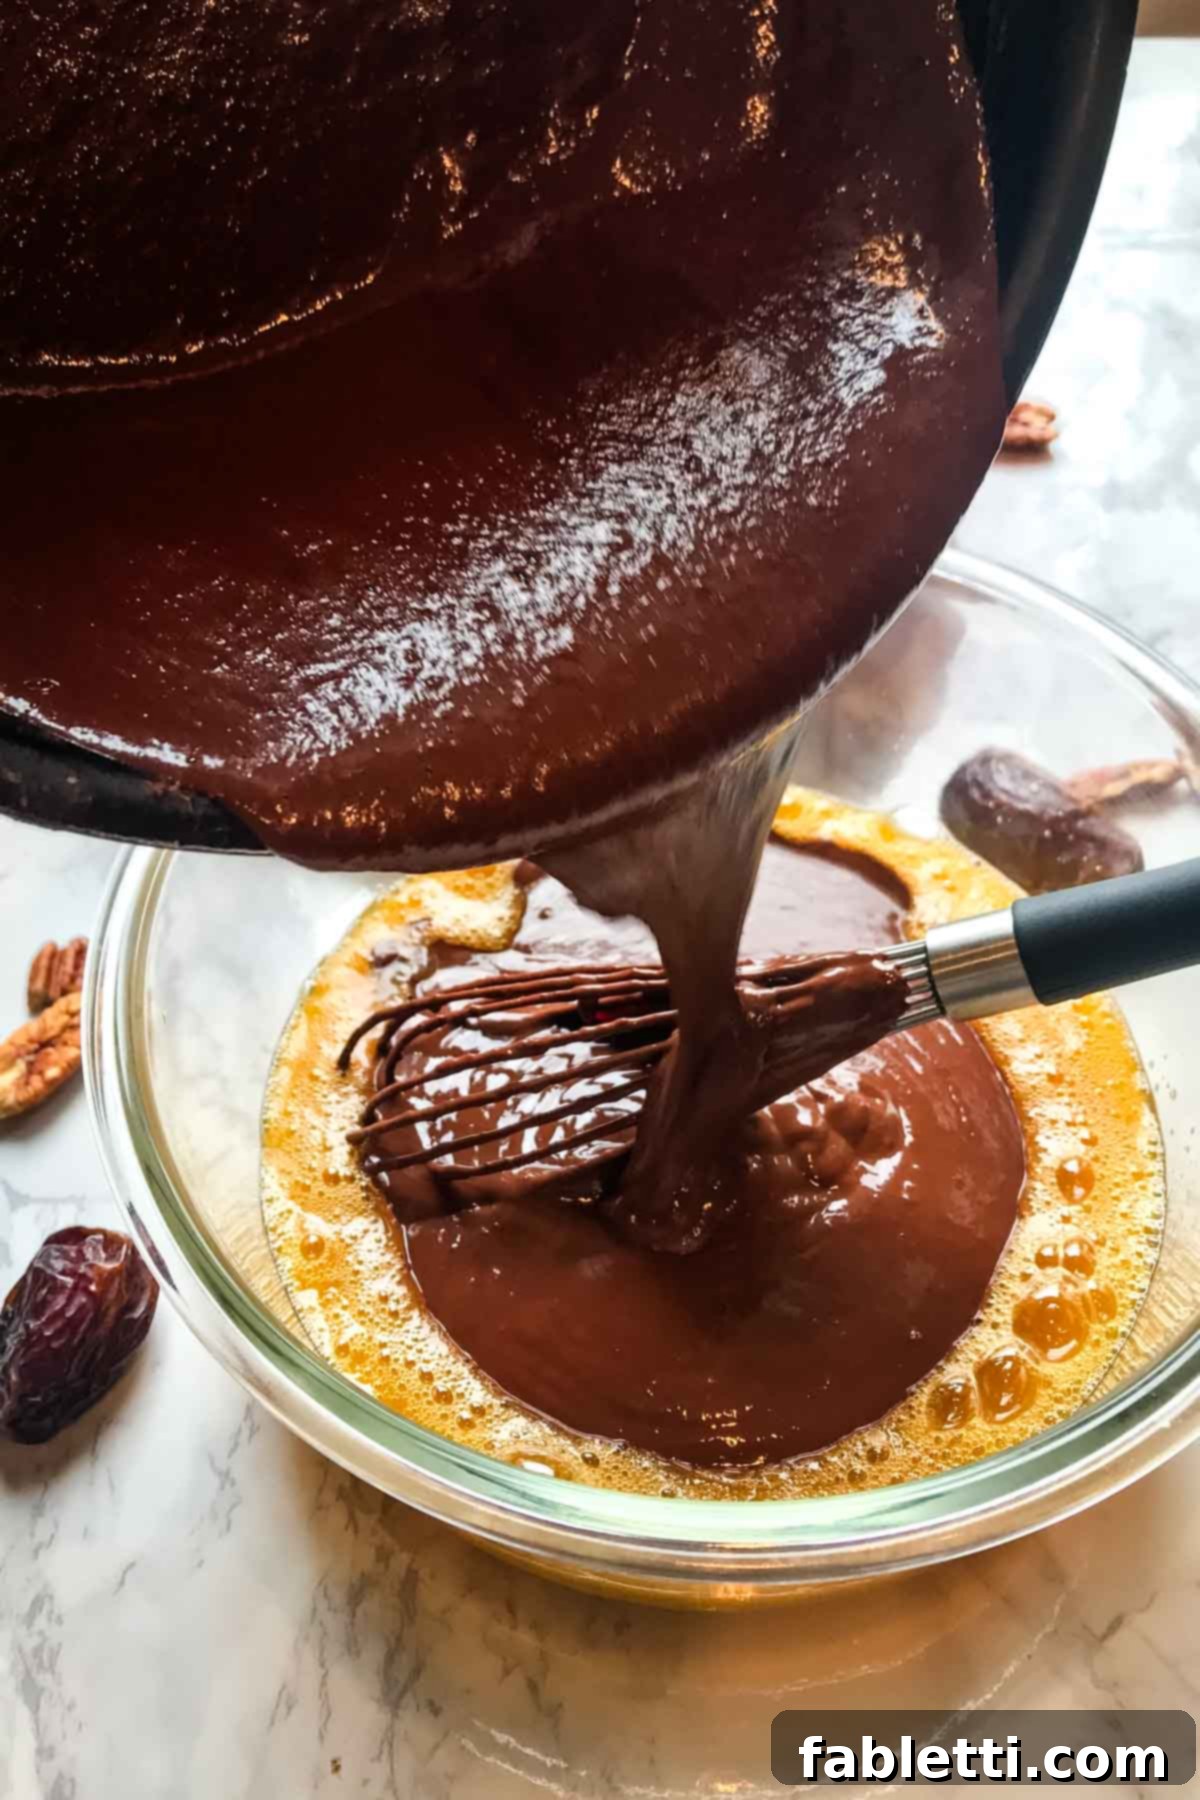
- Prepare the Chocolate Mixture: In a small saucepan, gently heat your chosen plant milk over medium heat until it just begins to simmer around the edges. Be careful not to let it boil vigorously. Remove the saucepan from the heat, then add your dark chocolate (chips or chopped bars) and the pinch of sea salt. Whisk continuously as the chocolate slowly melts into the hot milk, creating a smooth and glossy mixture. Allow this mixture to cool slightly for about 5 minutes. This cooling step is crucial for successful tempering.
- Temper the Eggs: While the chocolate mixture cools, crack and whisk your eggs together in a separate medium-sized bowl until they are light and frothy. This is where careful tempering comes in: gradually pour a small amount of the slightly cooled chocolate mixture into the whisked eggs, whisking constantly and vigorously between each addition. This slow process prevents the eggs from scrambling and ensures a perfectly smooth, creamy filling. Continue adding the chocolate mixture to the eggs until fully combined.
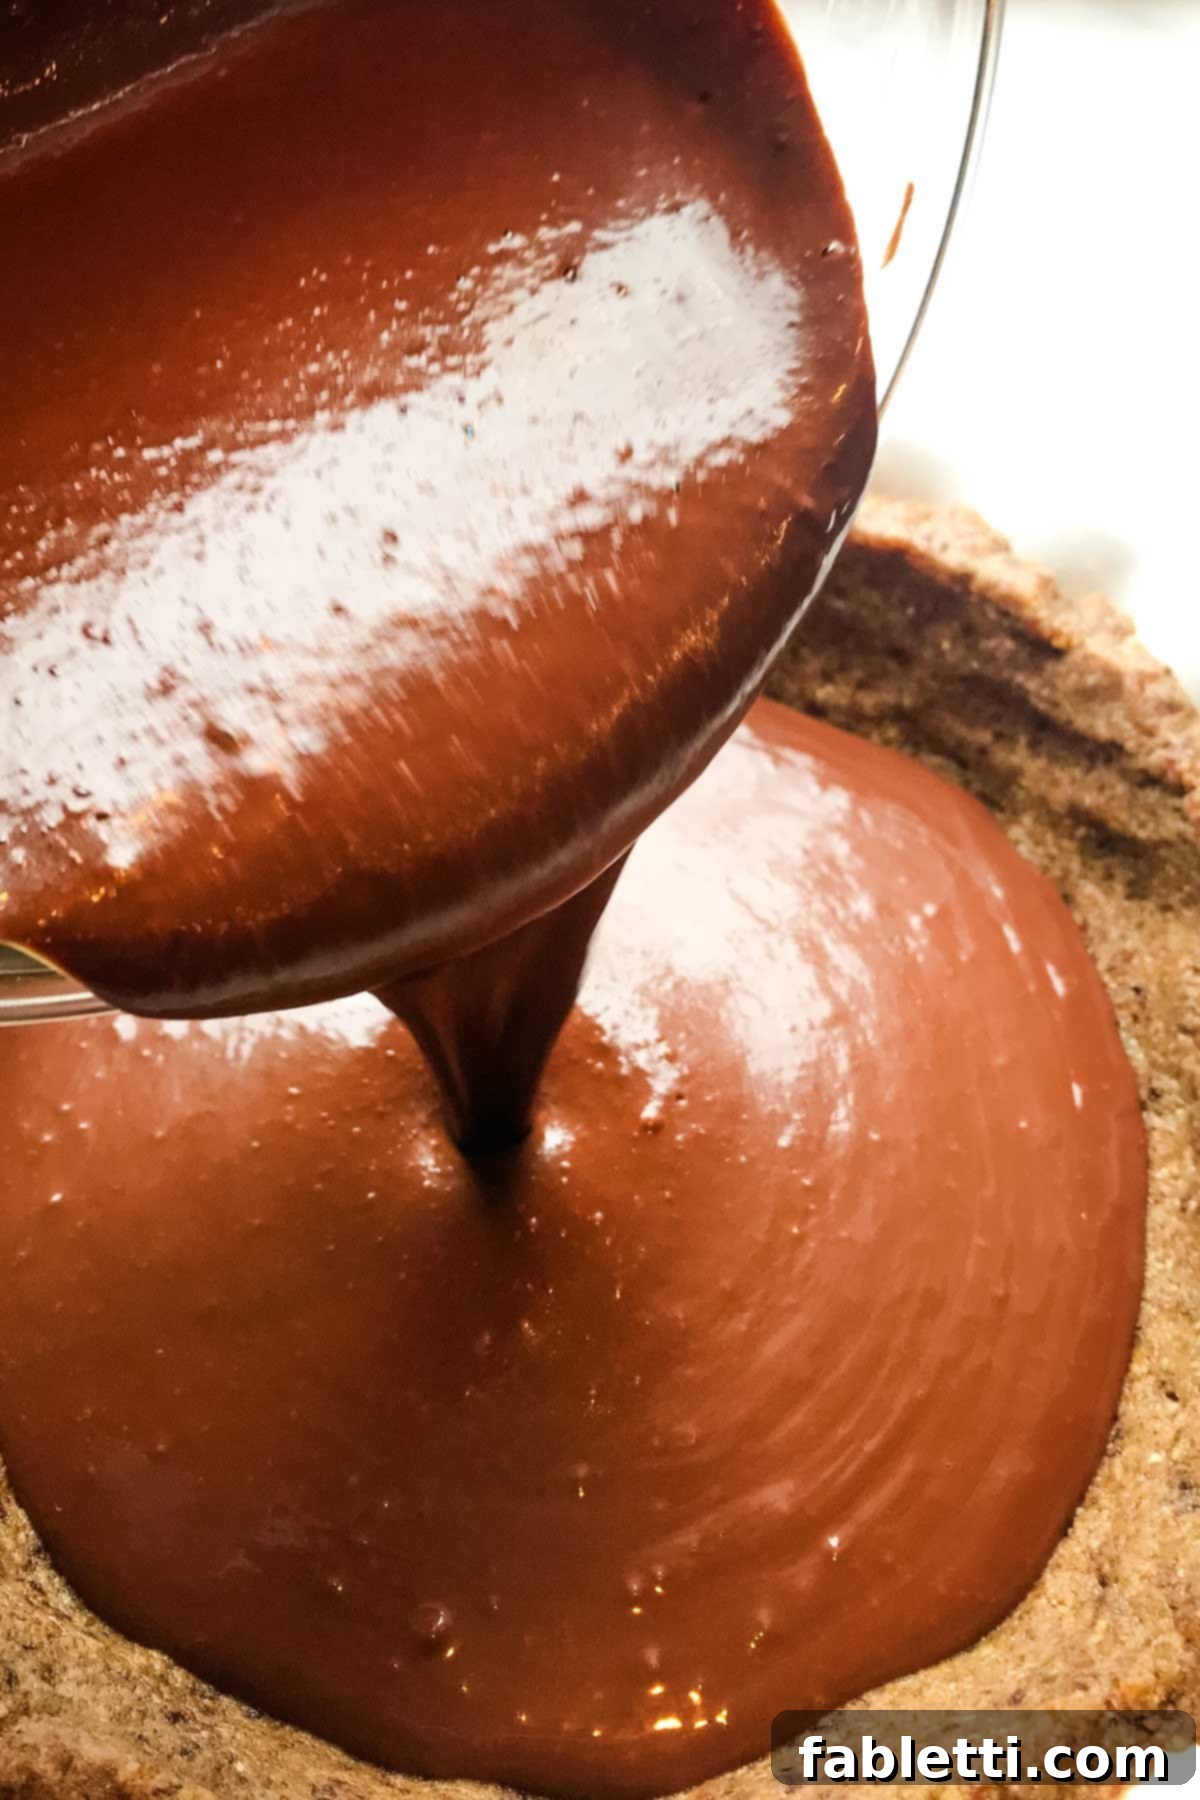
With your filling perfectly prepared, carefully pour the chocolate and egg mixture into your previously prepared and pressed nutty pie crust. Ensure the filling is evenly distributed across the base.

Before baking, double-check that you have about a ½-inch crust visible above the filling. The pie filling will rise slightly as it cooks, so this extra crust height helps prevent overflow and creates a beautiful presentation. Bake the pie in your preheated 350°F (175°C) oven for approximately 35 minutes. Baking it on the center rack ensures even heat distribution.

Your pie is ready when the edges appear set and firm, while the very center might still have a slight jiggle. Don’t worry, it will continue to firm up and set completely as it cools. Remove the pie from the oven and allow it to cool in the pie dish on a wire rack for about 2 hours at room temperature. After this initial cooling, transfer the pie to the refrigerator and chill for at least 4 hours, or ideally overnight, to ensure it sets perfectly for slicing.
Debra’s Pro Tips for the Perfect Healthy Chocolate Pie

- Mastering the Tempering Process: The key to a silky-smooth chocolate filling is proper tempering. Ensure your chocolate mixture cools slightly after melting (it should still be pourable but not scalding hot) before slowly adding it to the whisked eggs. Adding hot liquid too quickly to cold eggs can “scramble” them, resulting in a lumpy texture. Take your time with this step, adding the chocolate in a thin stream while continuously whisking the eggs, for a perfectly even and creamy pudding.
- Elevate with Fresh Berries: For an exquisite presentation and a burst of complementary flavors, serve your chocolate pie with a generous handful of fresh berries. Strawberries, raspberries, or blueberries add a vibrant splash of color, a refreshing tartness that cuts through the richness of the chocolate, and an extra dose of beneficial antioxidants.
- Choose Your Chocolate Wisely: The quality of your chocolate significantly impacts the final taste. Always read the ingredient labels. Opt for dark chocolate bars or chips with a high cacao percentage (70% or higher is recommended). Higher cacao content means less sugar and a deeper, more profound, and truly rich chocolatey flavor. This choice not only enhances taste but also aligns with the pie’s healthy profile.
- Optimal Storage for Freshness: Your healthy chocolate pudding pie will maintain its delicious quality when stored tightly covered in the refrigerator for up to 5 days. For the best crust texture, aim to consume the pie within 3-4 days, as the crust tends to soften and get slightly soggy over time due to moisture from the filling.
- Serving Temperature Matters: While delicious straight from the fridge, allow the pie to sit at room temperature for 15-20 minutes before serving. This slight warming enhances the chocolate’s nuanced flavors and allows the filling to achieve its optimal creamy, melt-in-your-mouth consistency.
- Customize Your Crust: Feel free to experiment with different nuts in your crust! While pecans offer a classic buttery flavor, almonds, walnuts, or a mix of nuts can also create a fantastic base. Just ensure they are raw and unsalted for the best results.
Did you know commenting and rating recipes is one of the best ways to support your favorite food bloggers? If you made this recipe, please consider a five-star rating below and leave a comment. Also, please share your photos on Instagram by tagging me @dkhealthcoach and using the hashtag #debraklein!
📖 Healthy Chocolate Pie Recipe

Healthy Chocolate Pie
Debra Klein
Rate this Recipe
Pin Recipe
10 minutes
35 minutes
45 minutes
Dessert
American
1
pie
324
kcal
Equipment
- Glass Mixing Bowls with Lids
- Sauce Pan
- Balloon whisk
- 9 Inches Pie Plate
Ingredients
Crust
-
2
cups
raw pecans -
8
medjool dates*
Filling
-
1 ½
cups
nut milk
-
9
oz.
dark chocolate
approx 1 ½ cups chips, or 3 bars -
¼
teaspoon
sea salt -
2
eggs
Instructions
- Preheat your oven to 350°F (175°C).
- Make the Crust: Place raw pecans in a food processor and pulse until they are ground into a coarse meal. Remove the pits from the Medjool dates and add them to the crumbled pecans. Continue processing until the mixture is thoroughly combined and sticky enough to hold together when pinched. Firmly press this mixture into the bottom of a 9-inch pie plate and up the sides, ensuring an even layer.
- Prepare the Filling: If using chocolate bars, coarsely chop them. In a small saucepan, heat your chosen nut milk over medium heat until it just begins to simmer. Remove from heat, add the dark chocolate and sea salt, and whisk until the chocolate is completely melted and thoroughly combined with the milk. Let this mixture cool for about 5 minutes.
- Whisk the 2 eggs vigorously in a medium-sized bowl. Gradually stir in the slightly cooled chocolate mixture, a little at a time, whisking constantly to temper the eggs and prevent scrambling. Continue until the chocolate and egg mixture is well combined and smooth.
- Carefully pour the prepared chocolate filling into your crust-lined pie shell. There should be approximately ½ inch of crust extending above the filling to accommodate for a slight rise during baking.
- Bake the pie on the center rack of your preheated oven for 35 minutes. The pie should appear set at the edges, though the very center may still have a slight jiggle.
- Remove from oven and let the pie cool completely on a wire rack for about 2 hours at room temperature. After cooling, refrigerate for at least 4 hours, or preferably overnight, to allow the filling to fully set.
- Serve cold or allow to sit at room temperature for 15-20 minutes before serving for optimal flavor and texture. Enjoy!
Notes
My homemade almond milk recipe can be found here.
This recipe generously serves 8-10 people.
Nutrition
Serving:
1
slice
Calories:
324
kcal
Carbohydrates:
32
g
Protein:
8
g
Fat:
29
g
Saturated Fat:
7
g
Polyunsaturated Fat:
21
g
Cholesterol:
34
mg
Sodium:
118
mg
Fiber:
5
g
Sugar:
22
g
Note
The nutrition calculations were done using online tools and are estimates. To obtain the most accurate representation of the nutritional information in any given recipe, you should calculate it with the actual ingredients you used. You are ultimately responsible for ensuring that any nutritional information is accurate, complete, and useful for your dietary needs.
Did you make this recipe?
Please leave a review below, then snap a picture and tag me @dkhealthcoach or use hashtag #dkhealtcoach on Instagram so I can see it!!
