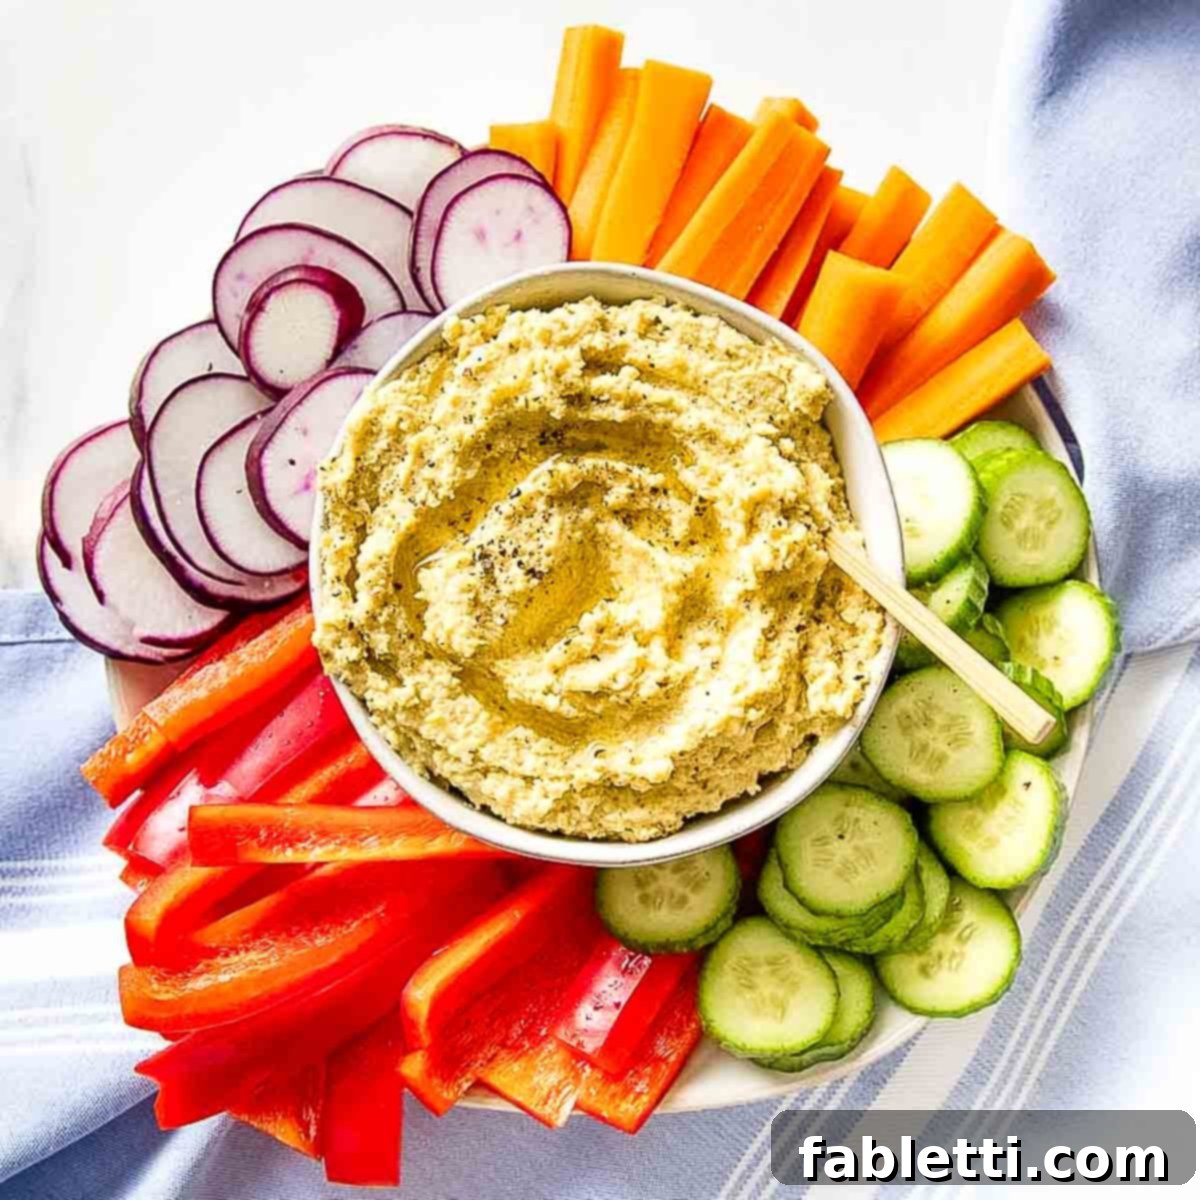
Discover a revolutionary twist on a beloved classic with this incredible Roasted Cauliflower Hummus Recipe. It boasts the familiar creamy texture and delightful flavor profile of your favorite hummus, yet it’s completely free of chickpeas! Yes, hummus without beans is not just a concept, it’s a deliciously satisfying reality. By transforming roasted cauliflower into a luscious base, blended with traditional hummus staples like rich tahini, aromatic garlic, and zesty lemon, we create an irresistible vegan dip that’s remarkably low in carbohydrates and calories, while bursting with vibrant taste. Perfect for health-conscious foodies, this recipe redefines healthy snacking without compromising on indulgence.
This post has been updated from the original, first published on August 7, 2019, to bring you even more tips and delicious insights.
Embrace Healthy Snacking with Low-Carb Cauliflower Hummus
Our Roasted Cauliflower Hummus is a game-changer for anyone looking to enjoy the creamy goodness of hummus while maintaining specific health goals. It’s naturally low in carbs and packed with nutrition, offering robust flavor without the calorie count often associated with traditional dips. This chickpea-free hummus recipe truly hits all the marks. It delivers a wonderfully smooth, spreadable texture that mimics classic hummus, complemented by the deep, savory notes of perfectly roasted garlic. Lighter than its chickpea counterpart, yet incredibly satisfying and flavorful, it’s an ideal choice for a nutritious snack or a versatile condiment.
The Secret to Incredible Flavor: Roasted Cauliflower
The magic of this recipe lies in its star ingredient: roasted cauliflower. By roasting the cauliflower until tender and slightly caramelized, you unlock a depth of flavor that raw cauliflower simply can’t provide. This roasting process mellows its natural pungency and enhances its sweetness, creating a complex, savory base that perfectly substitutes chickpeas. It brings a subtle earthiness and body to the hummus, ensuring it feels hearty and substantial.
This roasted cauliflower hummus isn’t just about taste; it’s also a powerhouse of nutrition. Cauliflower is incredibly versatile and belongs to the cruciferous vegetable family, known for its extensive health benefits. It’s an excellent source of dietary fiber, promoting digestive health and satiety. Furthermore, it’s rich in B-vitamins, which are crucial for energy metabolism, and boasts an impressive array of antioxidants and phytonutrients that help protect your cells from damage. Swapping chickpeas for cauliflower significantly reduces the carbohydrate content, making this an ideal option for those following keto, paleo, Whole30, or gluten-free diets, or simply aiming to lower their carb intake.
The texture of the hummus is also greatly influenced by the cauliflower. When roasted and then blended, it transforms into an incredibly creamy consistency, holding all the other ingredients together beautifully. This results in a dip that feels luxurious and satisfying on the palate, without any grainy or watery notes.
Key Ingredients and Thoughtful Substitutions
Crafting this roasted cauliflower hummus involves many of the same foundational ingredients you’d find in traditional hummus, with the brilliant exception of chickpeas. This strategic omission is precisely why it achieves such an authentic hummus-like flavor profile while offering unique health advantages.
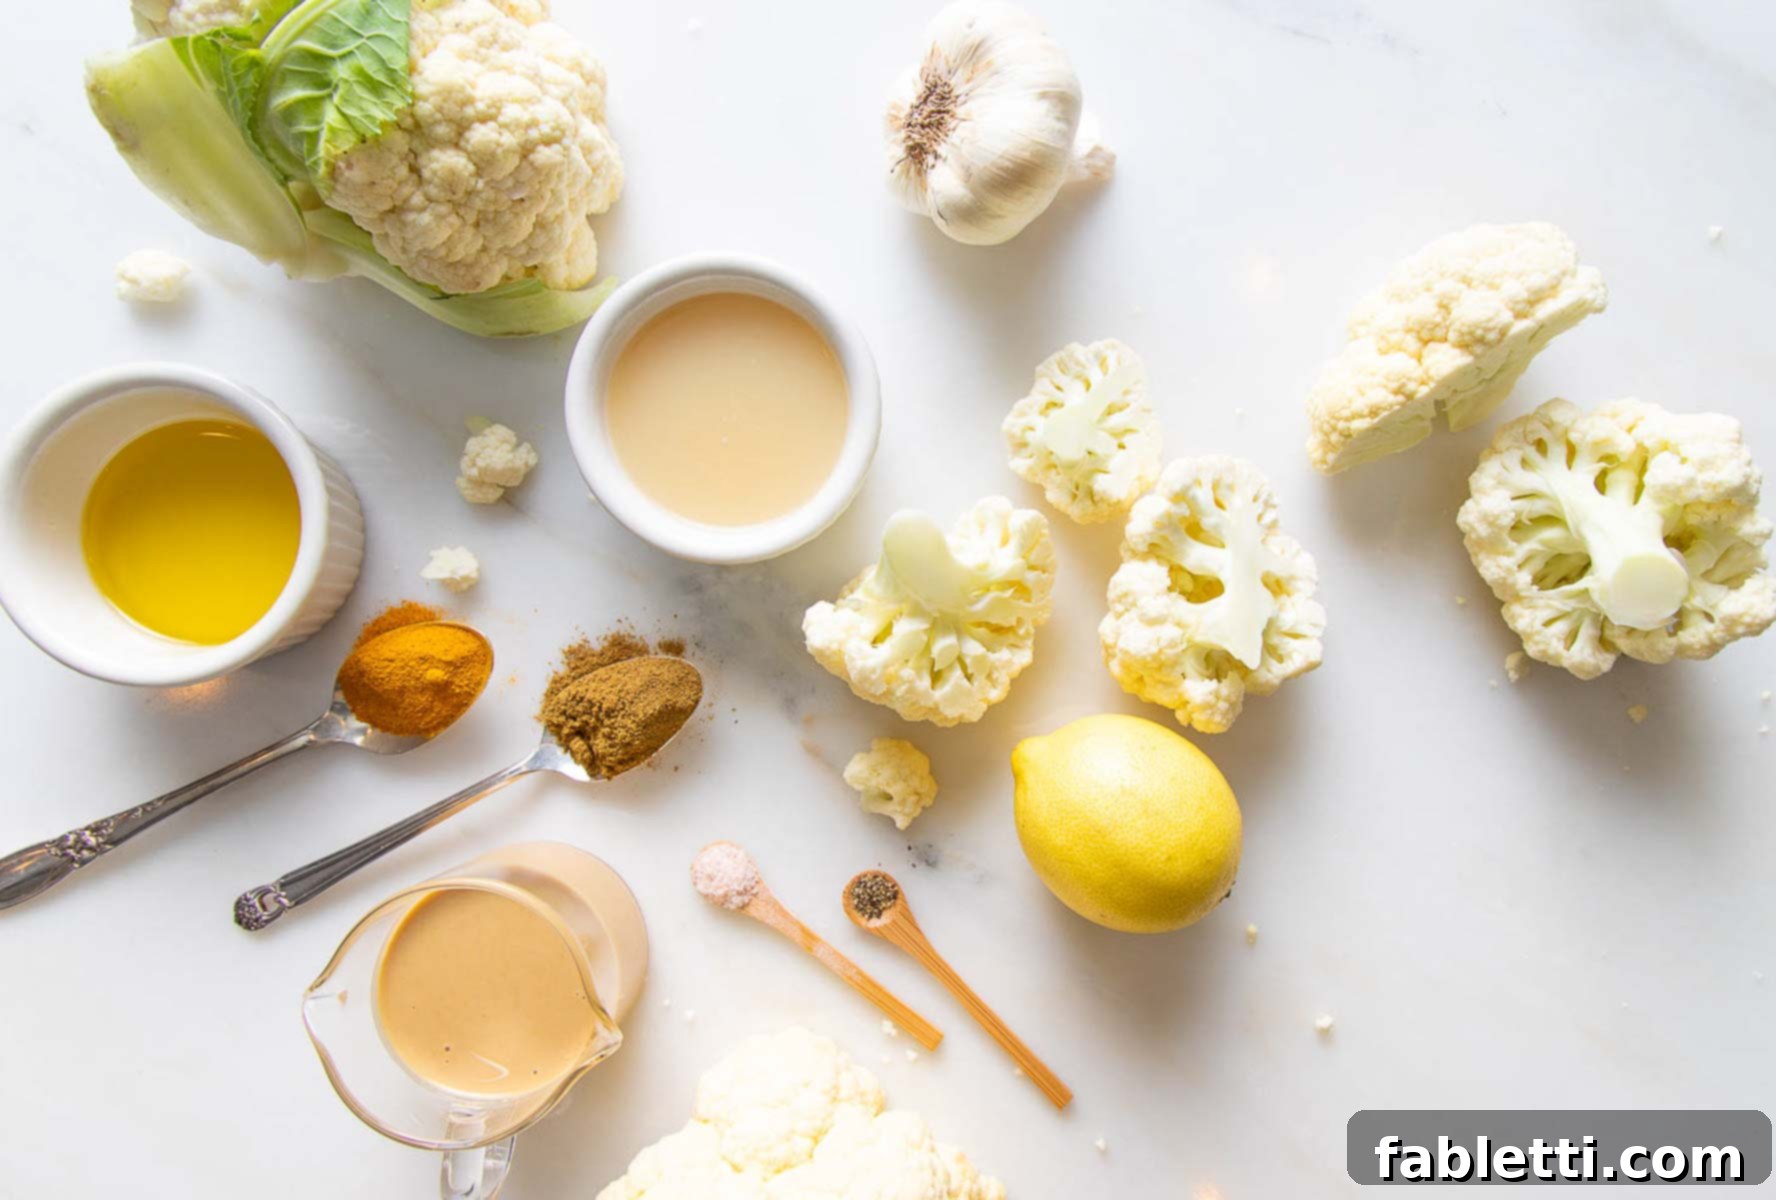
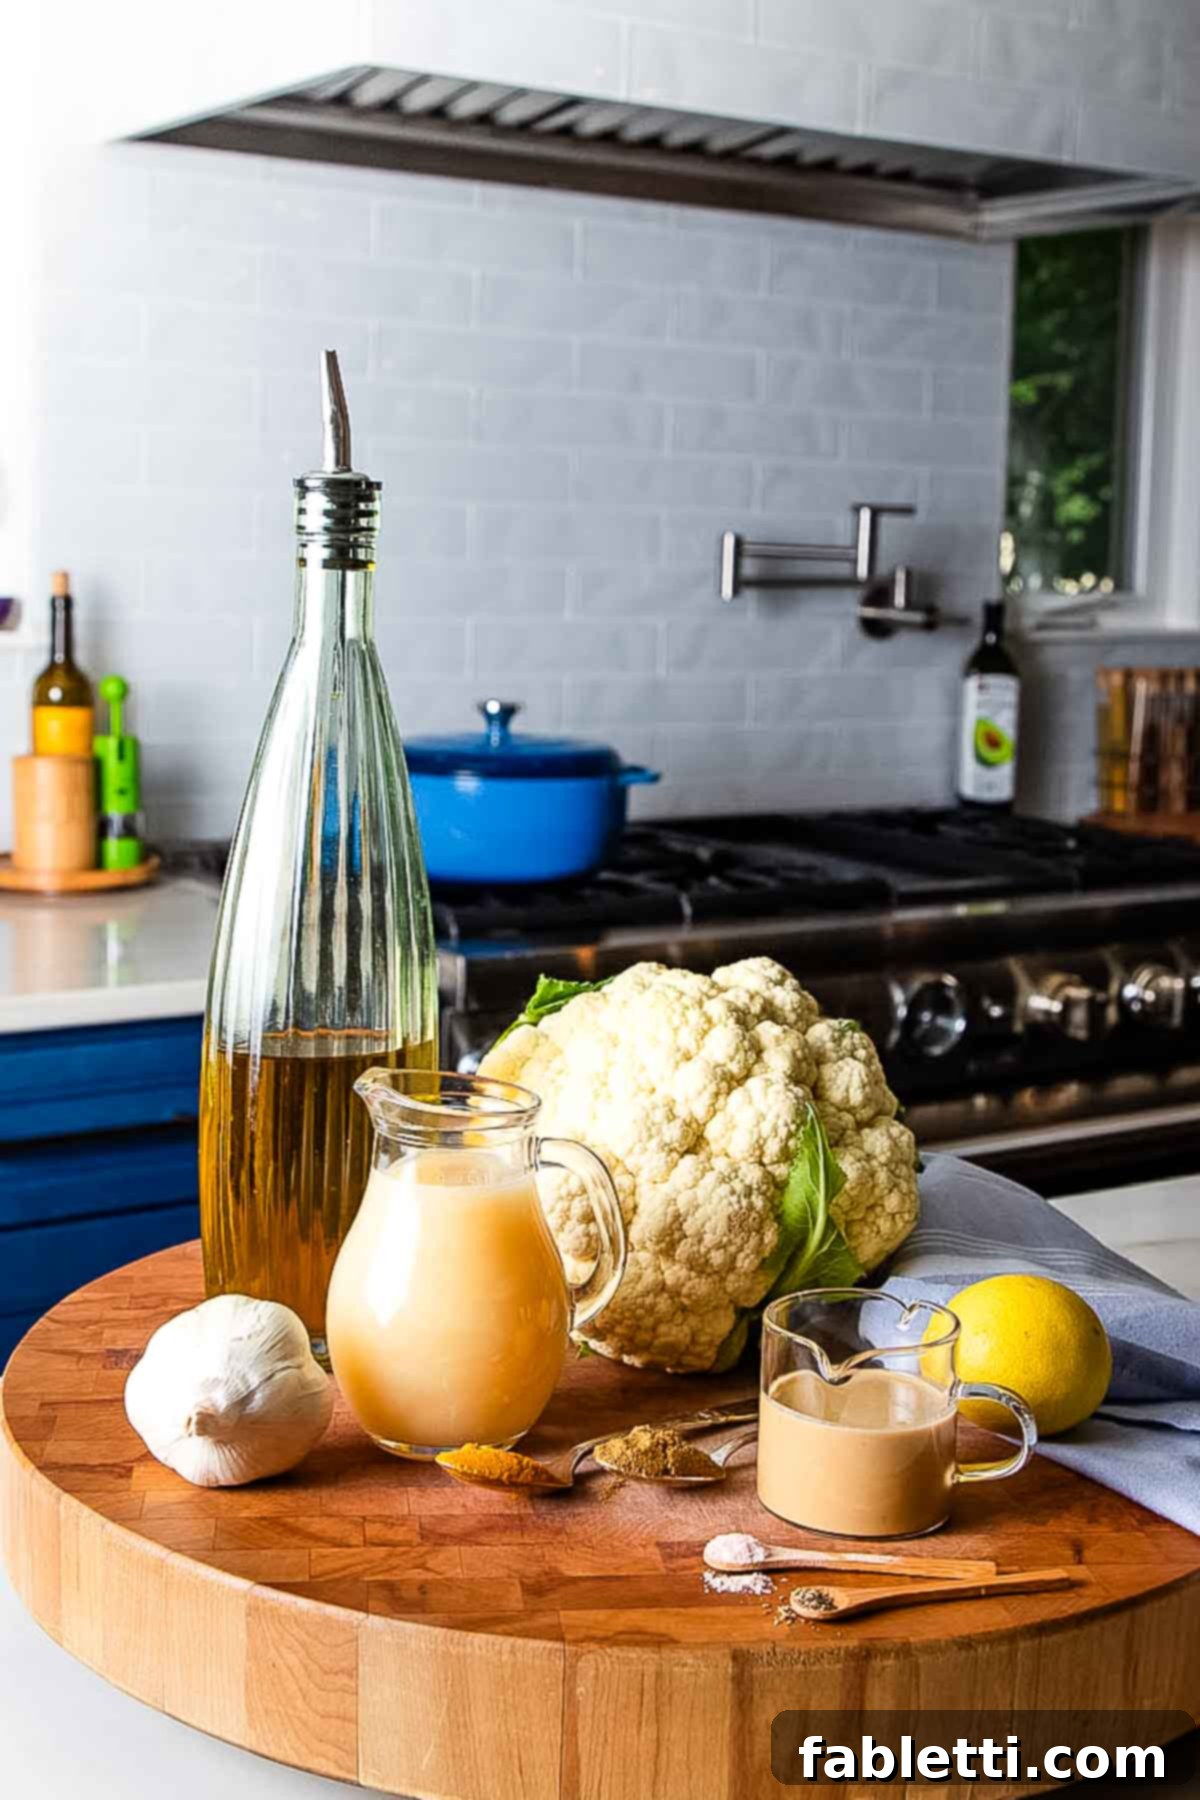
- Cauliflower: The undeniable star, providing the bulk, texture, and a wealth of nutrients. As mentioned, it’s high in fiber, B-Vitamins, antioxidants, and phytonutrients. For a slight variation, you could experiment with parsnips, though they’ll require a longer roasting time to achieve tender perfection. However, cauliflower is highly recommended for the most authentic hummus-like experience.
- Tahini: This rich sesame paste is absolutely crucial for the characteristic creaminess and nutty depth of flavor that defines hummus. It’s a fantastic source of protein, calcium, B-Vitamins, and healthy fats like Omega-3s, contributing both taste and nutrition.
- Lemon Juice: Freshly squeezed lemon juice is vital. It brightens and enhances all the other flavors, adding a necessary tangy zing that prevents the dip from tasting flat. Don’t skimp on this!
- Garlic: Roasted garlic is a non-negotiable ingredient here. The roasting process transforms raw garlic’s pungent bite into a mellow, sweet, and incredibly aromatic essence that infuses the hummus with unparalleled depth. Skipping this step would significantly diminish the flavor profile.
- Spices: A thoughtful blend of turmeric, cumin, and black pepper provides warmth, earthy notes, and a beautiful golden hue. Beyond flavor and color, turmeric is renowned for its powerful anti-inflammatory benefits, making this dip not just tasty but also good for you.
- Olive Oil: A good quality extra virgin olive oil adds richness and a silky mouthfeel. While you can dry roast the cauliflower or use a spritz of water to help spices adhere, a drizzle of olive oil during roasting contributes significantly to flavor. You may also need a bit of water during blending for the perfect creamy consistency.
The Art of Roasting Cauliflower for Perfect Hummus
The roasting process is where the magic truly happens, transforming humble cauliflower and garlic into flavor bombs ready for blending. This simple step is key to the overall success of your homemade cauliflower hummus.
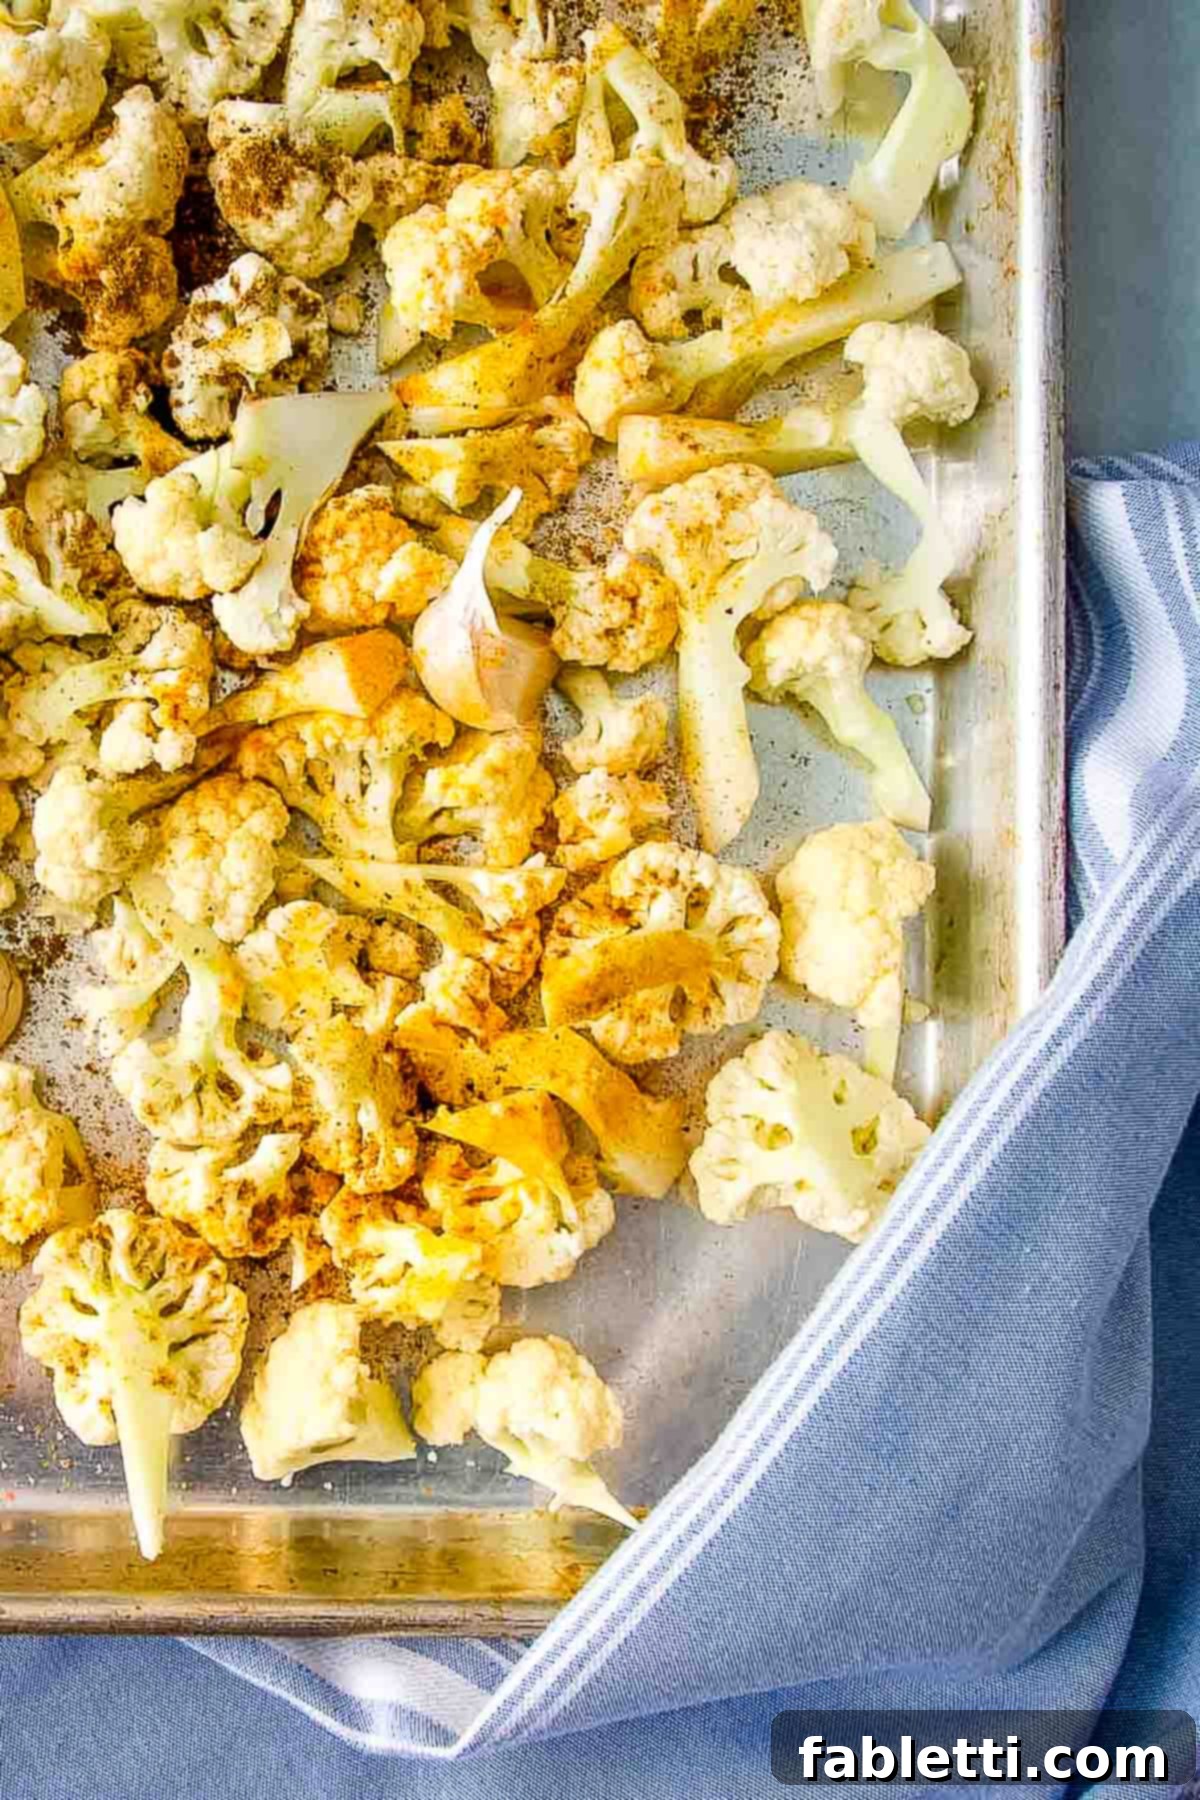
- Prepare the Cauliflower: Begin by cutting your head of cauliflower into evenly sized florets. Aim for pieces that are roughly the same size to ensure they roast uniformly. Smaller florets will cook faster and yield a smoother hummus.
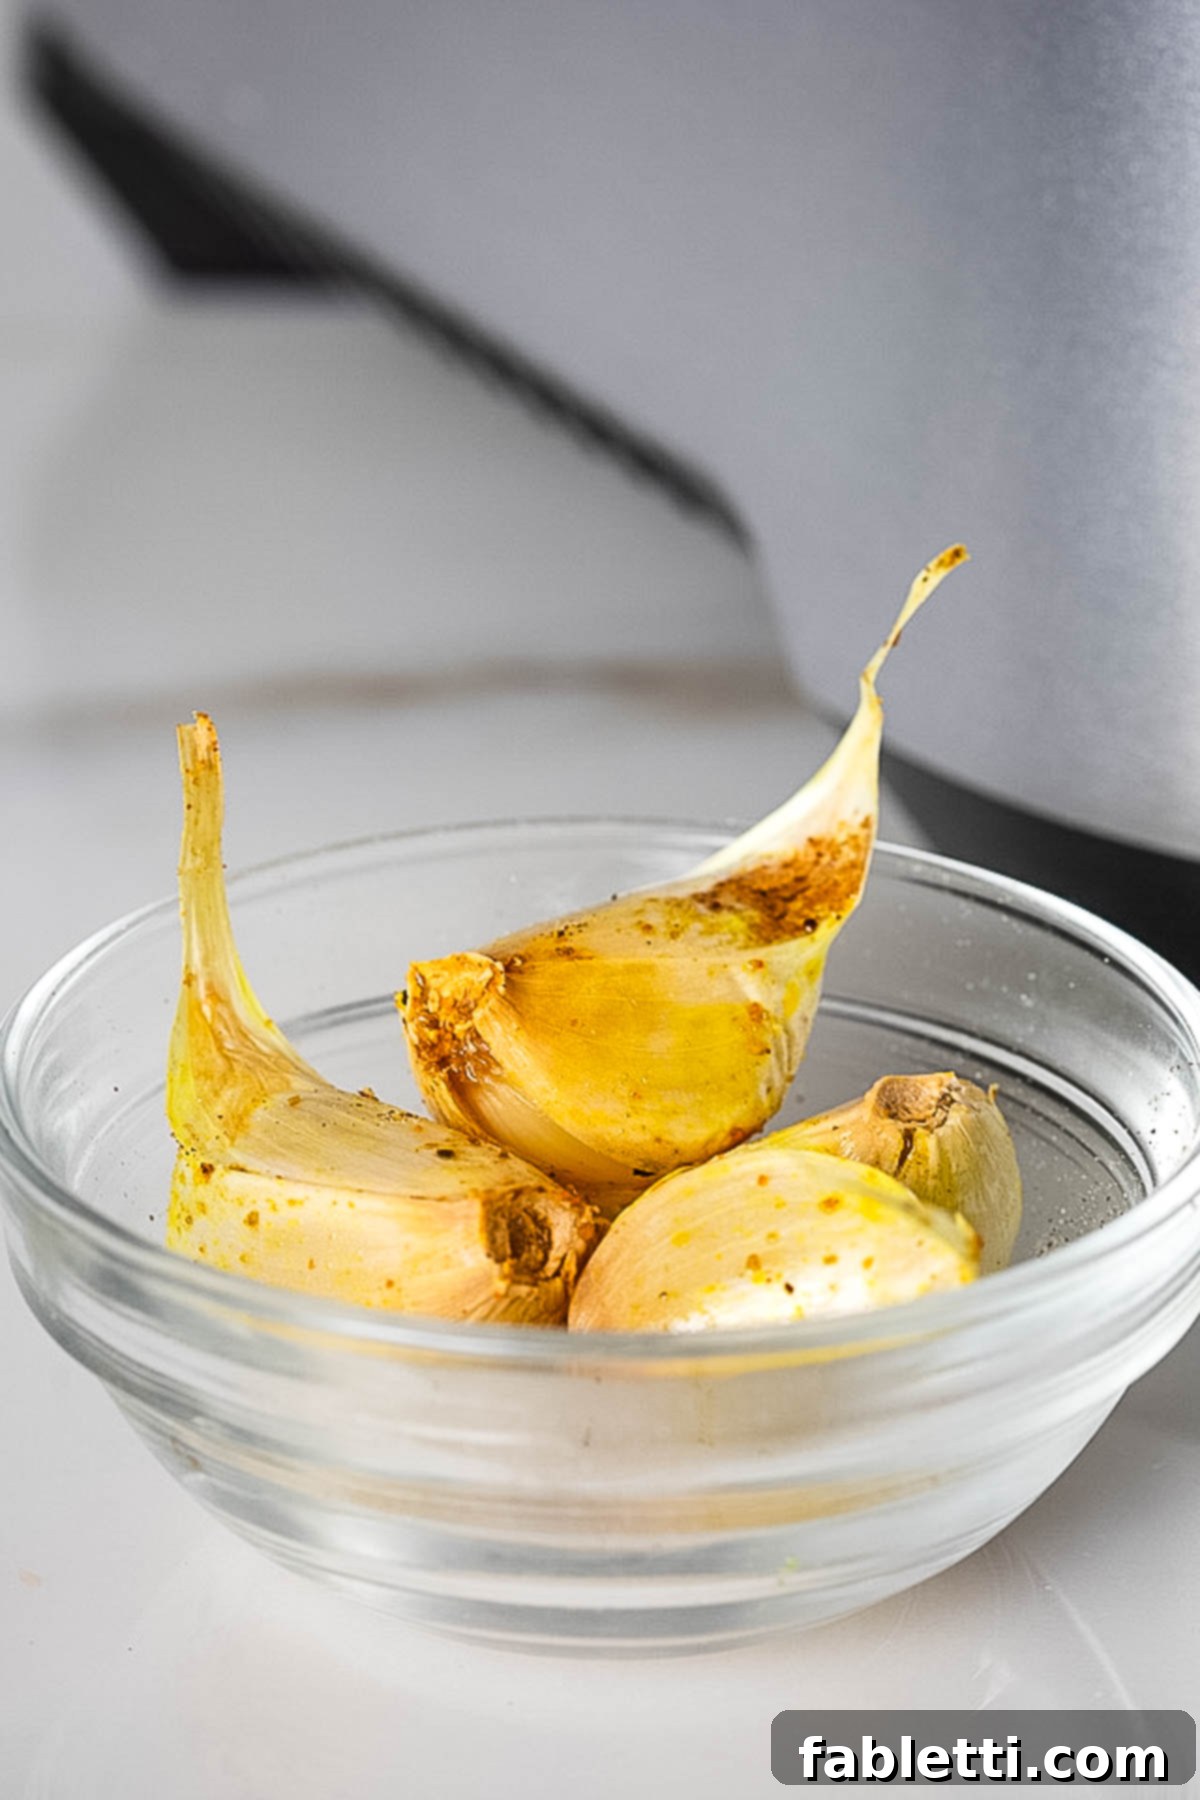
- Add the Garlic: Crucially, leave the skins on your garlic cloves. This protects the delicate garlic flesh from burning at high temperatures and allows it to steam and soften beautifully within its papery wrapper. Place them directly on the baking tray alongside the cauliflower.
- Season Generously: Drizzle the cauliflower and garlic with olive oil, then sprinkle generously with your chosen spices (turmeric, cumin, black pepper, and half of the salt). Toss everything well to ensure an even coating. This step ensures every floret is infused with flavor.
- Roast to Perfection: Roast in a preheated 400°F (200°C) oven for approximately 25-30 minutes, or until the cauliflower is fork-tender and exhibits a light golden-brown char around the edges. This caramelization is where much of the flavor develops.

Roasting the garlic in its skin is a simple but brilliant technique. Not only does it protect the garlic from burning, but it also creates a wonderfully soft, almost buttery texture and a sweet, nuanced flavor. After roasting, the garlic becomes incredibly easy to squeeze directly from its skin into your food processor. Beyond its delightful taste, garlic is celebrated for its many medicinal properties, including powerful antibacterial and anti-fungal qualities. It’s also packed with antioxidants that help combat cell damage and the effects of aging. For many who find raw garlic irritating to their digestive system or a trigger for acid reflux, roasted garlic often provides all the flavor benefits without the uncomfortable side effects, making this hummus accessible to more people.
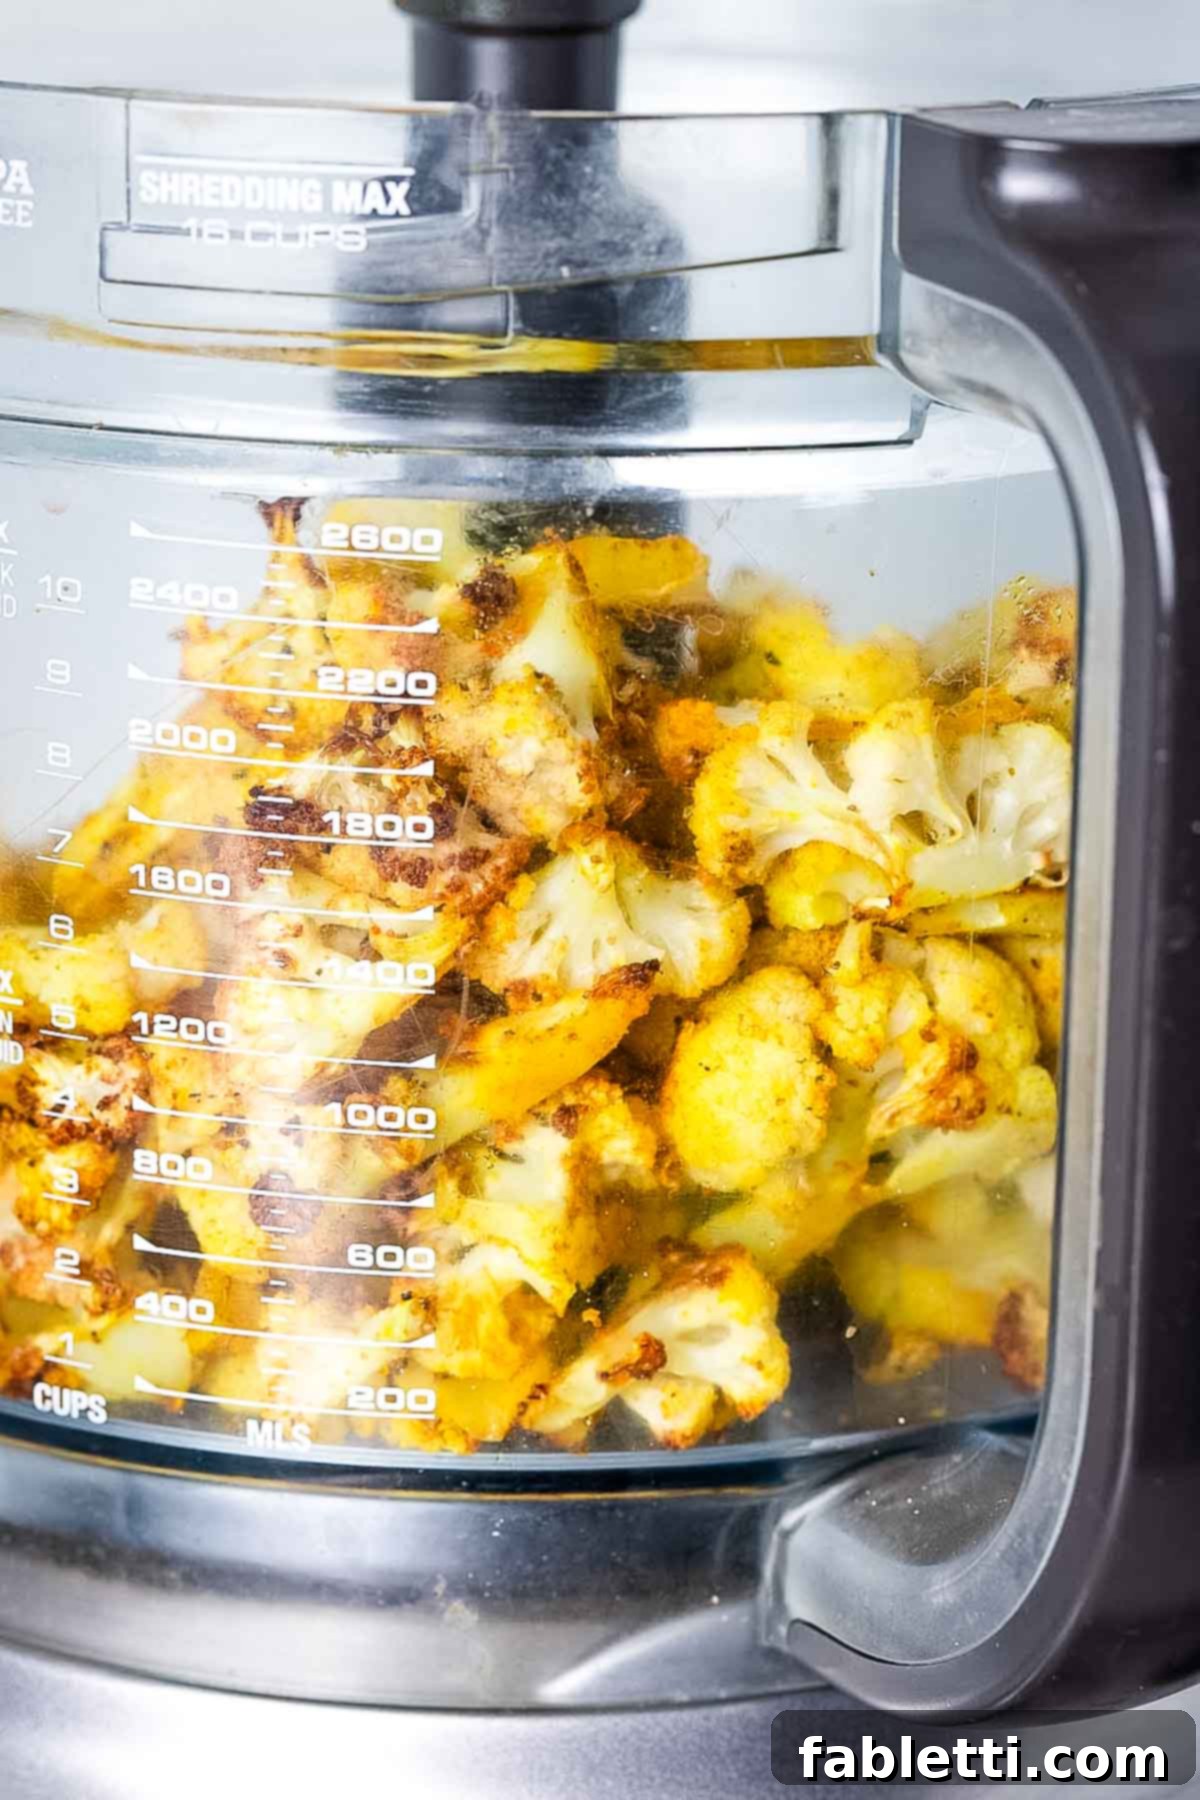
The simplicity of this recipe is one of its greatest assets. A straightforward swap from chickpeas to cauliflower yields a delicious dip that is lower in carbohydrates and calories, yet remarkably similar in texture and taste to its traditional counterpart. To make this roasted cauliflower hummus, you simply roast the seasoned garlic and cauliflower, then transfer them to a food processor with the remaining ingredients. With a few pulses, you’ve got a perfectly smooth and creamy dip! I always recommend adding water one tablespoon at a time during blending until you achieve your desired consistency – whether you prefer a thick, hearty dip or a lighter, airier spread.
Endless Possibilities: What Can You Do with Roasted Cauliflower Hummus?
The versatility of this chickpea-free hummus is truly remarkable, mirroring the many uses of regular hummus while offering a healthier, low-carb alternative. Once you try it, you’ll find countless ways to incorporate this flavorful dip into your meals and snacks.
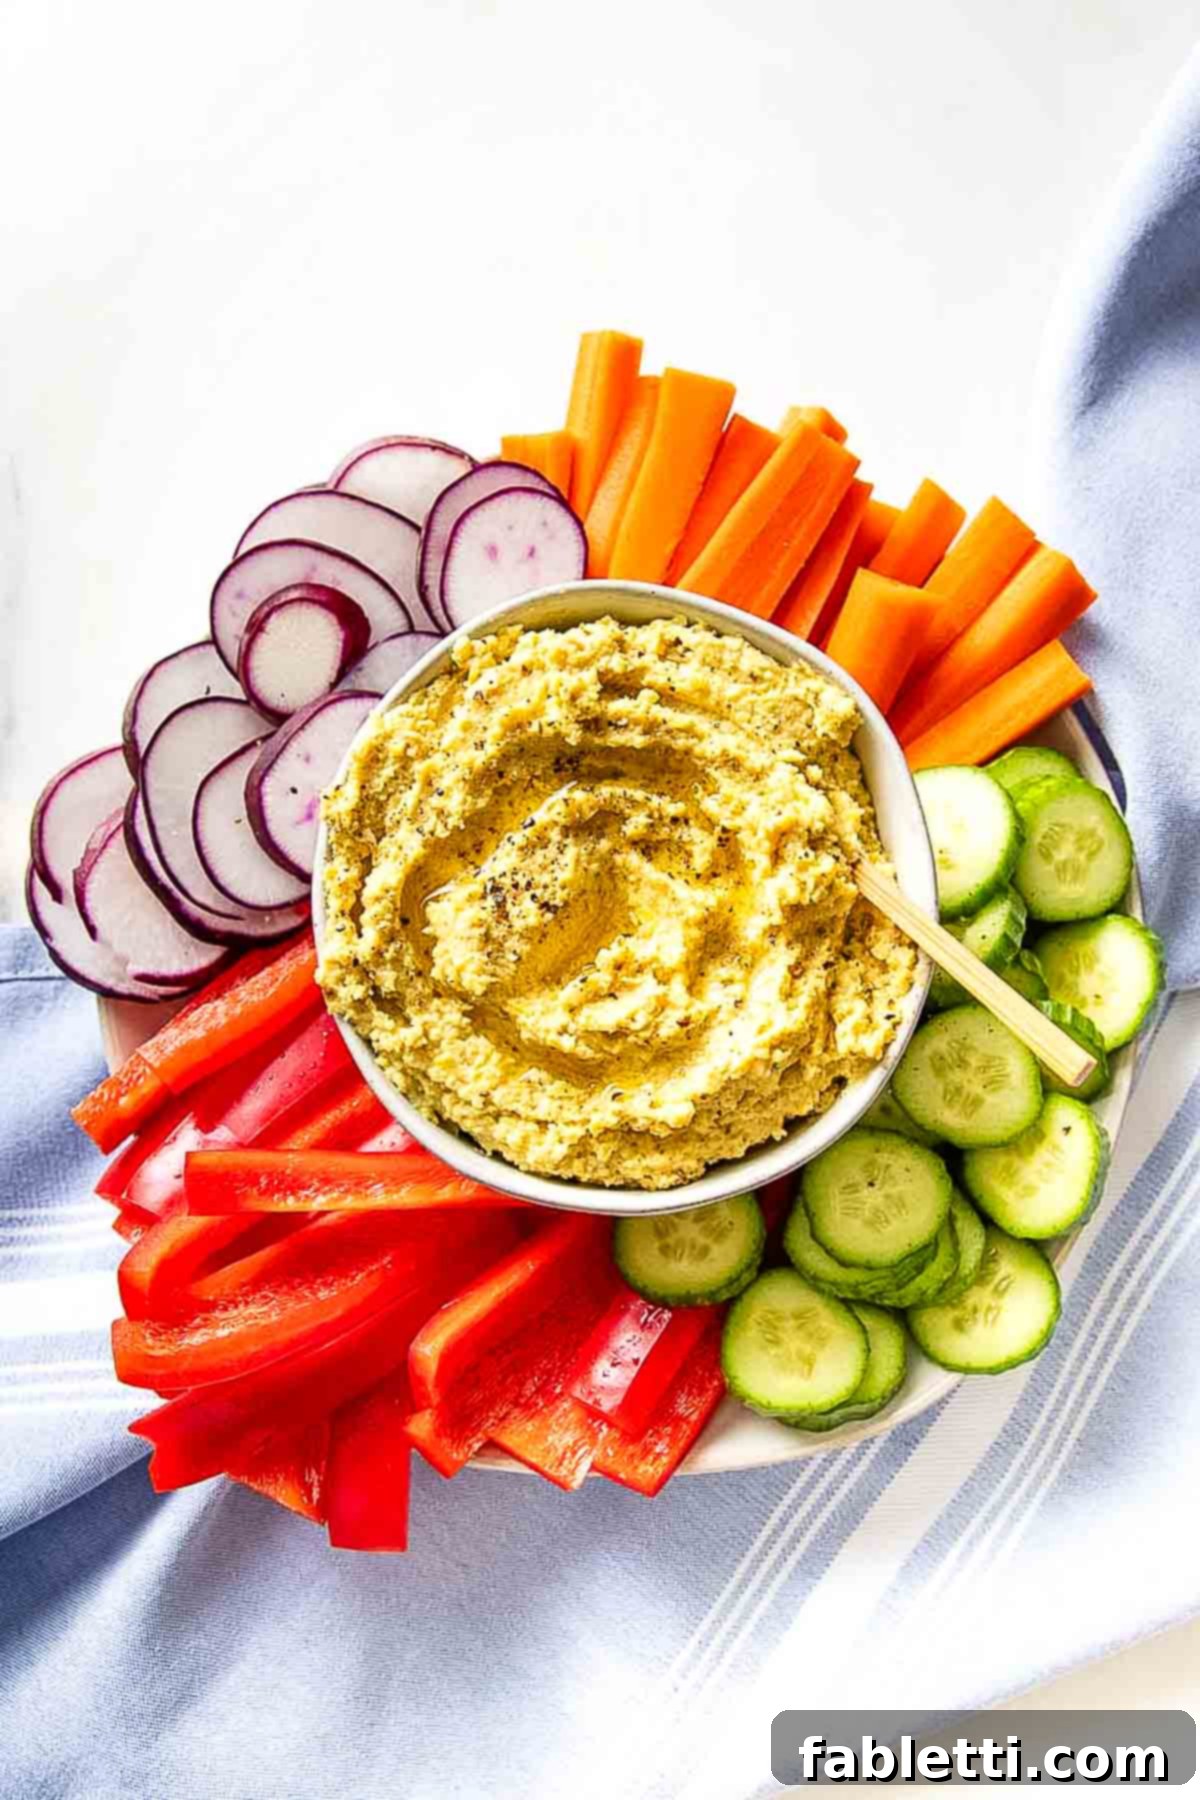
- The Perfect Dip: It’s an excellent choice for a healthy dip, especially as the centerpiece of a vibrant crudités platter. Serve it with crisp bell peppers, cucumber slices, carrot sticks, celery, and radishes for a refreshing and nutritious snack.
- Wrap & Sandwich Spread: Elevate your wraps and sandwiches. Spread a generous layer of this hummus onto a whole-grain tortilla or a large lettuce leaf (for a lower-carb option) and fill it with your favorite veggies, grilled chicken, or leftover roasted vegetables. Roll it up for a satisfying lunch, ideal for work, school, or a picnic at the beach.
- Mediterranean Bowl Essential: This hummus is a fantastic addition to Mediterranean-inspired bowls. Pair it with tofu shawarma, baked falafel, or grilled halloumi. Don’t forget the pickled onions for an extra burst of flavor!
- Unique Pizza Base: Move beyond traditional red sauce! This low-carb cauliflower hummus makes an awesome, flavorful spread for pizza, particularly on a vegan flatbread pizza recipe. Top with fresh vegetables, herbs, and a drizzle of olive oil for delicious, unexpected results.
- Savory Toast Topping: Spread it on a slice of toasted sourdough or gluten-free bread, then top with some fresh tomato and onion salad with balsamic dressing for a heavenly light meal.
- Unexpected Omelet Filling: For a delightful twist, try incorporating this hummus into your morning routine. I love using it inside an omelet or scrambled eggs instead of cheese for a savory, creamy element.
- Grain-Free & Dietary Friendly: A single batch of this hummus can be your culinary hero for the entire week! It’s not only low-carb but also fully compliant with gluten-free, grain-free, keto, paleo, and Whole30 dietary guidelines, ensuring that almost everyone can enjoy its deliciousness.
Did you know commenting and rating recipes is one of the best ways to support your favorite food bloggers? If you made this recipe, please consider leaving a five-star rating below and a comment sharing your experience. Also, we’d love to see your creations! Please share your photos on Instagram by tagging me @dkhealthcoach and using the hashtag #debraklein.
📖 Roasted Cauliflower Hummus Recipe
Roasted Cauliflower Hummus
Debra Klein
Pin Recipe
5 minutes mins
30 minutes mins
40 minutes mins
Appetizer, Snack
American, Mediterranean
12
98 kcal
Equipment
- Large Rimmed Baking Sheet
- Food Processor
Ingredients
- 1 head cauliflower
- 4 cloves garlic skins on
- 2 tblsp extra virgin olive oil
- 1 teaspoon coarse sea salt divided
- ½ teaspoon turmeric
- ½ teaspoon cumin
- ½ teaspoon ground black pepper
- ½ cup tahini
- ¼ cup lemon juice
- 2 tablespoon water
Instructions
- Preheat oven to 400 degrees F (200 degrees C).
- Cut cauliflower into florets. Place on a large rimmed baking sheet along with garlic cloves (skins still on). Drizzle with olive oil, half the salt, and remaining spices. Toss well to evenly coat all the cauliflower and garlic. Roast for 25-30 minutes, or until the cauliflower is tender when pierced with a fork and slightly caramelized.
- Transfer the roasted cauliflower to the bowl of a food processor. Squeeze the soft pulp from the roasted garlic skins directly into the processor bowl. Add tahini, lemon juice, and water. Process until the mixture is completely smooth and creamy, scraping down the sides of the bowl a few times to ensure everything is well combined.
- If the hummus appears too thick for your preference, add additional water, one tablespoon at a time, and process again until the desired consistency is achieved.
- Taste for seasoning and adjust as needed. You may wish to add additional salt, lemon juice, or a pinch of red pepper flakes for an extra kick.
Notes
Nutrition
Calories: 98kcal
Carbohydrates: 5g
Protein: 3g
Fat: 8g
Saturated Fat: 1g
Polyunsaturated Fat: 3g
Monounsaturated Fat: 4g
Sodium: 212mg
Potassium: 199mg
Fiber: 1g
Sugar: 1g
Vitamin A: 9IU
Vitamin C: 26mg
Calcium: 26mg
Iron: 1mg
Note
The nutrition calculations were done using online tools. To obtain the most accurate representation of the nutritional information in any given recipe, you should calculate the nutritional information with the actual ingredients you used. You are ultimately responsible for ensuring that any nutritional information is accurate, complete and useful.
Did you make this recipe?
Please leave a review below, then snap a picture and tag me @dkhealthcoach or use hashtag #dkhealtcoach on Instagram so I can see it!!
