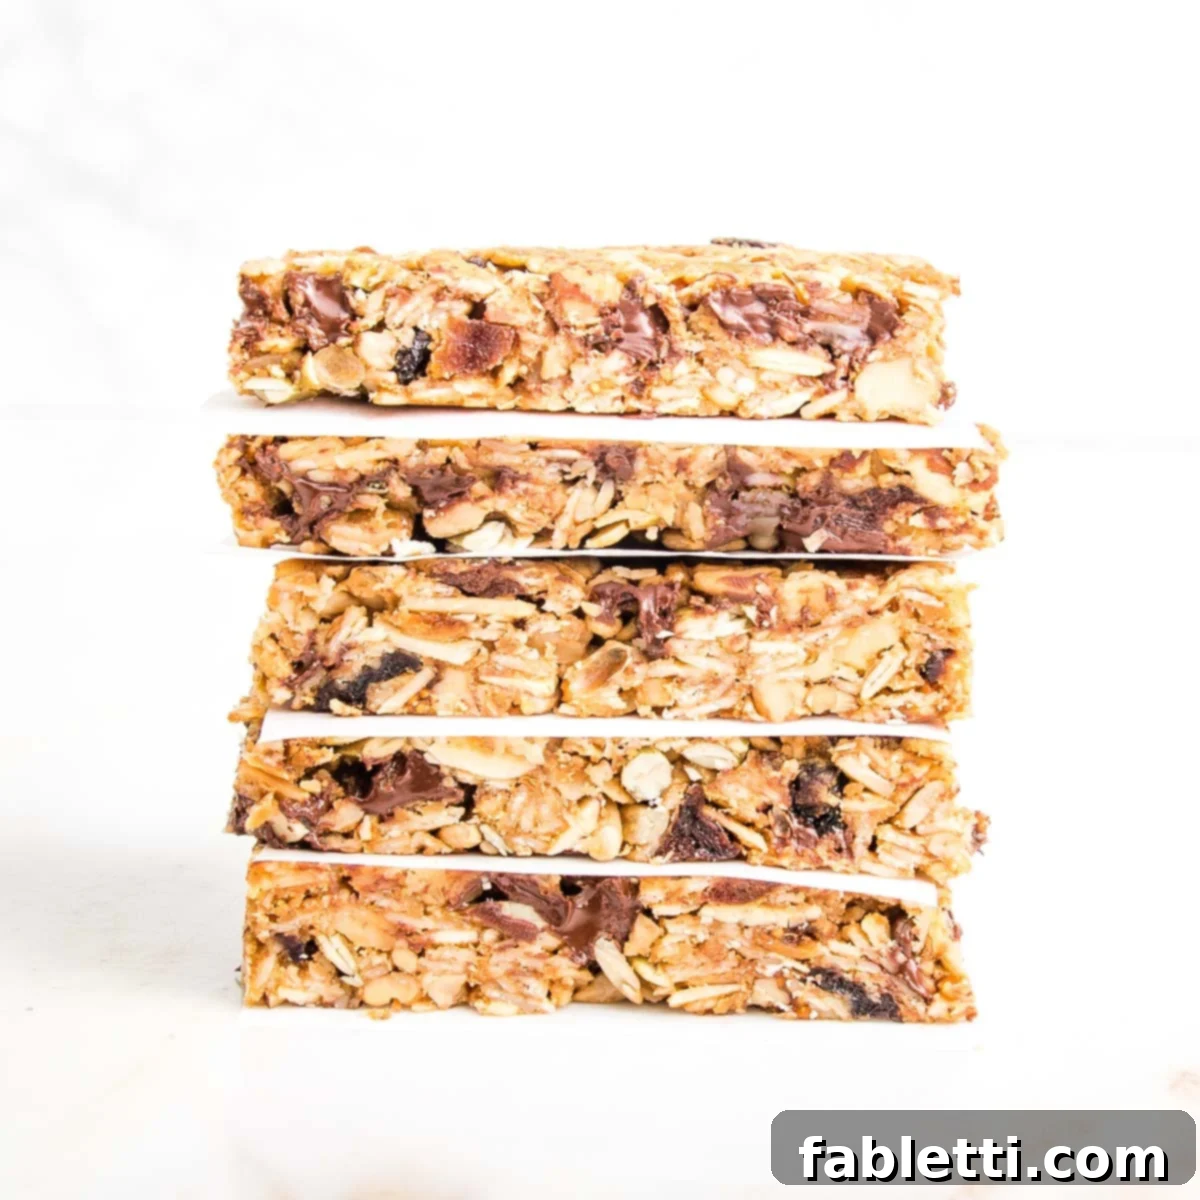
Homemade Crunchy Baked Granola Bars: Your Ultimate Healthy Snack Guide
Craving a nutritious and satisfying snack that’s both delicious and easy to make? Look no further than these incredible Homemade Crunchy Baked Granola Bars. Far superior to their store-bought counterparts, these bars are a wholesome blend of hearty oats, nutrient-dense nuts, and power-packed seeds. They’re perfectly crafted to curb those midday hunger pangs, fuel your workouts, or provide a quick, balanced breakfast when you’re on the go. Simple to prepare and infinitely customizable, this recipe is guaranteed to transform your snacking habits, making pre-packaged bars a thing of the past.
This post has been refreshed and updated with new tips and details from its original publication on September 14, 2015.
Seriously, these Crunchy Baked Granola Bars are an absolute must-have in your life. We all understand the allure of quick and convenient options, especially when navigating busy schedules and trying to stick to a healthy budget. But the good news is, you don’t have to choose between speed, health, and affordability. This recipe offers a delightful, kid-tested, and mother-approved solution!
Forget those pre-packaged oats and honey granola bars. This simple recipe empowers you to create your own at home, giving you full control over the ingredients. They are an ideal choice for meal prepping, exceptionally freezer-friendly, and provide a healthy, ready-to-grab answer for your most hectic mornings, post-workout refueling, lunchbox additions, or after-school snacks. Imagine the ease of having a wholesome “grab and go” option always at your fingertips, without compromising on taste or nutrition.
Why You’ll Love These Homemade Granola Bars
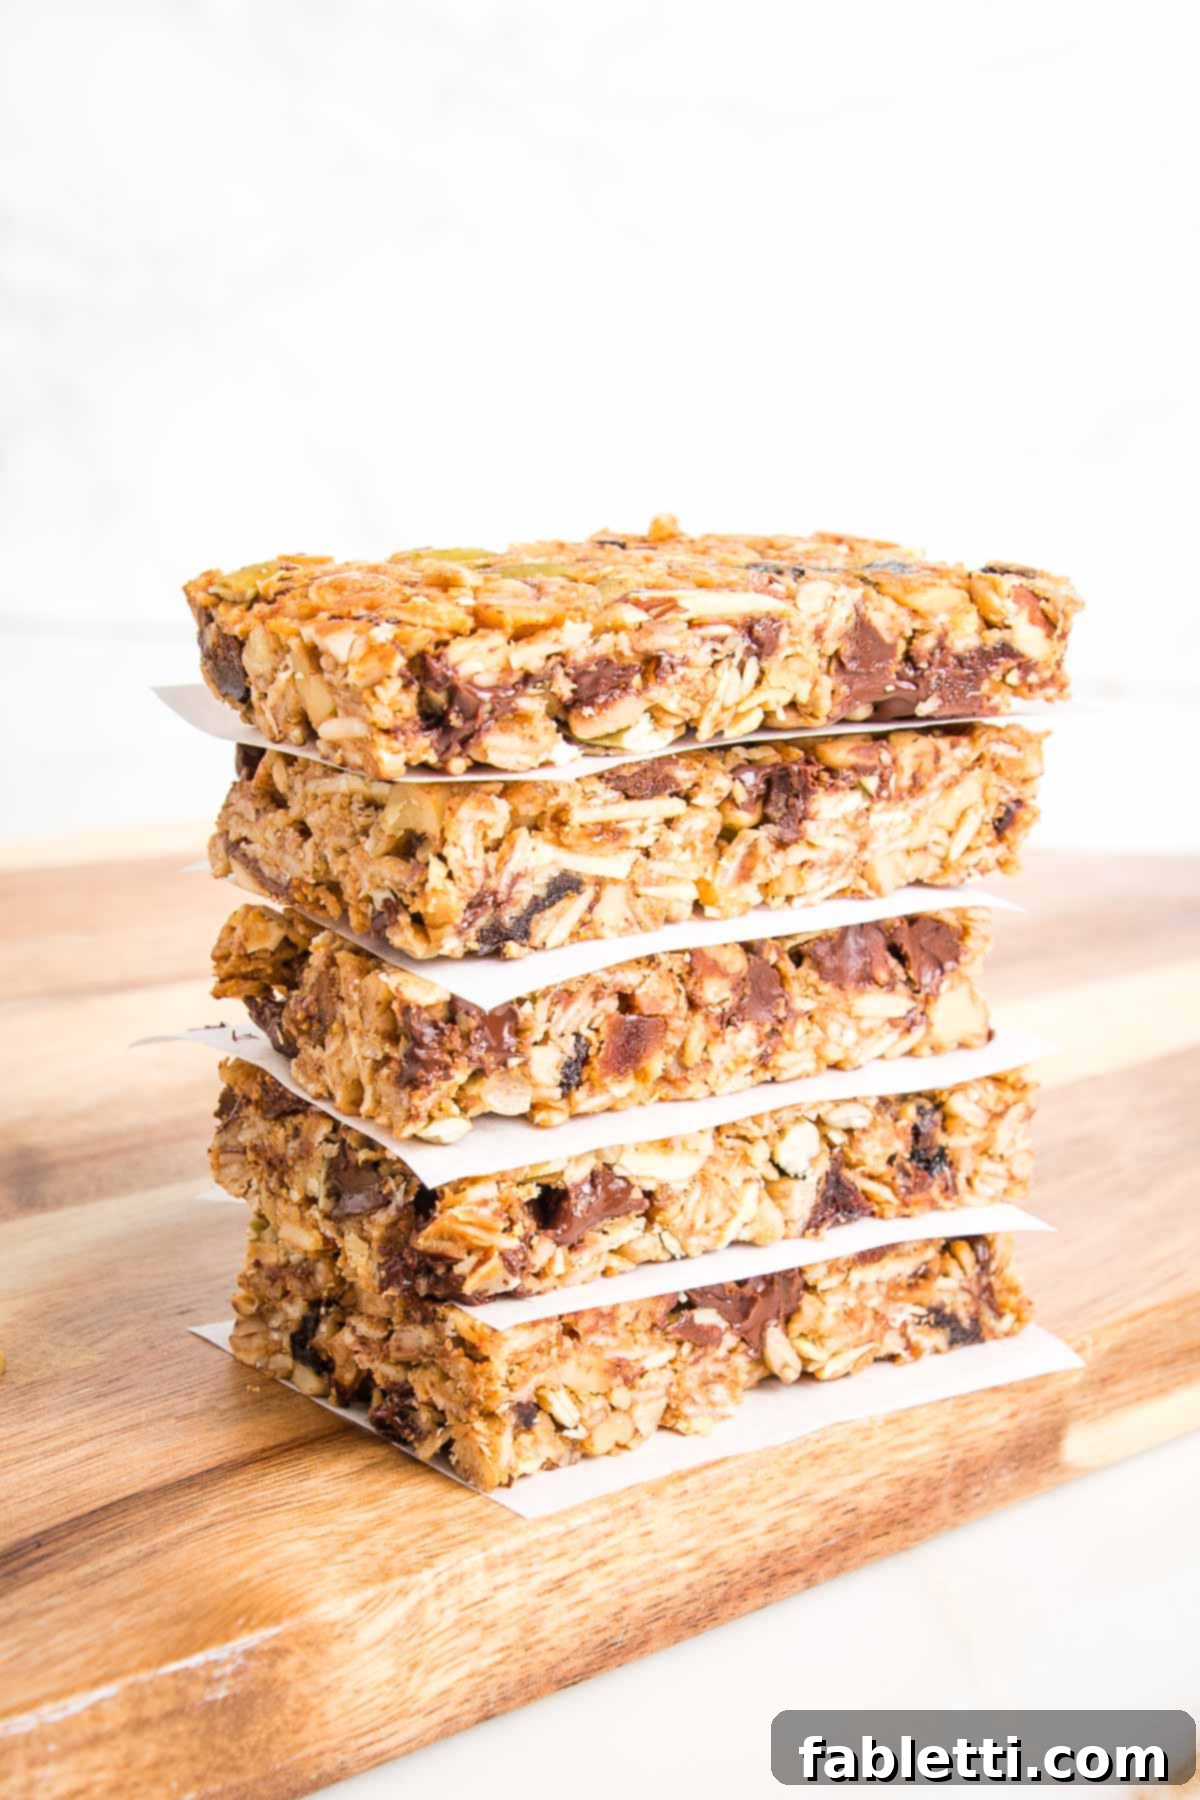
There are countless reasons to fall in love with these homemade granola bars:
- Family Favorite: These bars are enthusiastically approved by kids and parents alike, making them a perfect addition to any family’s snack rotation.
- Meal Prep Champion: Prepare a big batch and store them for weeks or even months. They’re incredibly convenient for busy lifestyles.
- Irresistibly Crunchy: Unlike many soft granola bars, this recipe delivers a satisfying crunch that makes every bite enjoyable.
- Mess-Free Grab & Go: Designed to hold together perfectly, these bars won’t crumble in your bag, making them the ideal mess-free snack.
- Effortlessly Easy & Adaptable: The straightforward instructions mean anyone can make them, and you can easily customize them with your favorite mix-ins.
- Superior Taste: Say goodbye to the bland, cardboard-like taste of commercial granola bars. These homemade treats burst with natural flavors.
- Perfect Texture: We’re talking seriously CRUNCHY – a crisp and delightful texture that is just right. If you prefer a softer, chewier bar, check out our no-bake grain-free energy bar recipe.
- Budget-Friendly: Making your own granola bars is significantly more affordable than buying them at the store, and they taste much better too!
- Packed with Nutrients: Each bar is a powerhouse of fiber, healthy fats, and essential vitamins and minerals, keeping you energized and full.
- No Artificial Additives: You control every ingredient, ensuring no unnecessary preservatives, artificial flavors, or excessive sugars.
Ingredients and Clever Substitutions for Your Granola Bars
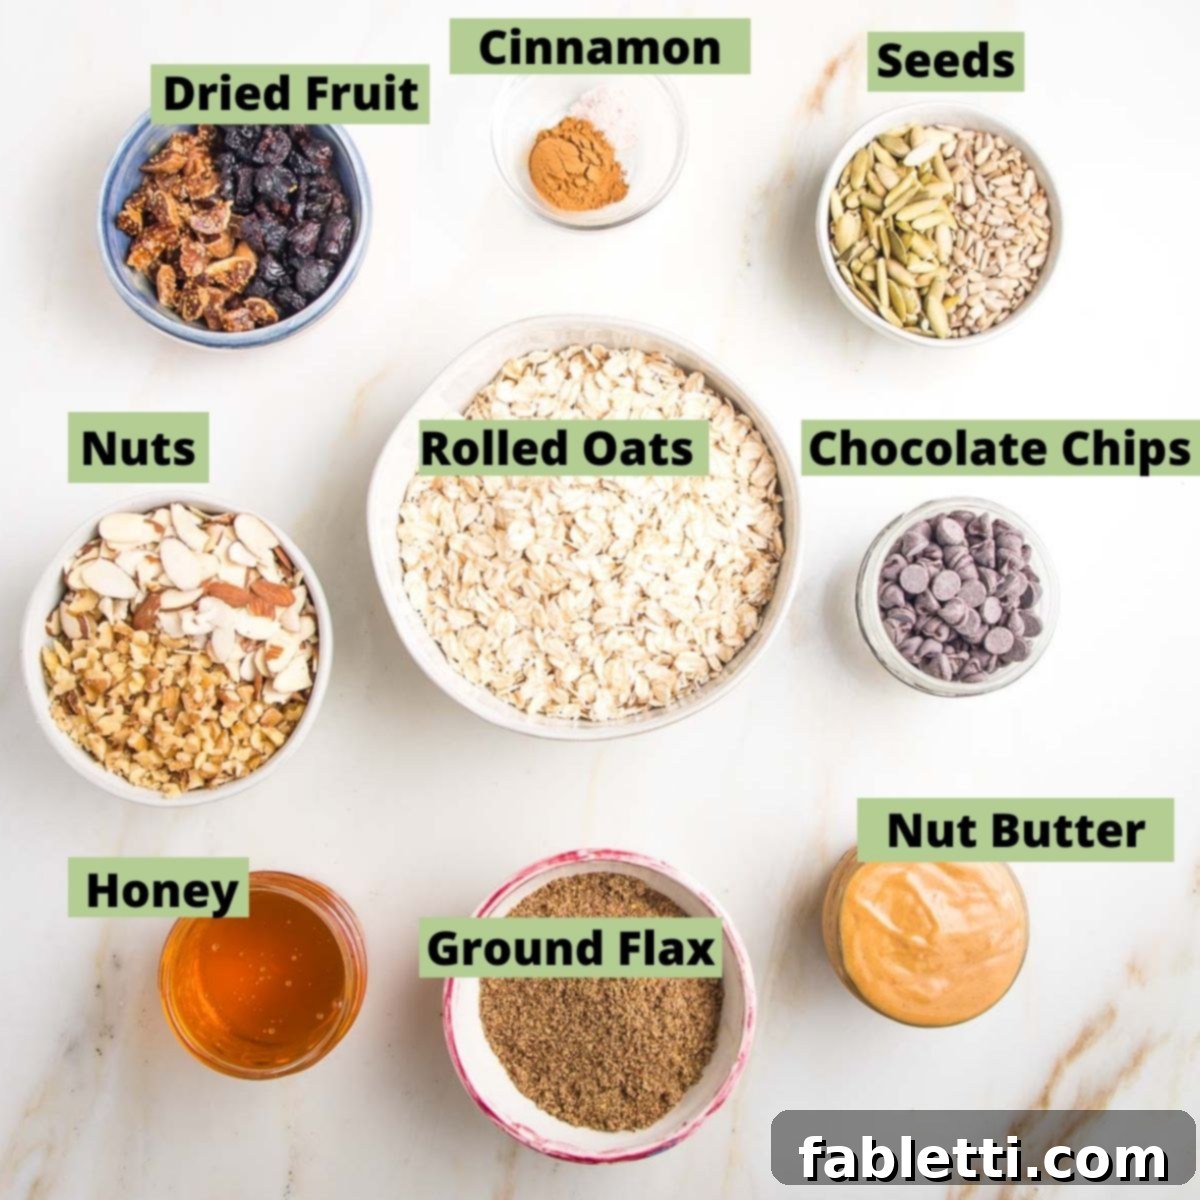
Crafting the perfect granola bar starts with quality ingredients. Here’s what you’ll need and how to make savvy substitutions:
- Rolled Oats: The foundation of our crunchy bars! Rolled oats are a fantastic whole grain, rich in soluble fiber which aids in blood sugar control and promotes a feeling of fullness. For enhanced digestibility and nutrient absorption, consider using sprouted oats. Brands like Thrive Market Organic Oats or One Degree Organic Sprouted Oats are excellent choices. Always opt for non-GMO and glyphosate-free oats. If you’re looking for a completely grain-free option, our grain-free energy bar recipe might be more suitable.
- Seeds: Tiny but mighty! Seeds are nutritional powerhouses, delivering fiber, healthy fats, and a spectrum of vitamins and minerals. I typically use a mix of pumpkin seeds and sunflower seeds for their distinct flavor and texture. Feel free to incorporate your favorites, such as chia seeds (for extra binding and omega-3s), hemp seeds, or sesame seeds.
- Nuts: Hello, plant-based protein and healthy fats! Nuts add a wonderful crunch and richness without needing any added oil. Walnuts are a top pick for their beneficial omega-3 fatty acids. Other great options include pecans, almonds, hazelnuts, or cashews. For those with nut allergies, simply increase the quantity and variety of seeds (e.g., larger watermelon seeds and smaller poppy seeds) to achieve a similar texture and nutritional profile.
- Honey: This natural sweetener contributes a unique flavor and helps bind the bars. Its beneficial antioxidants, as well as antibacterial and antifungal properties, are a bonus. To make these granola bars truly vegan, you can easily substitute the honey with date syrup or pure maple syrup.
- Ground Flax Seeds: Beyond their fiber and omega-3 content, ground flax seeds play a crucial role as a natural binder, ensuring your healthy snack bars hold together beautifully.
- Nut Butter: This ingredient adds richness, flavor, and additional binding power. Ensure your chosen nut butter is creamy and drippy for best results – peanut butter, almond butter, or cashew butter all work wonderfully. For those with nut allergies, sunbutter (sunflower seed butter) is an excellent alternative. Remember to thoroughly mix new jars of nut butter before using, especially if they’ve separated.
- Chocolate Chips: A delightful treat! I recommend using high-quality dark chocolate chips, such as those from Thrive Market. You can also chop a bar of your favorite dark chocolate for a more gourmet touch.
- Dried Fruit: Adding natural sweetness and chewiness, dried fruit is a fantastic inclusion. Raisins, dried cranberries, chopped apricots, or even finely diced dried figs work wonderfully. Ensure they are unsweetened and unsulfured for the healthiest option.
- Ground Cinnamon & Salt: These pantry staples elevate the flavor profile, adding warmth and balancing the sweetness. Don’t skip them!
How to Make The Best Crunchy Granola Bars
Making these homemade granola bars is a simple process that yields incredible results. Follow these steps for perfect crunchy bars every time:
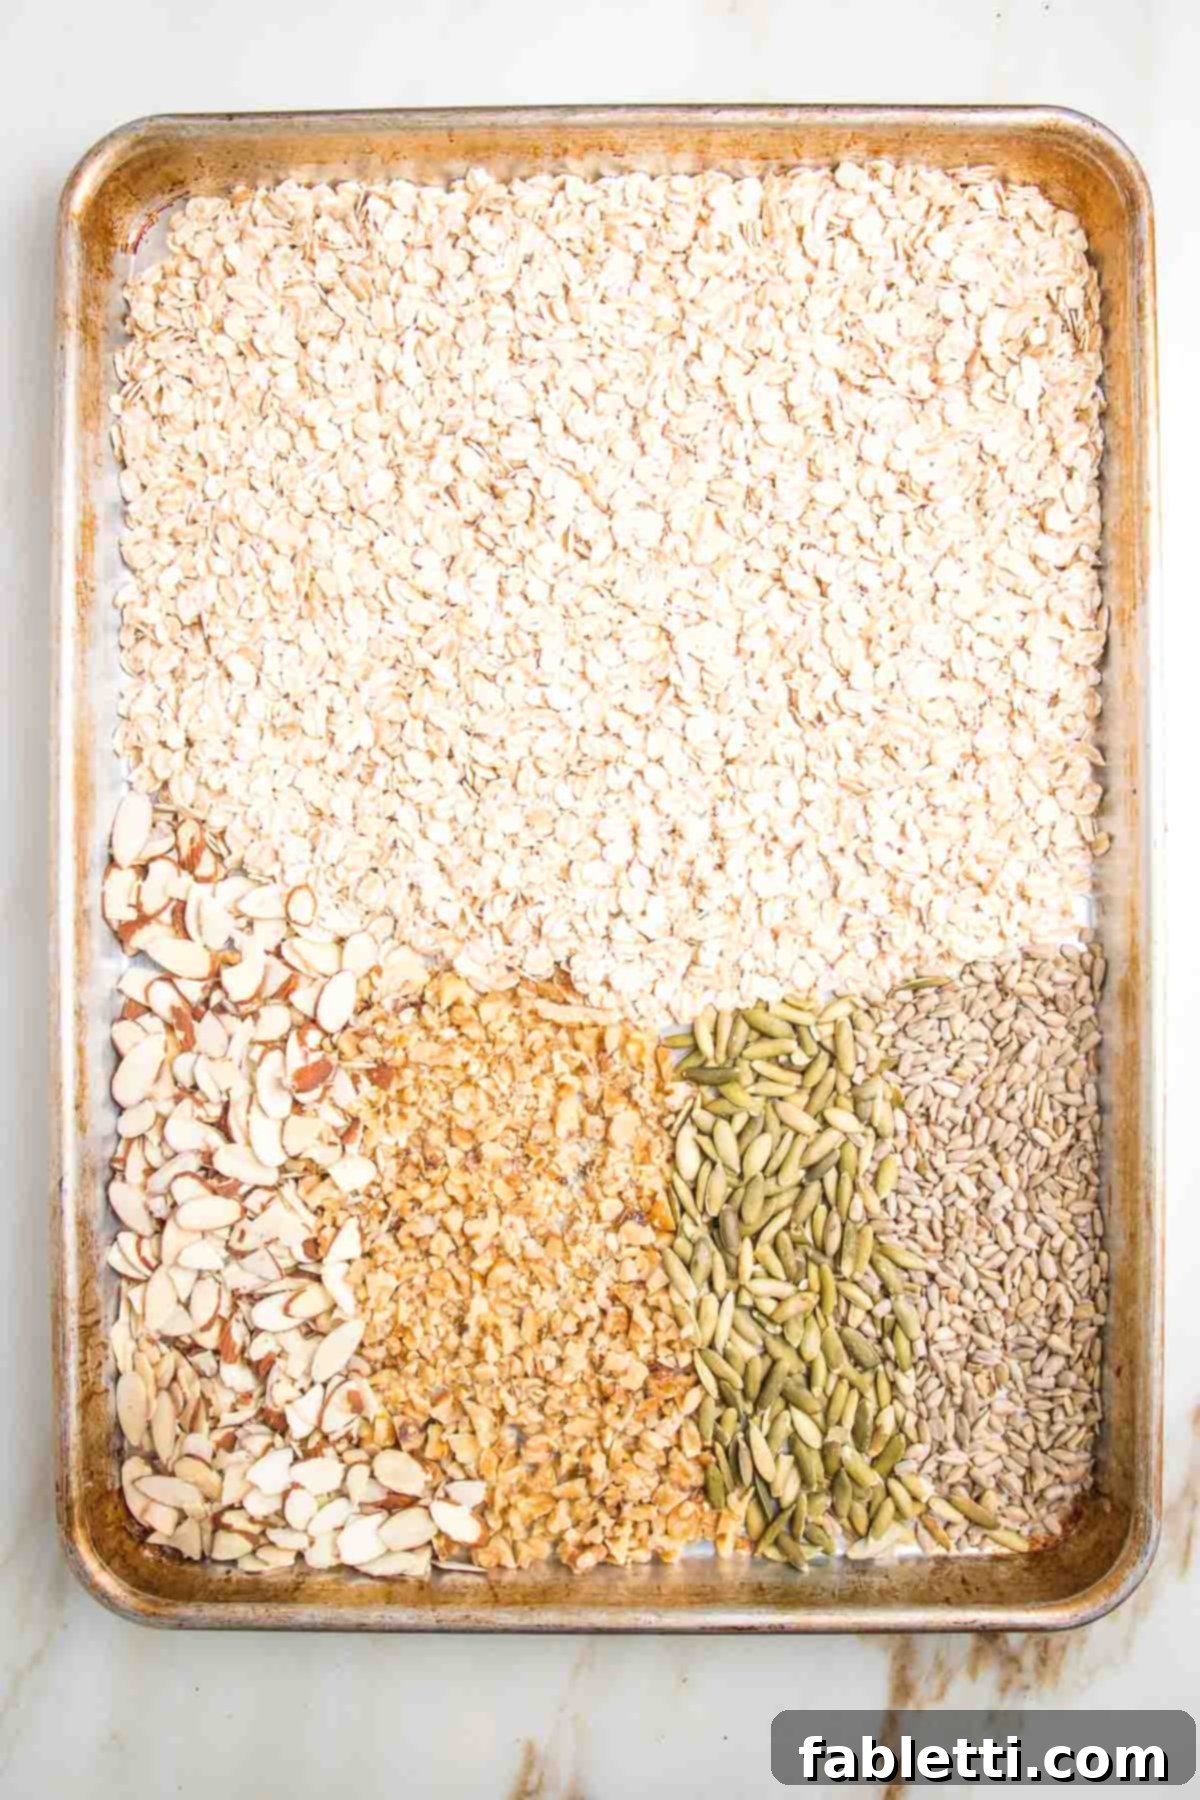
Step 1: Prepare Your Ingredients. Begin by preheating your oven to 350°F (175°C). Evenly spread your rolled oats, assorted nuts (chopped if large), and seeds in a single layer across a large, rimmed baking tray. This ensures even toasting, which is key for maximum crunch and flavor.
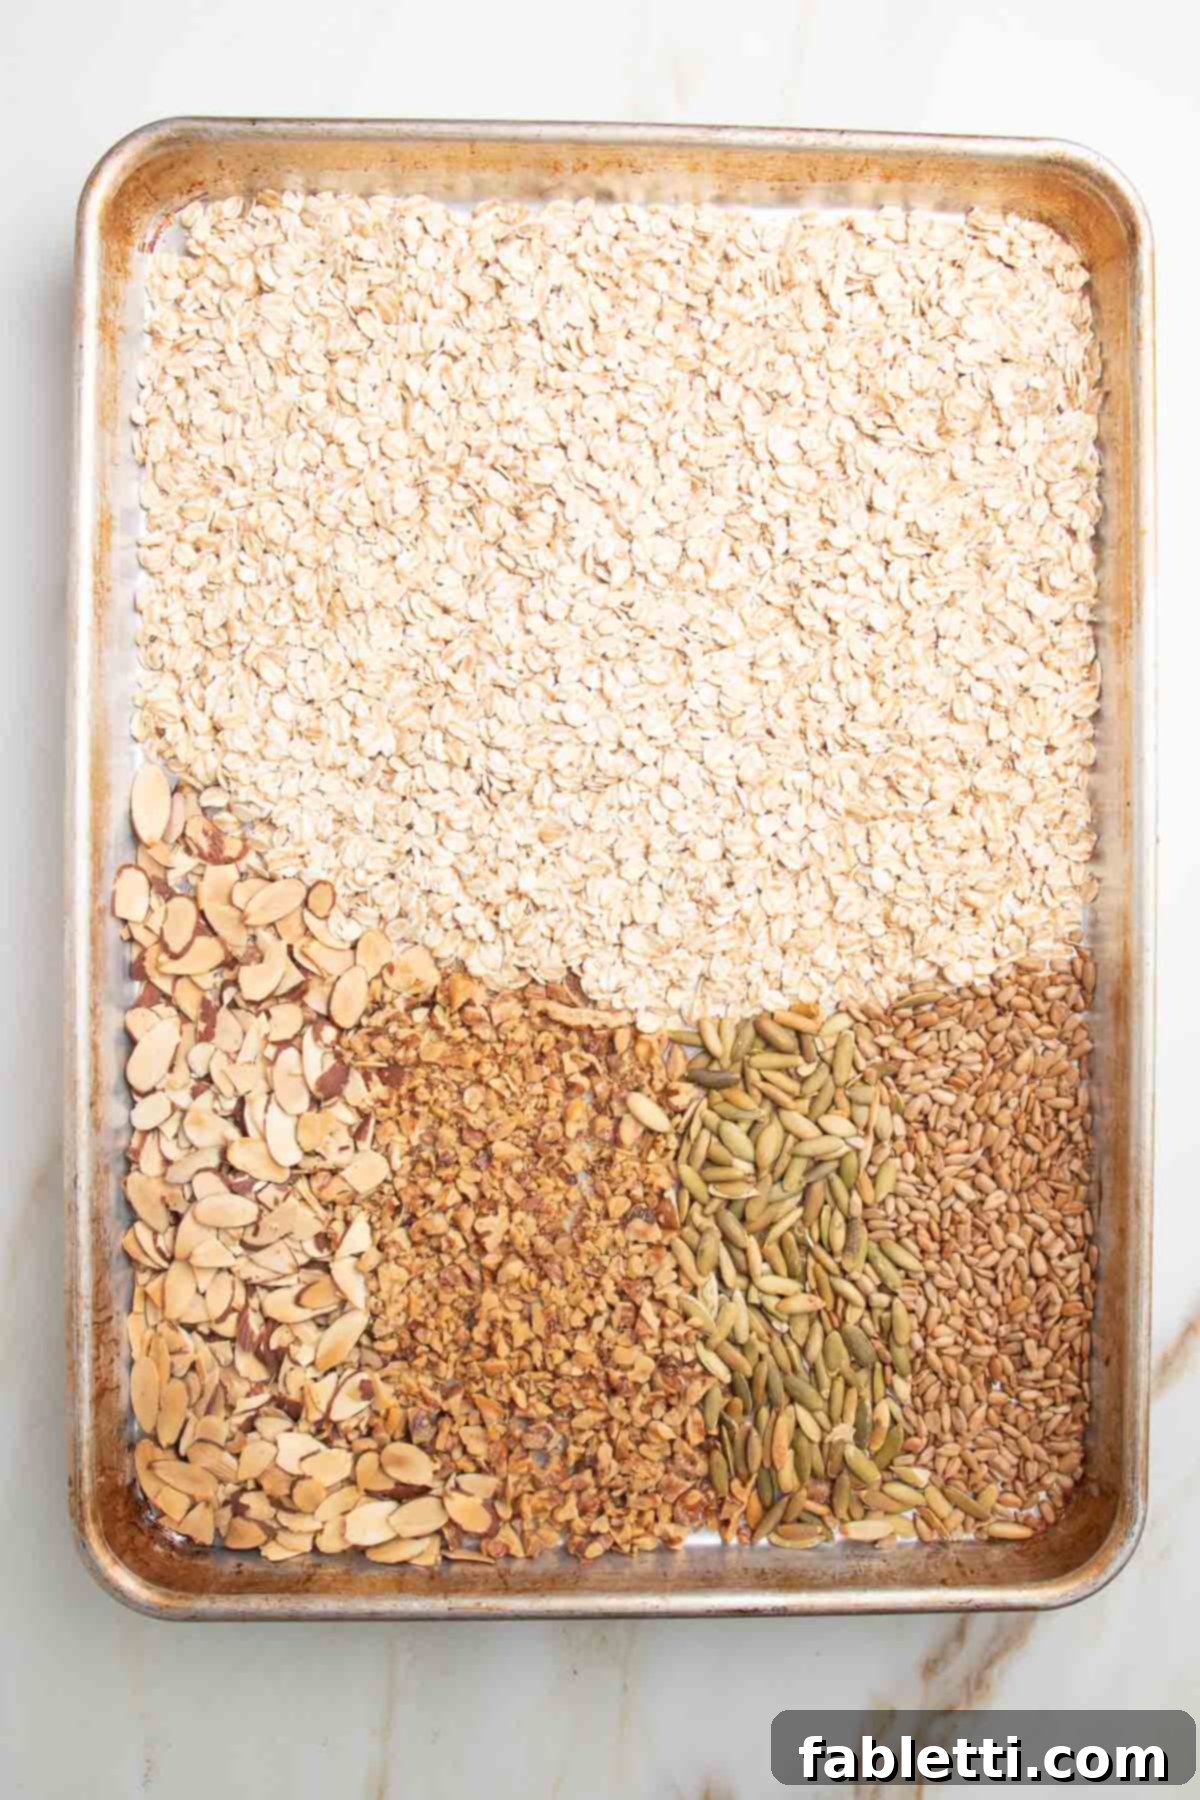
Step 2: Toast for Flavor. Place the baking tray in the preheated oven and toast the oats, nuts, and seeds for approximately 10 minutes. Keep a close eye on them to prevent burning. Toasting enhances their natural flavors and contributes significantly to the crunchy texture of the finished bars.
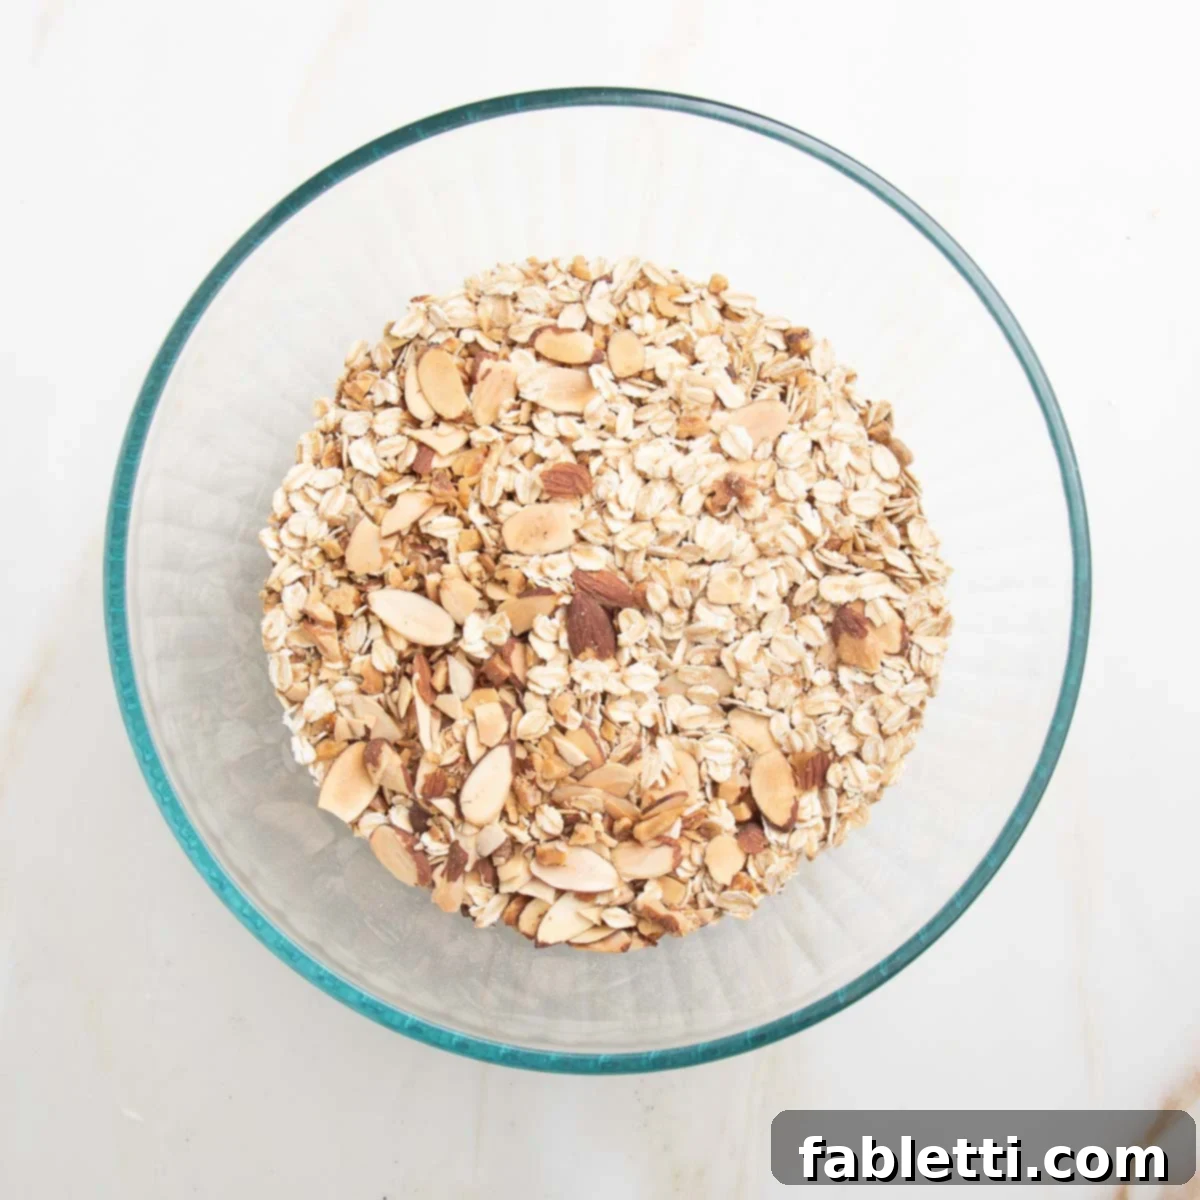
Step 3: Cool and Combine Dry Ingredients. Once toasted, remove the tray from the oven and let the oats, nuts, and seeds cool completely. This step is crucial to prevent your chocolate chips from melting prematurely. Once cool, transfer the toasted mixture to a large mixing bowl.
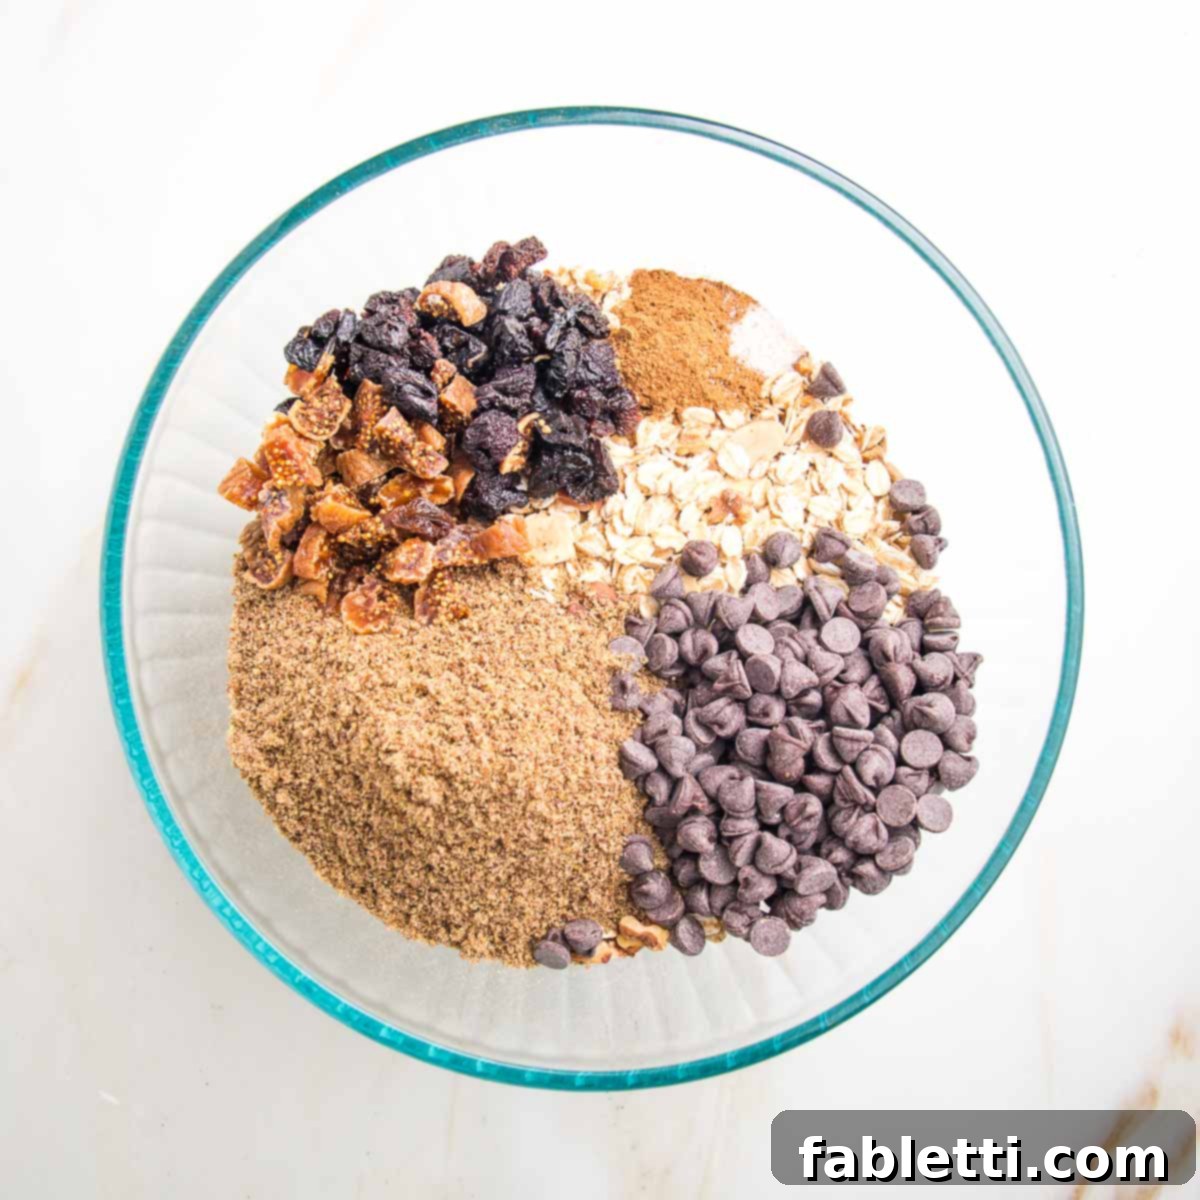
Step 4: Add Remaining Dry Ingredients. To the bowl with the cooled oats and nuts, add your dried fruit (chopped into small pieces), ground flax seeds, ground cinnamon, and salt. Gently mix everything together until well combined. Ensure the toasted ingredients are sufficiently cool to keep the chocolate chips intact.
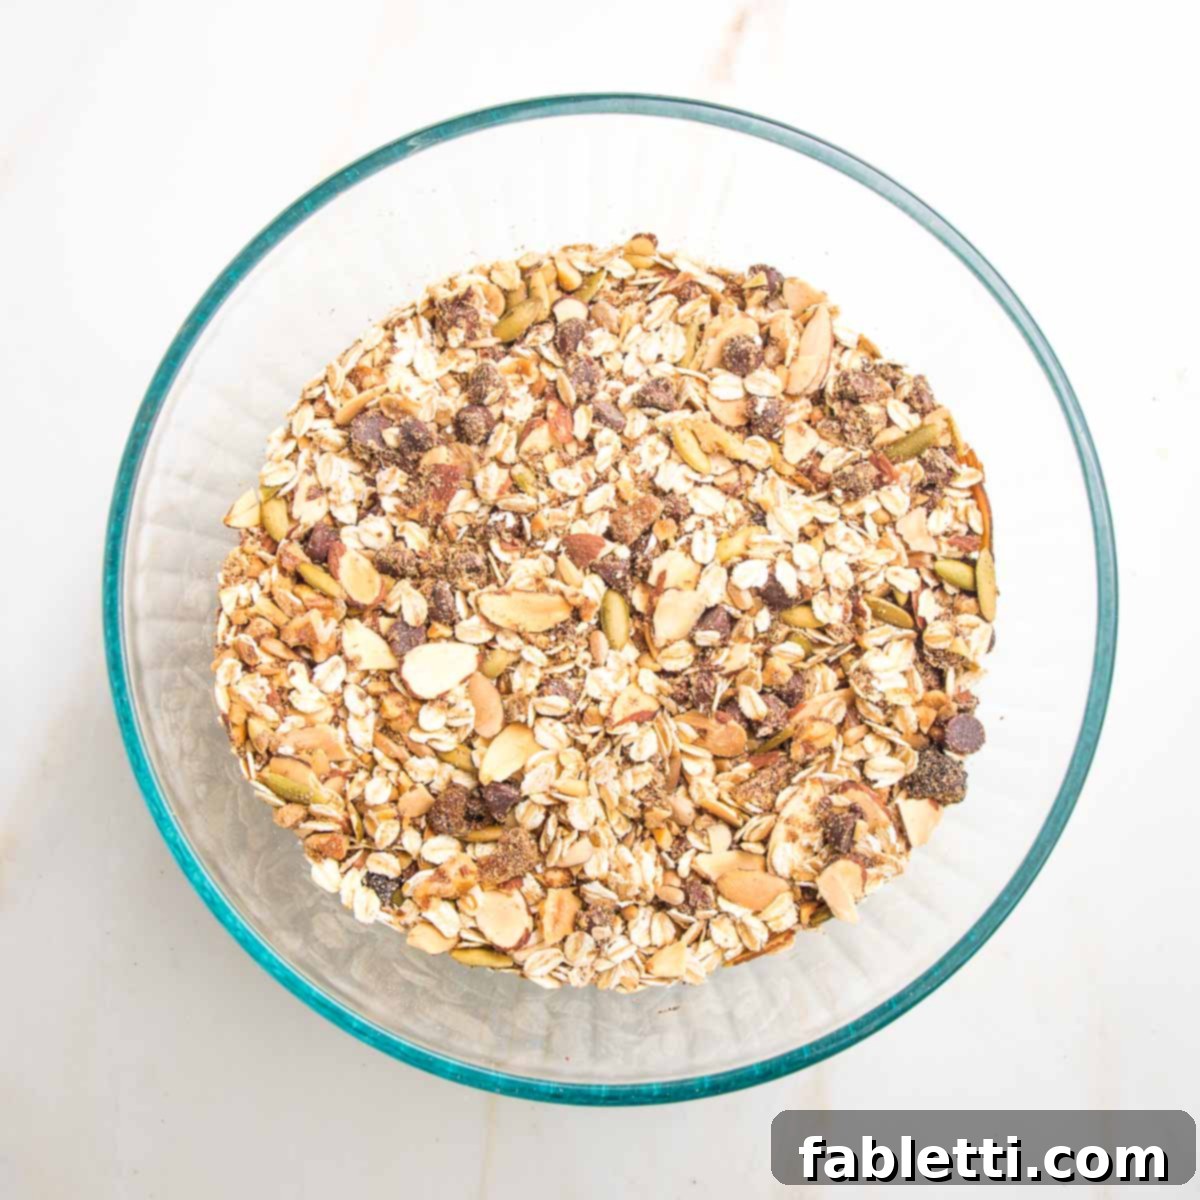
Step 5: Mix Thoroughly. Give the dry ingredients a good mix. As mentioned, if the oats and seeds are still warm, your chocolate chips will melt into the mixture, creating a delicious chocolate-infused bar, rather than distinct chips. Both are tasty, but if you want chips, ensure cooling!
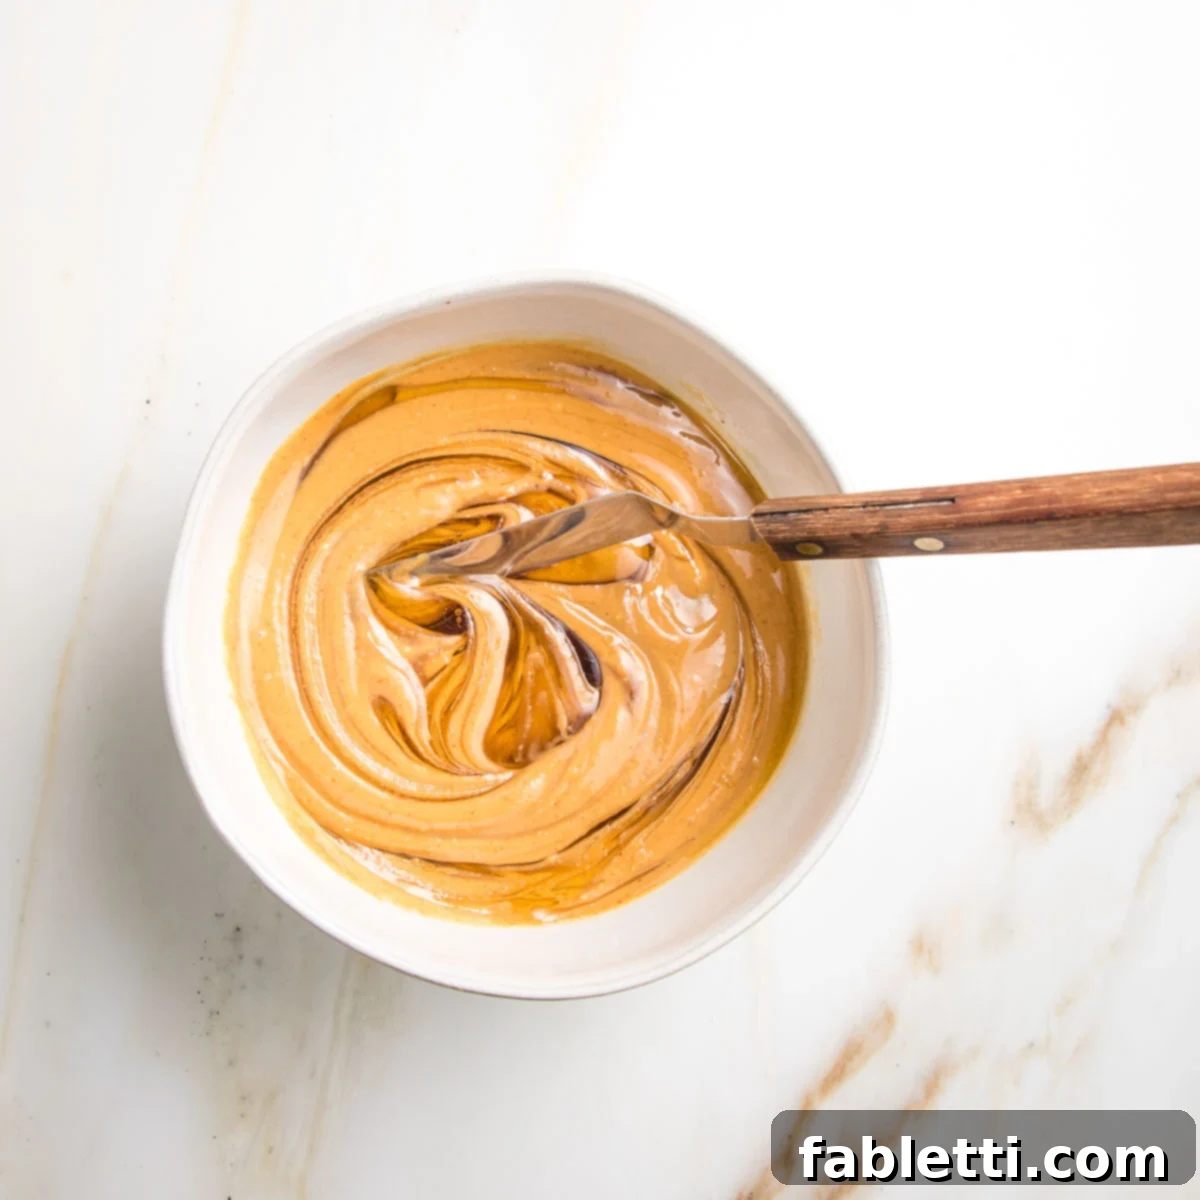
Step 6: Prepare the Wet Binder. In a separate small bowl, combine the drippy nut butter and honey (or maple syrup for a vegan option). Stir vigorously until the two ingredients are thoroughly mixed and form a smooth, sticky paste. This mixture is what will bind your granola bars together.
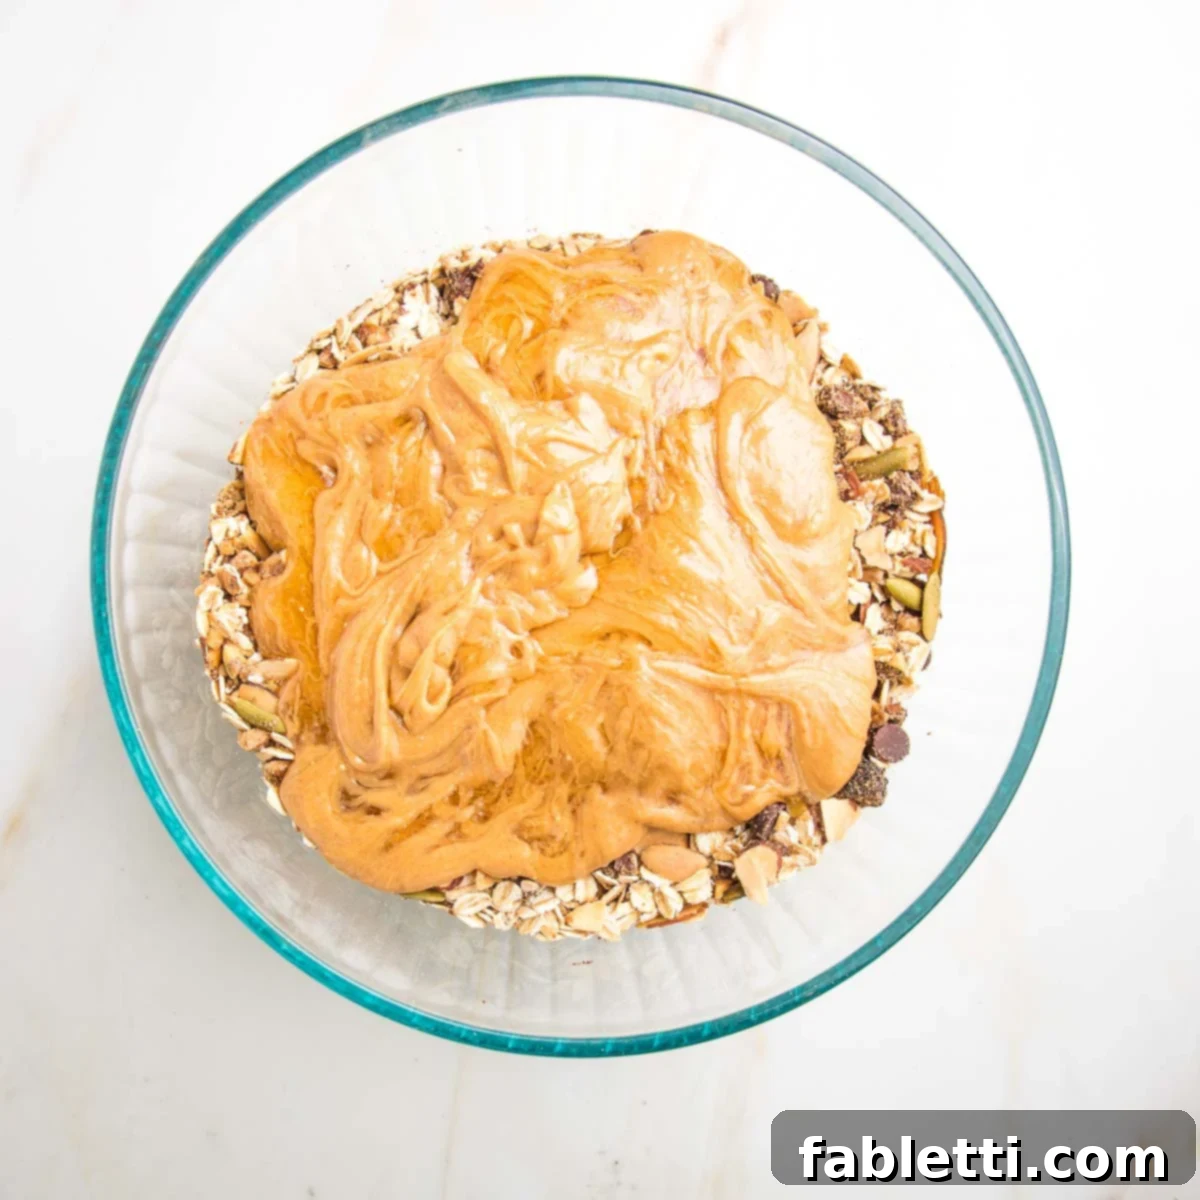
Step 7: Combine Wet and Dry. Pour the nut butter and honey mixture directly over the oat and nut mixture in the large bowl. Now comes the workout!
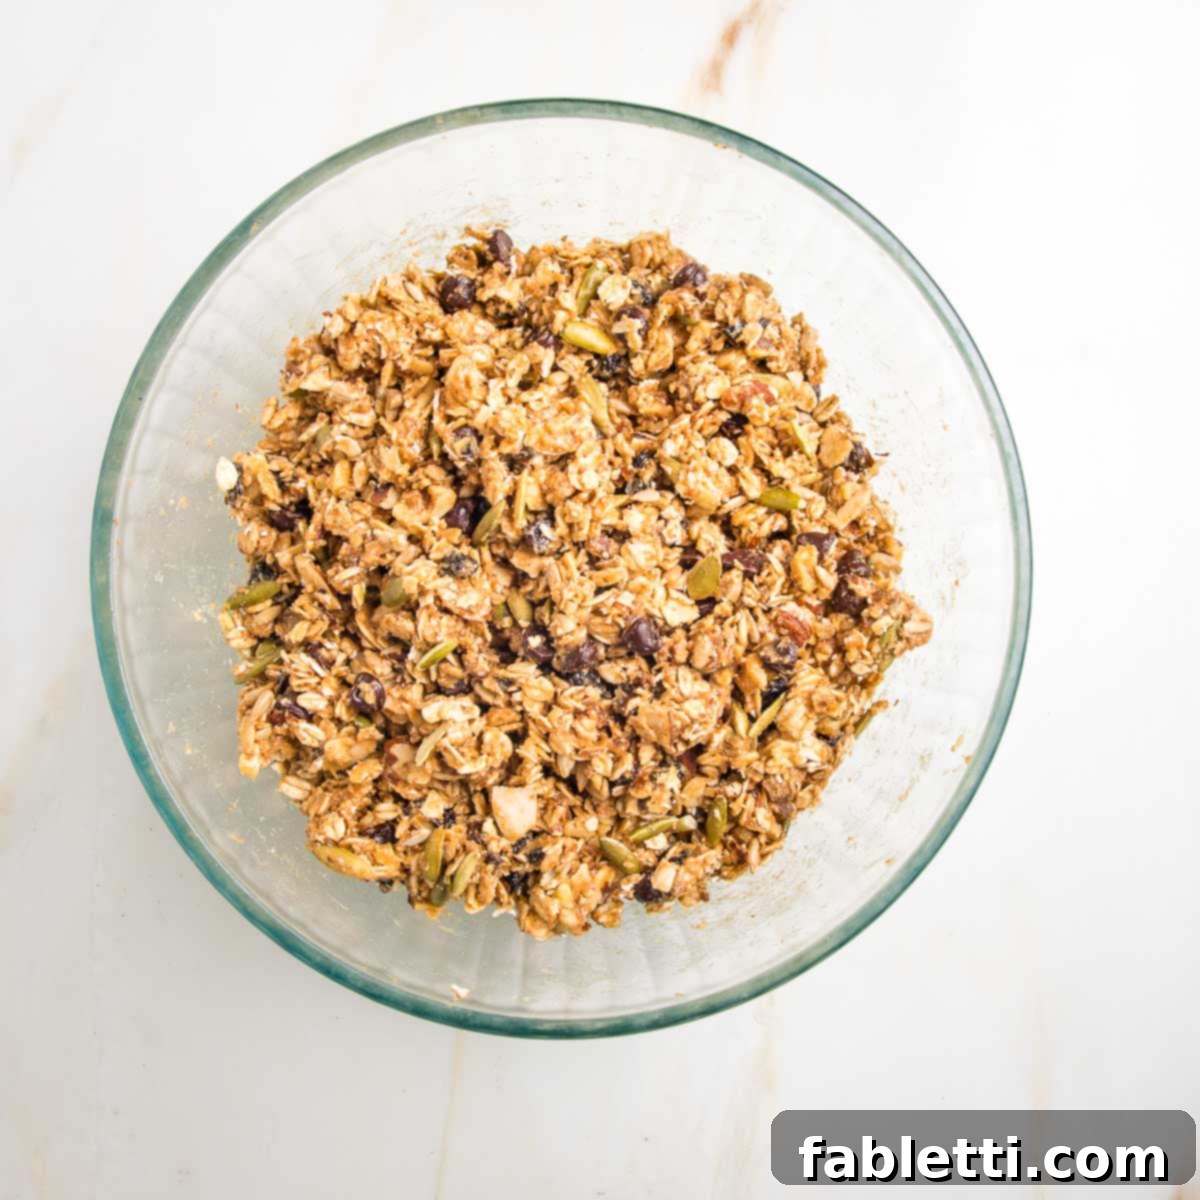
Step 8: Mix Until Fully Incorporated. Using a heavy wooden spoon or a sturdy metal spatula, mix the batter extremely well. It will be thick and quite sticky, and you might feel like there isn’t enough binder, but keep going! The mixture will eventually become uniformly coated and cohesive. Perseverance is key here for bars that hold their shape.
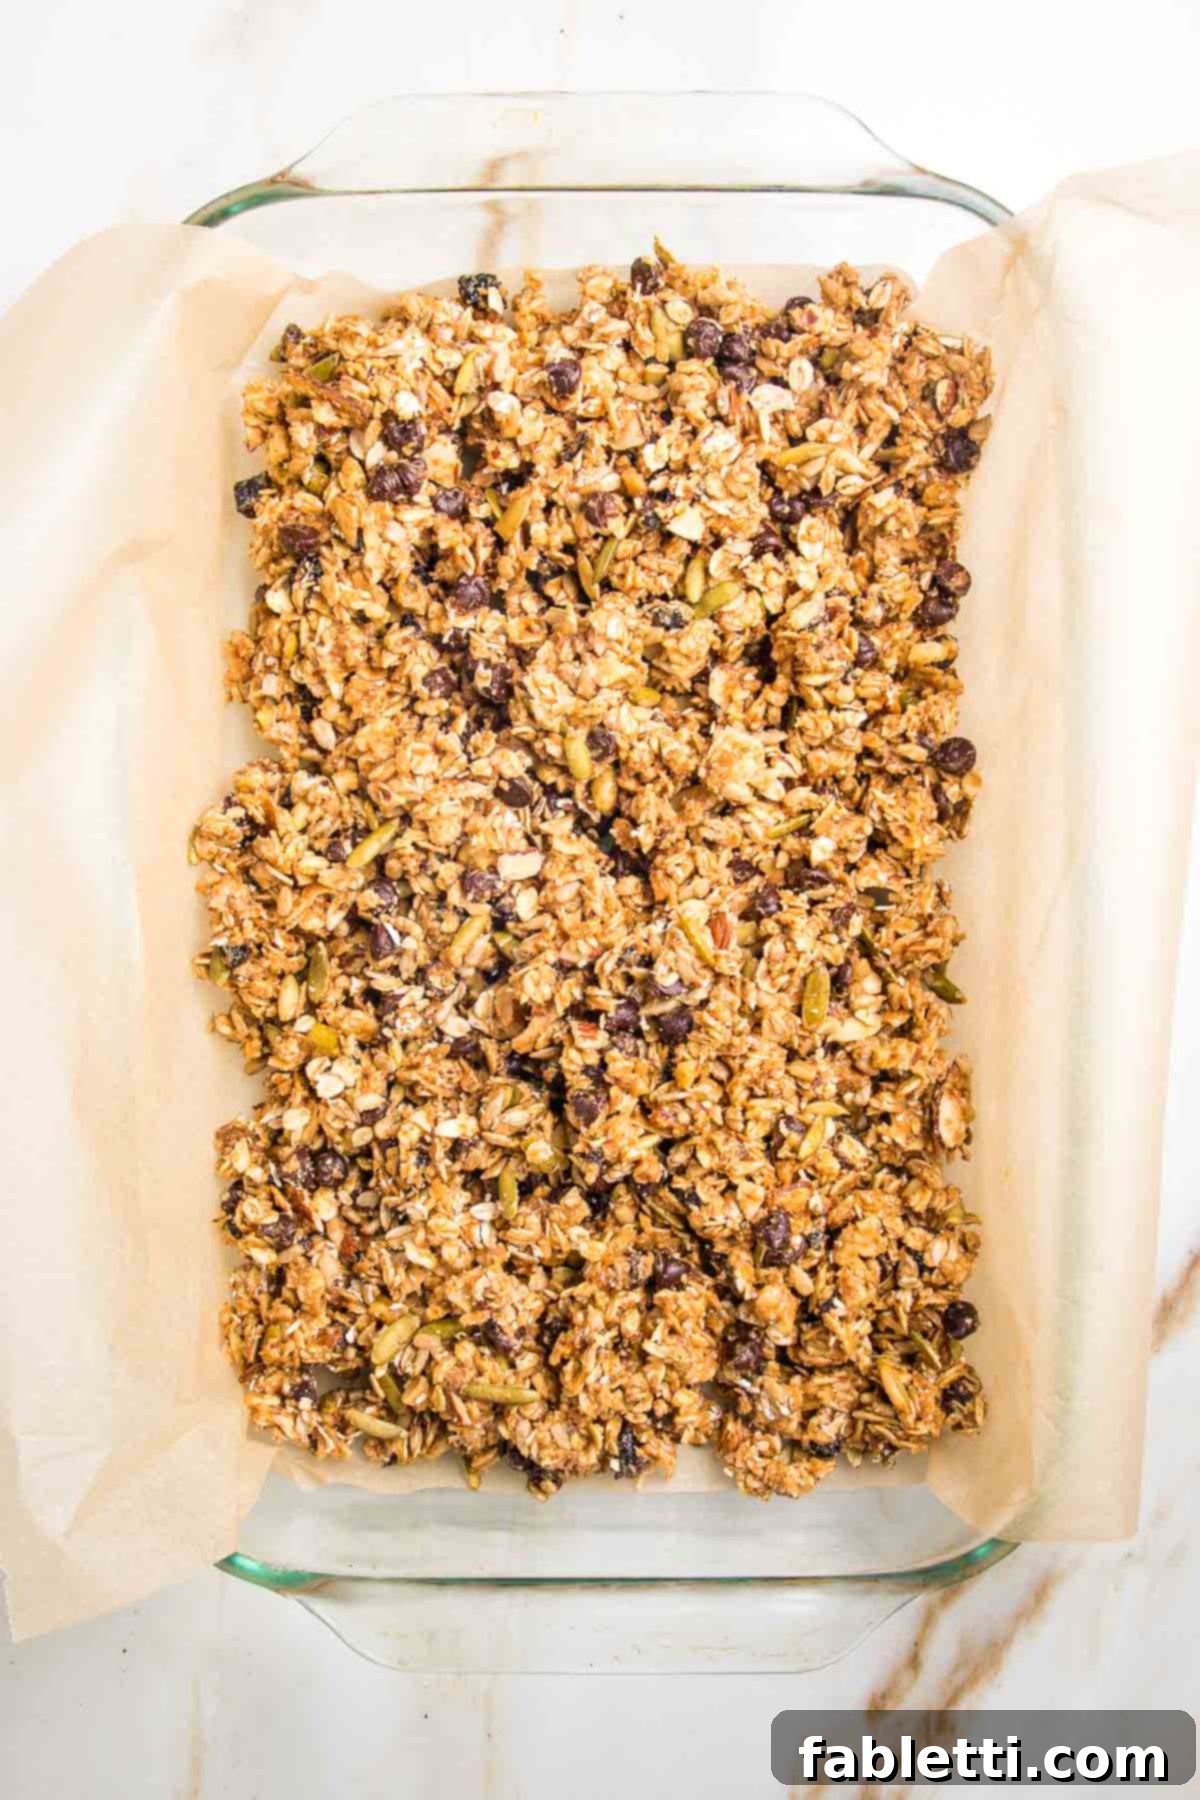
Step 9: Prepare Baking Pan. Line a 9×13 inch baking pan with unbleached parchment paper, leaving an overhang on the sides for easy removal. Spread the thick granola bar batter evenly into the prepared pan.
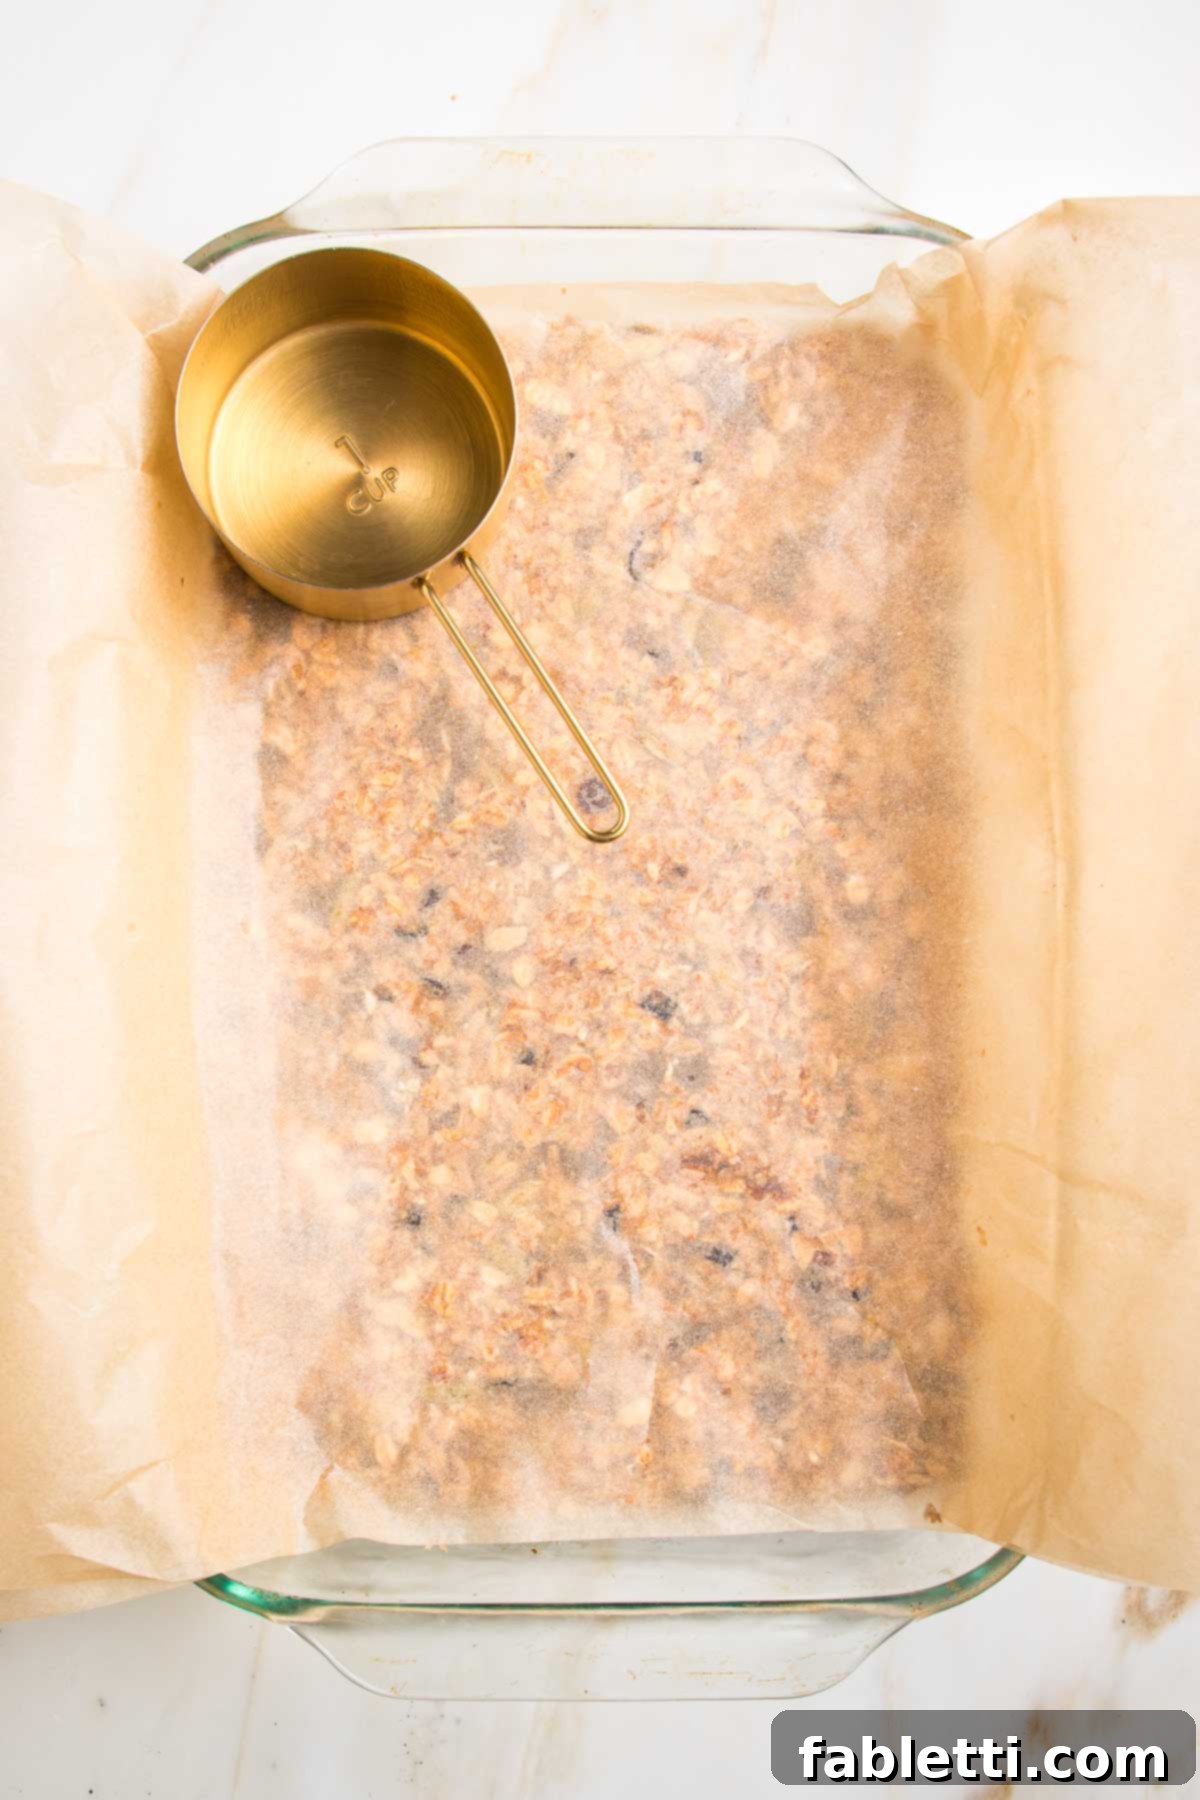
Step 10: Press Firmly (Crucial Step!). This step is vital for preventing crumbling! Place another sheet of parchment paper over the batter. Then, using your hands, the bottom of a measuring cup, or a flat spatula, press down on the mixture FIRMLY and evenly. The more you compact the batter into the pan, the better your bars will hold their shape after baking. Aim for a uniform flatness across the entire pan.
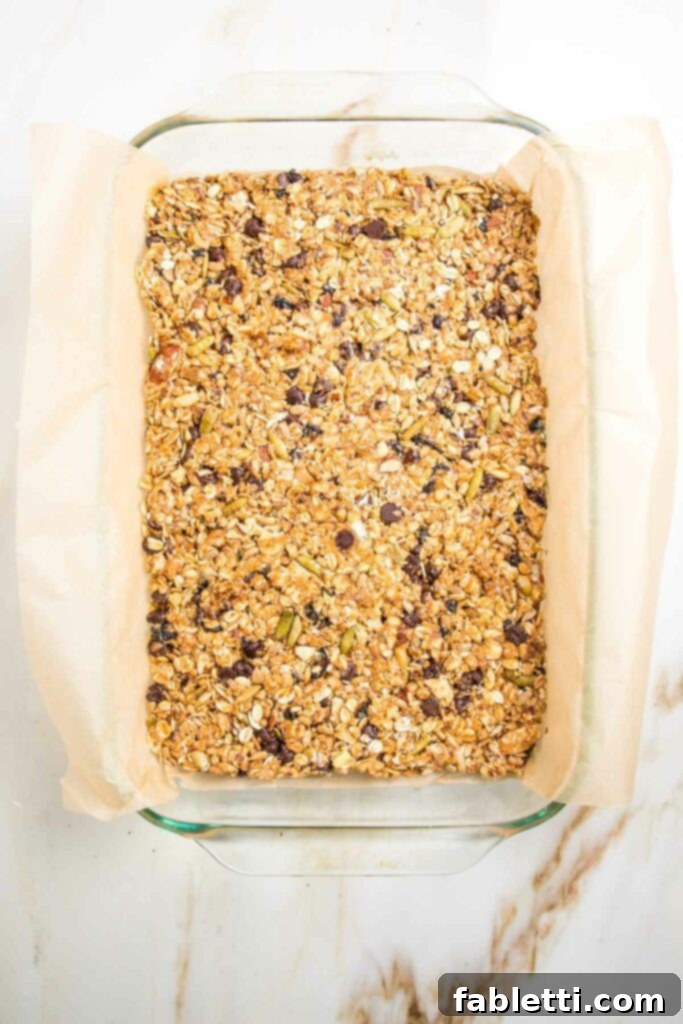
Step 11: Bake. Reduce your oven temperature to 325°F (160°C). Place the compacted bars in the oven and bake for about 25 minutes, or until they turn a beautiful golden brown around the edges. This baking time allows the bars to set and develop their signature crunch.
Step 12: Cool and Re-Press. After baking, let the bars cool slightly in the pan for about 5-10 minutes. This allows any melted chocolate chips to firm up a bit. Place the top parchment sheet back onto the bars and press down FIRMLY again. This re-pressing while still warm helps create an even denser, more cohesive bar. Let the bars cool completely in the pan at room temperature. Patience here will be rewarded with perfectly shaped bars!
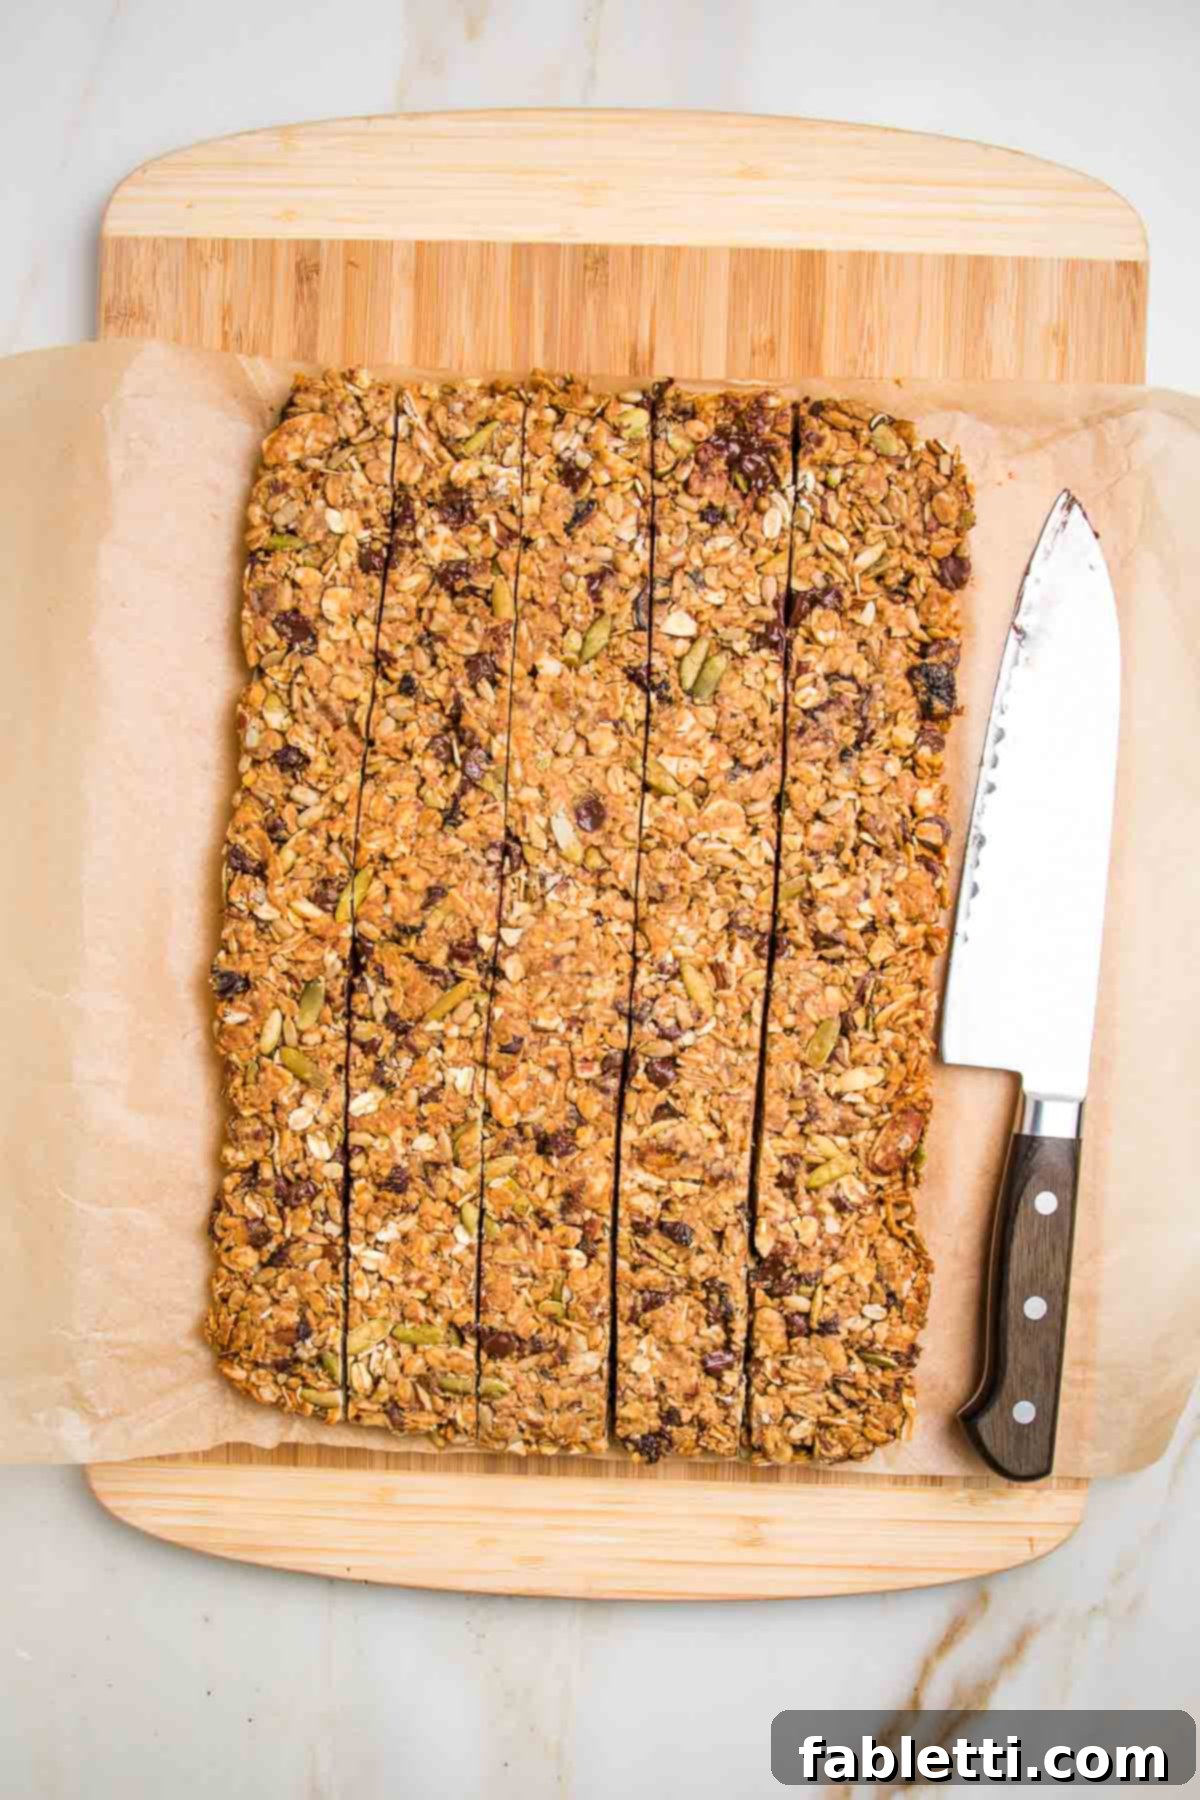
Step 13: Cut the Bars. Once completely cool, lift the entire block of granola from the pan using the parchment paper overhang and transfer it to a sturdy cutting board. Using a sharp knife, first cut the block vertically into long strips, then cut horizontally across to create bars of your preferred size. Whether you like them small and bite-sized or larger and more substantial, they will be perfectly crunchy!
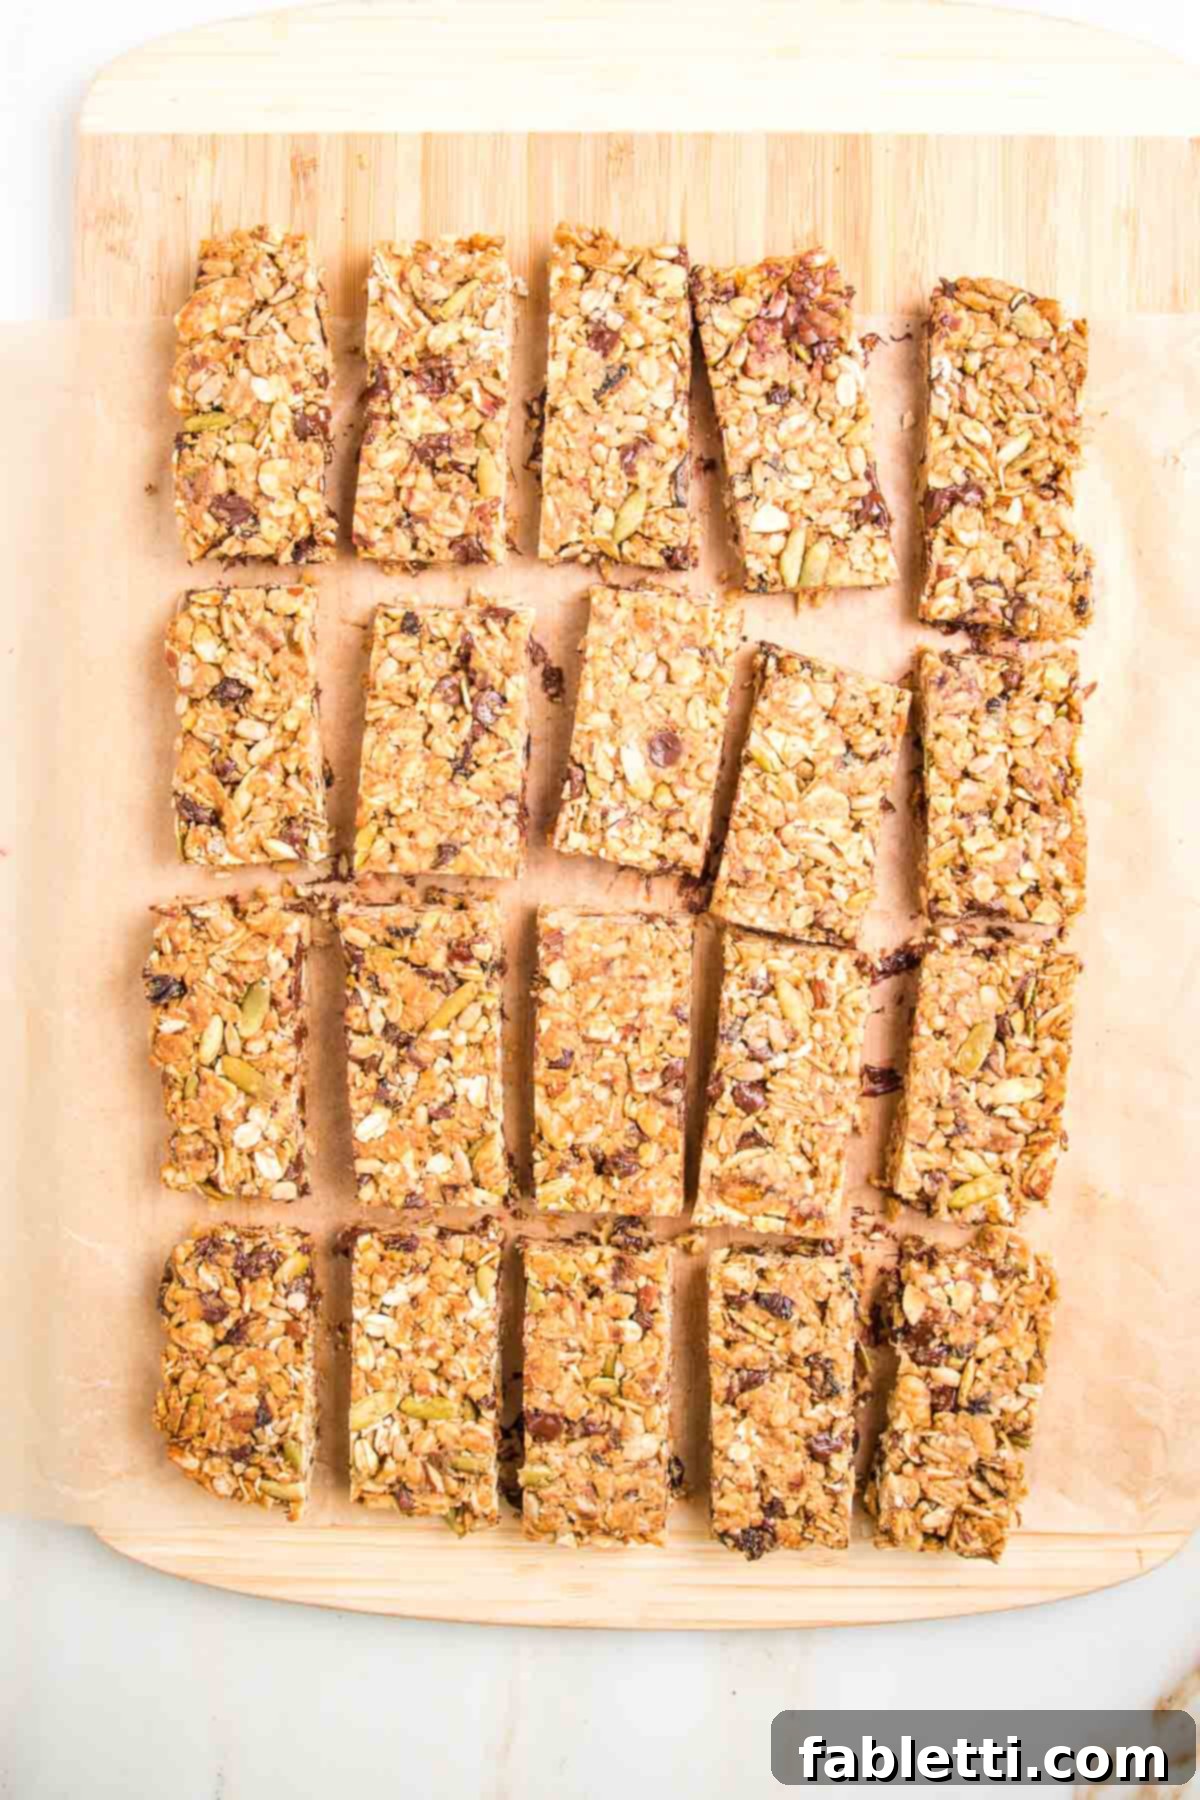
Step 14: Enjoy and Store. Your delicious, crunchy granola bars are now ready to be enjoyed! Store them properly to maintain freshness.
Expert Tips for Perfect Granola Bars Every Time
Achieving granola bar perfection is easy with these insider tips:
- Cooling is King for Chocolate Chips: Always let your toasted oats and nuts cool completely before you add the chocolate chips. If the mixture is still warm, the chocolate will melt into the batter, resulting in a uniform chocolate granola (still delicious, but not what you planned if you wanted distinct chips!). You can always stir in extra chocolate chips at the very end for an extra decadent touch.
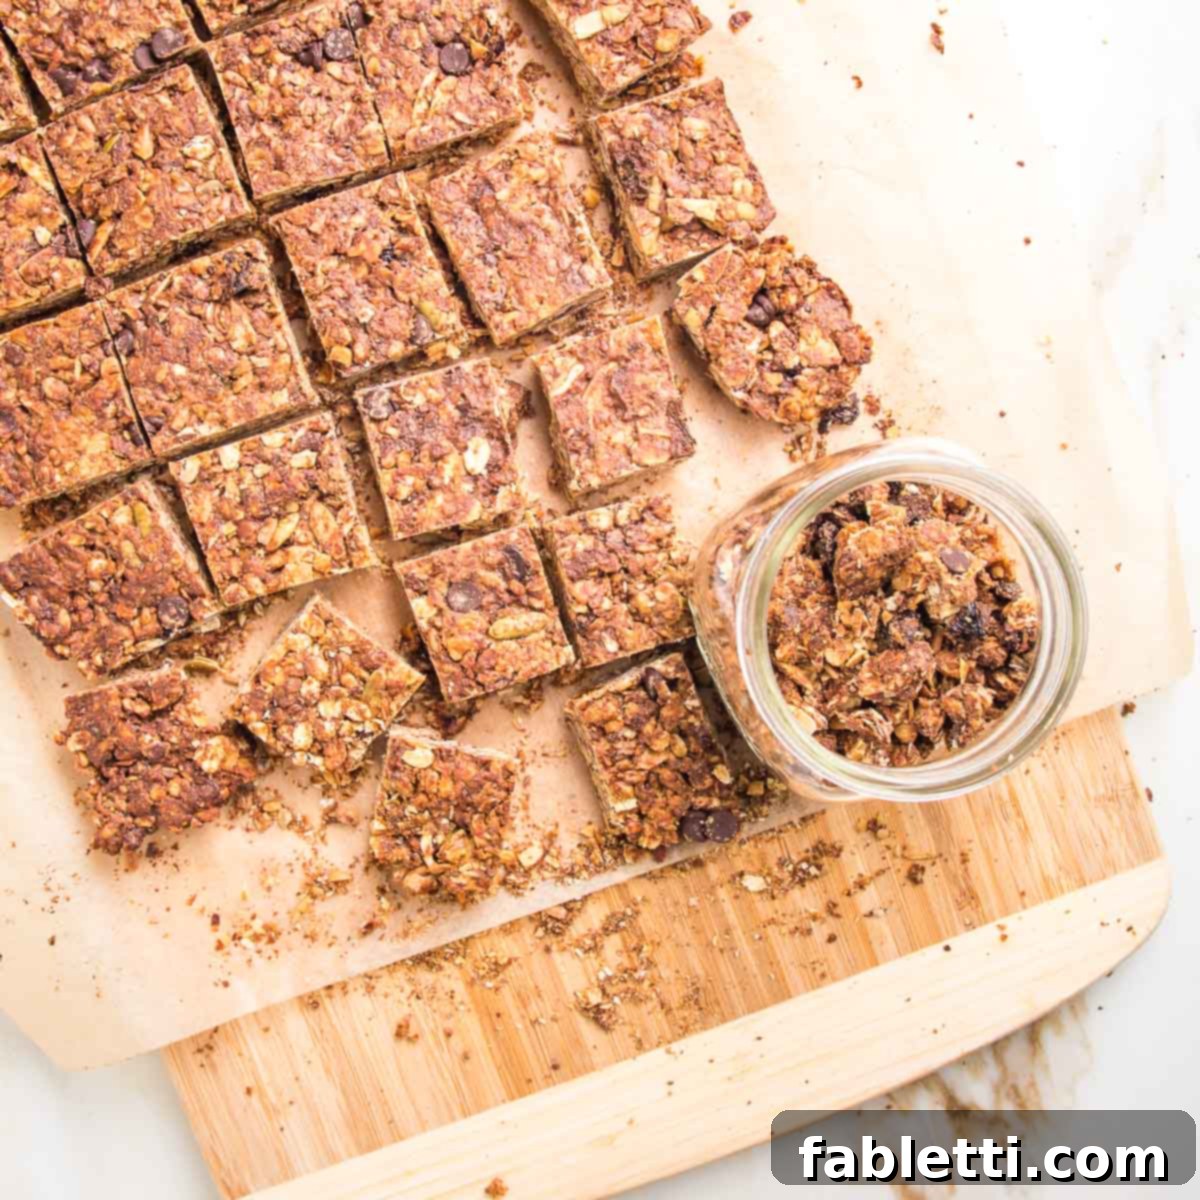
- Pressing is Paramount: Do NOT skip the firm pressing step before and after baking! This is the most critical factor in ensuring your bars hold together. If you don’t compact the batter sufficiently, they will likely crumble when you try to cut them. But fear not if this happens! As pictured, if your bars fall apart, simply scoop the delicious crumbs into a jar. My husband thought it was the BEST GRANOLA ever – no shame, no waste, just a different form of deliciousness!
- Embrace Customization: The beauty of homemade granola bars lies in their versatility. Experiment with different combinations of nuts, seeds, and dried fruits. I adore adding finely chopped dried figs for their intense sweetness and chewy texture. Other fantastic additions include dried cherries, cranberries, apricots, or even citrus zest for a bright flavor. Remember to cut larger dried fruits into small, bite-sized pieces for even distribution.
- Pre-Chop Larger Nuts: If using larger nuts like whole almonds or walnuts, give them a rough chop before adding them to the mixture. This ensures better distribution throughout the bars and easier cutting.
- The Power of Drippy Nut Butter: For optimal binding and a smooth texture, use a creamy, “drippy” nut or seed butter. If you’re opening a new jar, store it upside down in your pantry. When you’re ready to use it for the first time, take the time to stir it thoroughly until it’s perfectly smooth and emulsified. This prevents a dry, crumbly mixture.
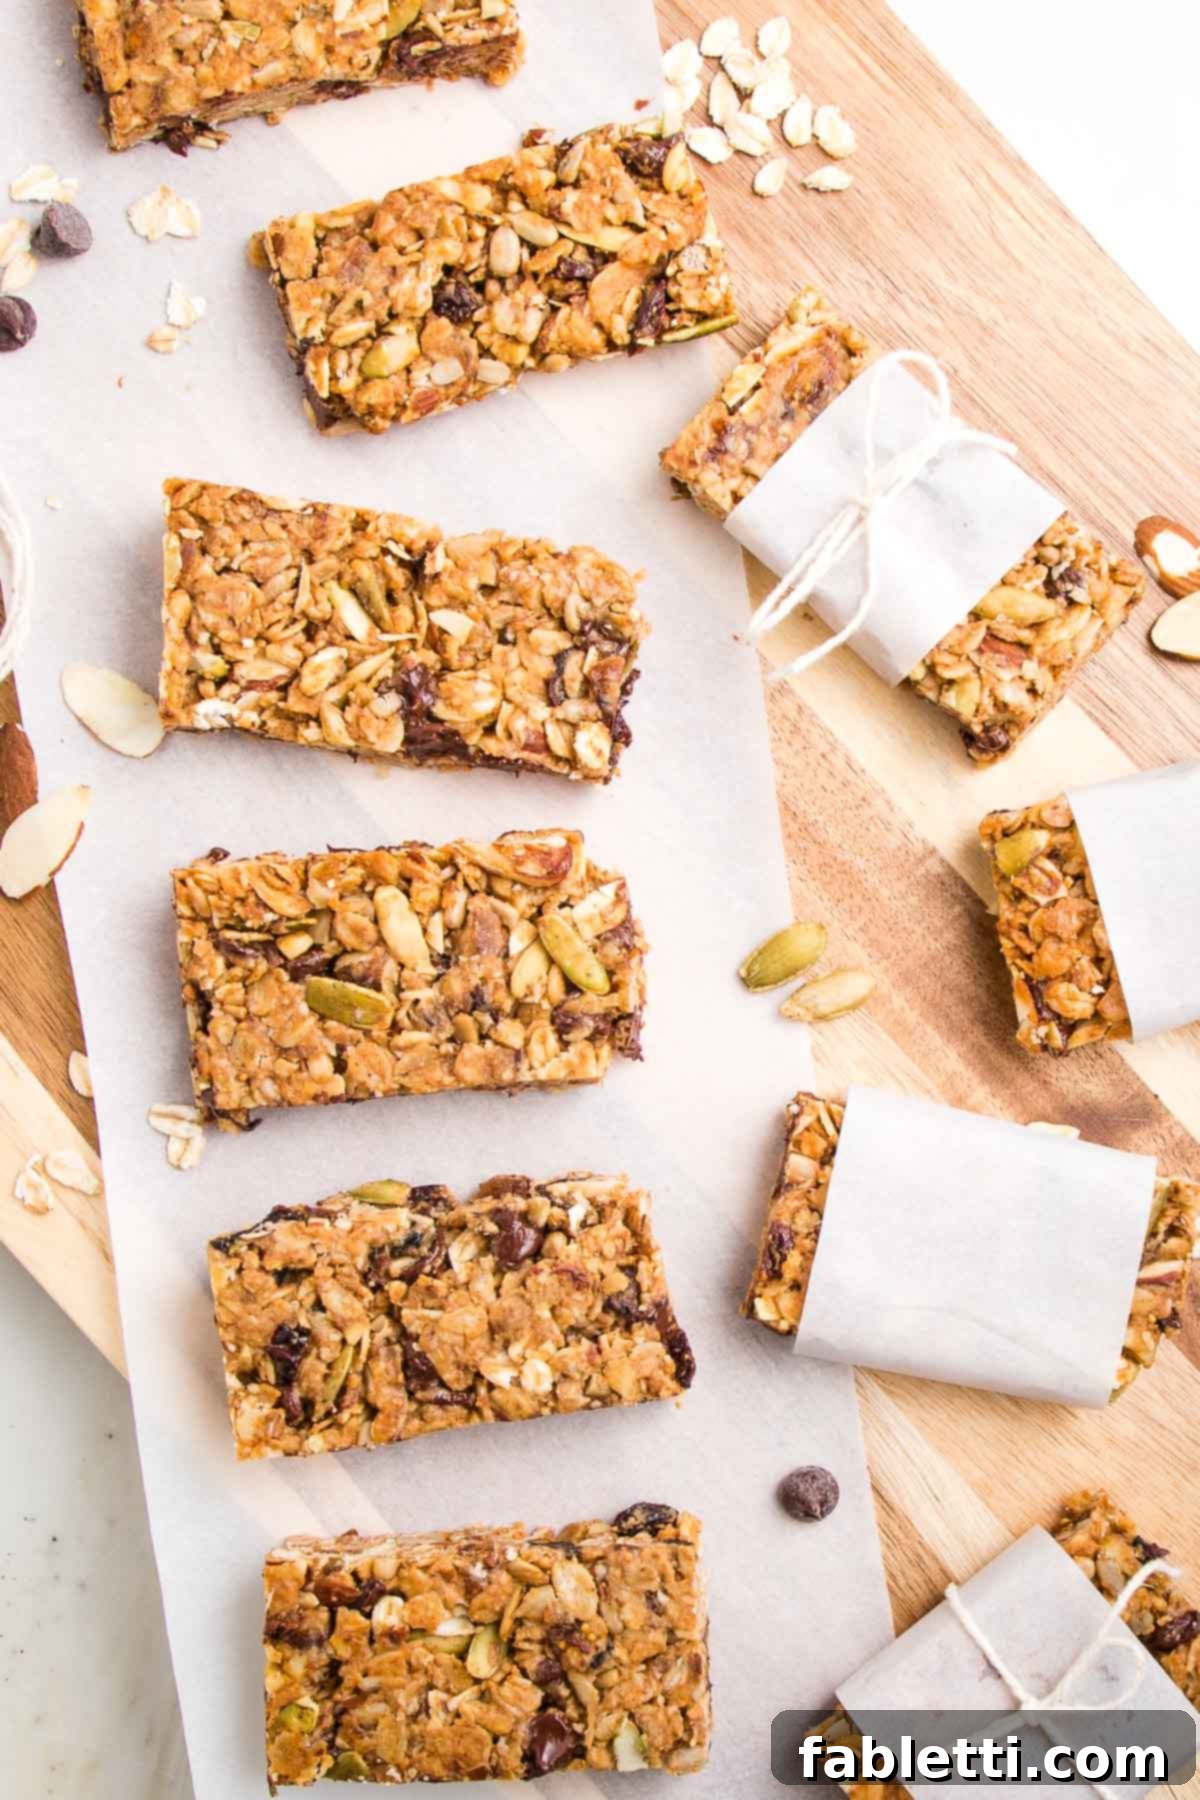
- Freezer Friendliness: These bars are incredibly freezer-friendly! Individually wrap them and store them in the freezer. They’re ready to grab and go straight from the freezer to a lunchbox, perfectly thawed by snack time.
- Perfect for On-the-Go Lifestyles: These are the ultimate snack for busy families. They’re perfect for fueling up after school before heading straight to afternoon sports or activities.
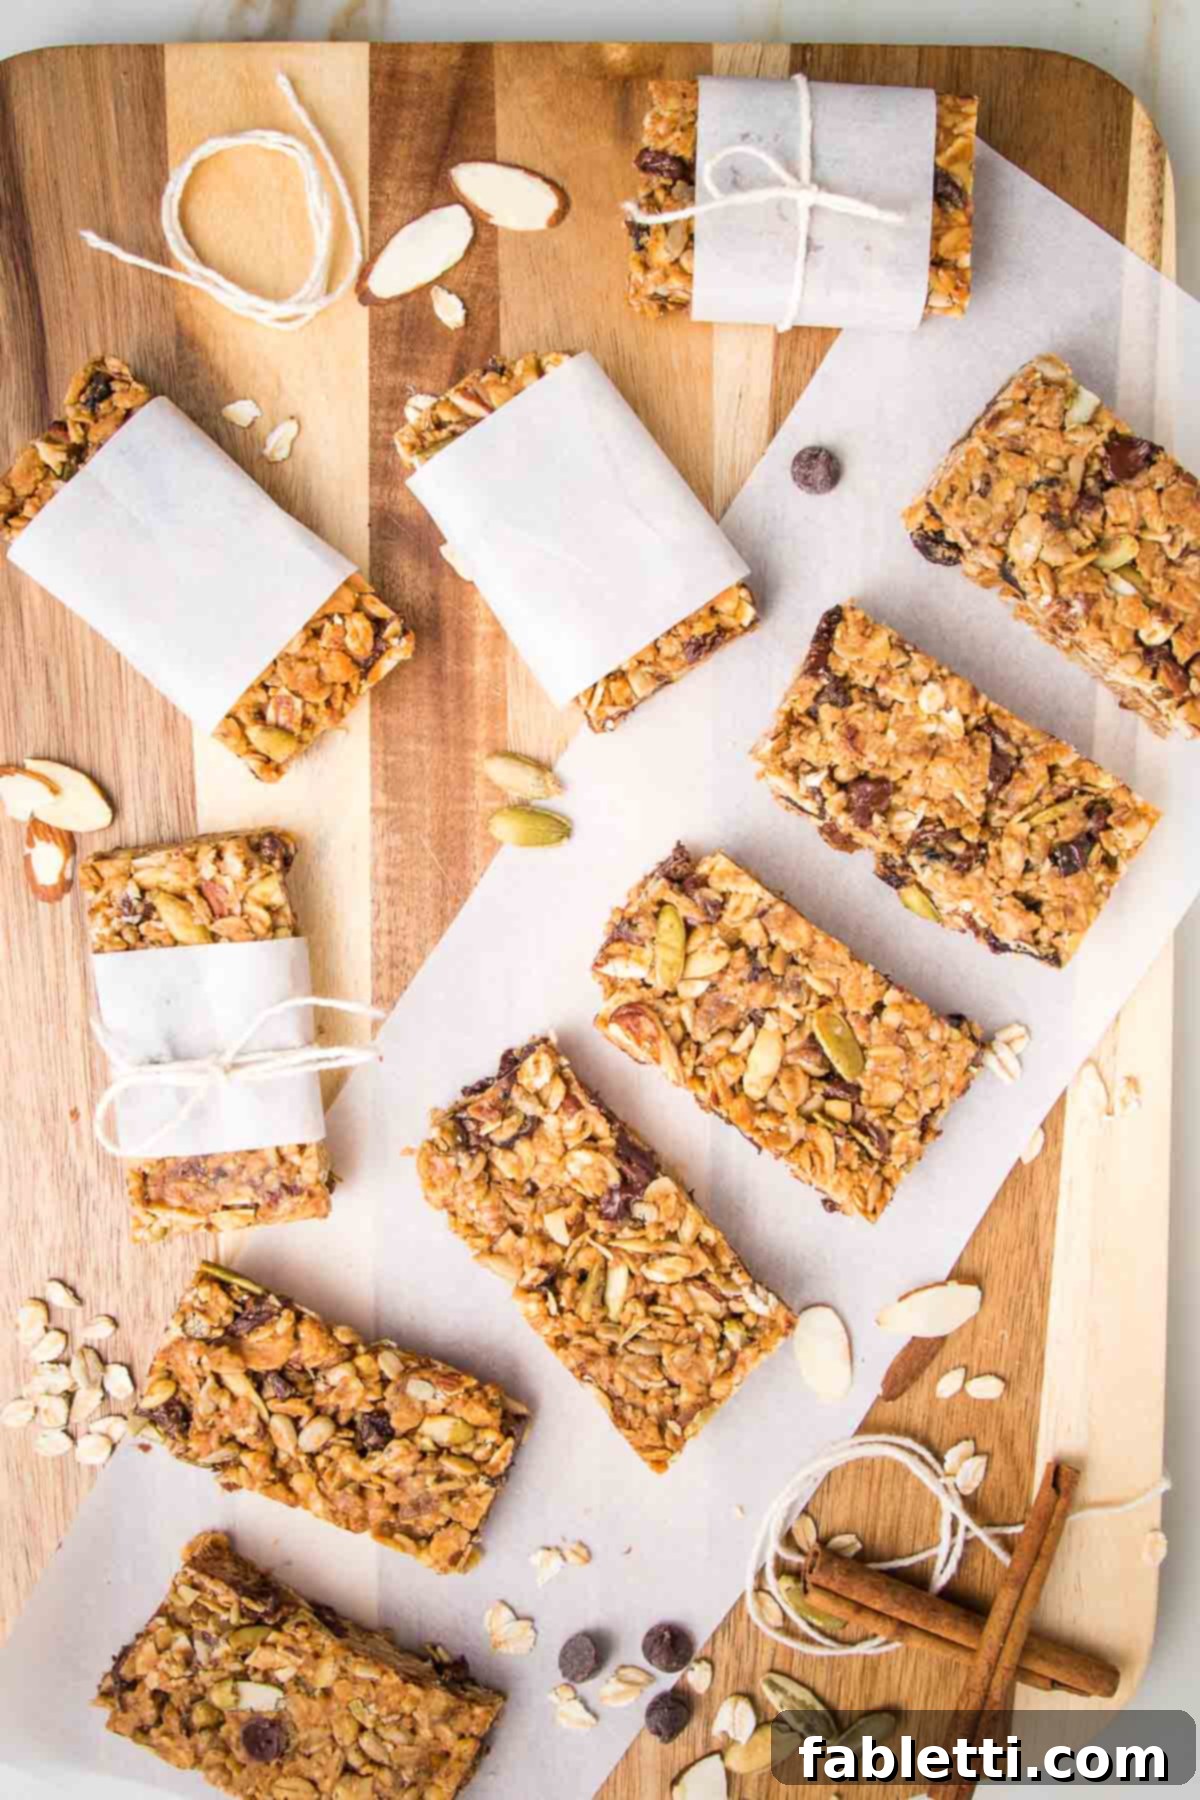
- Thoughtful Homemade Gifts: Wrap individual bars in unbleached parchment paper and tie them with a festive bow for a delightful and wholesome holiday gift that friends and family will truly appreciate.
Meal Prep and Storage Tips
These crunchy granola bars are designed for convenience, making meal prep and storage a breeze:
- Serving Temperature: Granola bars generally taste best at room temperature, allowing their flavors to fully develop.
- Prep Ahead: Absolutely! These bars are fantastic for making in advance. Once completely cooled, individually wrap them in parchment paper or plastic wrap. You can then store them at room temperature in an airtight container for up to 1 week, in the refrigerator for up to 1 month, or in the freezer for up to 3 months. This ensures you always have a healthy, grab-and-go option ready.
- Storage Recommendations: For everyday enjoyment, keep your baked granola bars in an airtight container at room temperature. They will remain fresh and crunchy for up to a week.
- Freezing for Longevity: To extend their shelf life significantly, ensure the granola bars are completely cool before freezing. Place them in freezer-safe zip-top bags or an airtight container, separating layers with parchment paper to prevent sticking. They will stay fresh in the freezer for up to 3 months. Simply take one out as needed; it will thaw quickly and be ready to enjoy!
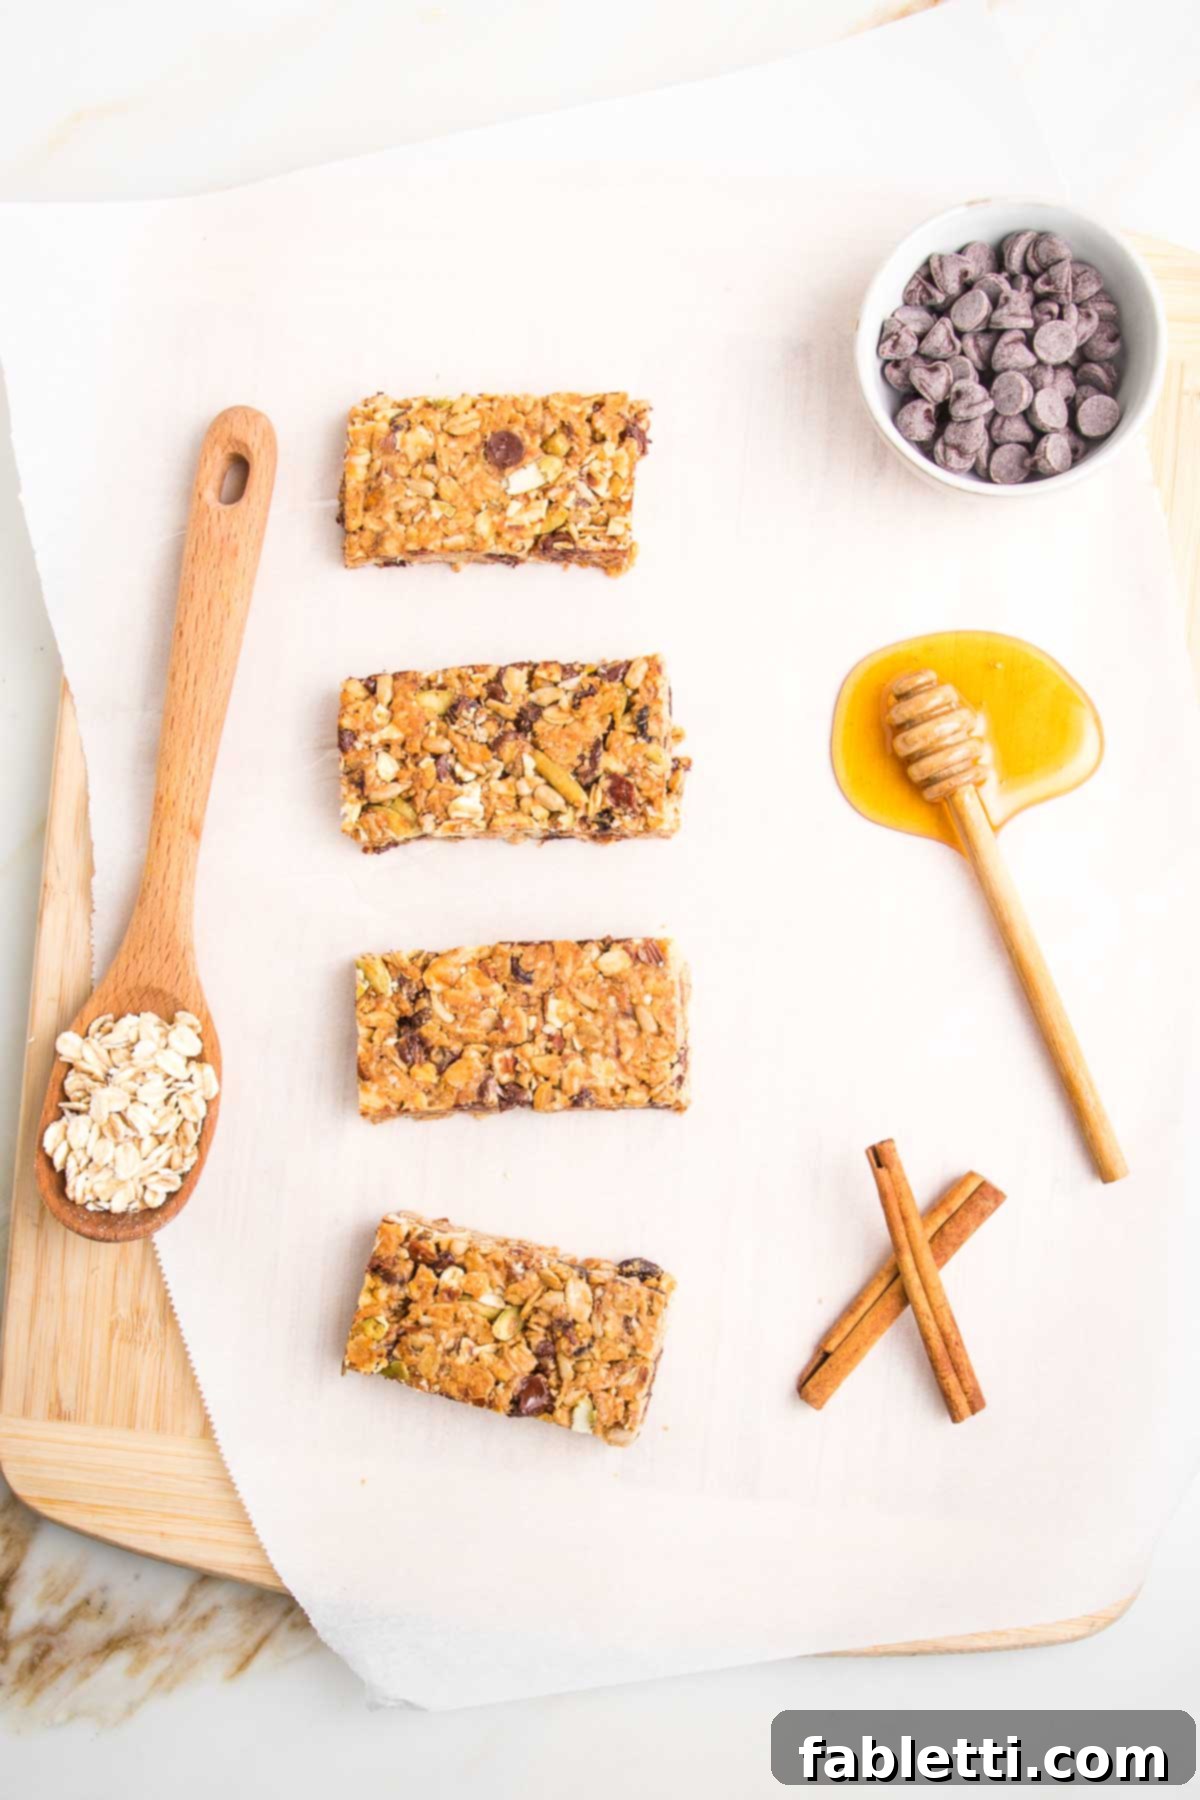
These versatile oats and honey granola bars are a definite win for a healthy snack or a quick breakfast. Don’t hesitate to change things up by incorporating different nuts, seeds, or dried fruits to create endless flavor combinations. For a truly vegan granola bar, remember to substitute the honey with maple syrup or date syrup. This will result in a slightly less sticky bar, but it will still be utterly delicious and satisfying.
More Healthy Grab-and-Go Recipes to Love
If you’re looking for more convenient and wholesome options for busy days, explore these other fantastic grab-and-go recipes:
- Gluten-Free Banana Chocolate Chip Muffins
- Healthy Morning Glory Muffin Recipe
- Almond Flour Pumpkin Muffins (Gluten-Free)
- Vegan Zucchini Muffins
Your feedback is invaluable! If you enjoyed this recipe, please consider leaving a five-star rating and a comment below. We love seeing your creations – share your photos on Instagram by tagging @dkhealthcoach and using the hashtag #debraklein!
📖 Recipe Card: Crunchy Granola Bars
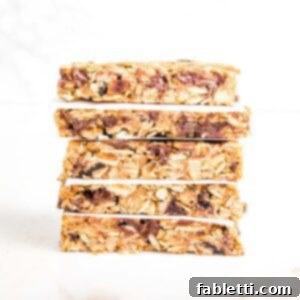
Crunchy Granola Bars
Author: Debra Klein
A healthy granola bar recipe that’s easy to make and tastes incredible. Crunchy granola bars are the perfect grab-and-go breakfast or afternoon snack.
Rating: 4.92 from 67 votes
Print Recipe |
Pin Recipe
Prep Time: 5 mins
Cook Time: 35 mins
Additional Time: 10 mins
Total Time: 50 mins
Course: Snack
Cuisine: American
Servings: 20 bars
Calories: 196 kcal
Equipment
- Glass Mixing Bowls with Lids
- Baking sheet
- Measuring Cups and Spoons
- Wooden Spoon Set
- 13 inch Baking dish
Ingredients
- 2 cups old fashioned rolled oats
- 1 cup assorted nuts*
- ¼ cup pumpkin seeds
- ¼ cup sunflower seeds
- ½ cup unsweetened dried fruit*
- ½ cup ground flax seeds
- 1 teaspoon ground cinnamon
- ½ teaspoon salt
- ½ cup peanut butter*
- ½ cup honey*
- ½ cup dark chocolate chips
Instructions
- Preheat oven to 325°F (160°C).
- Place oats, nuts, and seeds on baking sheet and toast for 10 minutes.
- Prepare 9×13 inch glass dish by lining with unbleached parchment paper.
- Mix peanut butter and honey until well incorporated and set aside.
- When toasted nuts and oats have cooled enough to handle (this is important to prevent chocolate chips from melting), pour into a medium sized mixing bowl. Add in dried fruit, chocolate chips, ground flax, cinnamon, and salt. Mix together thoroughly.
- Pour nut butter mixture over oats/nuts and stir until well incorporated. The batter will be very sticky. You may think there isn’t enough of the nut butter paste, but keep mixing and you’ll see it is exactly the right amount.
- Spread batter into the prepared pan. Use another piece of parchment paper to cover the mixture and then use your hands to press down until it’s evenly distributed all the way to the edges. Use the bottom of a bowl or measuring cup to firmly press down. This is super important. You want the mixture to be as compacted as possible before baking so it won’t fall apart when you try to cut it.
- Bake for 25 minutes, until golden.
- Allow to cool COMPLETELY in the pan. Lift parchment edges to transfer to a cutting board.
- Cut into bars and store in a covered container at room temperature for up to 1 week or in the freezer for up to 3 months.
Notes
- HONEY: Use date syrup or maple syrup for a truly vegan bar.
- NUTS: Use 1 cup total, any variety or combination. I used ½ chopped walnuts and ½ sliced almonds. If nuts are larger, chop them into small pieces. Pecans, hazelnuts, or cashews will also work well. The type of nuts and how finely you chop them will depend on your audience. Do you have nut and crunch lovers? Or are you trying to hide the nuts to gain nutritional value and still please your picky eater?
- DRIED FRUIT: I used a combination of chopped dried cherries and dried figs, cut into small pieces. Golden raisins, apricots, cranberries would all work. Look for unsulfured and unsweetened dried fruit, and cut large pieces into small bits.
- PEANUT BUTTER: Any drippy nut butter will work in this recipe. I often use almond or cashew butter and have used walnut butter with great results.
Nutrition
Serving: 1g | Calories: 196kcal | Carbohydrates: 22g | Protein: 5g | Fat: 11g | Saturated Fat: 2g | Polyunsaturated Fat: 8g | Sodium: 202mg | Fiber: 3g | Sugar: 12g
Note
The nutrition calculations were done using online tools. To obtain the most accurate representation of the nutritional information in any given recipe, you should calculate the nutritional information with the actual ingredients you used. You are ultimately responsible for ensuring that any nutritional information is accurate, complete and useful.
Please leave a review below, then snap a picture and tag me @dkhealthcoach or use hashtag #dkhealtcoach on Instagram so I can see it!!
