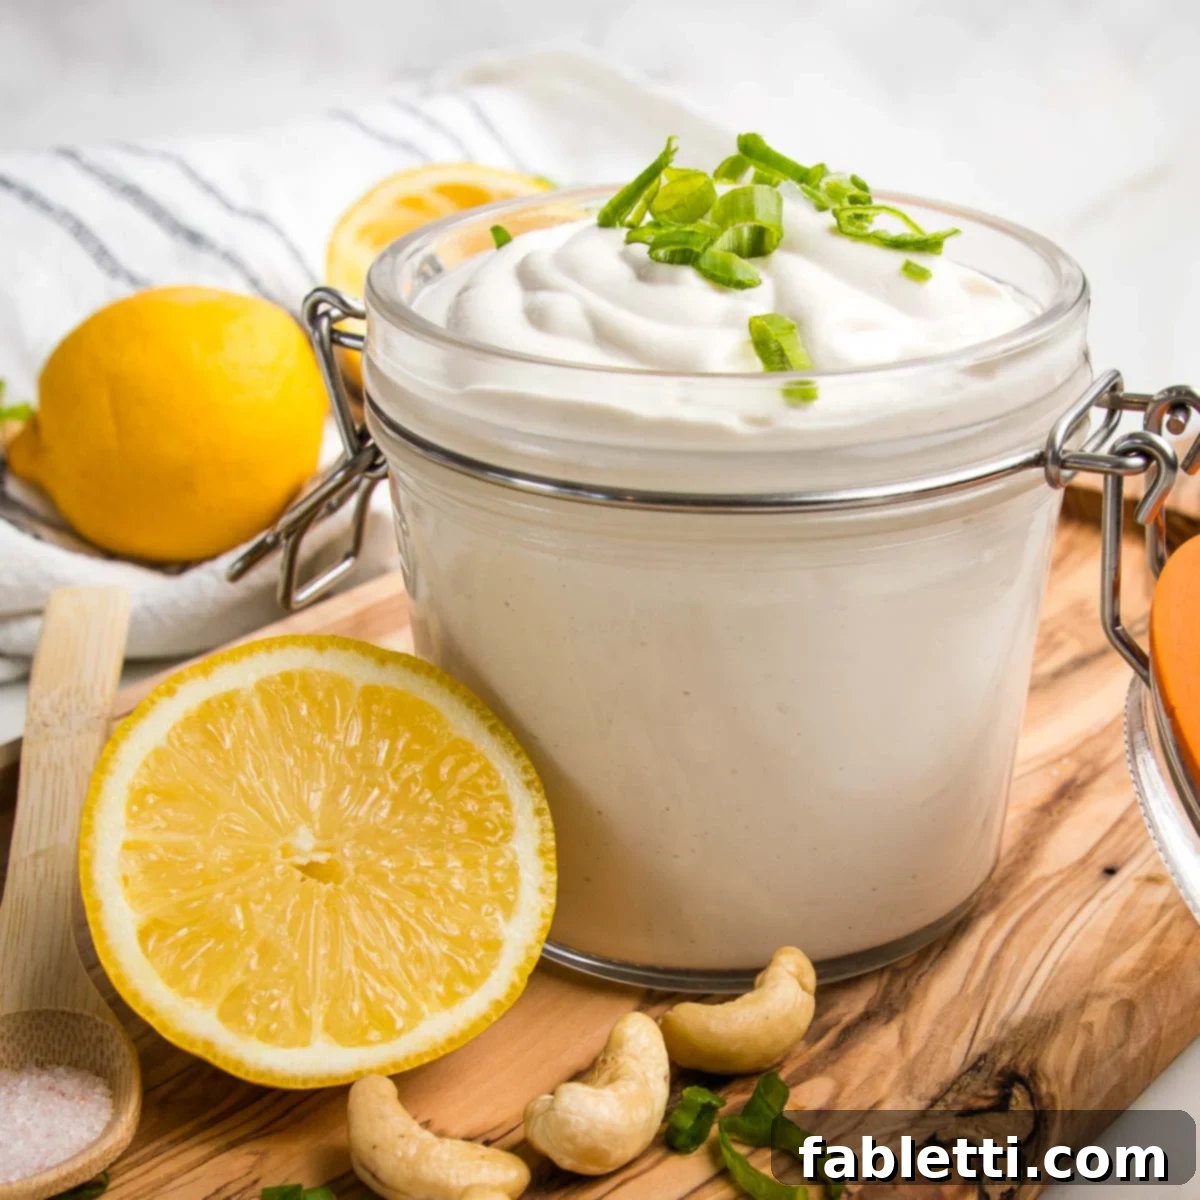
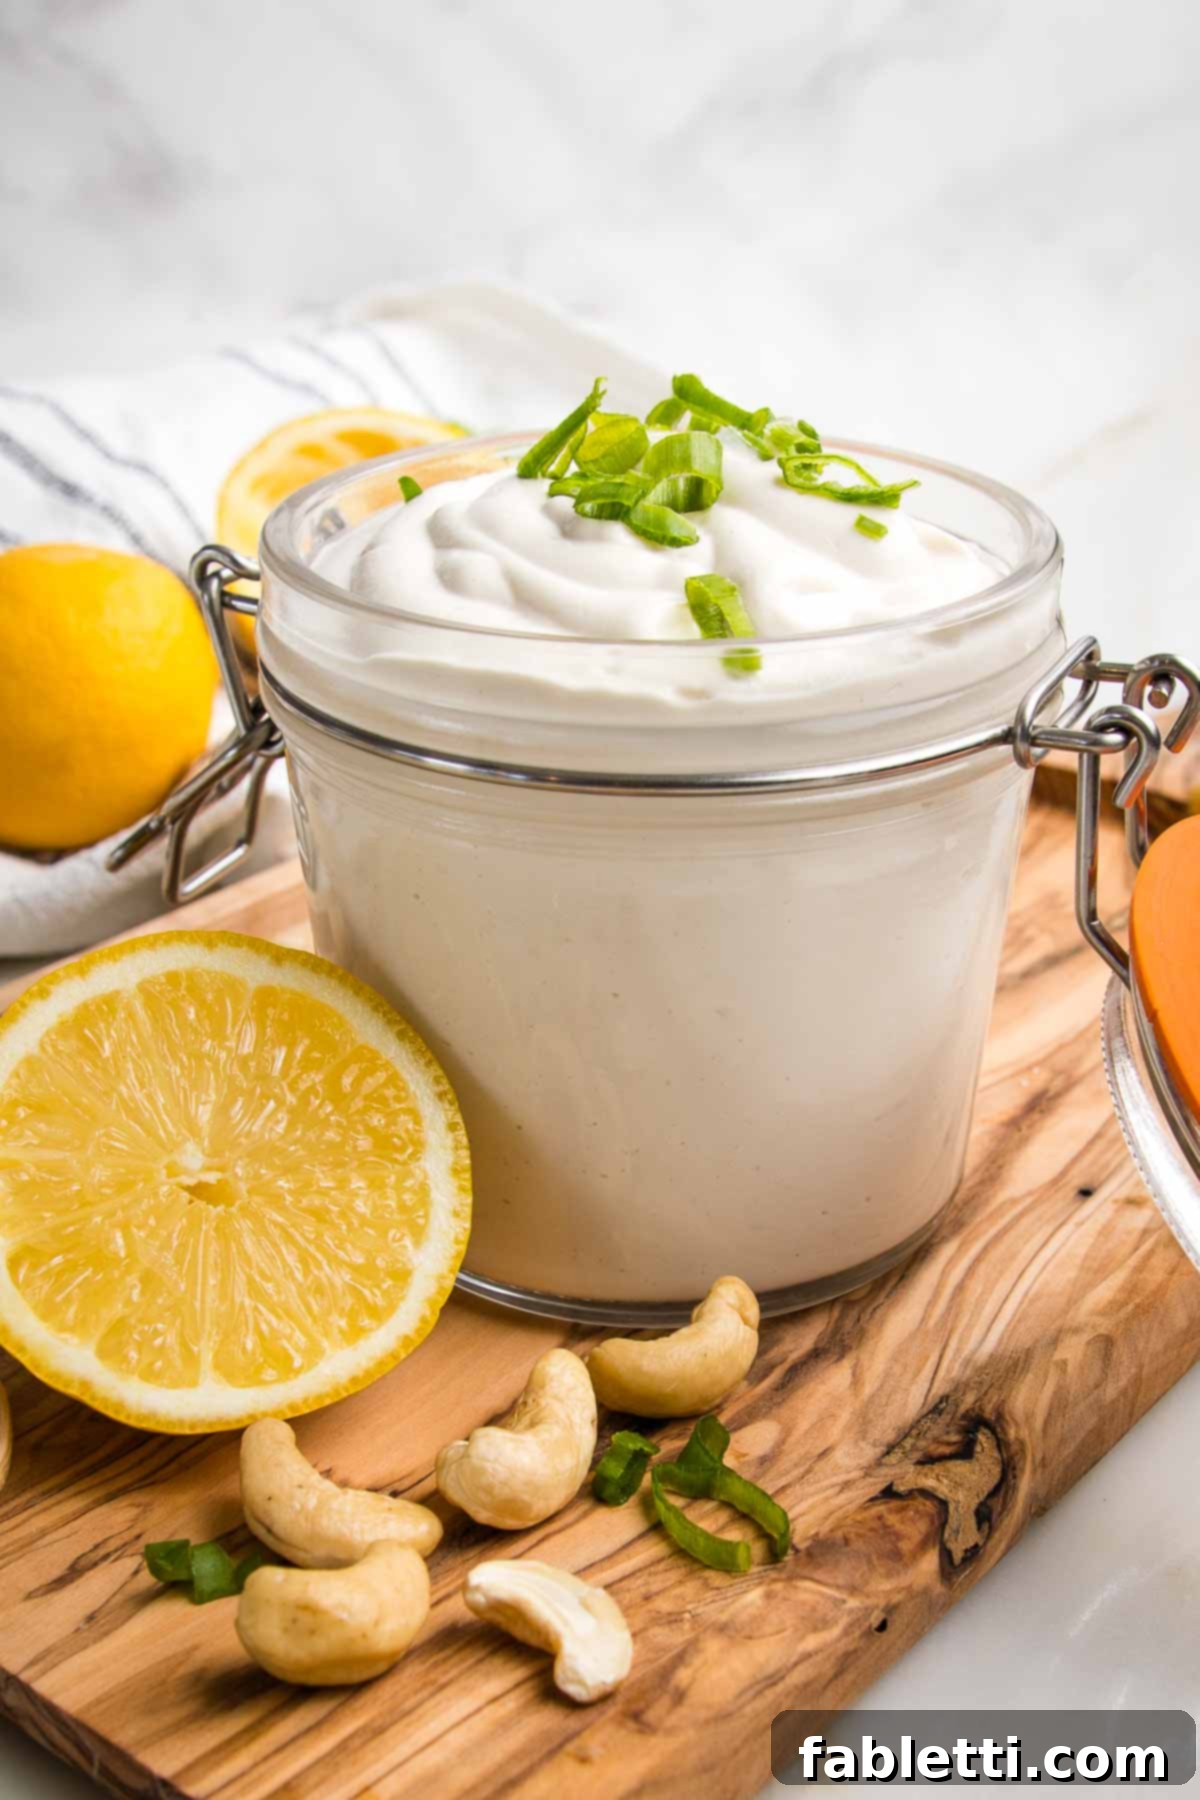
Unlock the secret to an incredibly creamy, tangy, and utterly delicious dairy-free sour cream in just minutes! This revolutionary recipe transforms simple, wholesome ingredients into a luscious plant-based alternative that rivals traditional sour cream. Whether you’re navigating lactose intolerance, embracing a vegan lifestyle, or simply exploring healthier options, this homemade cashew sour cream is your new culinary superpower. Prepare to elevate your favorite dishes with its smooth texture and vibrant flavor, all crafted from scratch in no time!
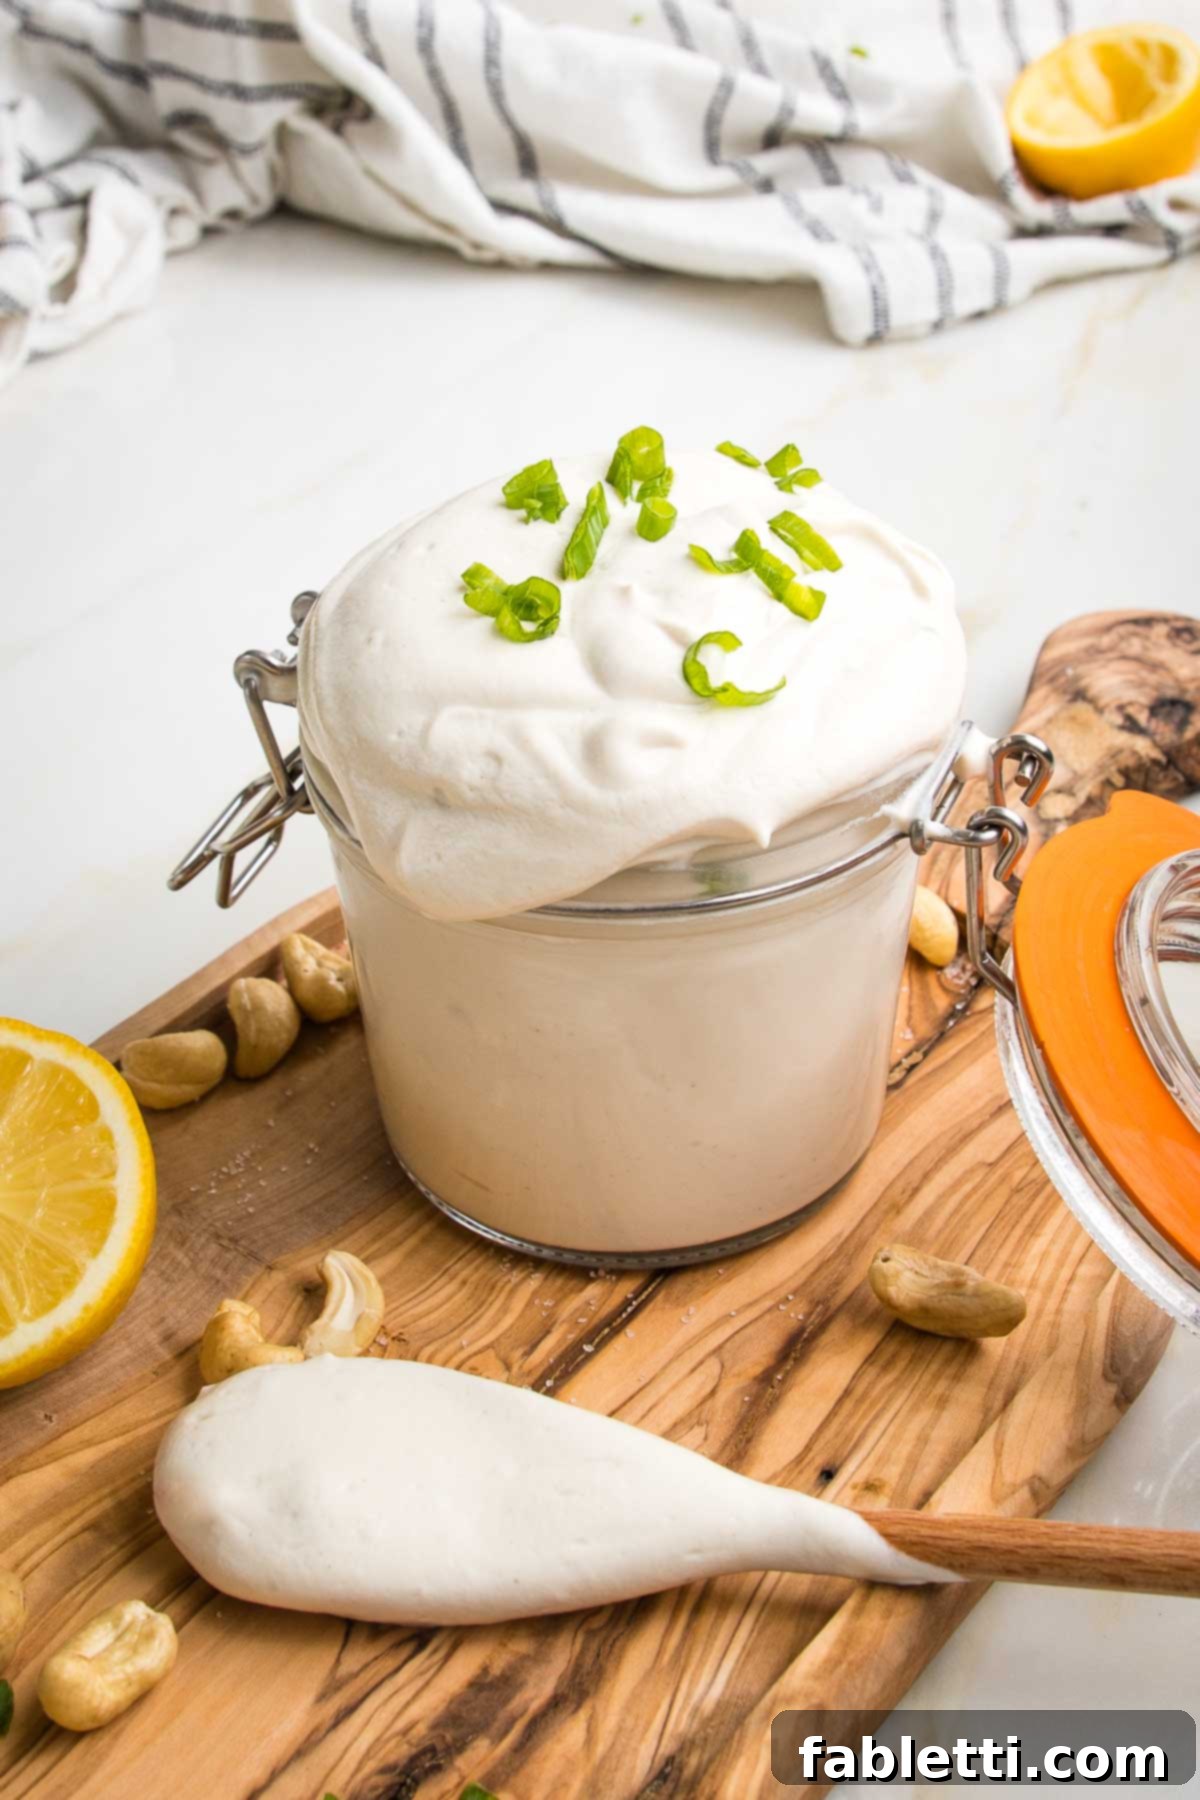
Say goodbye to store-bought alternatives that often contain unhealthy additives or fall short on flavor and texture. This homemade vegan sour cream recipe is not just easy; it’s an absolute game-changer. Crafted with only 5 core ingredients and requiring minimal effort, you’ll be amazed at how quickly you can whip up this versatile condiment. It’s perfect for adding a rich, zesty finish to everything from classic Mexican dishes to hearty soups, creamy dips, and even your plant-based baked goods. Get ready to add a generous dollop of this fantastic sour cream alternative to ALL THE THINGS!
Why Homemade Vegan Sour Cream is a Must-Try
There are countless reasons to fall in love with making your own dairy-free sour cream at home. Beyond the impressive speed and simplicity of this recipe, it offers a myriad of benefits that elevate it above commercial options and even traditional sour cream.
- Unmatched Freshness and Flavor: Homemade means fresh ingredients, free from preservatives and artificial flavors. The result is a vibrant, clean taste that store-bought versions often lack.
- Health-Conscious Choice: Made with raw cashews, this sour cream is packed with healthy fats, vitamins, and minerals. It’s naturally dairy-free, cholesterol-free, and can be made without added oils, making it ideal for those seeking a healthier lifestyle.
- Budget-Friendly: Crafting your own condiments can be significantly more economical than purchasing specialty vegan products from the grocery store. Basic pantry staples transform into a gourmet topping without breaking the bank.
- Dietary Inclusivity: Perfect for individuals with lactose intolerance, dairy allergies, or those following a vegan, plant-based, or whole-foods diet. Everyone can enjoy the creamy goodness without compromise.
- Complete Control Over Ingredients: You decide exactly what goes into your sour cream. Adjust salt, acidity, and even add herbs or spices to customize it perfectly to your palate and dietary needs.
- Effortless Preparation: Forget complicated processes or long waiting times. This recipe lives up to its promise of being quick and easy, ensuring you can enjoy delicious sour cream whenever the craving strikes.
The Magic Behind Cashew Sour Cream: A Deep Dive into Ingredients
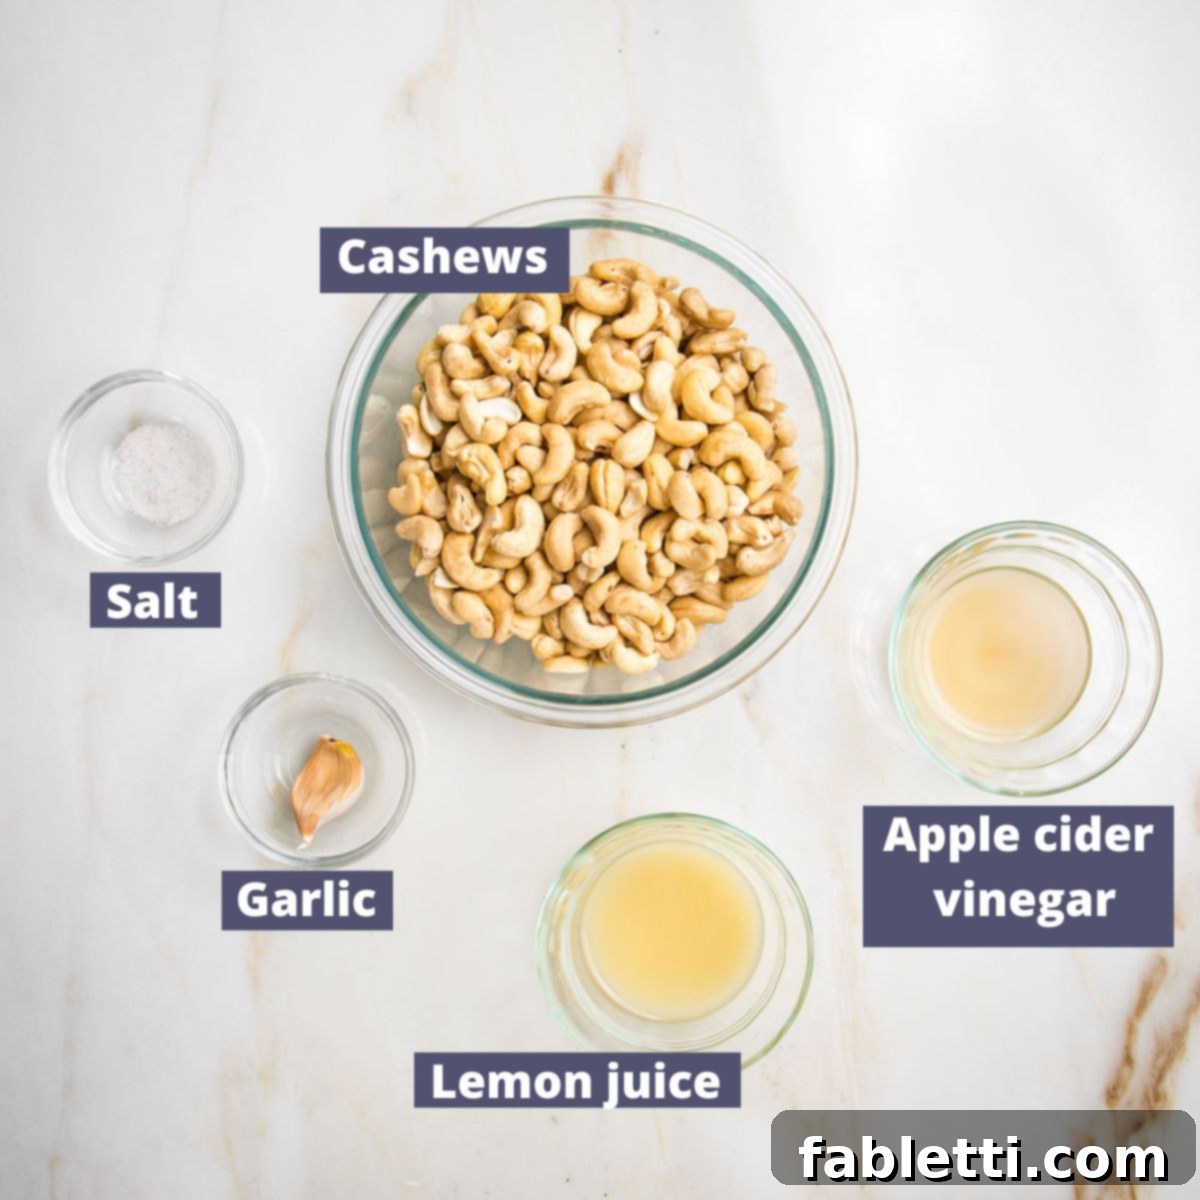
The beauty of this vegan sour cream lies in its simplicity. Just five essential ingredients come together to create a symphony of tangy, creamy perfection. Each component plays a crucial role in achieving that authentic sour cream experience.
- Raw Cashews: These are the star of our dairy-free sour cream, providing the luxurious, rich, and smooth base that’s essential for replicating the texture of traditional sour cream. Unlike other nuts, raw cashews have a neutral flavor profile that blends seamlessly, allowing the tangy notes to shine through without any nutty undertones. Soaking them is a critical step to ensure a silky-smooth consistency. They’re also a great source of healthy fats and minerals.
- Lemon Juice: Freshly squeezed lemon juice is paramount for imparting that signature tangy flavor. Beyond taste, the citric acid in lemon juice is a chemical marvel, mimicking the acidity found in dairy sour cream. This is especially important for its performance in baking, where it can interact with leavening agents just like its dairy counterpart, contributing to texture and rise. It also acts as a natural preservative.
- Apple Cider Vinegar: Partnering with lemon juice, apple cider vinegar adds another layer of sourness and complexity, giving the vegan sour cream a more authentic, deep tang. Its distinctive sharp and slightly fruity notes round out the flavor profile beautifully, ensuring it tastes genuinely like a dairy version.
- Garlic: Just one medium-sized clove of fresh garlic is all you need. It’s not meant to make the sour cream taste garlicky, but rather to add a subtle depth and savory undertone that perfectly complements the tartness, elevating the overall flavor without overpowering it. It’s the secret ingredient that makes it taste incredibly balanced and satisfying.
- Sea Salt: A pinch of high-quality sea salt is vital. Salt doesn’t just make things salty; it enhances and balances all the other flavors. It brings out the tanginess of the lemon and vinegar and deepens the savory notes of the garlic, ensuring every spoonful is perfectly seasoned and delicious.
- Fresh Water: Essential for blending the cashews into a smooth, creamy consistency. The amount can be adjusted slightly to achieve your desired thickness, whether you prefer a thick dollop or a slightly thinner dressing.
Unleashing the Versatility: How to Use Your Homemade Vegan Sour Cream
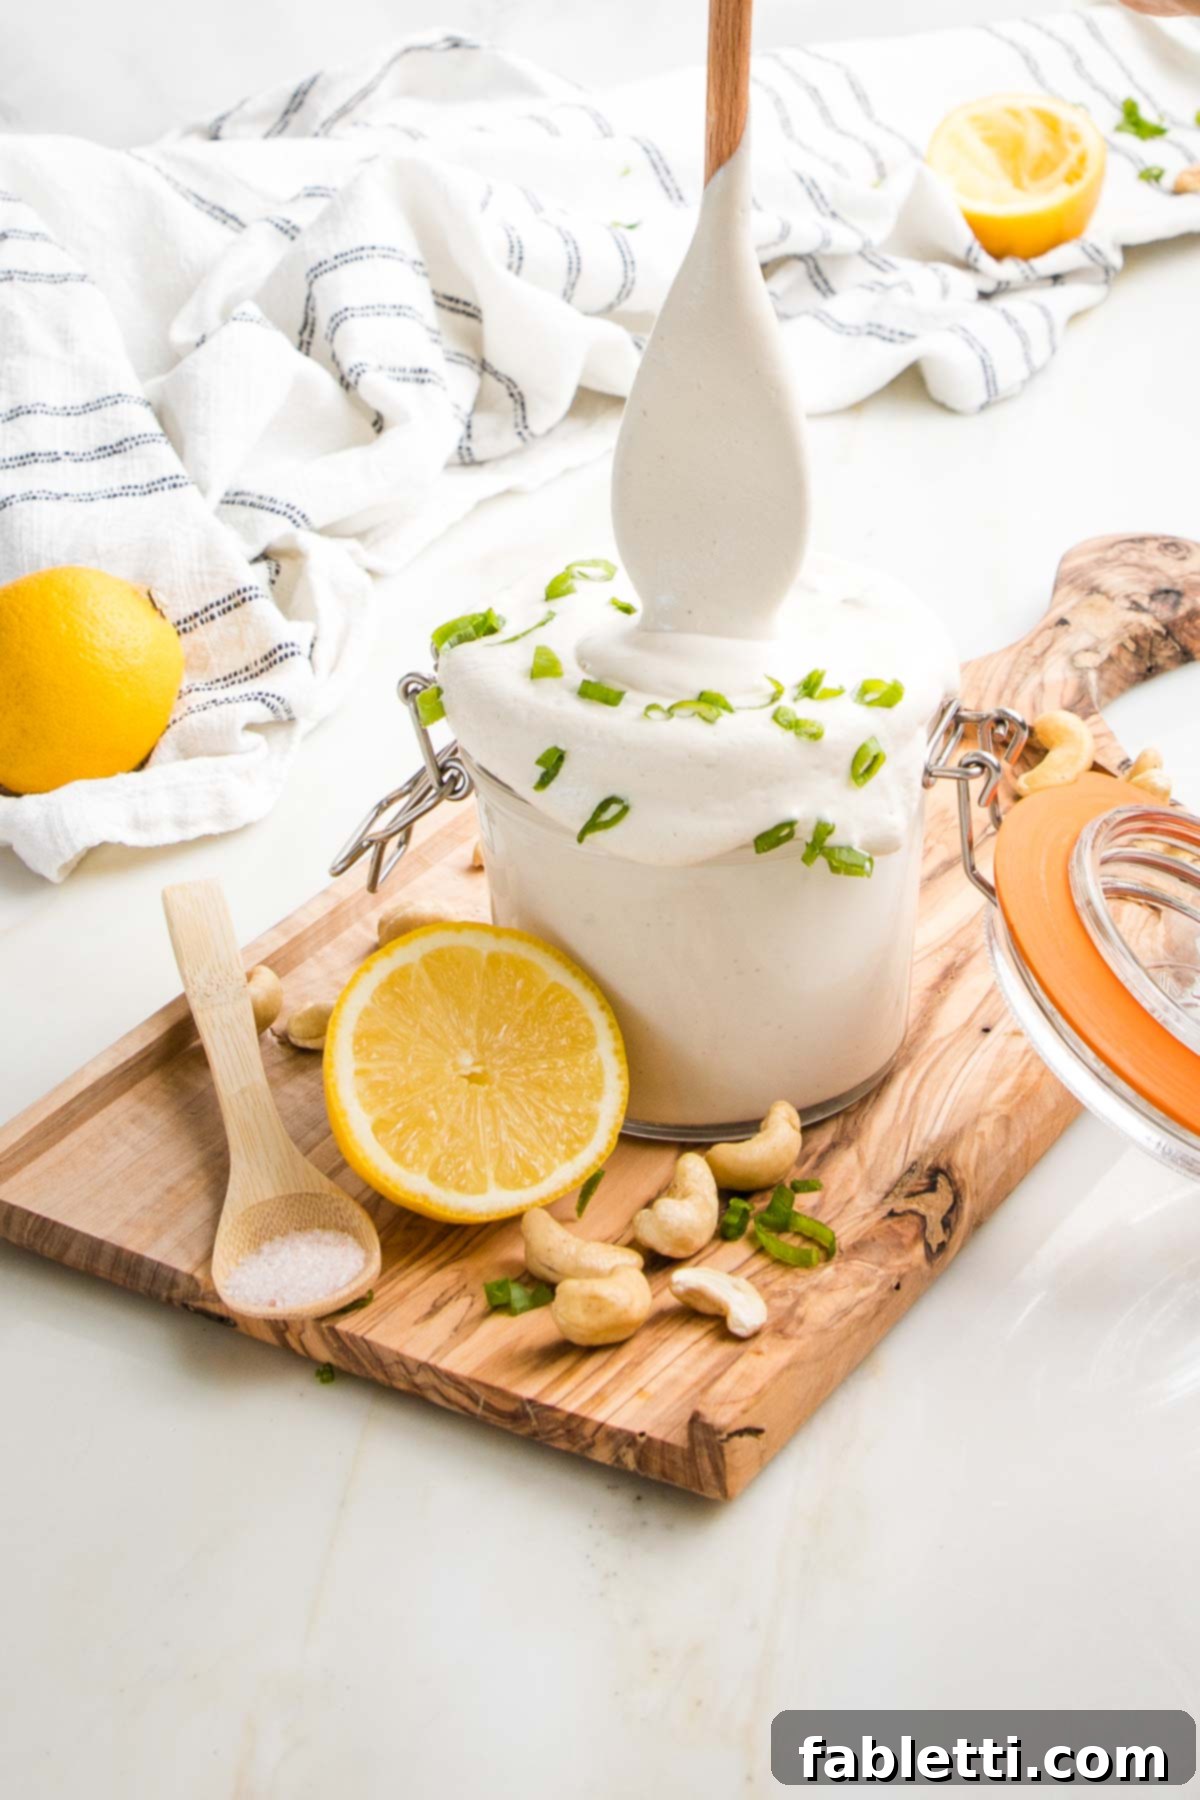
This legitimately delicious dairy-free sour cream is not just a substitute; it’s an enhancement to nearly any dish that calls for a creamy, tangy element. Its versatility knows no bounds, making it a staple in your kitchen.
- Elevate Your Mexican Feasts: This is where vegan sour cream truly shines! Spoon generous amounts over your favorite vegan enchiladas, black bean burritos, tacos, nachos, and quesadillas. Its cooling tang perfectly balances spicy flavors and adds a creamy richness that’s absolutely essential.
- The Ultimate Topping for Baked Favorites: Transform a simple baked potato or baked sweet potato into a gourmet meal. A dollop of this sour cream, perhaps with some fresh chives or a sprinkle of paprika, is heavenly. For an extra special vegan meal, top your baked sweet potato with a spoonful of sour cream, fresh tomato salsa, and some savory roasted broccoli. Go ahead, add an extra dollop of sour cream – you made it yourself, and it’s that good!
- Creamy Soups and Hearty Chili: Stir it into a steaming bowl of vegan chili, black bean soup, or any creamy vegetable soup. It adds a wonderful richness and a delicate tang that brightens the entire dish, creating a comforting and satisfying experience.
- Dips and Dressings Extravaganza: The possibilities are endless! Mix this vegan sour cream with your favorite dry ranch mix for an incredibly easy, flavorful, and healthier ranch dip that everyone will adore. It also forms a perfect base for onion dips, dill dips, or creamy salad dressings.
- Perfect Pairing for Spicy Meals: When your meal brings the heat, a cool, creamy dollop of this vegan sour cream is the ideal counterpoint. It helps to mellow the spice while adding a delightful texture.
- Surprisingly Good in Vegan Baked Goods: Just like traditional sour cream, this vegan alternative can add moisture, tenderness, and a subtle tang to baked goods. Experiment by adding it to vegan muffins, quick breads, or even certain cakes for an extra touch of richness.
Mastering the Blend: Step-by-Step Guide to Perfect Vegan Sour Cream
Making your own cashew sour cream is incredibly straightforward, but a few key techniques ensure the silkiest, most delicious result every time. The secret lies in proper cashew preparation and thorough blending.
Step 1: Soaking Your Cashews – The Key to Creaminess
Starting with raw, unsalted cashews is crucial. The soaking process is non-negotiable for achieving a truly smooth and creamy texture. Soaked cashews soften significantly, allowing them to break down into a velvety consistency when blended, without any grainy residue.
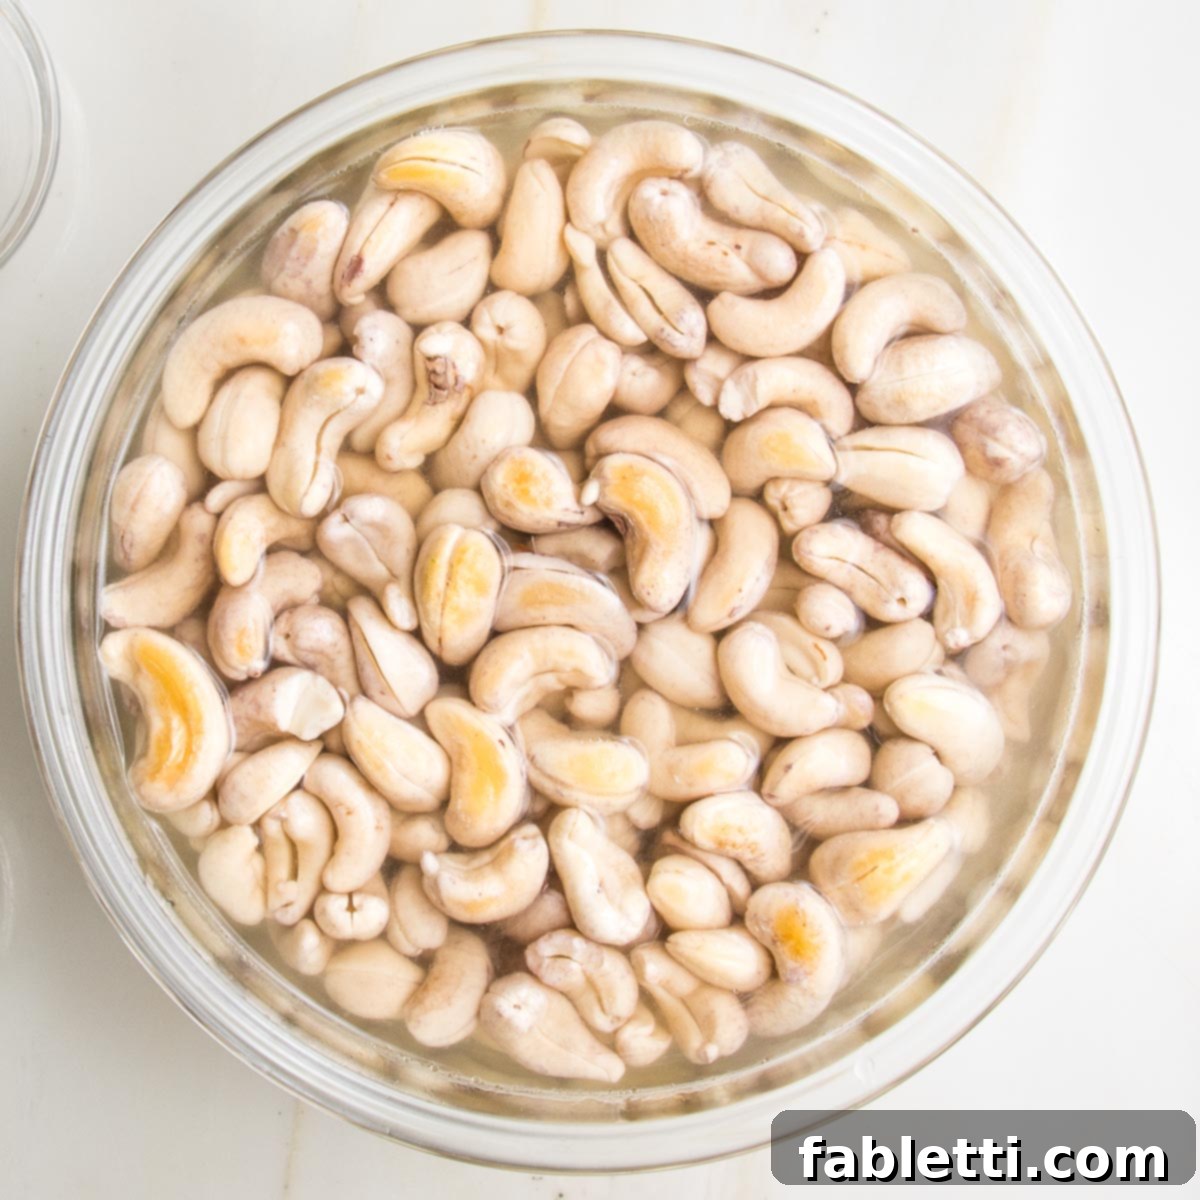
- Overnight Cold Soak (Recommended for Best Results): If you have the luxury of time, an overnight soak (8-12 hours) in cold water yields the best results. Simply place your cashews in a bowl, cover them with plenty of cold water, and let them sit on your kitchen counter. This method allows the cashews to fully hydrate and soften for unparalleled creaminess.
- Quick Hot Soak (When Time is Tight): No worries if you didn’t plan ahead! For a faster approach, place the cashews in a bowl and cover them with boiling water. Let them sit for a minimum of 30 minutes, or longer if you have it. The hot water quickly softens the cashews, preparing them for blending.
Regardless of the method, you’ll notice the cashews swell and become noticeably softer. This softness is what guarantees an ultra-creamy end product, essential for any vegan dairy alternative.
Step 2: Blending for Perfection
Once your cashews are perfectly plump and soft, it’s time to transform them into luscious sour cream. Proper drainage and the right blending technique are key.
- Drain and Rinse: After soaking, thoroughly drain the cashews and rinse them under fresh water. This removes any starchy residue and ensures the cleanest flavor.
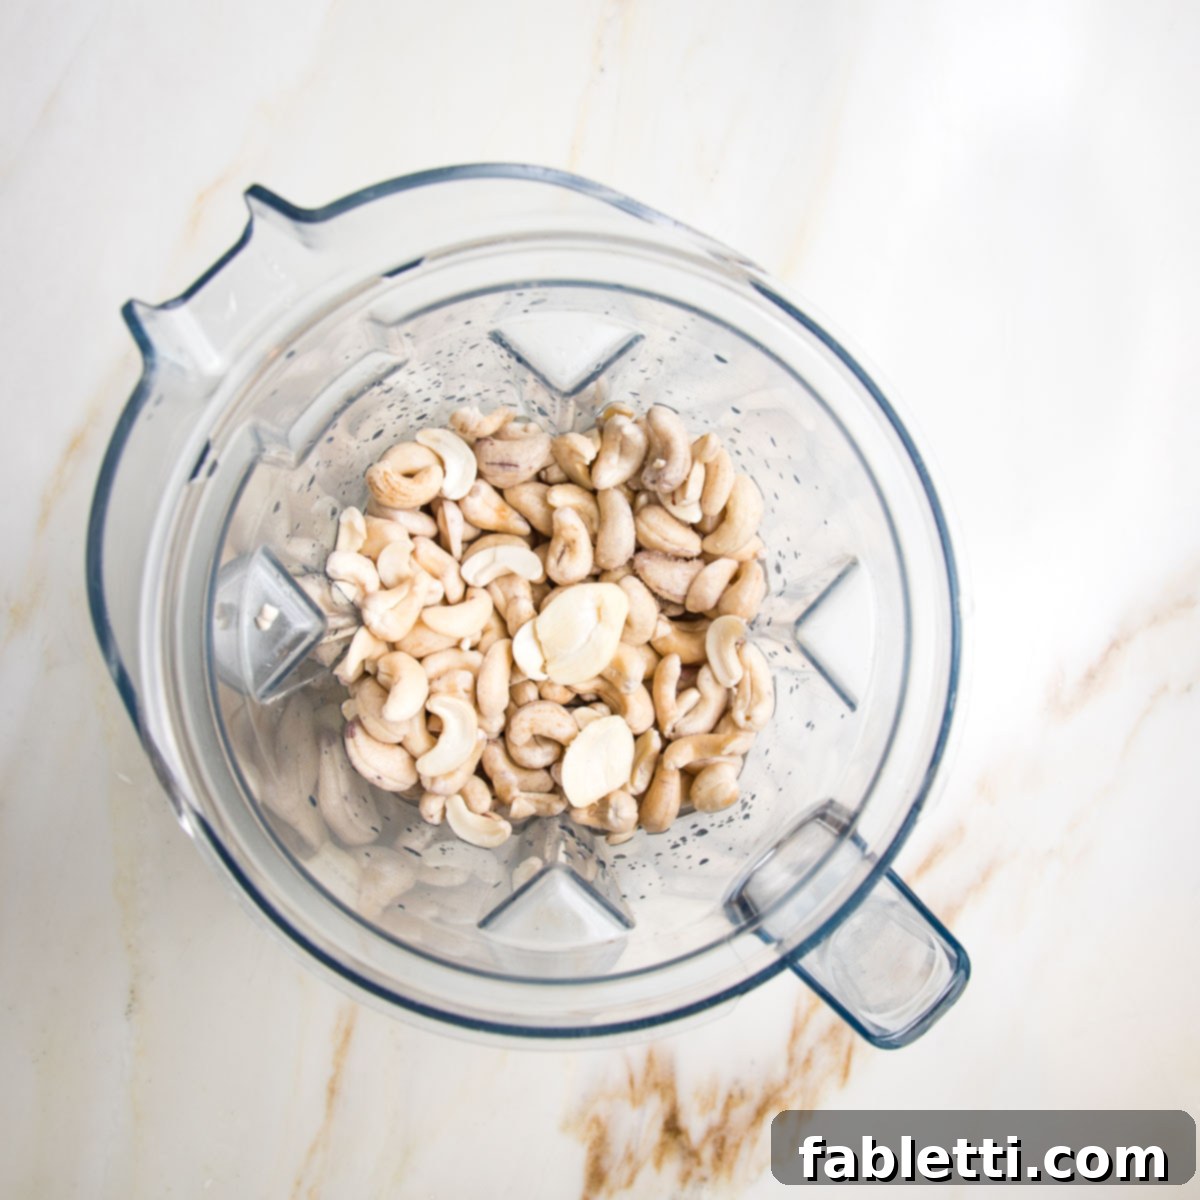
- Load Your Blender: Transfer the rinsed cashews to the pitcher of a high-powered blender. A high-speed blender (like a Vitamix or Blendtec) is highly recommended for achieving the smoothest consistency possible. If you don’t have one, opting for the overnight soak method for your cashews will give you the best chance of success with a regular blender or a food processor.
- Add Remaining Ingredients: To the cashews, add the fresh lemon juice, apple cider vinegar, a single clove of garlic, a pinch of sea salt, and the fresh, room temperature water.
- Blend Until Velvety: Secure the lid and blend on high for about 30 seconds. Then, stop and use a silicone spatula to scrape down the sides of the blender pitcher. This ensures all ingredients are incorporated and blended evenly. Continue blending for another 1-2 minutes, or until the mixture is completely thick, creamy, and free of any cashew bits. The longer you blend (within reason), the smoother your sour cream will be.
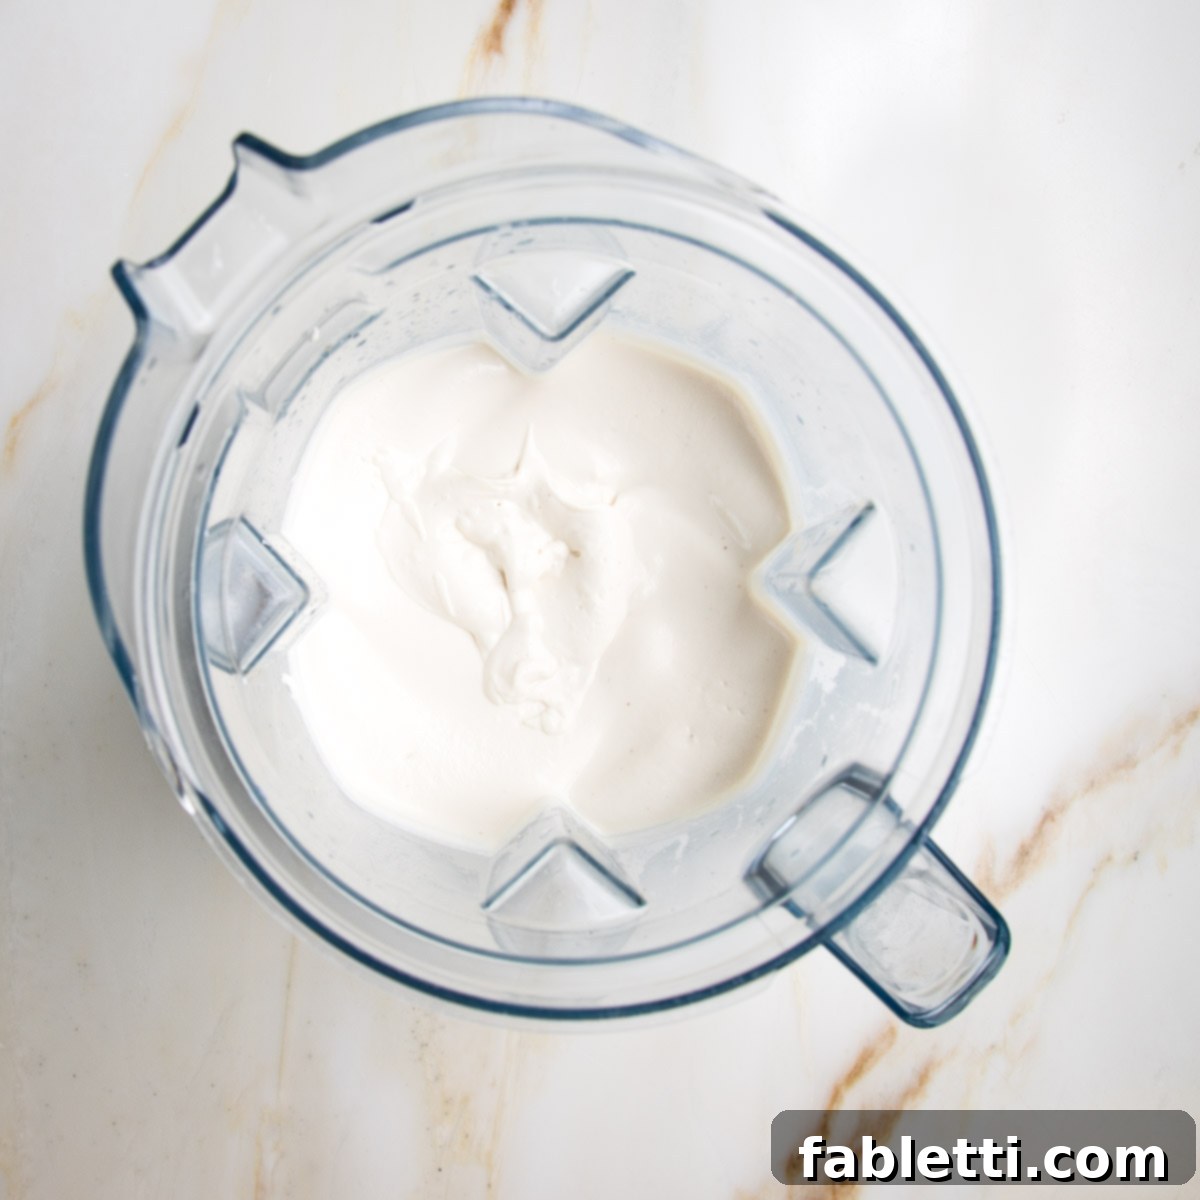
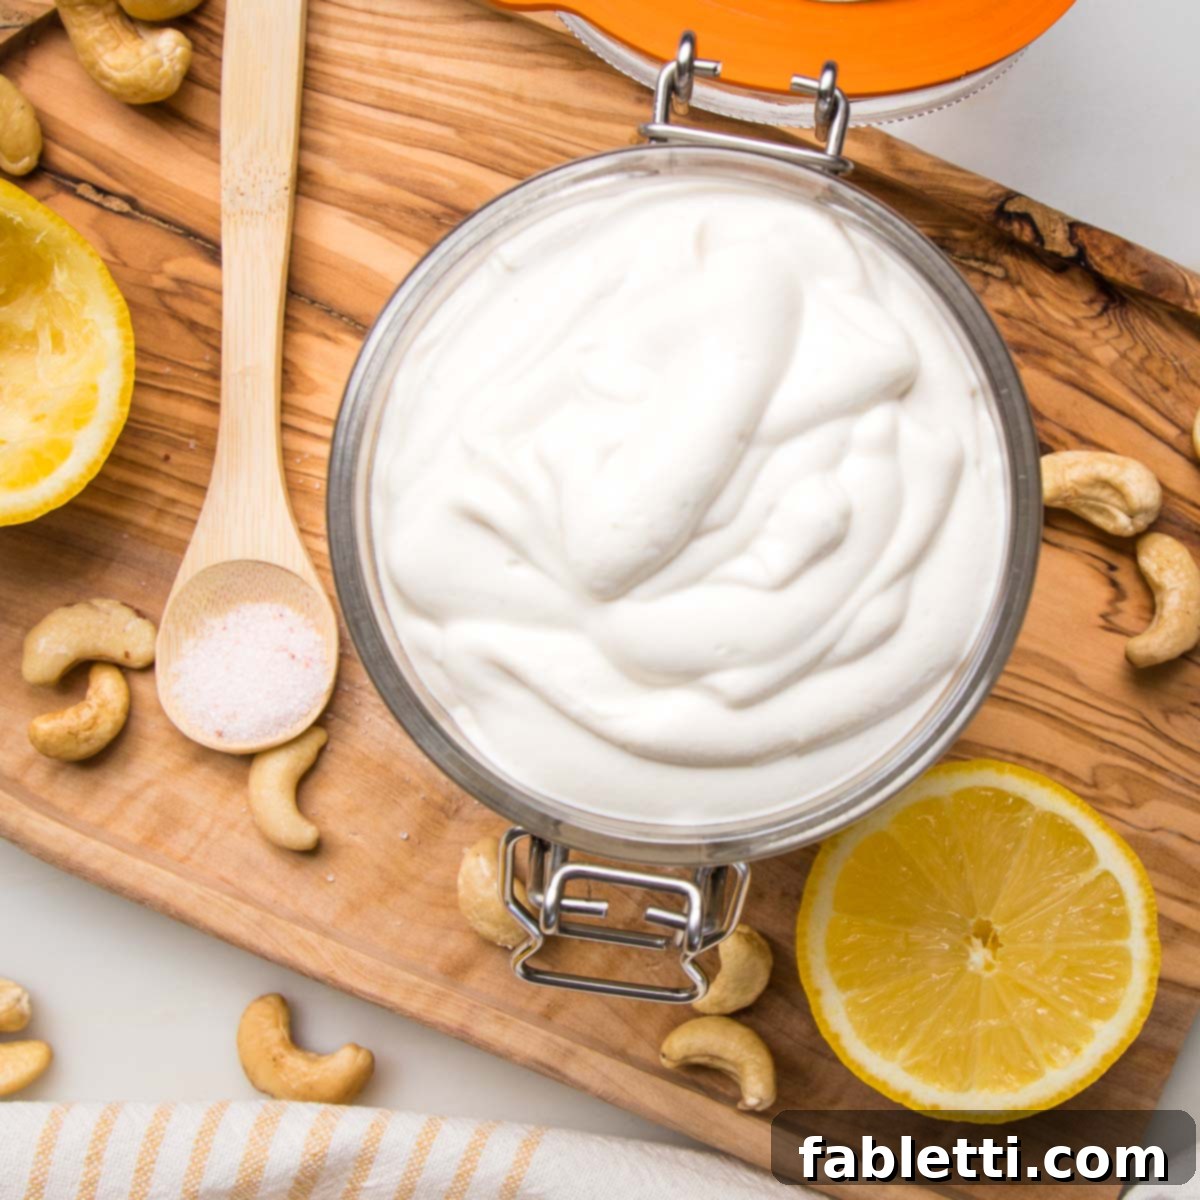
The sour cream will naturally thicken a bit more as it sets in the fridge. If, after refrigeration, you find it too thick for your preference, simply whisk in a teaspoon or two of additional water until it reaches your desired consistency.
Tips for Success and Troubleshooting Common Issues
Achieving the perfect homemade vegan sour cream is simple, but a few expert tips can ensure spectacular results every time. Here’s how to master your blend and troubleshoot any bumps along the way.
Ensure Ultra-Smoothness:
- Soak Adequately: We can’t stress this enough! The longer the cashews soak, the softer they become, and the smoother your sour cream will be. If using a regular blender, an overnight soak is almost mandatory.
- Blend, Blend, Blend: Don’t be shy with your blender. High-powered blenders can break down cashews quickly, but even they benefit from an extra minute or two of blending to ensure a truly silky texture. Stop, scrape down the sides, and blend again until there are absolutely no visible cashew flecks.
- Add Water Gradually: If your blender is struggling, add a tablespoon or two of extra water during blending. This can help create a vortex and pull ingredients into the blades more effectively.
Adjusting Consistency:
- Too Thick? If your sour cream is too dense after chilling, whisk in a small amount of water (1 teaspoon at a time) until it reaches your preferred pourable or dollop-able consistency.
- Too Thin? This is less common but can happen if too much water is added initially. The sour cream will thicken in the fridge, but if it remains too thin, you can try adding a tablespoon of additional unsoaked cashews (if you have them) and re-blending. Alternatively, use it as a creamy salad dressing!
Flavor Customization:
- More Tang? Add another splash of lemon juice or apple cider vinegar, then blend and taste.
- More Savory Depth? A tiny pinch of onion powder can add an extra layer of savory flavor without making it taste distinctly like onion.
- Spicy Kick? A dash of your favorite hot sauce or a pinch of cayenne pepper can transform it into a spicy sour cream, perfect for tacos!
Troubleshooting Grainy Texture:
- If your sour cream turns out grainy, it almost always means the cashews weren’t soaked long enough or weren’t blended sufficiently. Return it to the blender, add a tablespoon or two of water, and blend on high for another 2-3 minutes. The friction of high-speed blending can sometimes help break down remaining bits.
Meal Planning & Storage Solutions for Your Vegan Sour Cream
One of the many advantages of this homemade vegan sour cream is its excellent shelf life and freezer-friendly nature, making it ideal for meal prepping and ensuring you always have a healthy, delicious condiment on hand.
- Serving Suggestions: Use this versatile sour cream in all the same ways you would traditional dairy sour cream – as a topping, a base for dips, a creamy addition to soups, or a moistening agent in baked goods.
- Prep Ahead for Convenience: Absolutely! This recipe is perfect for preparing in advance. Make a batch on the weekend, and it will be ready to enhance your meals throughout the busy week.
- Refrigerator Storage: Store your freshly made vegan sour cream in a clean, airtight container in the refrigerator for up to 5-7 days. Its flavor often deepens slightly over time, becoming even more delicious.
- Freezing for Longer Term: Yes, vegan sour cream freezes beautifully! For optimal results and convenience, freeze it in usable portions.
- Use 2 Tablespoon silicone ice cube trays, ½ cup trays, or 1 cup molds. Once frozen solid, pop out the cubes and transfer them to freezer-safe zip-top bags or containers. This method allows you to defrost just the amount you need, minimizing waste.
- Freezer Duration: Vegan sour cream can be stored in the freezer for up to 3 months.
- Thawing Instructions: For best results, thaw frozen portions overnight in the refrigerator. Once thawed, give it a good whisk, and if necessary, add a tiny bit of water to restore its creamy texture.
Debra’s Pro Tips for Next-Level Vegan Sour Cream
As a seasoned health coach and recipe creator, I’ve discovered a few tricks to make your vegan sour cream experience even more delightful. These pro tips will help you maximize its potential in your daily cooking!
- Don’t Fear the Whisk for Consistency: Always remember that your homemade sour cream will thicken more once it’s been refrigerated. Before using, give it a good whisk. If it’s too thick for your application (e.g., for drizzling), don’t hesitate to whisk in a little more water, a teaspoon at a time, until you reach your desired consistency.
- Integrate into Your Weekly Meal Prep: This isn’t just a recipe for special occasions. Make a generous batch as part of your weekly meal prep routine. Having it readily available in your fridge will encourage you to incorporate more healthy, plant-based flavors into your everyday meals.
- Versatile Flavor Enhancer:
- Soups and Stews: Stir a dollop into your favorite soups and stews just before serving for an instant burst of creamy richness and tang. It beautifully complements lentil soups, hearty vegetable stews, and warming chilis.
- Sandwiches and Wraps: Mix it with some taco seasoning, a pinch of smoked paprika, or fresh herbs, and spread it generously on sandwiches and wraps instead of mayo or other condiments. It adds moisture, flavor, and a delightful creamy texture.
- Creamy Mashed Potatoes: For an extra layer of decadence and a subtle tang, go ahead and add some to your mashed potatoes and root vegetables. It will deliver unparalleled creaminess and a sophisticated flavor twist.
- Instant Taco Sauce: Create an incredibly easy and flavorful taco sauce by mixing equal parts vegan sour cream and your favorite homemade red enchilada sauce. It’s perfect for drizzling over tacos, burritos, or as a dip for chips.
- Garnish for Visual Appeal: A sprinkle of fresh chives, green onions, or finely chopped cilantro on top of your sour cream-topped dish not only adds flavor but also makes for a beautiful presentation.
Frequently Asked Questions About Vegan Sour Cream
New to making vegan sour cream? Here are some common questions and helpful answers to ensure your success.
Can I use roasted cashews instead of raw cashews?
It’s highly recommended to use raw, unsalted cashews. Roasted cashews will impart a distinct nutty flavor that can alter the taste of your sour cream, moving it away from the neutral, tangy profile you’re aiming for. Raw cashews also blend into a smoother, creamier texture more easily.
Can I use other nuts or seeds?
While cashews are ideal due to their neutral flavor and creamy consistency, you can experiment with other nuts like blanched almonds (for a slightly thicker, slightly less neutral result) or even sunflower seeds for a nut-free option (which might give it a greenish tint and a more pronounced flavor). Adjust the water content as needed, and be aware that the flavor and texture will differ from a cashew-based sour cream.
Is this recipe oil-free?
Yes, this recipe is naturally oil-free as it relies on the healthy fats present in cashews for its richness. This makes it a fantastic choice for those monitoring their oil intake.
How long does homemade vegan sour cream last?
When stored properly in an airtight container in the refrigerator, your homemade vegan sour cream will stay fresh and delicious for about 5-7 days. As mentioned in the storage section, it also freezes well for up to 3 months.
Do I need a high-speed blender?
A high-speed blender (like a Vitamix or Blendtec) is highly recommended for achieving the smoothest, silkiest texture possible, especially if you opt for a quick hot soak. However, if you only have a regular blender or food processor, you can still make excellent vegan sour cream. Just ensure you soak your cashews overnight in cold water to make them as soft as possible, and be prepared to blend for a longer duration, stopping frequently to scrape down the sides.
Can I make it thicker or thinner?
Absolutely! The consistency is adjustable. For a thicker sour cream, use slightly less water initially (e.g., 1 cup) and add more slowly until desired thickness is reached. For a thinner consistency, like for a dressing, simply whisk in an extra tablespoon or two of water after it’s blended.
Add Vegan Sour Cream to These Incredible Soups
Elevate your next bowl of soup with a creamy, tangy dollop of homemade vegan sour cream. It’s the perfect finishing touch for a variety of comforting and flavorful recipes. Try it with these favorites:
- Vegan Taco Soup with Baked Tortilla Strips
- Vegan Carrot Ginger Soup
- Leek Soup without Potatoes
- Easy Vegan Butternut Squash Soup
Did you know commenting and rating recipes is one of the best ways to support your favorite food bloggers? If you made this recipe, please consider a five-star rating below and leave a comment. Also, please share your photos on instagram by tagging me @dkhealthcoach and using the hashtag #debraklein
📖 Recipe
Vegan Sour Cream
Rate this Recipe
Pin Recipe
Equipment
- Glass Kitchen Canisters with Glass Lids
- Silicone spatula
- Pyrex Glass Measuring Cup Set
- Vitamix Blender
Ingredients
- 2 cups raw cashews
- ¼ cup lemon juice
- 2 Tablespoons apple cider vinegar
- 1 large clove garlic
- pinch sea salt
- 1 ¼ cups water
Instructions
- SOAK CASHEWS: Place 2 cups raw cashews in a bowl and cover completely with boiling water. Allow them to soak for a minimum of 1 hour, or for an even creamier result, soak them overnight in cold water*.
- Once softened, thoroughly drain the cashews, rinse them with fresh water, and drain again.
- Transfer the soaked and rinsed cashews, a large clove of garlic, fresh lemon juice, apple cider vinegar, and the fresh water into the pitcher of a high-powered blender*.
- Blend on high speed for approximately 30 seconds. Stop and use a spatula to scrape down the sides of the blender pitcher. Continue blending until the mixture is completely thick, smooth, and creamy, with no discernible cashew pieces. This may take another 1-2 minutes depending on your blender.
- Your vegan sour cream will naturally thicken further as it chills in the refrigerator. Before serving, check the consistency. If it’s thicker than you desire, simply whisk in a small amount of additional water, one teaspoon at a time, until it reaches your perfect smoothness.
Notes
STORAGE: Store your homemade vegan sour cream in an airtight container in the refrigerator for up to a week, or freeze it for up to 3 months.
Nutrition
Note
The nutrition calculations were done using online tools. To obtain the most accurate representation of the nutritional information in any given recipe, you should calculate the nutritional information with the actual ingredients you used. You are ultimately responsible for ensuring that any nutritional information is accurate, complete and useful.
