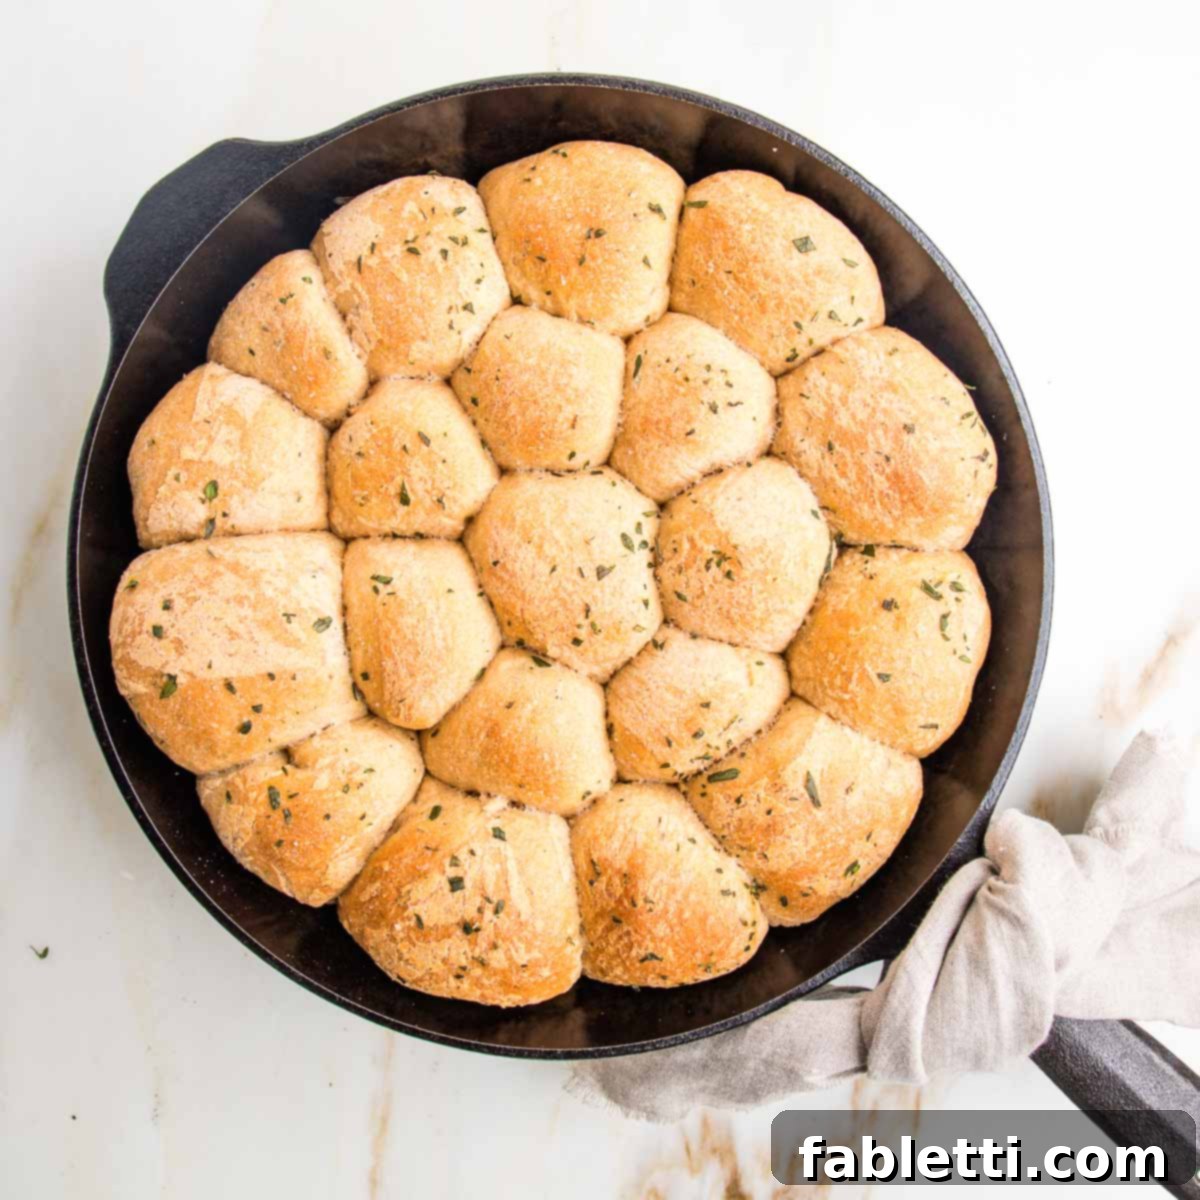
Welcome to the ultimate guide for creating the most exquisite, soft, and fluffy vegan dinner rolls you’ll ever bake. This isn’t just a recipe; it’s a revelation, designed to yield tender, golden-brown rolls that are utterly irresistible. Forget dry, dense, or flavorless plant-based breads. Our perfected recipe ensures a light, airy texture with a savory herbaceous flavor that will have everyone asking for more. And trust us, you’ll want to make extra. These homemade rolls transform effortlessly into magnificent sandwich buns, perfect for those eagerly awaited Thanksgiving leftovers piled high with cranberry sauce and all your favorite fixings. A wonderful bonus: this recipe delivers incredible results even when made with gluten-free flour, making it accessible for nearly everyone at your table.
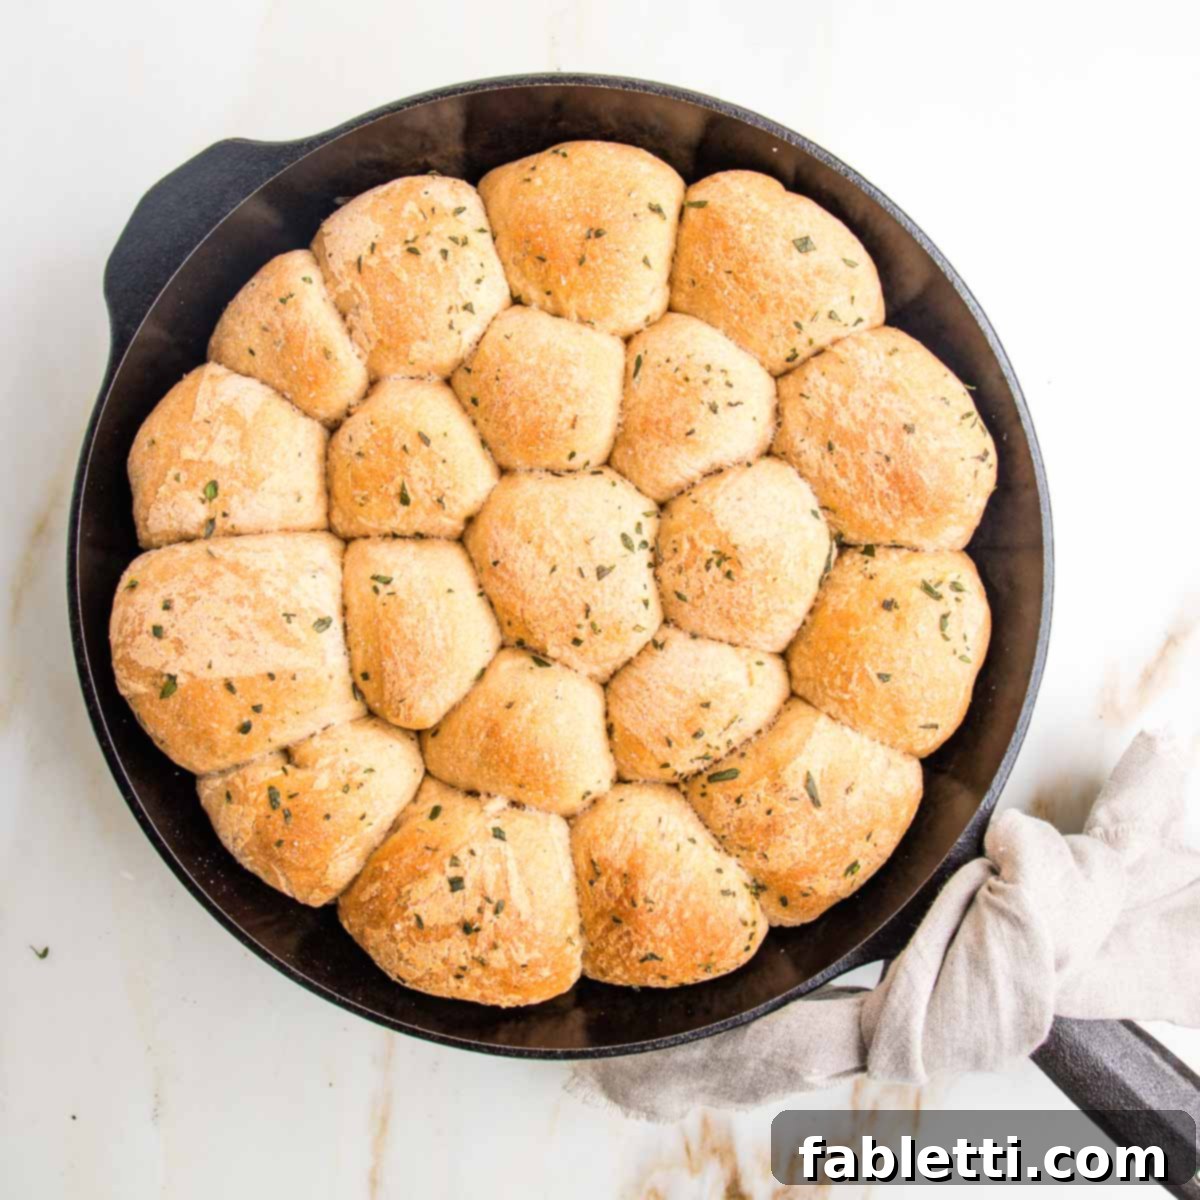
The truth is, this recipe began its journey as a quest to create the perfect dairy-free Thanksgiving dinner roll. Years of meticulous testing, tweaking, and tasting went into perfecting every element, resulting in rolls that truly stand apart. What started as a holiday special soon became a year-round staple in our kitchen. Why relegate such a simple, tender, savory, and utterly irresistible delight to just one season? These are, without exaggeration, the best vegan dinner rolls, capable of elevating any meal, any day of the week. A batch disappears quickly, a testament to their golden crust and fragrant, herby interior.
Beyond being a perfect accompaniment to dinner, these versatile rolls shine brightest as sandwich bases. Imagine spreading a generous dollop of homemade vegan pesto, layering on fresh sprouts, and an assortment of vibrant veggies. Voila! You have a super tasty, wholesome lunch ready in minutes. Their sturdy yet soft structure holds up beautifully to all kinds of fillings, making them an ideal choice for meal prepping throughout the week.
Furthermore, these rolls are a fantastic option for those seeking a gluten-free dinner roll without compromising on taste or texture. Pair them with a crisp simple green salad, a comforting bowl of hearty split pea soup, or a warming vegan white bean chili for a complete, healthy, and incredibly satisfying meal. Their ability to soak up delicious broth and complement robust flavors makes them an indispensable part of your culinary repertoire.
Key Ingredients for Unforgettable Vegan Dinner Rolls
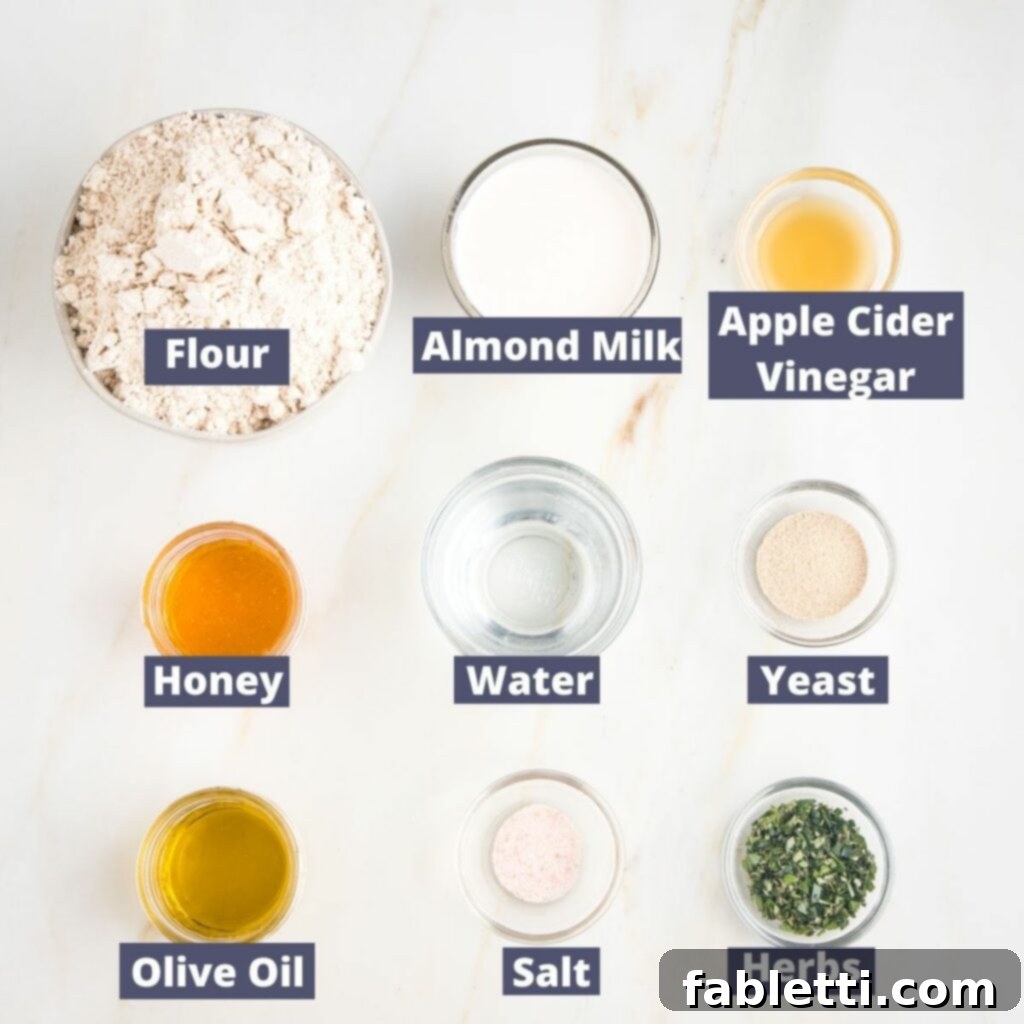
Crafting these delectable rolls relies on a thoughtful selection of ingredients, each playing a crucial role in achieving the perfect balance of flavor and texture. Here’s a closer look at what you’ll need and why:
- FLOUR: For the rolls photographed, King Arthur Measure for Measure Gluten-free Flour was used, yielding exceptional results. However, the beauty of this recipe lies in its adaptability. Any good quality all-purpose flour will work beautifully. Feel free to use what you have on hand or your preferred brand, ensuring a consistent texture.
- ALMOND MILK: While almond milk was utilized in the accompanying visuals, you can easily substitute it with any plant-based milk that suits your dietary needs and preferences. Soy milk, oat milk, or cashew milk are all viable options that contribute to the rich, tender crumb of the rolls.
- APPLE CIDER VINEGAR: This seemingly small addition is a powerhouse ingredient. Vinegar significantly enhances the yeast’s ability to leaven the dough, producing a higher rise and a fluffier texture, even without the presence of eggs. White vinegar or unsweetened rice vinegar can be used as alternatives.
- HONEY: Honey provides the necessary food for the yeast, aiding in its activation and contributing a subtle sweetness and golden hue to the rolls. If you follow a strict vegan diet and avoid honey, a simple substitution of ½ maple syrup and ½ sugar of your choice will work perfectly.
- YEAST: Active dry yeast was chosen for its consistent and reliable performance, contributing to a wonderfully fluffy outcome. While rapid rise or instant yeast can be used and may shorten the rising time by about 30 minutes, personal experience indicates that active dry yeast yields the softest, most cloud-like rolls.
- OLIVE OIL: Extra virgin olive oil lends a beautiful richness and moisture to the dough, enhancing its flavor profile. Avocado oil has also been successfully used as a substitute. For best results, avoid highly processed vegetable oils.
- SALT: Often underestimated, salt is vital not just for flavor, but also for controlling the yeast’s activity. Without it, the yeast can activate too quickly, leading to a dough with less structure and diminished flavor. A mere ½ teaspoon for the entire batch makes a significant difference, so it’s a non-negotiable for achieving the best possible rolls.
- HERBS: A fragrant combination of fresh thyme, rosemary, and sage, finely chopped, was used to infuse these rolls with their signature savory aroma. This blend can be customized with any savory herbs you enjoy. If fresh herbs are unavailable, use ⅓ the quantity in dried herbs. Consider keeping a planted assortment of fresh herbs on a sunny windowsill; they are not only convenient but can last for years, providing continuous fresh flavor.
Why You’ll Fall in Love with These Vegan Dinner Rolls
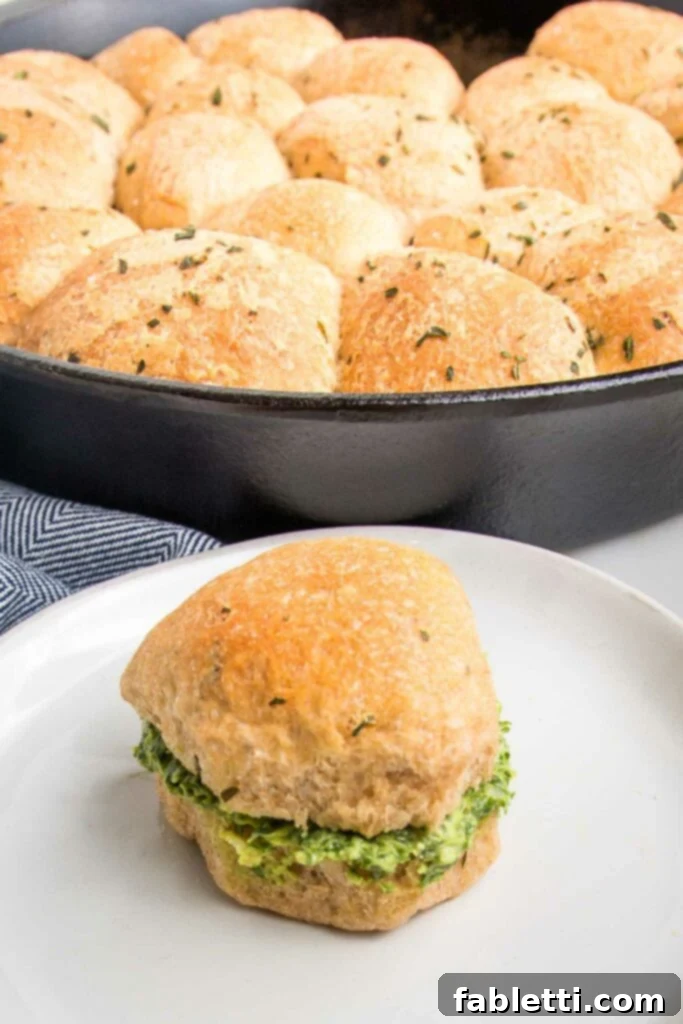
These vegan dinner rolls aren’t just good; they’re extraordinary. Here’s what makes them an absolute must-try:
- Unbelievably Soft and Fluffy: Prepare for a truly delightful texture. These rolls boast an incredibly soft, airy interior encased in a lightly golden crust, making them utterly irresistible from the very first bite. They are the epitome of comfort food, designed to melt in your mouth.
- Perfect for Meal Prep: Take the stress out of last-minute baking! This recipe is incredibly meal prep-friendly. You can freeze the shaped dough balls, allowing you to bake fresh, warm rolls whenever the craving strikes. Simply thaw, let rise, and bake for instant homemade goodness.
- The Ultimate Thanksgiving Companion: These rolls are truly the perfect vessel for all your Thanksgiving leftover sandwiches. Their robust yet tender nature beautifully cradles generous fillings of turkey (or plant-based alternative), stuffing, and cranberry sauce, creating a holiday experience that extends far beyond the main meal.
- Inclusive and Delicious: Whether you require vegan or gluten-free rolls, this recipe delivers. You would genuinely never guess they cater to these dietary needs, as they possess all the taste, texture, and aroma of the very best traditional dinner rolls. Everyone can enjoy them!
- Easier and Quicker Than You Think: Don’t be intimidated by homemade bread. This recipe is surprisingly straightforward and takes less active time than you might imagine. The satisfaction of pulling warm, fresh rolls from your oven is unparalleled and completely worth the minimal effort.
- Ideal for Soaking Up Flavor: There’s nothing quite like a warm, tender roll for dunking into your favorite healthy soups, stews, or chilis. Their absorbent nature and savory flavor make them the perfect edible spoon, ensuring you savor every last drop of your delicious meal.
Mastering Yeast: Your Guide to Fluffy Rolls
Understanding yeast is key to successful bread making, and it’s simpler than you might think. Proofing yeast simply means activating it. Yeast is a living organism that needs sustenance (like honey or sugar) and the right temperature to wake up and do its magic. Providing these conditions, along with a little patience, is all it takes to achieve the perfect rise for wonderfully fluffy rolls.
Temperature is paramount in this process! If your liquid is too hot, it will unfortunately kill the yeast, rendering it inactive. Conversely, if the liquid isn’t warm enough, the yeast won’t activate properly, resulting in a flat, dense dough. Heating your liquid mixture gently on the stove ensures that the honey fully dissolves and the mixture reaches an initial warm temperature. Pouring it into your mixing bowl and allowing it to cool slightly before adding the yeast guarantees it will be at the optimal temperature for activation, protecting your yeast from being ‘killed’.
The Goldilocks Zone: Right Water Temperature for Yeast
For best results, aim for a liquid temperature between 100°F and 110°F (38°C-43°C). If you have a kitchen thermometer, this is the most accurate way to check. Insert it into the liquid and wait for the reading to fall within this range before sprinkling your yeast. No thermometer? No problem! You can use the age-old wrist test, similar to how one checks a baby’s bottle. Spoon a few drops of the liquid onto the inside of your wrist. It should feel pleasantly very warm, but not uncomfortably hot. If it feels too hot to hold your finger in, it’s too hot for the yeast. Let it cool a little longer.
How to Craft the Perfect Dough
Making the dough for these vegan dinner rolls is a rewarding process. Follow these steps carefully to ensure a light, airy, and flavorful foundation for your rolls:
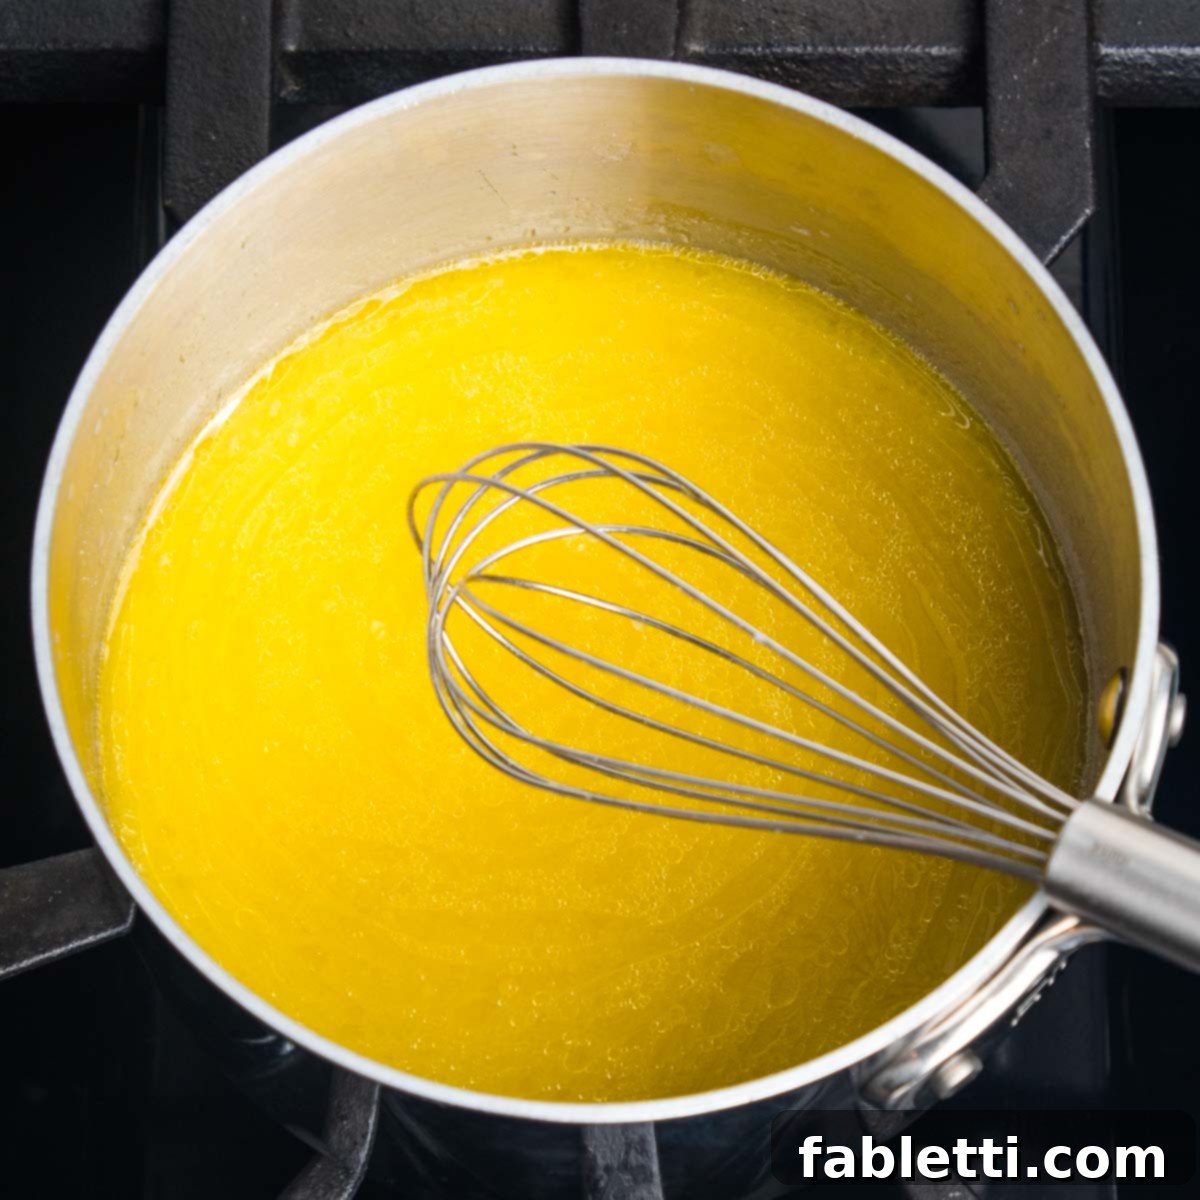
Begin by combining the olive oil, water, almond milk, and honey in a small saucepan. Place it over medium heat. Whisk continuously as the mixture warms, ensuring the honey fully melts and integrates smoothly into the liquids. Watch it closely; you want it to be very warm but not boiling. Remove from heat just as tiny bubbles begin to form around the edges, indicating it’s about to simmer. Immediately pour this warm liquid mixture into the bowl of your stand mixer.
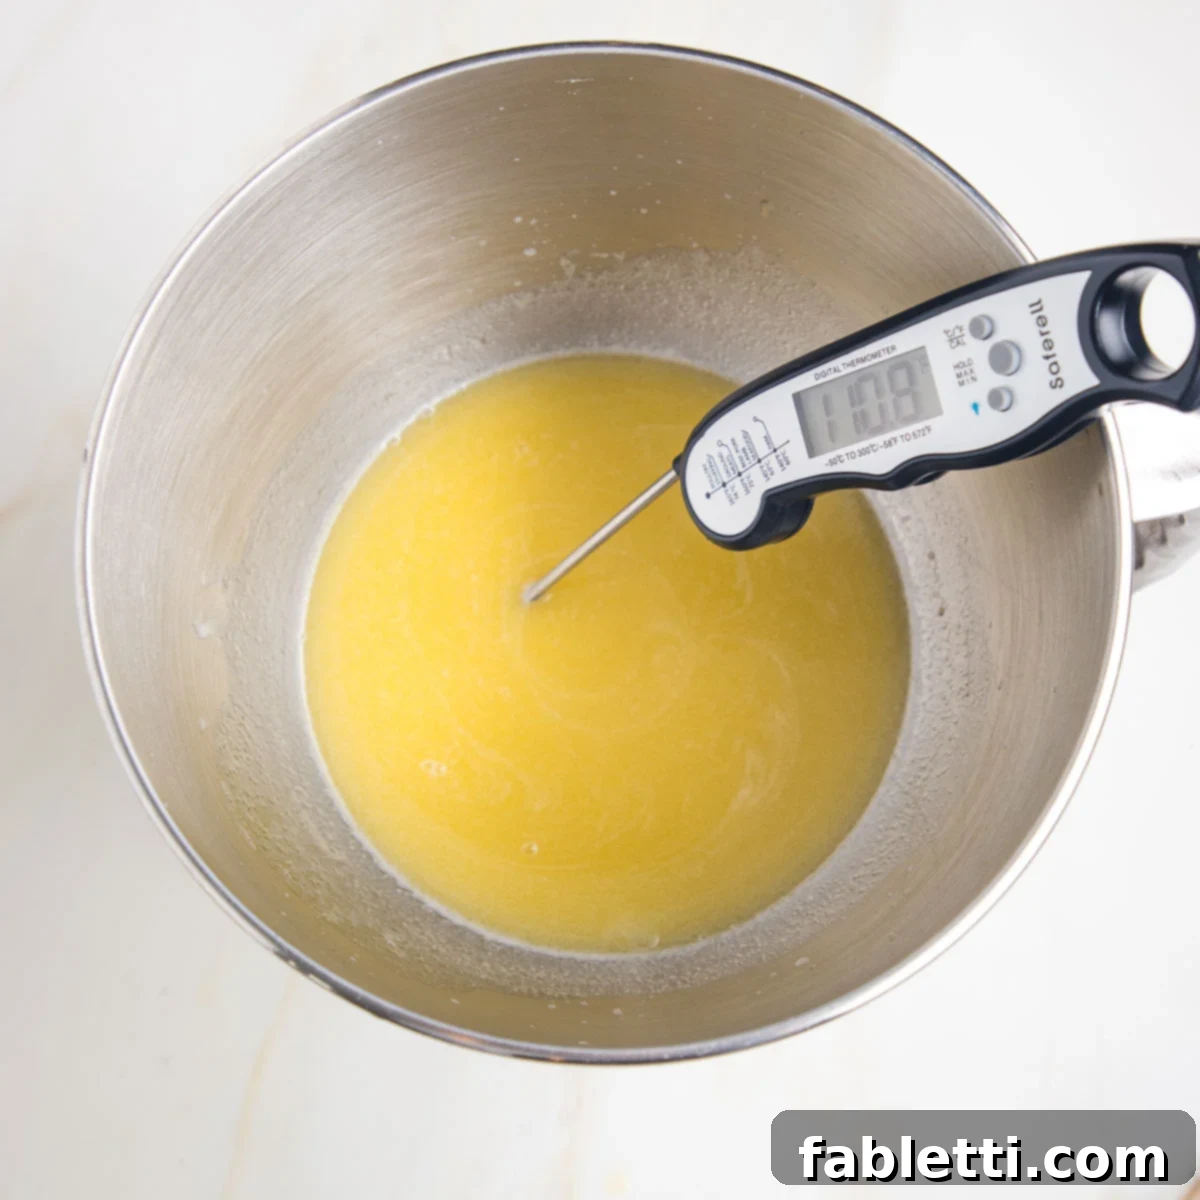
Now, it’s crucial to check the temperature of the liquid. For yeast to proof correctly, the liquid should be between 100°F and 110°F (38°C-43°C). If you own a kitchen thermometer, use it for precision. If not, rely on the wrist test: dab a few drops onto the inside of your wrist. It should feel notably warm, but not uncomfortably hot. If it’s too hot, wait a few minutes for it to cool down; if it’s too cool, you may need to gently re-warm it.
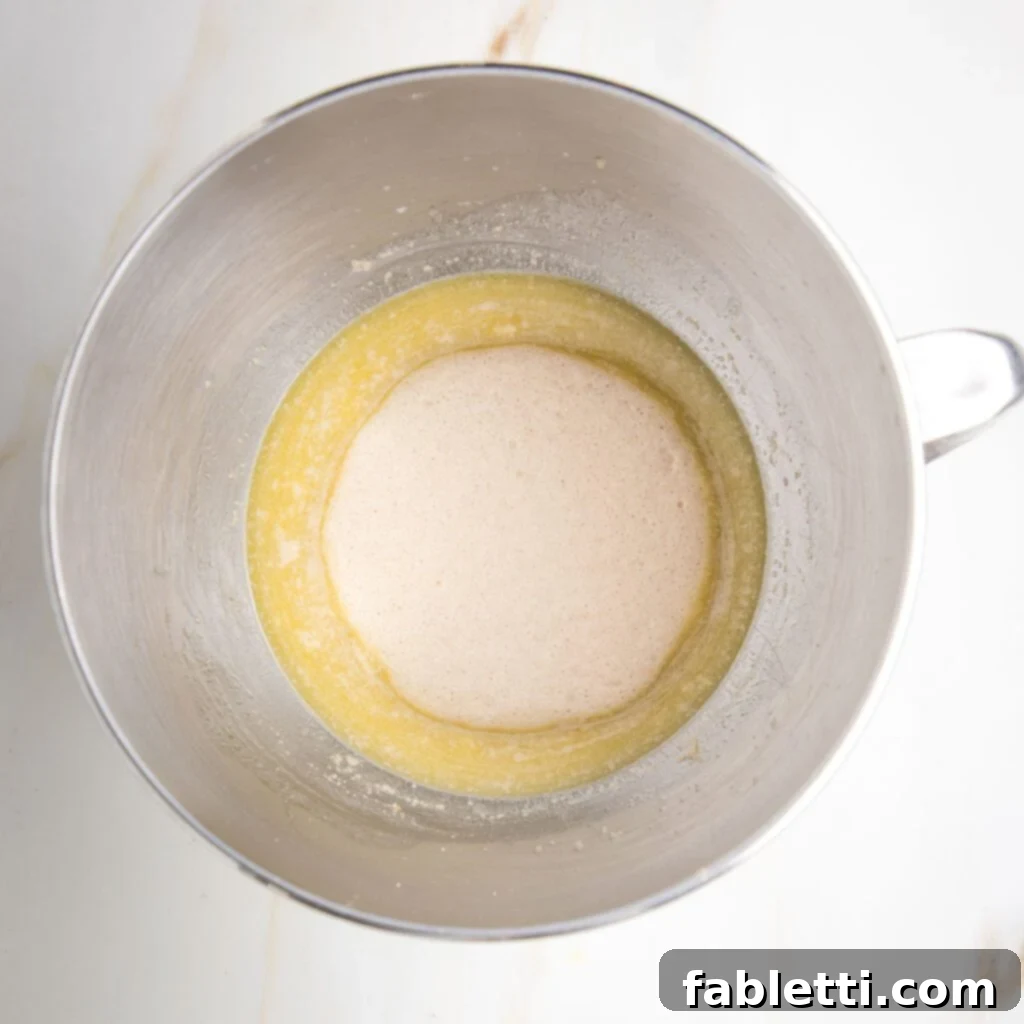
Once the liquid is at the ideal temperature, sprinkle the active dry yeast evenly over the surface. Do not stir it in immediately. Allow it to sit undisturbed for approximately 5 minutes. This waiting period is essential for the yeast to “proof” or activate. You’ll know it’s working if the mixture begins to foam and bubble, forming a creamy layer on top. This indicates the yeast is alive and ready to leaven your dough. If, after 5 minutes, there’s no visible activity, your liquid was likely too hot (or too cold), and you’ll need to start this step over with fresh yeast and carefully adjusted temperature. There’s no way to salvage inactive yeast.
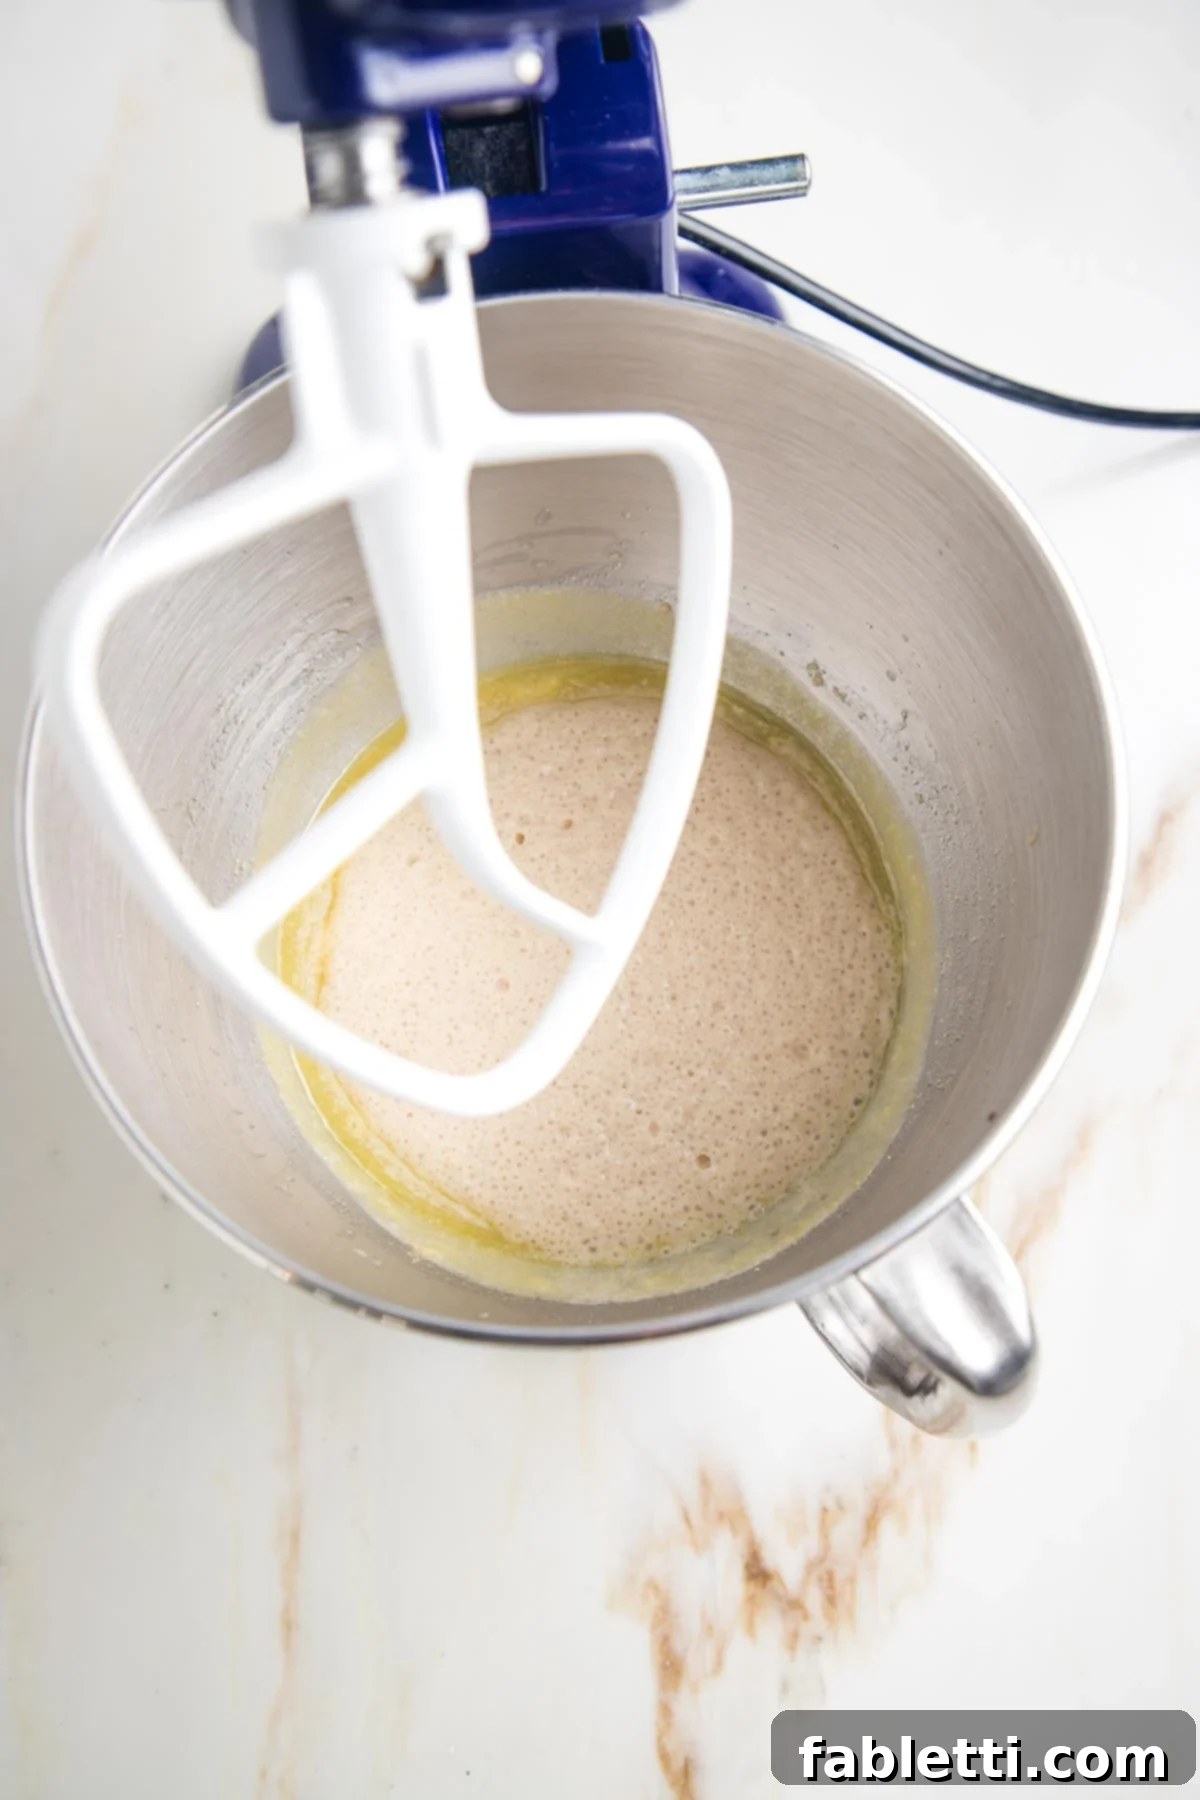
Now, it’s time to incorporate the flour. If you’re using a stand mixer, attach the paddle attachment. If you’re mixing by hand, grab a large sturdy bowl and a wooden spoon. Begin by adding 2 cups of the flour to the proofed yeast mixture. Turn your mixer on low speed, or stir gently with your wooden spoon, until the flour is just incorporated. At this stage, the mixture will be incredibly sticky and resemble a thick batter.
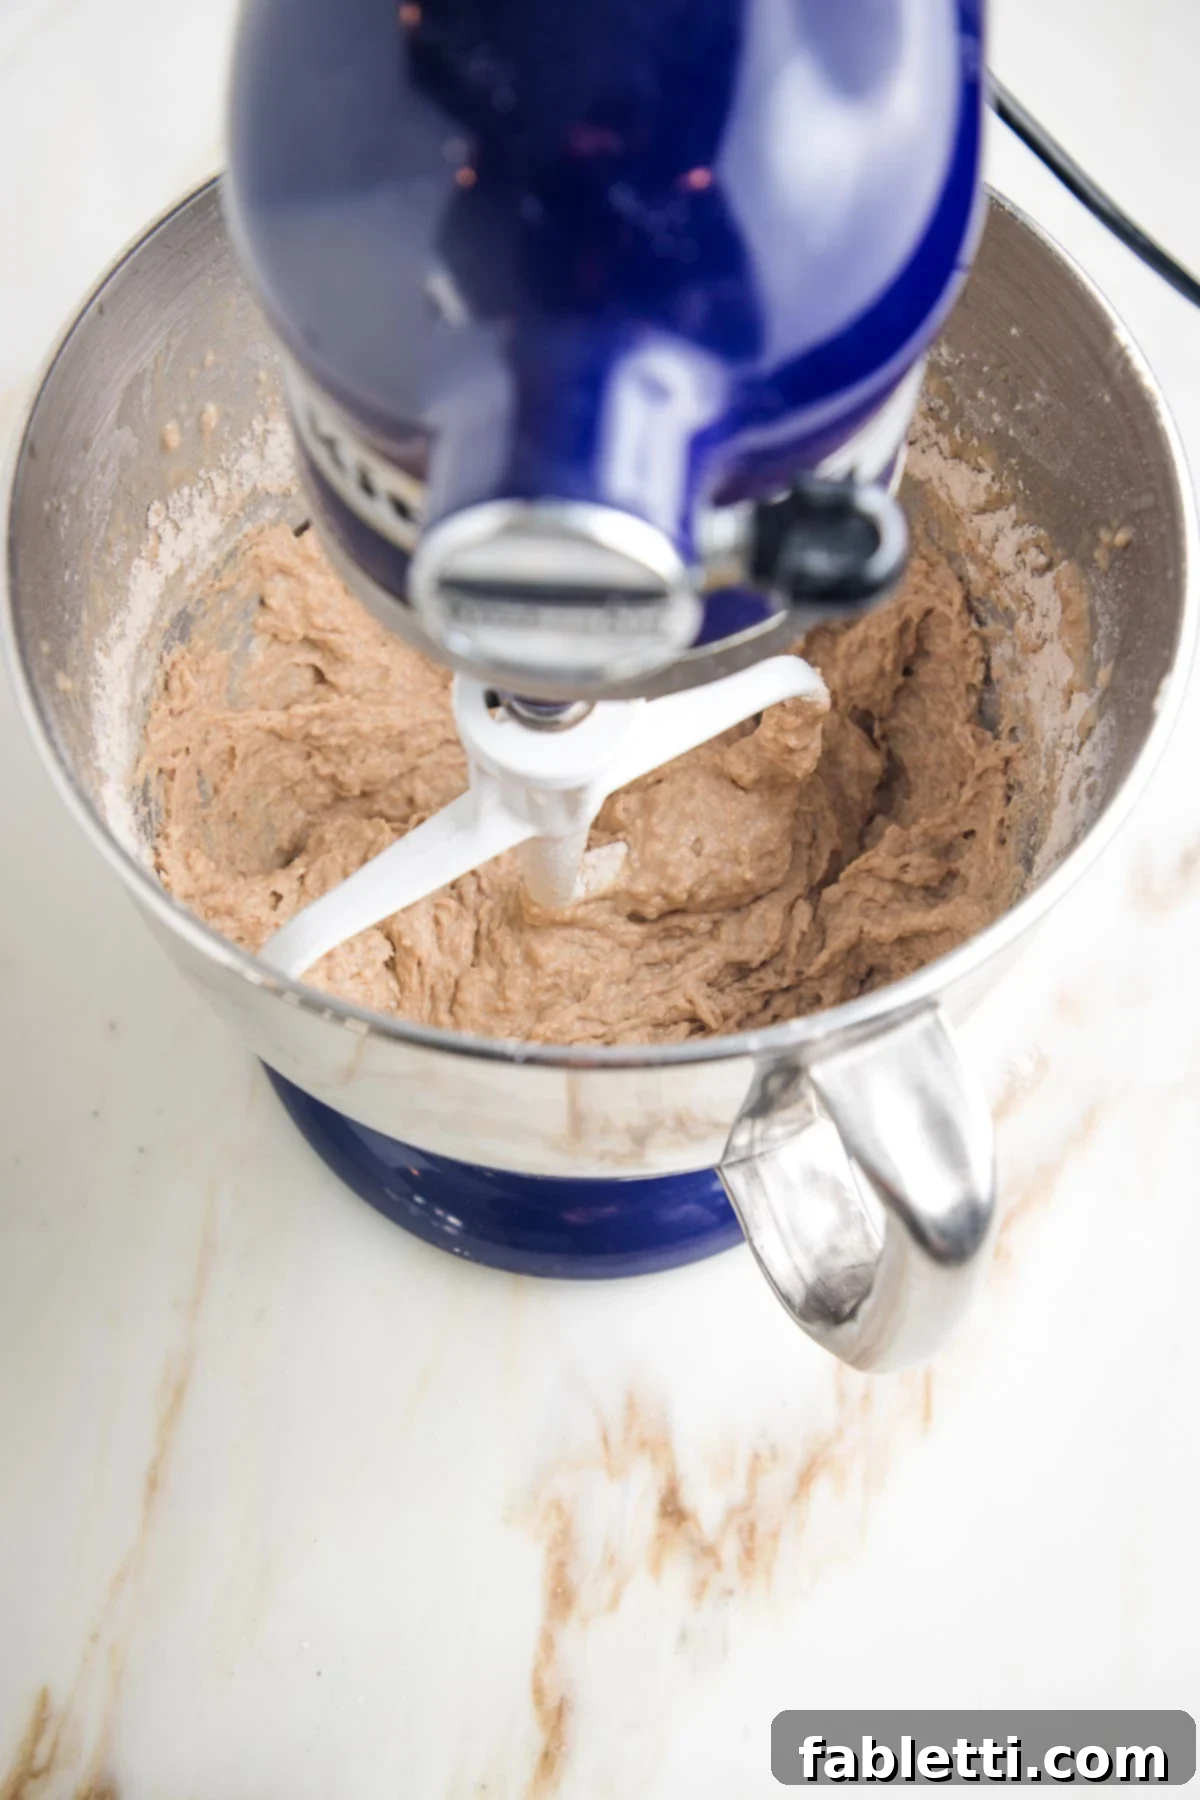
Once the first 2 cups of flour are mixed in, you’ll start to see a transformation. Continue mixing on low speed. The dough will still be very sticky, but it will gradually begin to come together. This initial mixing helps develop some of the gluten structure before the rest of the ingredients are added, which is important for the rolls’ elasticity and chewiness.
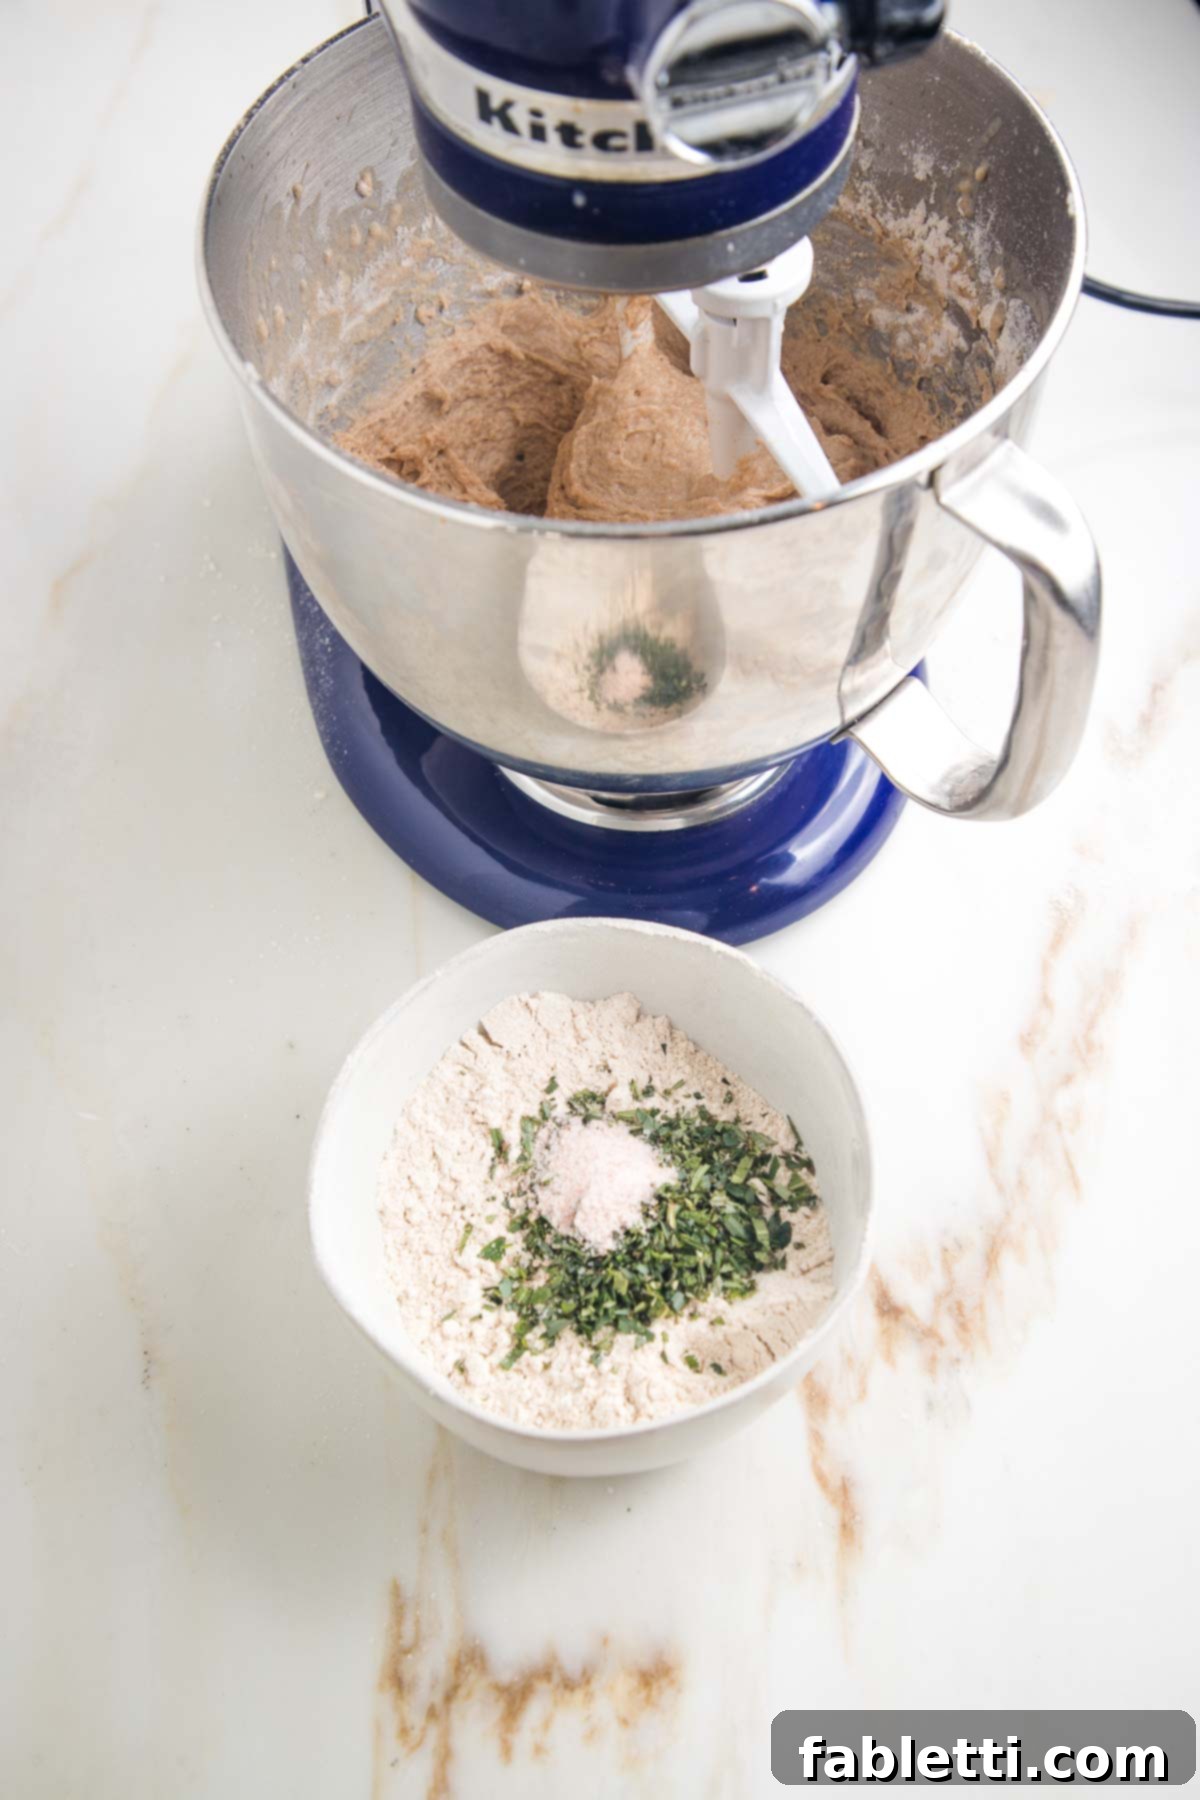
Before adding the remaining flour, set aside approximately two teaspoons of your finely chopped fresh herbs to use as a topping later. Add the rest of the fresh herbs and the ½ teaspoon of sea salt to the remaining flour. Now, add this seasoned flour mixture to the sticky dough in two halves, mixing on low speed after each addition until just combined. If you’re still mixing by hand, continue with your sturdy wooden spoon, working the dough until it starts to stiffen.
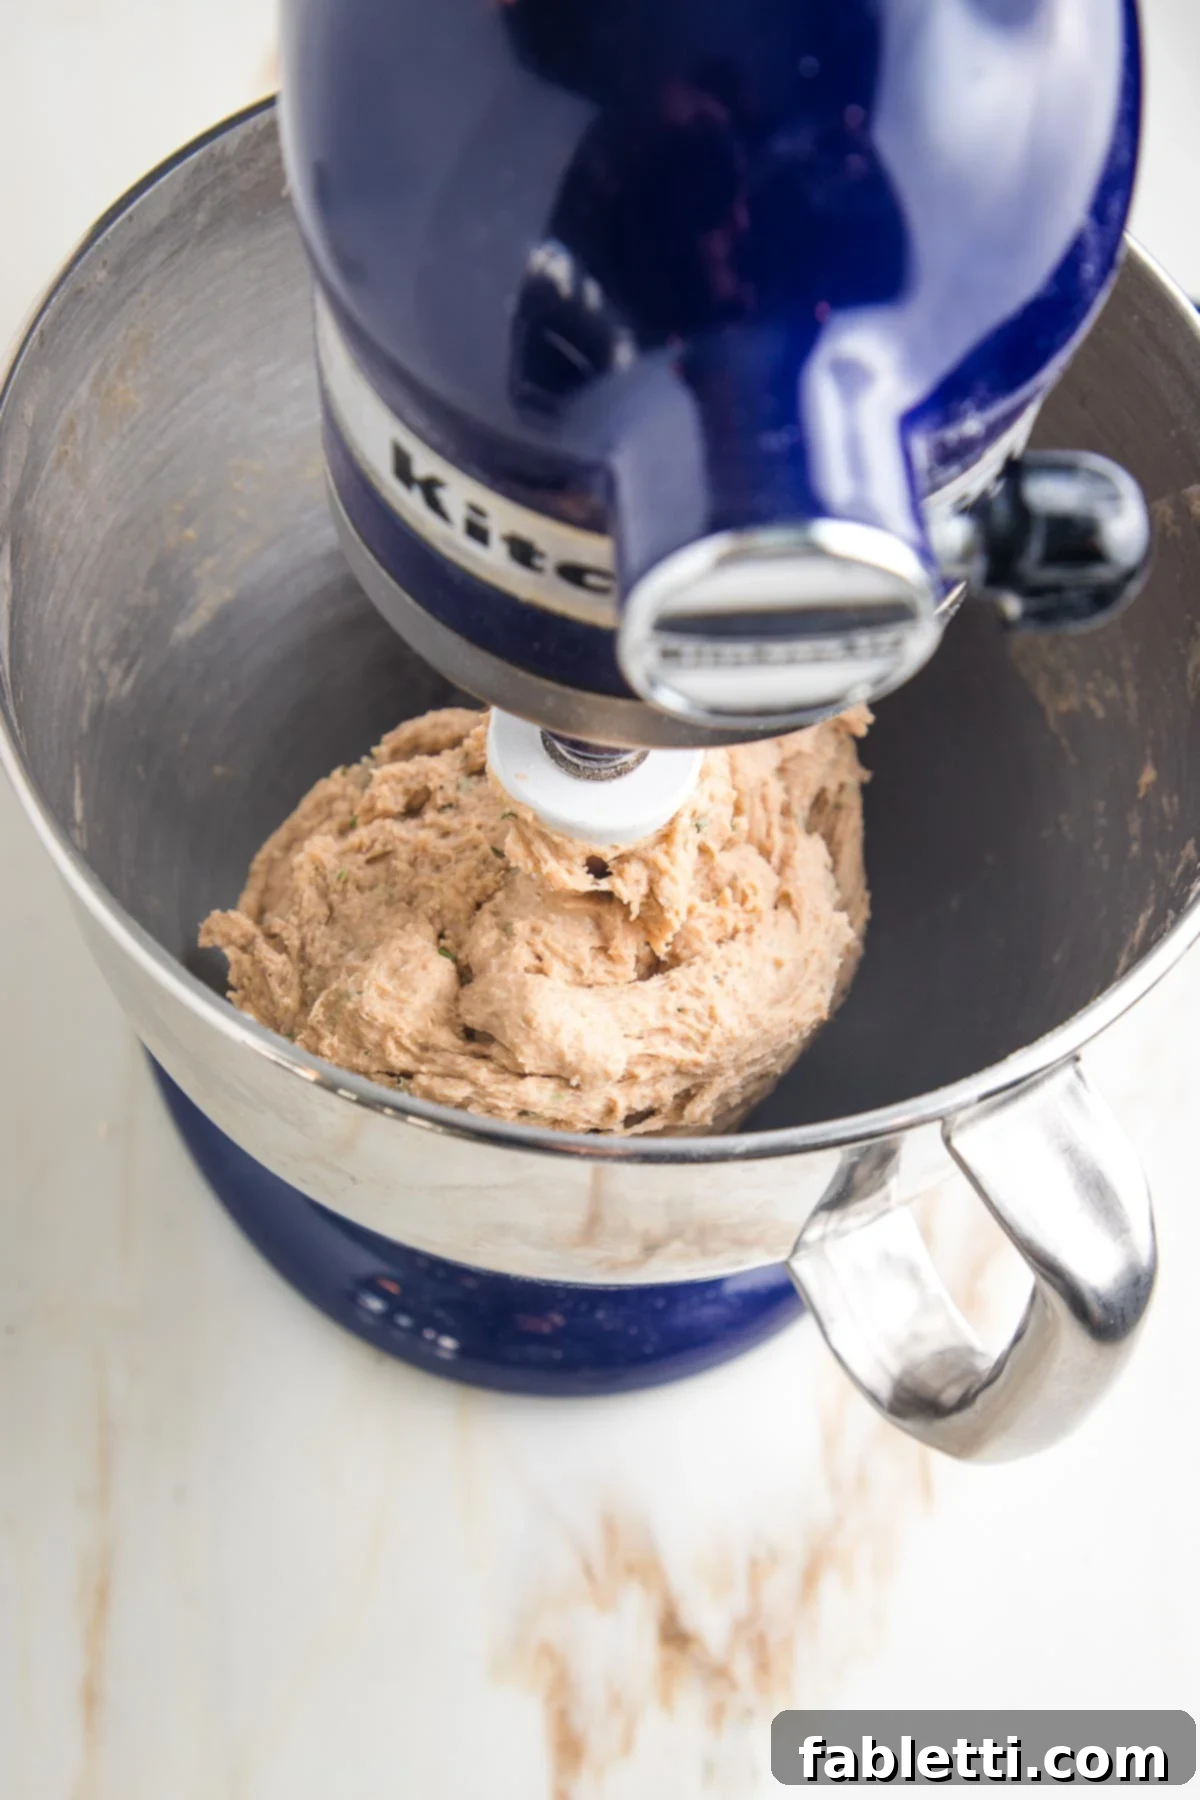
Continue kneading the dough on low speed with the paddle attachment (or switch to a dough hook if your mixer has one and you prefer, though paddle works fine). If kneading by hand, this is where you’ll transition from the wooden spoon to your hands. Knead until the dough becomes soft and smooth, about 5-7 minutes in a stand mixer, or 8-10 minutes by hand. The dough is perfectly kneaded when it pulls away cleanly from the sides of the mixing bowl but still clings slightly to the paddle attachment (or feels tacky but not overly sticky in your hands). If it’s too sticky, add an additional 1-2 tablespoons of flour, one at a time, until the desired consistency is achieved.
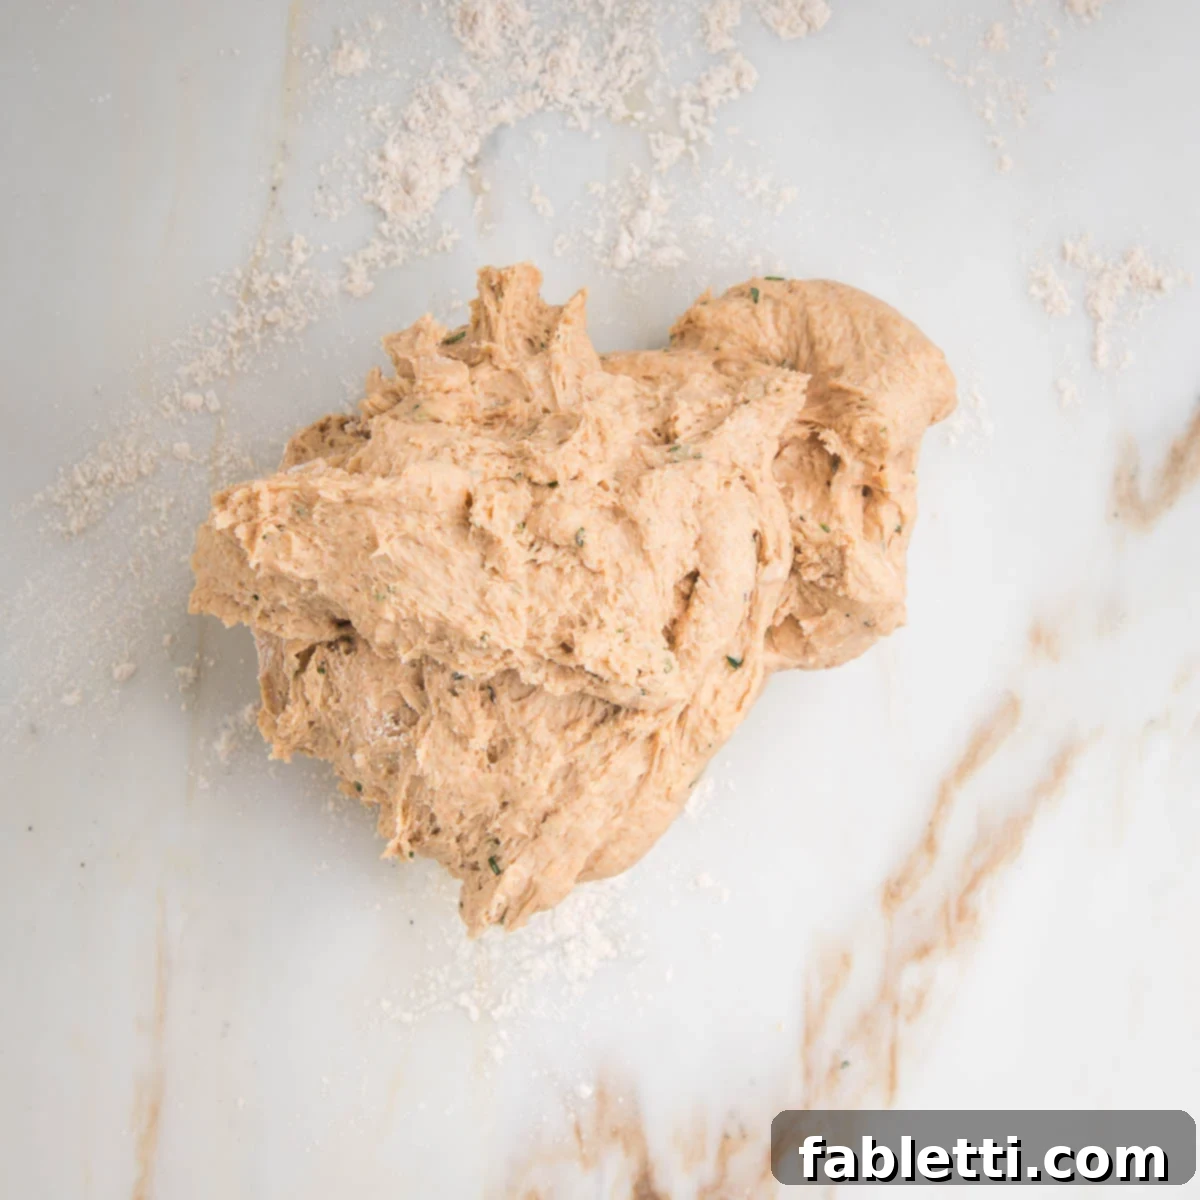
Once kneaded, turn the dough out onto a lightly floured surface. At this point, the dough might still have a slightly rough, shaggy texture, which is completely normal. Don’t be alarmed; its appearance will soon transform.
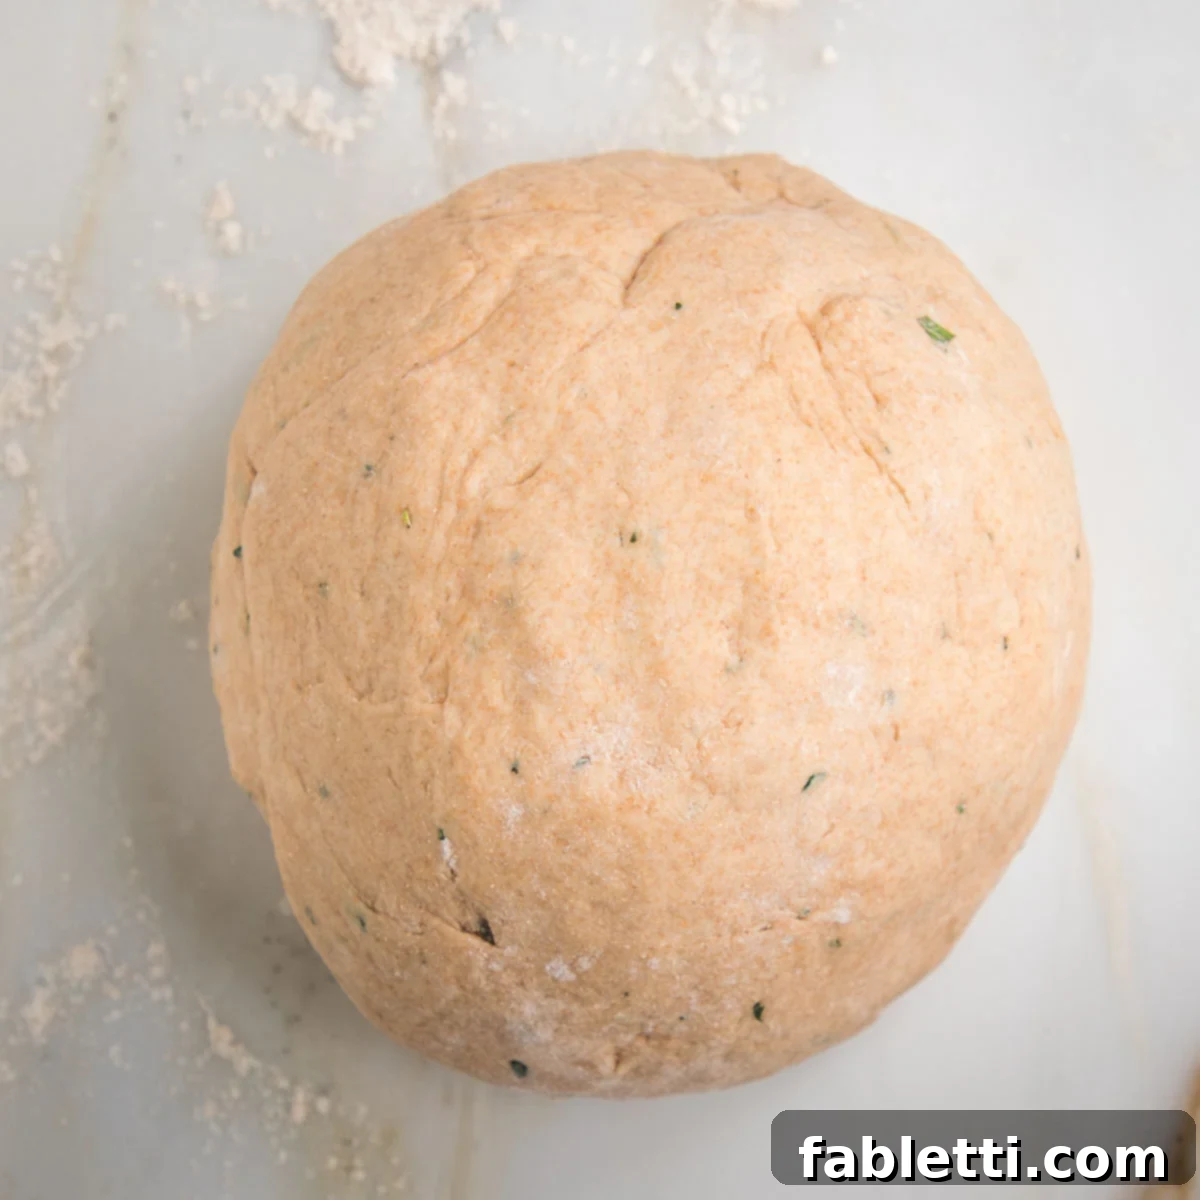
Gently knead the dough a few more times on your floured surface, just until it becomes smooth and pliable. Then, gather the dough and deftly shape it into a large, cohesive ball. You should be able to see flecks of the fresh herbs beautifully marbled throughout the dough, hinting at the delicious flavors to come.
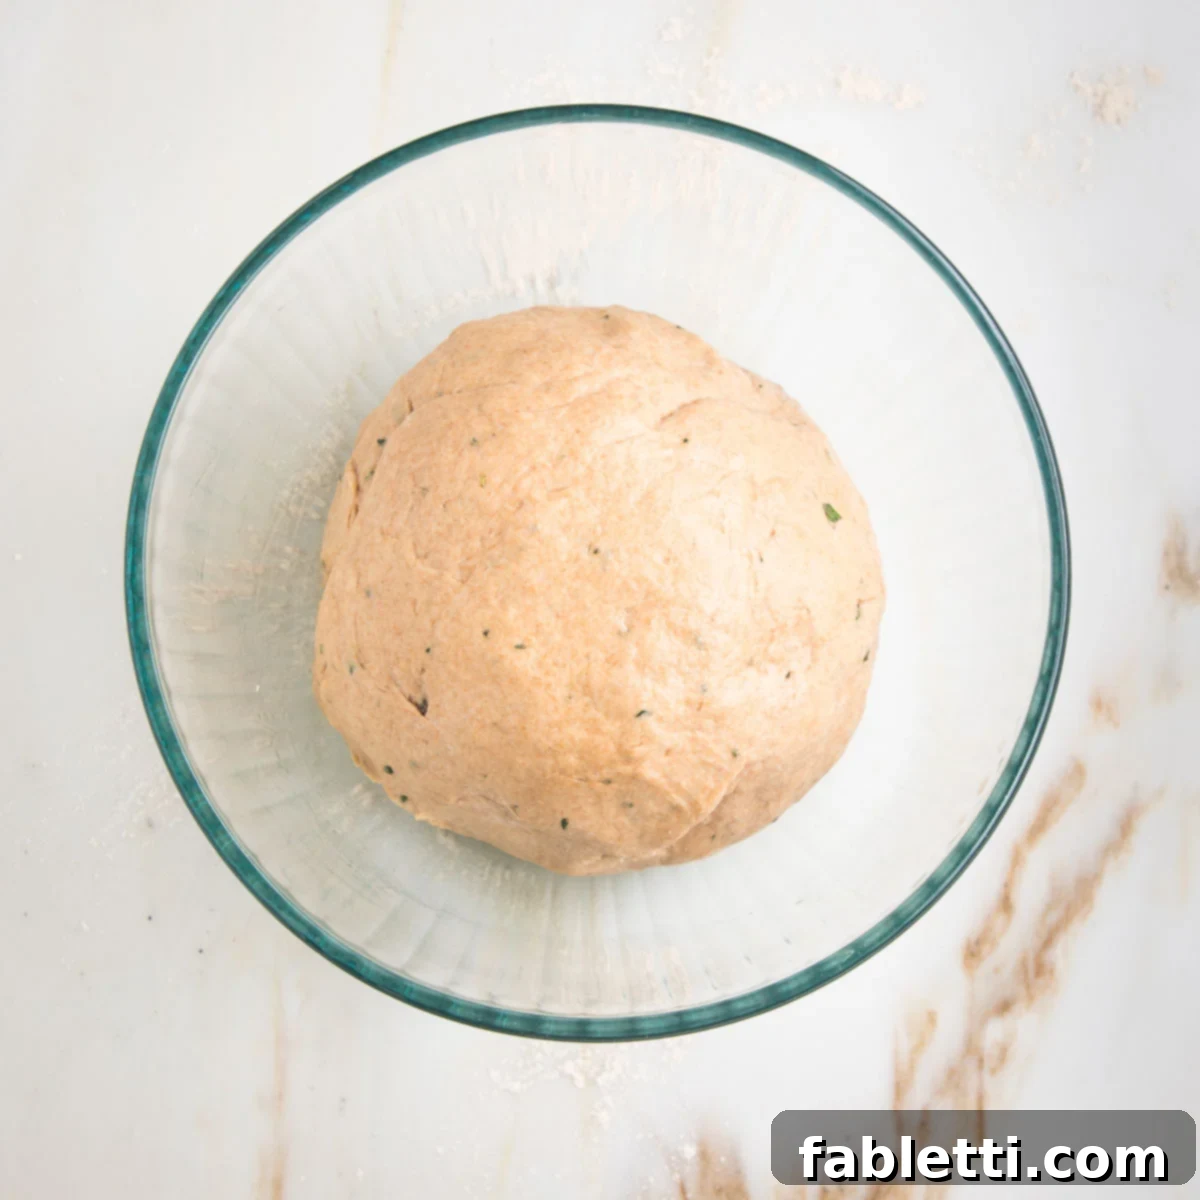
Pour 1-2 teaspoons of olive oil into a large, clean bowl. Place the shaped dough ball into the bowl and roll it around gently, ensuring all sides are lightly coated with the oil. This prevents the dough from sticking as it rises. Once coated, cover the bowl tightly with a clean kitchen dish towel. The towel provides a warm, slightly humid environment essential for the yeast to thrive.
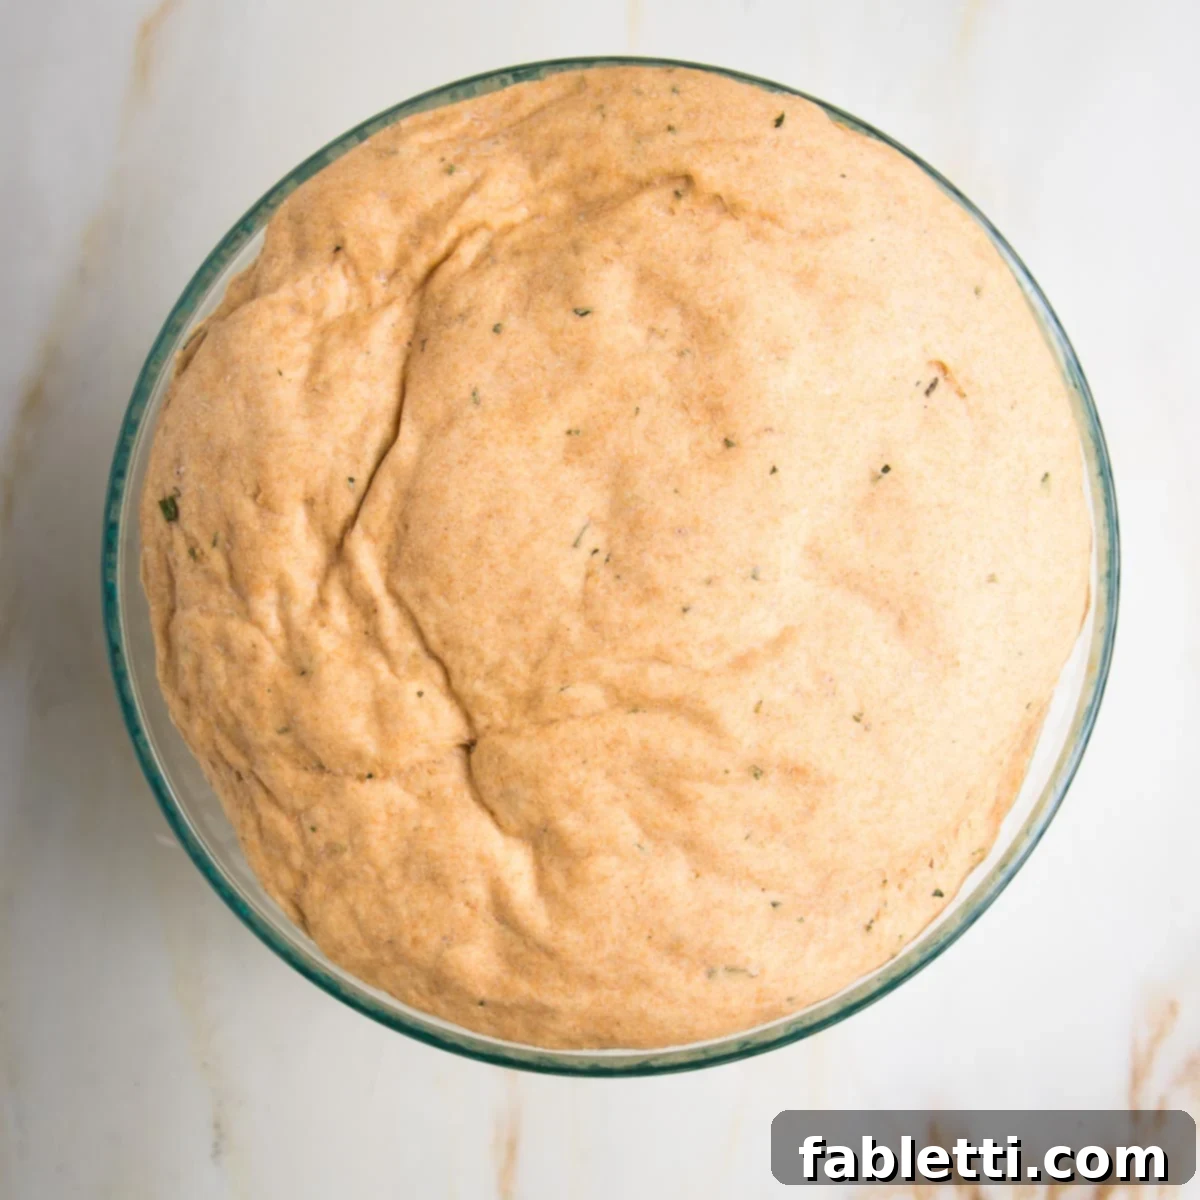
Place the covered bowl in a warm, draft-free spot in your kitchen. Allow the dough to rise until it has doubled significantly in size. This first rise, often called the bulk fermentation, typically takes around 90 minutes. You’ll notice the dough becoming visibly puffy and light. The exact time can vary depending on your kitchen’s temperature, so rely on visual cues rather than strict timing.
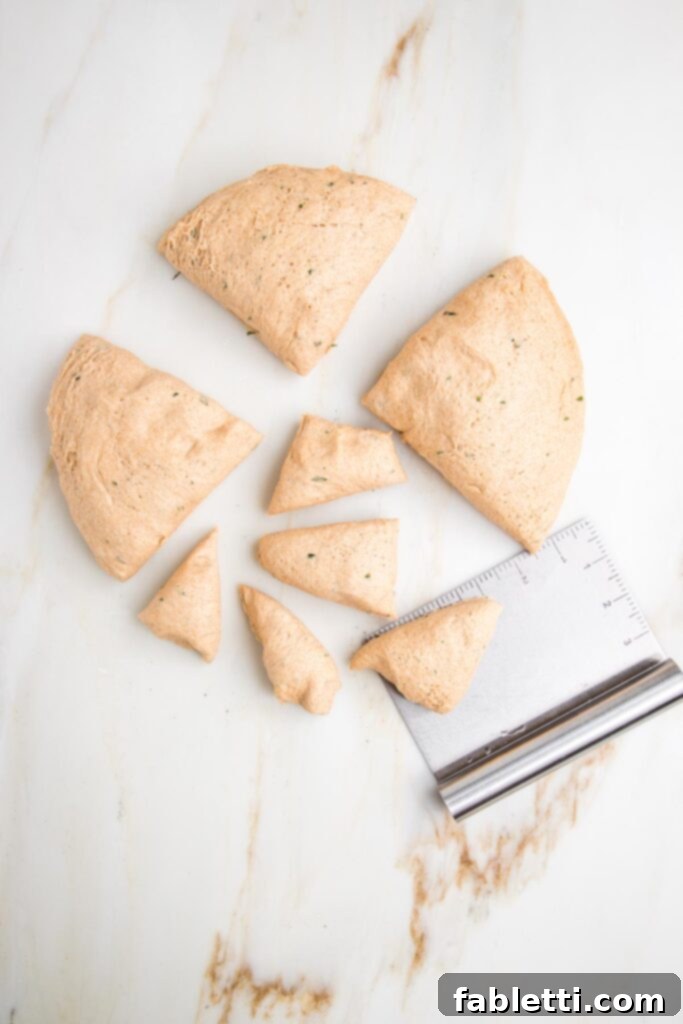
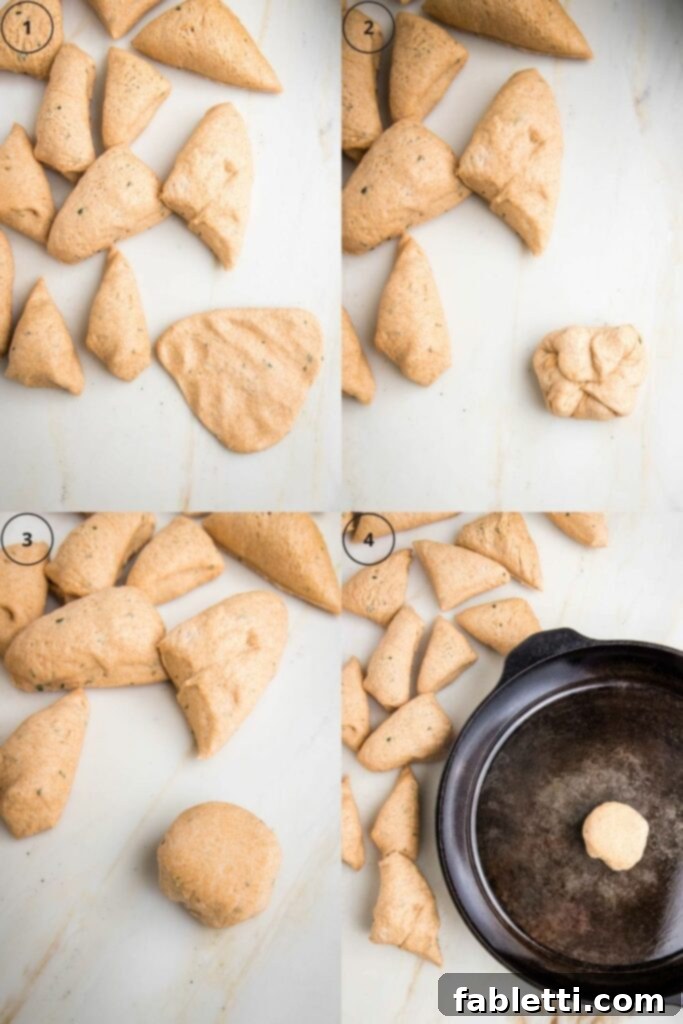
Once the dough has completed its first rise and doubled in size, gently turn it out onto a lightly floured surface. It should feel incredibly soft and pleasant to the touch. To portion the dough evenly, start by using a dough scraper or knife to divide the large ball into four equal sections. Then, take each quarter and cut it into five equal pieces. This method should yield approximately 20 individual pieces of dough. While perfectly uniform rolls can be achieved by weighing each piece (aim for just over 2 ounces per roll), the “eyeball method” works perfectly well, and a slight variation in size only adds to their homemade charm. Rest assured, they will all be equally delicious!
Shaping and Baking Your Fluffy Rolls
Before you start shaping, prepare your baking vessel. You’ll need either a 9×13 inch baking dish or a 12-inch cast iron skillet, both lightly greased. This ensures the rolls don’t stick and develop a beautiful golden crust.
- Shape the Dough: Take one of the portioned pieces of dough. Gently stretch and flatten it with your hands into a small disc. This helps release some of the air from the first rise and creates a smoother surface.
- Fold and Tuck: Bring the edges of the flattened dough piece into the center, effectively folding the sides over onto themselves. Pinch the seams together firmly at the bottom to seal. Imagine gathering the corners of a small cloth purse.
- Create a Smooth Top: Flip the dough ball over so that the smooth, seam-free side is now facing upwards. Gently cup it in your hands and roll it against your work surface in a circular motion to create a taut, perfectly round ball. This technique helps build surface tension, which contributes to a beautiful rise and shape.
- Arrange in Pan: Carefully place the shaped dough ball into your prepared baking pan. Continue this shaping process with the remaining dough pieces, arranging them snugly next to each other in the pan. They should be close but not overly crowded, as they will expand during the second rise and baking.
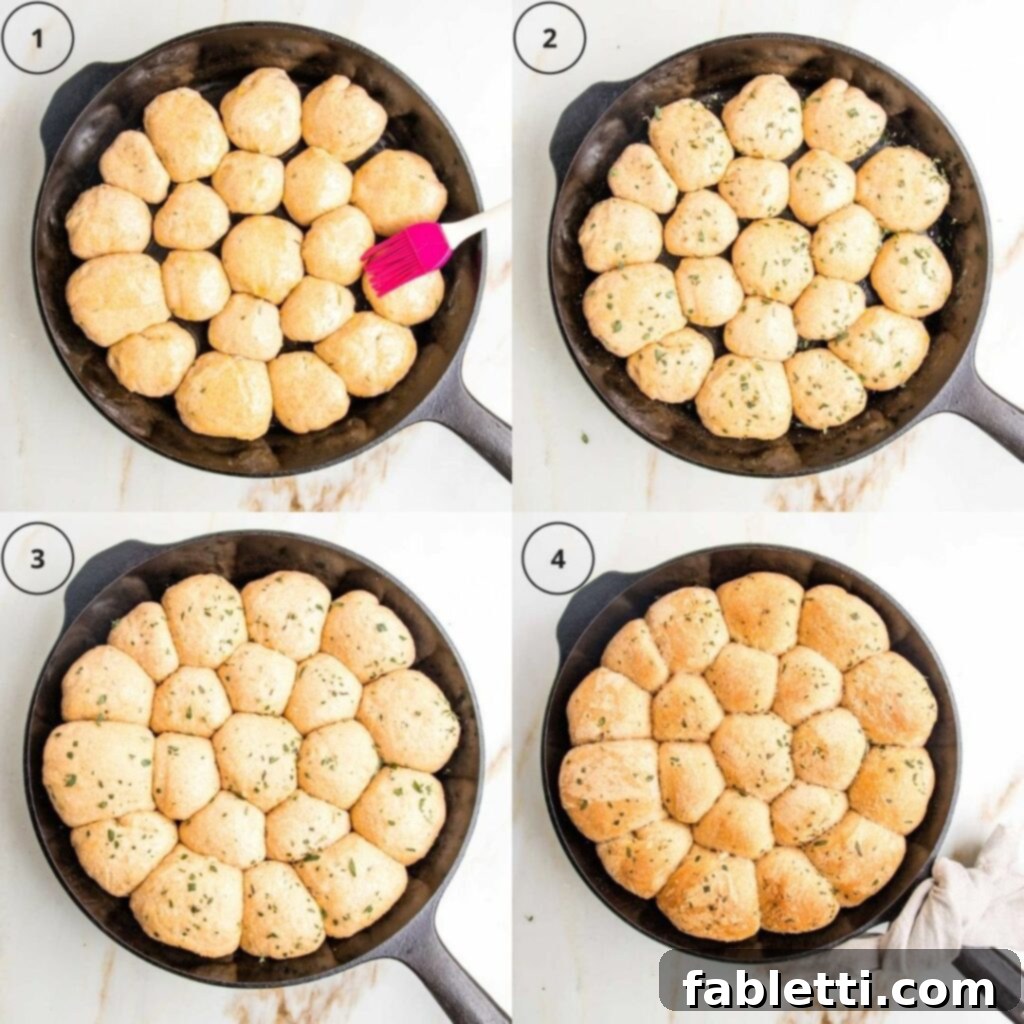
- Brush and Season: Once all the rolls are nestled in the pan, use a pastry brush to lightly coat the tops of each roll with the remaining tablespoon of olive oil. This extra oil helps create a beautiful golden crust and keeps the rolls moist.
- Add Final Touches: Generously sprinkle the reserved fresh herbs (the two teaspoons you set aside earlier) over the oiled tops of the rolls. Follow this with a light dusting of coarse sea salt. These toppings not only add incredible flavor but also create a visually appealing finish.
- Second Rise: Cover the baking pan loosely with a clean dish towel. Place it in a warm, draft-free location and allow the rolls to rise for another 30 minutes. This second, shorter rise is crucial for developing their final light and airy texture. While the rolls are rising, preheat your oven to 350°F (175°C).
- Bake to Perfection: Once the rolls have completed their second rise, place the uncovered pan into your preheated oven. Bake for approximately 25 minutes, or until the tops are beautifully golden brown and the rolls sound hollow when tapped lightly. The aroma filling your kitchen will be absolutely incredible!
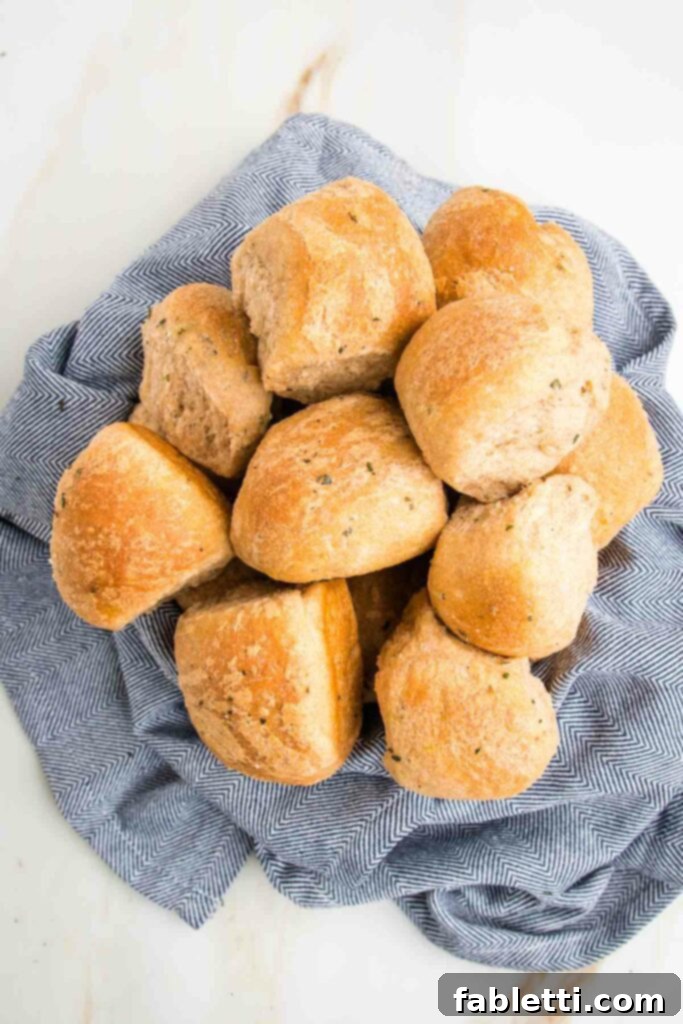
Once baked, immediately remove the rolls from the oven. For the best flavor and texture, serve them warm, directly from the pan. The heavenly aroma of fresh herbs and warm bread is truly irresistible. Enjoy your soft, fluffy, and perfectly savory vegan dinner rolls!
Plan Ahead: Making Rolls in Advance
These vegan dinner rolls are incredibly accommodating for advanced preparation, allowing you to enjoy freshly baked bread with minimal last-minute effort. Here’s how to prepare them ahead of time:
Overnight Refrigeration: You can prepare and shape the dough into individual balls up to a full day before you plan to bake. Once the rolls are shaped and placed in their baking pan, cover the pan tightly with plastic wrap. Refrigerate it for 12 hours or overnight. When you’re ready to bake, remove the pan from the refrigerator and let it come to room temperature. This will take approximately 1-2 hours, or until the dough has doubled in size again. Then, bake as directed in the recipe.
Freezing for Longer Storage: To freeze dinner rolls for baking at a much later date, follow these steps: After shaping the dough into individual balls, arrange them on a baking tray, ensuring they are spaced apart so they don’t touch. Freeze the dough balls for a minimum of 3 hours, or until they are solid. Once frozen, transfer the solid dough balls to a freezer-safe zip-top bag or airtight container. They can be stored in the freezer for up to 3 months. When you’re ready to enjoy fresh rolls, remove the desired number of frozen dough balls and place them on a greased baking pan. Allow them to defrost and rise at room temperature for about 3 hours (or longer if your kitchen is cool) until they have doubled in size. Then, bake according to the recipe instructions.
Chef’s Insights: Debra’s Pro Tips for Perfect Rolls
- Clever Measuring Hack: To ensure your oil and honey both slide out of the measuring cup easily without sticking, measure the oil first. The residual oil in the cup will then allow the sticky honey to slip out effortlessly, saving you from a messy cleanup.
- Invest in Fresh Herbs: While dried herbs work, there’s nothing quite like the vibrant flavor and aroma of fresh herbs. Treat yourself to a small pot of your favorite herbs (rosemary, thyme, sage). They will flourish beautifully on a sunny windowsill, providing you with a continuous supply for this recipe and many others.
- Prevent a Flour Cloud: When adding flour to your mixer, especially in the initial stages, always keep the mixer speed on low. This prevents flour from puffing up and creating a dusty mess in your kitchen, ensuring a smooth and controlled mixing process.
- Fresh Rolls On Demand: By freezing individual dough balls, you gain the incredible flexibility to bake just the right amount of rolls whenever you desire. No need to bake a whole batch if you only want a few fresh, warm rolls for a meal.
- Yeast Check is Crucial: If your yeast doesn’t show signs of activity (bubbling and foaming) after 5 minutes of proofing, it’s best to discard that batch and start over. It means the yeast is no longer viable, likely due to incorrect liquid temperature. Learning this step correctly will ensure perfectly risen dough every time thereafter.
- Embrace the “Tacky” Dough: The ideal dough for these rolls should feel slightly tacky to the touch, but not sticky enough to cling stubbornly to your hands. This perfect balance indicates sufficient hydration and proper kneading, contributing to the rolls’ signature softness.
📖 The Ultimate Vegan Dinner Rolls Recipe
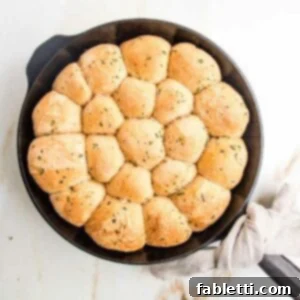
Vegan Dinner Rolls
★
★
★
★
Rate this Recipe
Pin Recipe
Equipment
- Pastry Brush
- Sauce Pan with Lid
- Balloon Whisk
- KitchenAid Stand Mixer
Ingredients
- ¼ cup olive oil + 1 Tablespoon for brushing
- ¾ cup almond milk (or other plant-based milk)
- ¾ cup water
- ¼ cup honey* (see notes for vegan substitute)
- 2 ¼ teaspoons active dry yeast* (1 packet)
- 4 cups flour* (all-purpose or gluten-free blend)
- 2 Tablespoons finely chopped fresh herbs* (e.g., thyme, rosemary, sage)
- ½ teaspoon sea salt
Instructions
- In a small saucepan, combine ¼ cup olive oil, almond milk, water, and honey. Whisk the mixture continuously over medium heat until the honey has completely melted and is fully incorporated into the liquid. It’s crucial not to let it boil; remove from heat just before it reaches a simmer, when tiny bubbles begin to form around the edges.
- Carefully pour the warm liquid mixture into the bowl of your stand mixer. Before adding the yeast, test the temperature of the liquid. For optimal yeast activation, a kitchen thermometer should read between 100°F and 110°F (38°C-43°C). Alternatively, test a few drops on your inner wrist; it should feel pleasantly very warm, but not uncomfortably hot.
- Once the temperature is correct, sprinkle the active dry yeast evenly over the surface of the liquid. Let it sit undisturbed for approximately 5 minutes. During this time, the yeast should “proof” by bubbling and forming a foamy layer on top. If no activity is observed after 5 minutes, the yeast is not viable, and you will need to start this step over with fresh yeast and carefully adjusted liquid temperature.
- If using a stand mixer, attach the paddle attachment. Begin by adding 2 cups of the flour to the proofed yeast mixture. Keep the mixer on low speed and mix until the flour is just incorporated. The mixture will be very sticky at this stage, resembling a thick batter.
- To the remaining flour, add all but 2 teaspoons of the finely chopped fresh herbs, along with the ½ teaspoon of sea salt. Add this seasoned flour mixture to the mixer in two halves, mixing on low speed after each addition until just combined. Increase the mixer speed to medium and continue kneading until the dough is soft and smooth. The dough should be tacky but not overly sticky and will pull away cleanly from the sides of the mixing bowl when it’s ready.
- Turn the kneaded dough out onto a lightly floured surface. Gently shape the dough into a smooth ball. Lightly grease a large bowl with 1-2 teaspoons of olive oil, place the dough ball inside, and roll it to coat. Cover the bowl with a clean kitchen towel and allow the dough to rise in a warm, draft-free place until it has visibly doubled in size. This first rise will take approximately 90 minutes.
- Once risen, gently turn the dough out onto a lightly floured surface. The dough should feel soft and elastic. Using a dough scraper or knife, first cut the large dough ball into 4 equal quarters. Then, divide each quarter into 5 equal pieces. This method should yield a total of 20 individual dough balls for your rolls.
- To shape each roll, take one piece of dough and flatten it slightly with your hands. Then, fold the edges of the dough towards the center, tucking them in until you form a tight ball. Flip the ball over so the smooth, seam-side is facing upwards. Roll it gently between your palm and the work surface to create a perfectly round, taut roll.
- Place each shaped dough ball into a lightly greased 9×13 inch baking pan or a 12-inch cast iron skillet, arranging them snugly together. Once all rolls are in the pan, brush the tops with the remaining tablespoon of olive oil. Sprinkle with the 2 teaspoons of reserved fresh herbs and a pinch of coarse sea salt. Cover the pan loosely with a dish towel and allow the rolls to rise for a second time, for about 30 minutes. During this time, preheat your oven to 350°F (175°C).
- Bake the rolls in the preheated 350°F (175°C) oven for approximately 25 minutes, or until their tops are beautifully golden brown and they sound hollow when gently tapped.
- For best freshness, enjoy these rolls warm from the oven. Store any leftover rolls in an airtight container at room temperature for up to 3 days, or in the refrigerator for up to a week. For longer storage, they can be frozen for up to 3 months.
Notes
YEAST: One standard packet of active dry yeast typically contains 2 ¼ teaspoons, which is the amount called for in this recipe. While active dry yeast is preferred for its consistent results, instant or rapid rise yeast can also be used. If using instant yeast, the initial rise time may be shortened to approximately one hour.
FLOUR: This recipe was successfully tested and photographed using King Arthur Measure for Measure Gluten-free Flour. However, it is a versatile recipe, and any good quality all-purpose flour will yield excellent results.
HERBS: Feel free to experiment with your favorite savory herbs! A delightful blend often includes rosemary, thyme, and sage. Other excellent choices are oregano or finely chopped fresh parsley. Ensure the herbs are finely chopped to distribute their flavor evenly throughout the dough.
Nutrition
Note
The nutrition calculations provided here are based on online tools and estimations. For the most accurate representation of the nutritional information for any given recipe, it is recommended to calculate the nutritional values using the actual ingredients you have on hand. Ultimately, you are responsible for verifying that any nutritional information is accurate, complete, and suitable for your specific needs.
