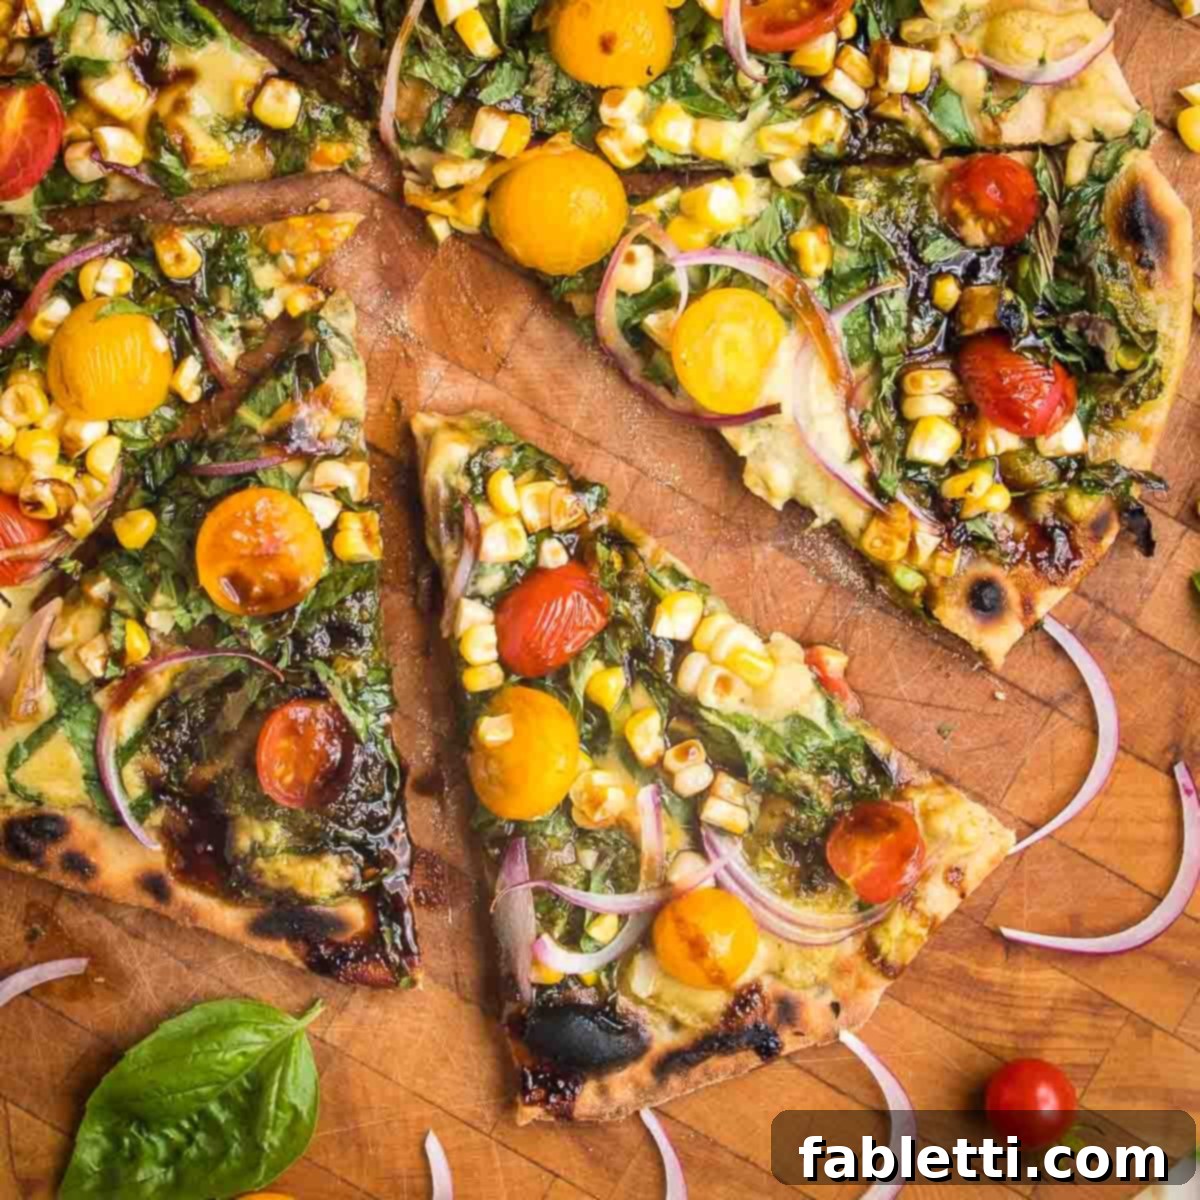
Forget the long waiting times associated with traditional pizza dough! This incredible no yeast flatbread recipe is your ticket to a quick, easy, and incredibly delicious pizza night. Imagine a perfectly thin and crispy crust, ready to be adorned with all your favorite toppings, all without a single minute of rise time. It’s a game-changer for homemade pizza, transforming what used to be a lengthy process into a fast and fun culinary adventure. Whether you’re craving a light appetizer or a hearty plant-based dinner, this crispy flatbread delivers satisfaction in record time.
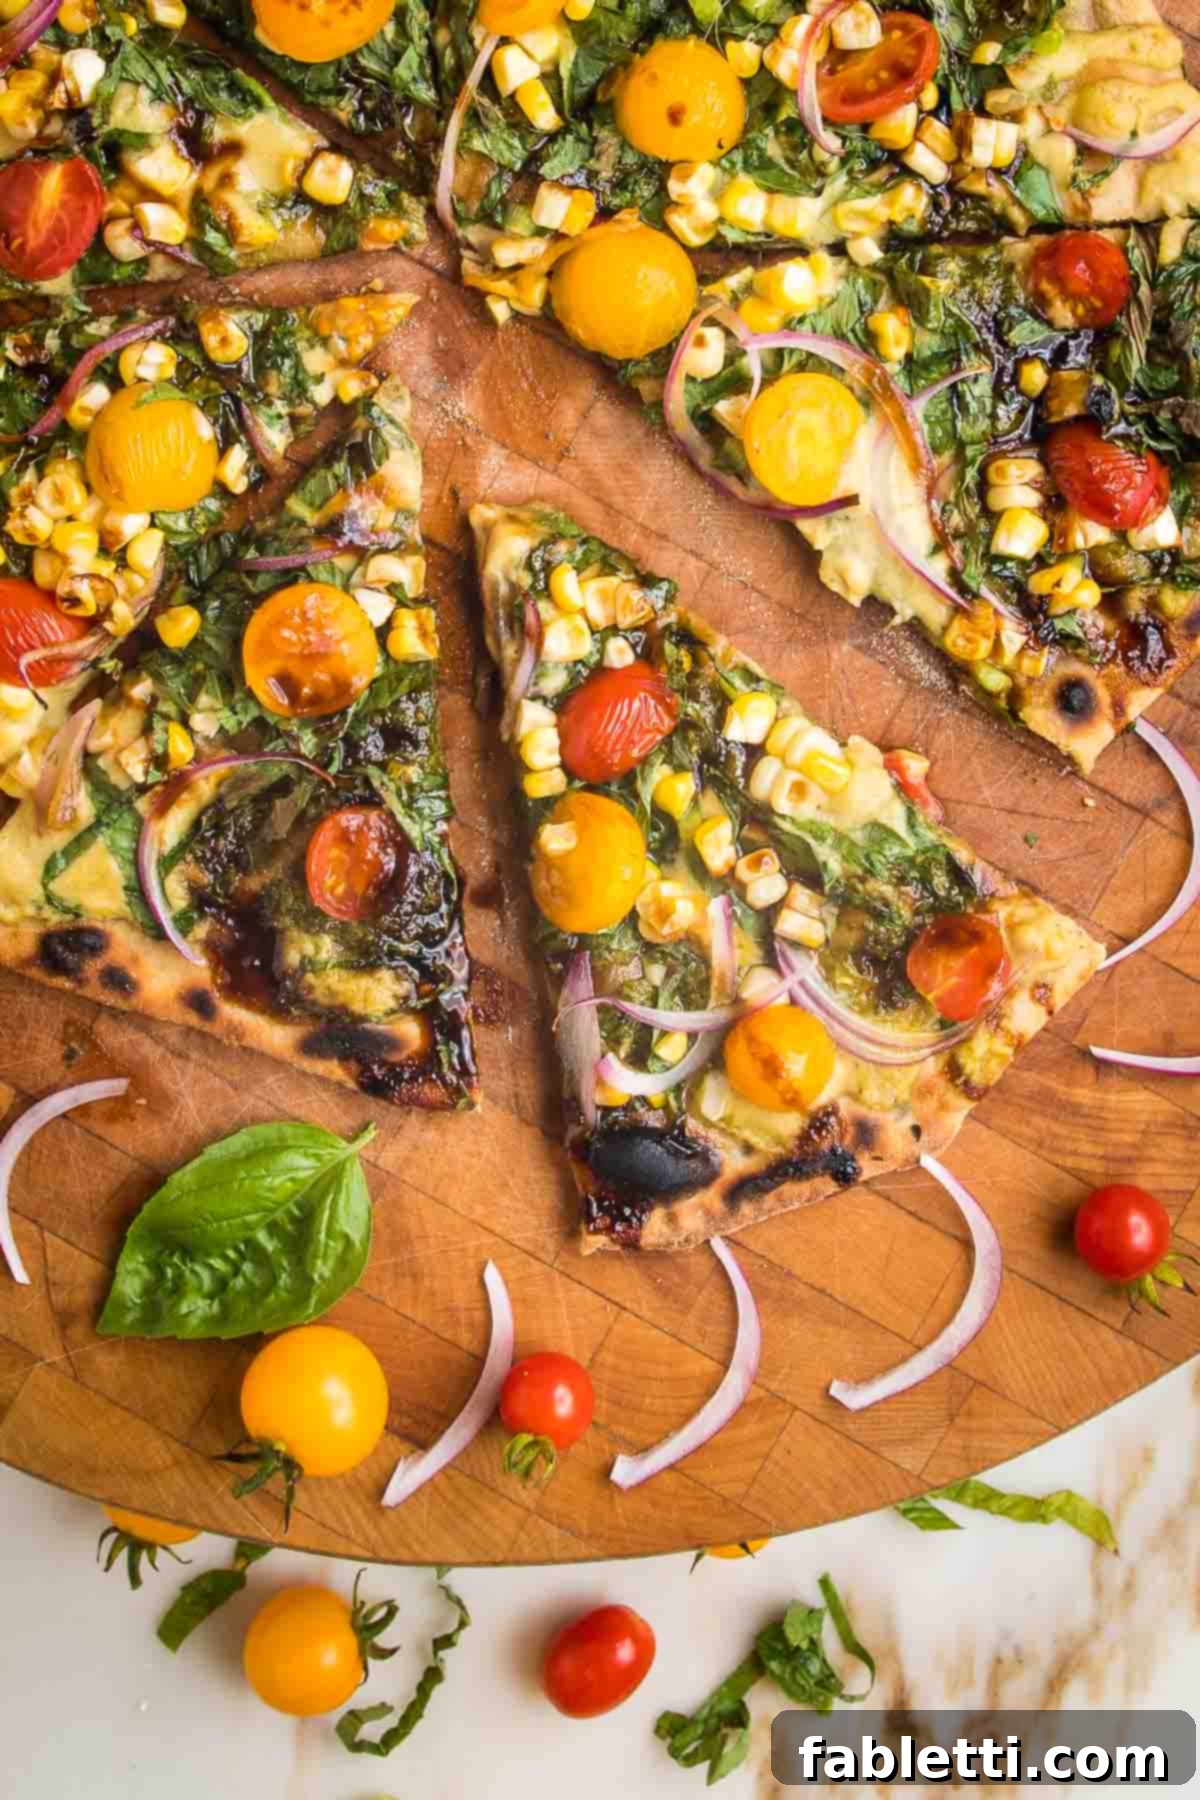
For those who find traditional pizza dough a bit too thick and “doughy,” the search for the perfect pizza crust truly ends here. This flatbread pizza recipe is crafted specifically for lovers of a light, thin, and wonderfully crispy base. It provides that satisfying crunch with every bite, creating a delightful contrast with soft, flavorful toppings. It’s the ideal foundation for culinary creativity, allowing you to explore an endless array of flavor combinations.
Picture this: a super crispy flatbread base generously spread with a vibrant pesto or a creamy hummus, topped with a fresh, simple salad, or any combination of fresh vegetables. This easy recipe makes pizza night not just quick, but also an exciting opportunity for healthy, plant-forward eating. It’s perfect for those busy weeknights when you want a homemade meal but are short on time, or for impromptu gatherings with friends.
The biggest advantage? A “no yeast” flatbread recipe means absolutely zero rise time. This critical feature shaves hours off your pizza preparation, allowing your custom pizza to be ready in mere minutes. This is fantastic news for all pizza enthusiasts, especially for those who simply can’t wait to dig into a fresh, hot slice!
Why Choose No Yeast Flatbread for Your Pizza Night?
Embracing a no-yeast flatbread recipe offers a multitude of benefits that extend beyond just speed. It’s a culinary hack that simplifies the art of pizza making while opening up new possibilities for flavor and texture. Here’s why this recipe should become your go-to:
- Unbeatable Speed: The most obvious advantage is the elimination of rise time. Yeast-based doughs require hours for fermentation, but with this recipe, your dough is ready for rolling and baking almost instantly after mixing. From start to finish, you can have a gourmet flatbread pizza on your table in under 30 minutes!
- Consistently Crispy Texture: If you’re a fan of thin-crust pizza with a satisfying crunch, this recipe is designed for you. Without yeast, the dough bakes up less airy and more dense, resulting in an exceptionally crispy base that holds up beautifully to even the most generous toppings.
- Simplicity for Beginners: No need to worry about activating yeast, proofing dough, or achieving the perfect rise. This recipe is incredibly forgiving and straightforward, making it ideal for novice bakers or anyone looking for a hassle-free cooking experience.
- Versatile Base: This flatbread isn’t just for pizza. Its sturdy yet crispy nature makes it an excellent base for various culinary creations – from savory appetizers and loaded open-faced sandwiches to sweet dessert flatbreads.
- Healthier Options: By using whole grain flour, you can easily create a more nutritious pizza base, packed with fiber. It’s also easy to adapt for gluten-free diets, offering a wholesome alternative to traditional doughs.
Essential Ingredients and Smart Substitutions
Creating the perfect no-yeast flatbread starts with a few simple, wholesome ingredients. Here’s a closer look at what you’ll need and how you can adapt the recipe to fit your dietary preferences or pantry staples.
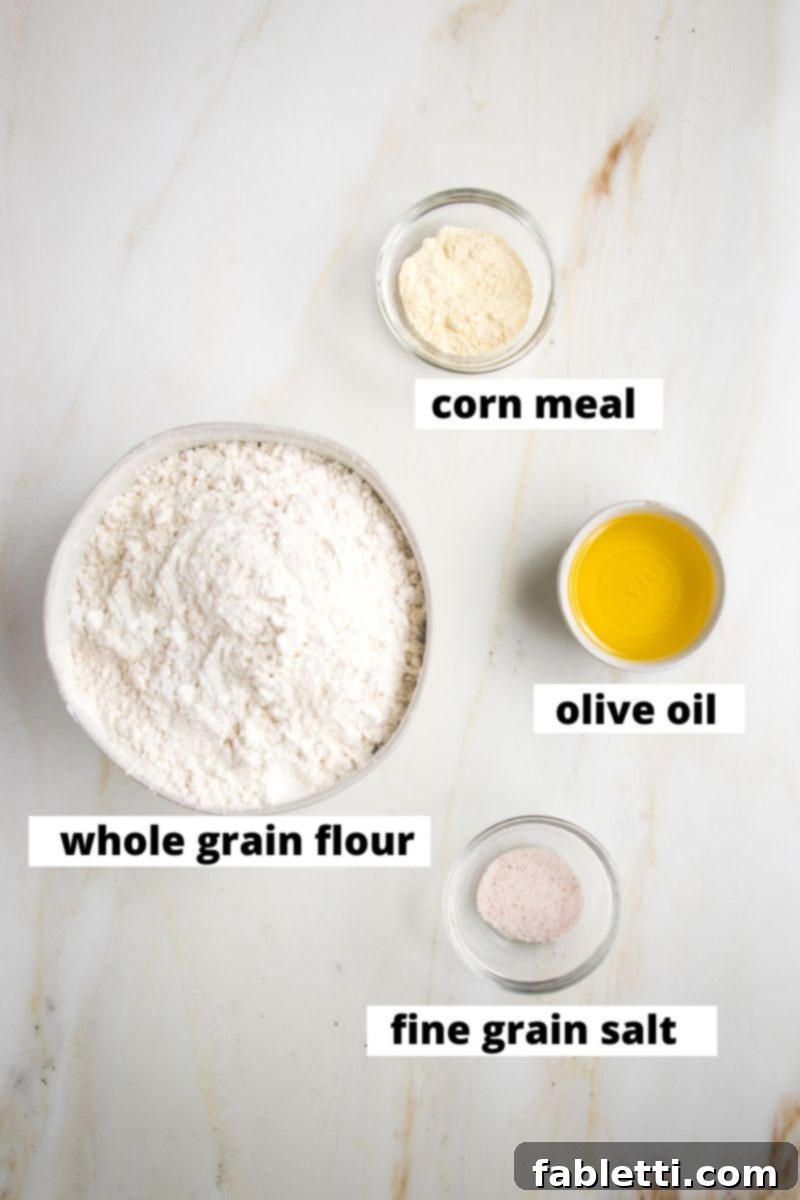
- WHOLE GRAIN FLOUR: For these photos and a robust flavor, whole wheat flour was used. It adds a lovely nutty taste and a nutritional boost. However, you have plenty of flexibility here! You can absolutely use gluten-free all-purpose flour for excellent results, making this recipe suitable for those with gluten sensitivities. Spelt flour also works wonderfully, offering a slightly sweeter, nuttier flavor. Even a standard all-purpose flour can be used if you prefer a lighter, more classic flatbread texture.
- OLIVE OIL: You’ll need three tablespoons of high-quality extra virgin olive oil to create a pliable and flavorful dough. Olive oil contributes to the dough’s tenderness and helps achieve that desirable crispy texture when baked. For an extra layer of crispiness and flavor, I highly recommend brushing an additional tablespoon onto the rolled-out and partially baked dough before its final cook. If olive oil isn’t on hand or you prefer an alternative, avocado oil is an excellent substitute, offering a neutral flavor and high smoke point.
- FINE GRAIN SALT: The type of salt matters for even distribution and flavor integration. Fine-grain salt, such as fine-grain sea salt, dissolves much better and more uniformly into the dough, ensuring every bite is perfectly seasoned. While it’s acceptable to use finely ground sea salt, coarser grinds like kosher salt or flaky sea salt will not dissolve as well and might result in pockets of intense saltiness. Stick to fine grains for the best outcome.
- WARM WATER: The temperature of the water is crucial, even without yeast. Warm water helps the flour absorb moisture more efficiently and makes the dough easier to work with. It contributes to a smoother, more cohesive dough.
- CORN MEAL: This ingredient isn’t mixed into the dough itself but serves a vital purpose for baking. A light dusting of coarse-grind cornmeal on your baking pan or pizza stone acts as a non-stick layer, preventing the dough from sticking and aiding in achieving a wonderfully crisp bottom crust. The coarse grind provides a subtle textural element, preventing sogginess. If you don’t have cornmeal, unbleached parchment paper is a great alternative, allowing you to skip the dusting entirely.
Unleash Your Creativity: Incredible Flatbread Topping Ideas
Since this no-yeast flatbread doesn’t rise, it creates a robust and perfectly crispy base, ideal for supporting a vast array of toppings. Let your imagination run wild and create your perfect pizza masterpiece!
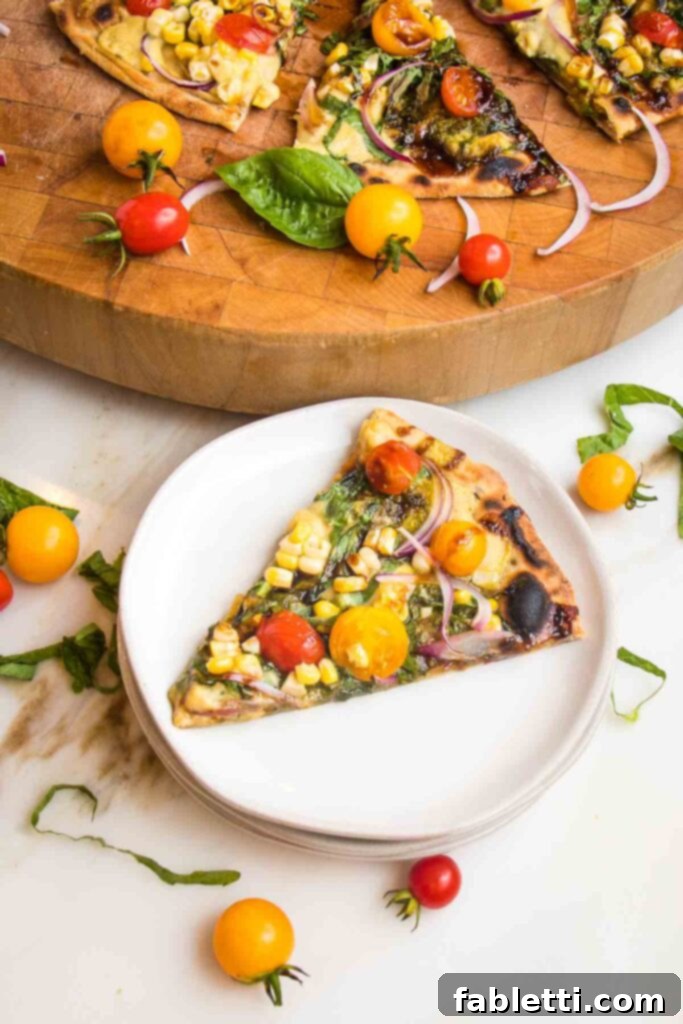
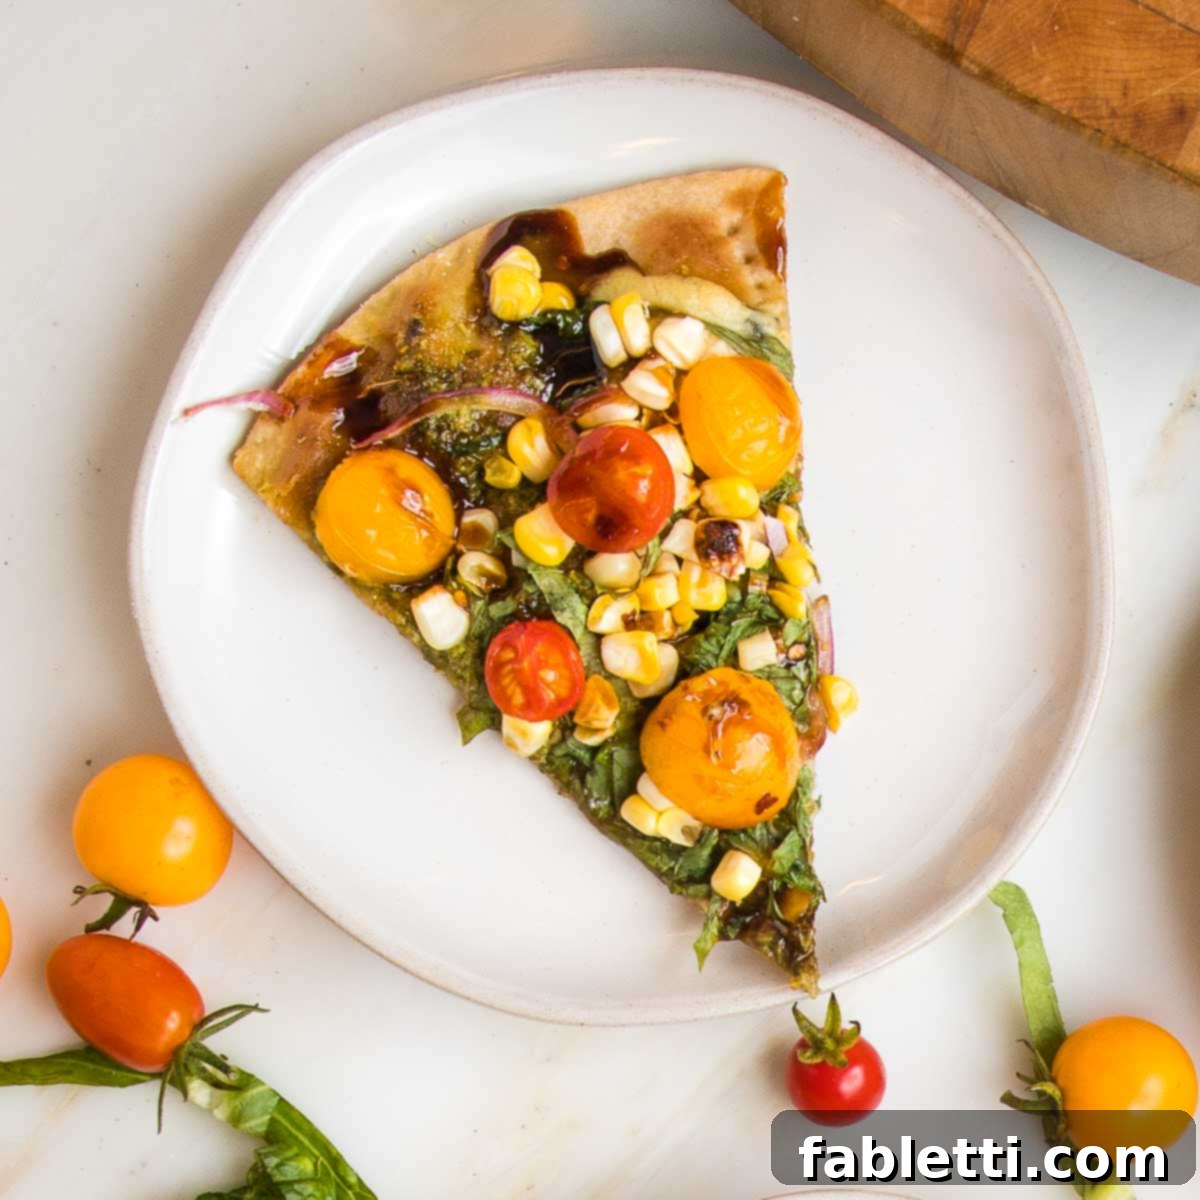
- Vibrant Summer Flatbread: Begin by spreading a luscious vegan basil pesto onto your freshly cooked, crispy flatbread. Layer with an abundance of fresh basil leaves, juicy cherry tomatoes (halved or quartered), sweet corn kernels, and thinly sliced red onions. For a final flourish, drizzle with a touch of sweet chili sauce or a classic balsamic glaze. A quick two-minute broil will warm everything through and lightly caramelize the toppings. This is a burst of seasonal flavor!
- Classic Flatbread Pizza: For a more traditional take, spread your cooked flatbread with your favorite pizza sauce. Sprinkle generously with Italian seasoning and fresh herbs like oregano or thyme. Add dollops of creamy vegan ricotta cheese for a rich, satisfying texture. Return it to a preheated 450-degree Fahrenheit oven for 5-10 minutes, or until the ricotta is heated through and slightly golden. Feel free to add your favorite vegetables like bell peppers, mushrooms, or olives before baking.
- Hearty Roasted Squash & Hummus Flatbread: Elevate your flatbread with a comforting, savory combination. Find the full, detailed recipe for roasted delicata squash, garlic, and onions in this vegan flatbread pizza recipe. The earthy sweetness of roasted squash pairs beautifully with a creamy hummus base, creating a satisfying and nutrient-rich meal.
- Personalized Individual Pizzas: This recipe is perfect for a customizable pizza party! Simply divide the prepared dough into four equal pieces and roll each one out individually. Let each person choose their favorite pizza toppings, allowing for endless creative combinations and catering to diverse tastes. This is a fantastic way to engage kids in cooking or to host a fun, interactive dinner.
- Fresh Mediterranean Flatbread: For a bright and zesty flavor profile, thin out some classic hummus with a squeeze of fresh lemon juice and spread it generously over the cooked flatbread crust. Top with a colorful medley of sliced Kalamata olives, diced ripe tomatoes, crisp cucumber, and roasted red peppers. A sprinkle of fresh parsley or oregano completes this Mediterranean delight.
- Breakfast Flatbread: Top with a thin layer of vegan cream cheese or avocado, scrambled tofu, diced bell peppers, and spinach. Bake until warmed through.
- Dessert Flatbread: For a sweet treat, spread a thin layer of vegan hazelnut spread or peanut butter, top with sliced bananas or berries, and a sprinkle of cinnamon. Bake briefly until warm.
- I’m always eager to hear new ideas! Let me know in the comments what YOUR perfect flatbread pizza looks like and what creative toppings you come up with!
Step-by-Step Guide: How to Make Your Crispy Flatbread Pizza Dough
Creating this delicious no-yeast flatbread dough is surprisingly simple and can be achieved with various kitchen tools. Whether you prefer the speed of a food processor, the power of a stand mixer, or the hands-on approach of a large bowl and whisk, you’ll be able to whip up this dough in no time. For a truly effortless experience, a food processor is highly recommended, as it minimizes effort and speeds up the process significantly. Alternatively, a stand mixer with a dough hook will do the heavy lifting, or simply a large bowl and a sturdy whisk (plus some good old-fashioned elbow grease!) will get the job done. This guide walks you through each step to ensure perfect results.
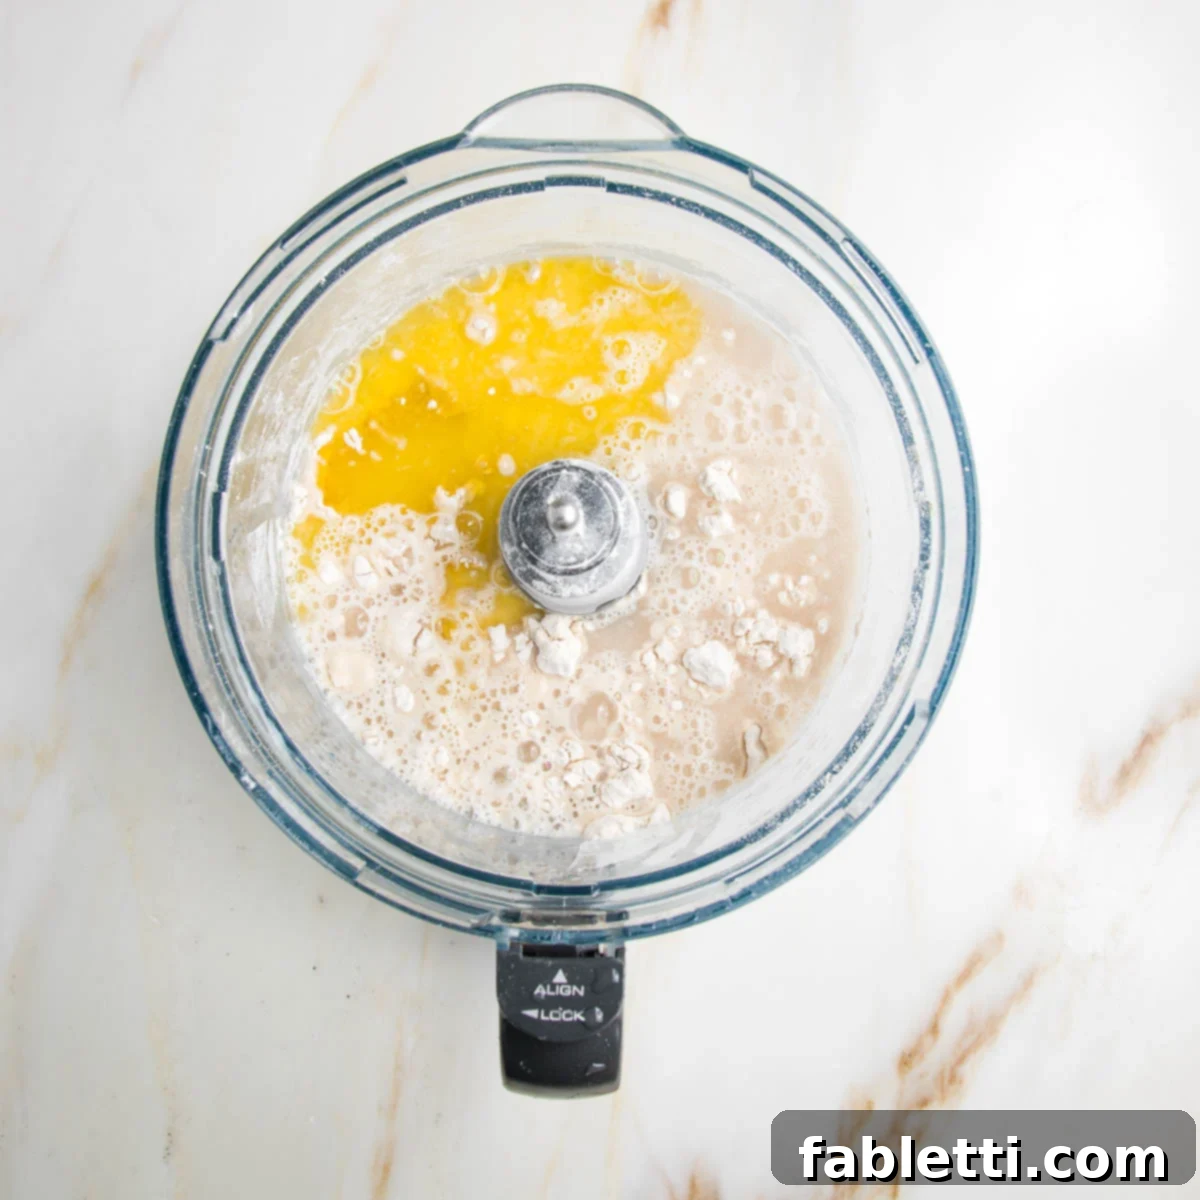
Step 1: Combine Dry and Wet Ingredients. Begin by thoroughly mixing your chosen flour and fine-grain salt together. If you require gluten-free options, King Arthur Measure for Measure Gluten-Free Flour is an excellent choice, or opt for another whole grain flour that suits your preferences. Once dry ingredients are combined, gradually add the warm water and olive oil to the mixture. Process until the ingredients are fully incorporated.
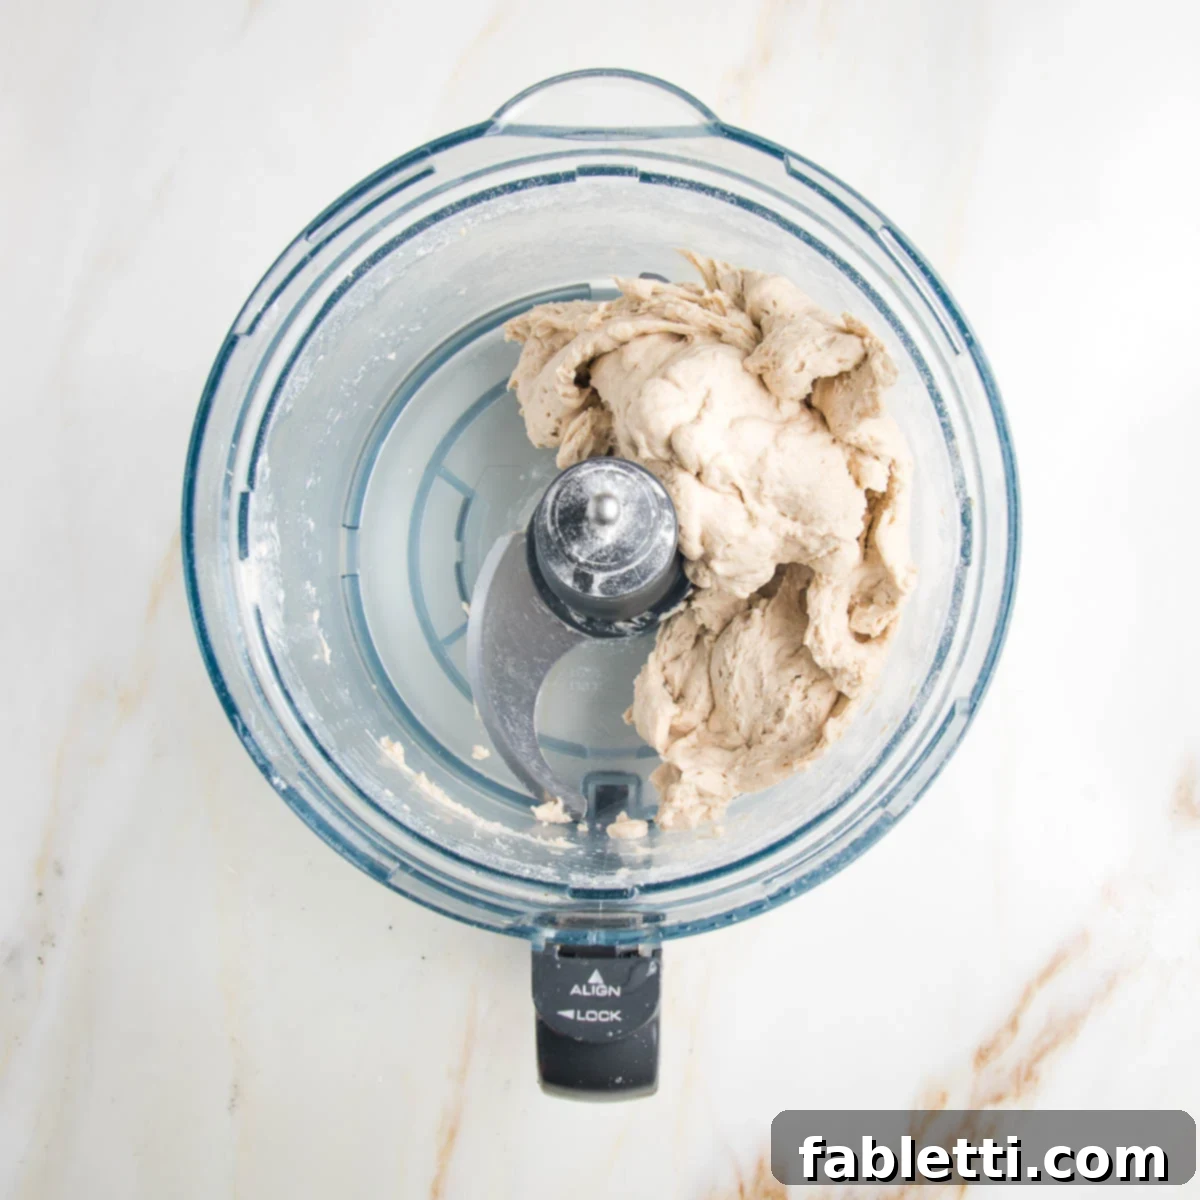
Step 2: Achieve the Right Dough Consistency. Continue to process or mix the dough until it comes together easily and pulls away cleanly from the sides of the bowl. This indicates that the gluten (or gluten-free binders) has developed sufficiently, and the dough is properly hydrated. The dough should be smooth, cohesive, and slightly tacky, but not overly sticky.
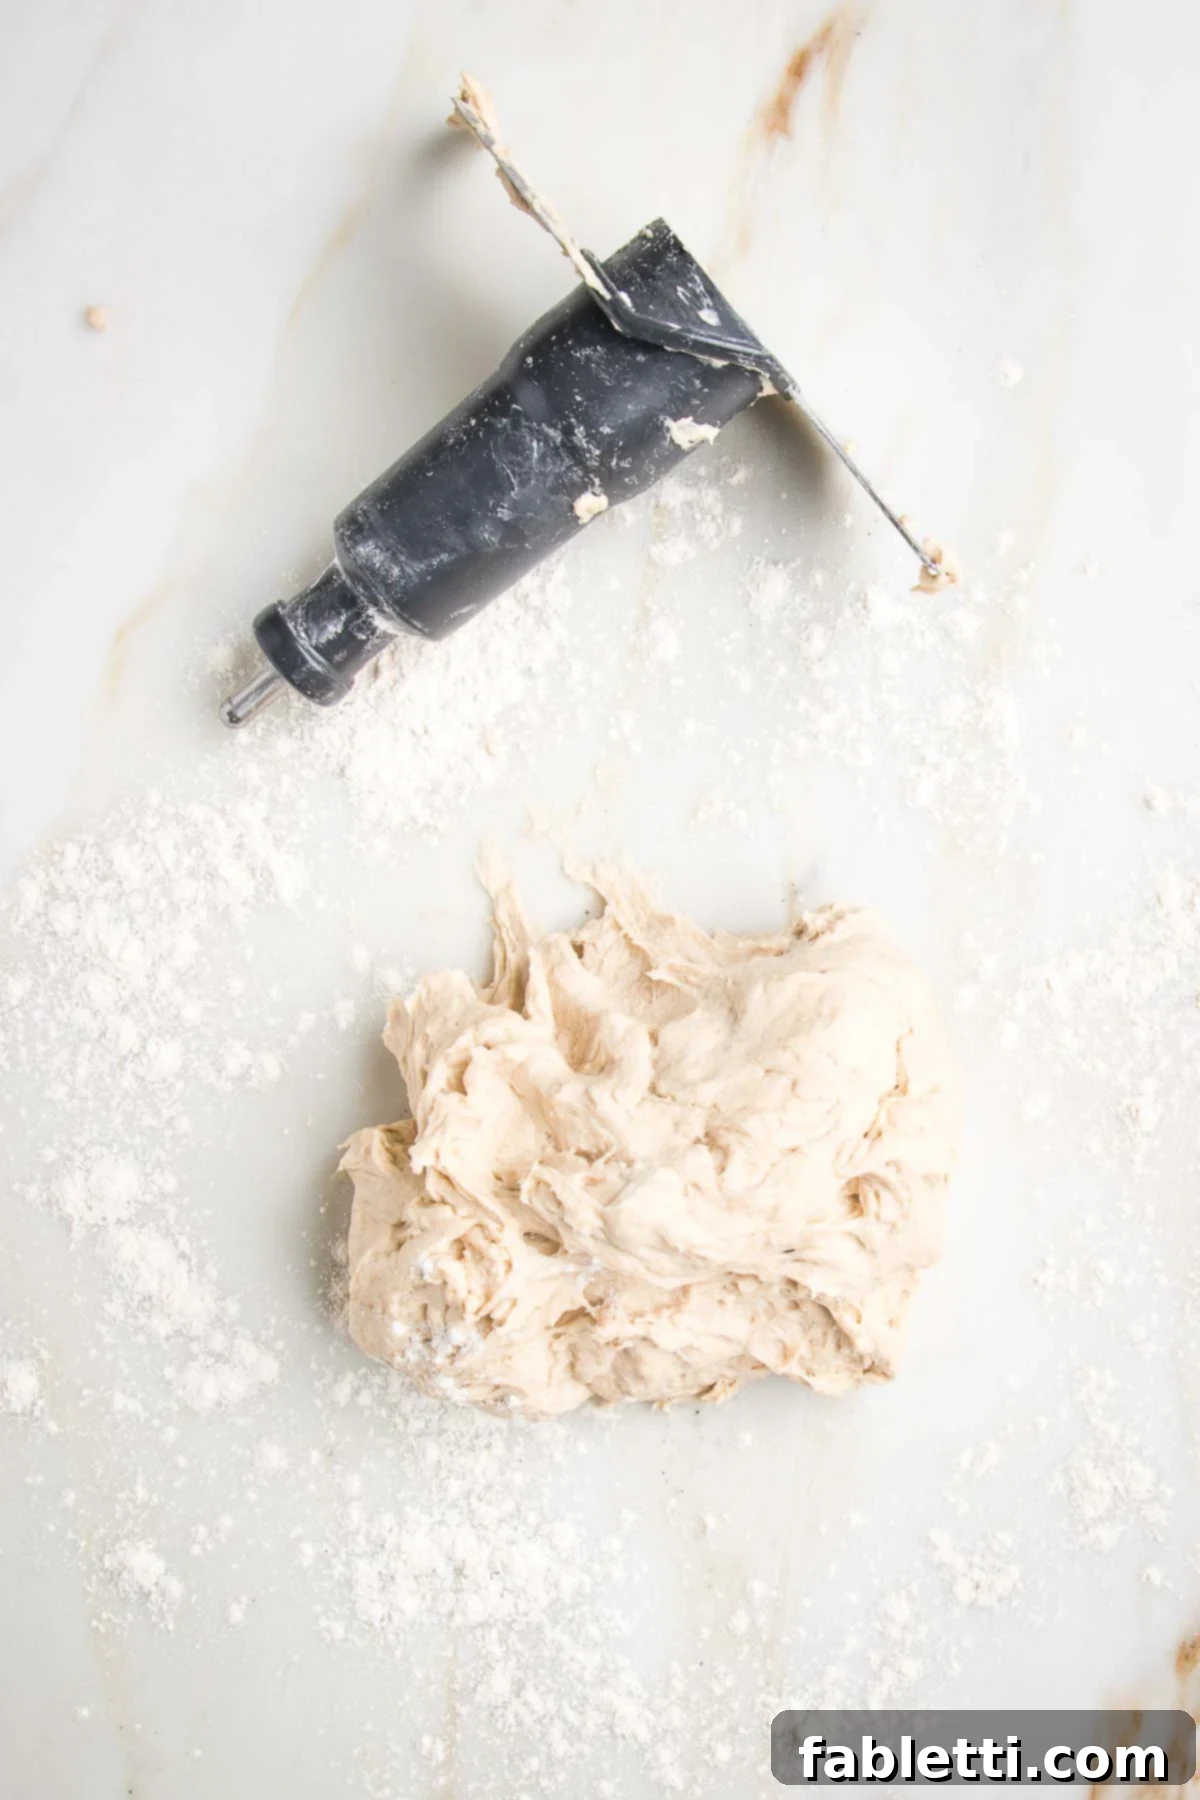
Step 3: Hand Kneading for Smoothness. Turn the mixed dough out onto a lightly floured surface. A dusting of flour will prevent the dough from sticking, making it easier to handle. Briefly knead the dough by hand until it forms a smooth, uniform ball. This short kneading process helps to refine the texture and ensure all ingredients are thoroughly combined. At this stage, the dough can be prepared in advance: simply wrap it tightly in plastic wrap and refrigerate for up to two days, or freeze for longer storage, if needed.
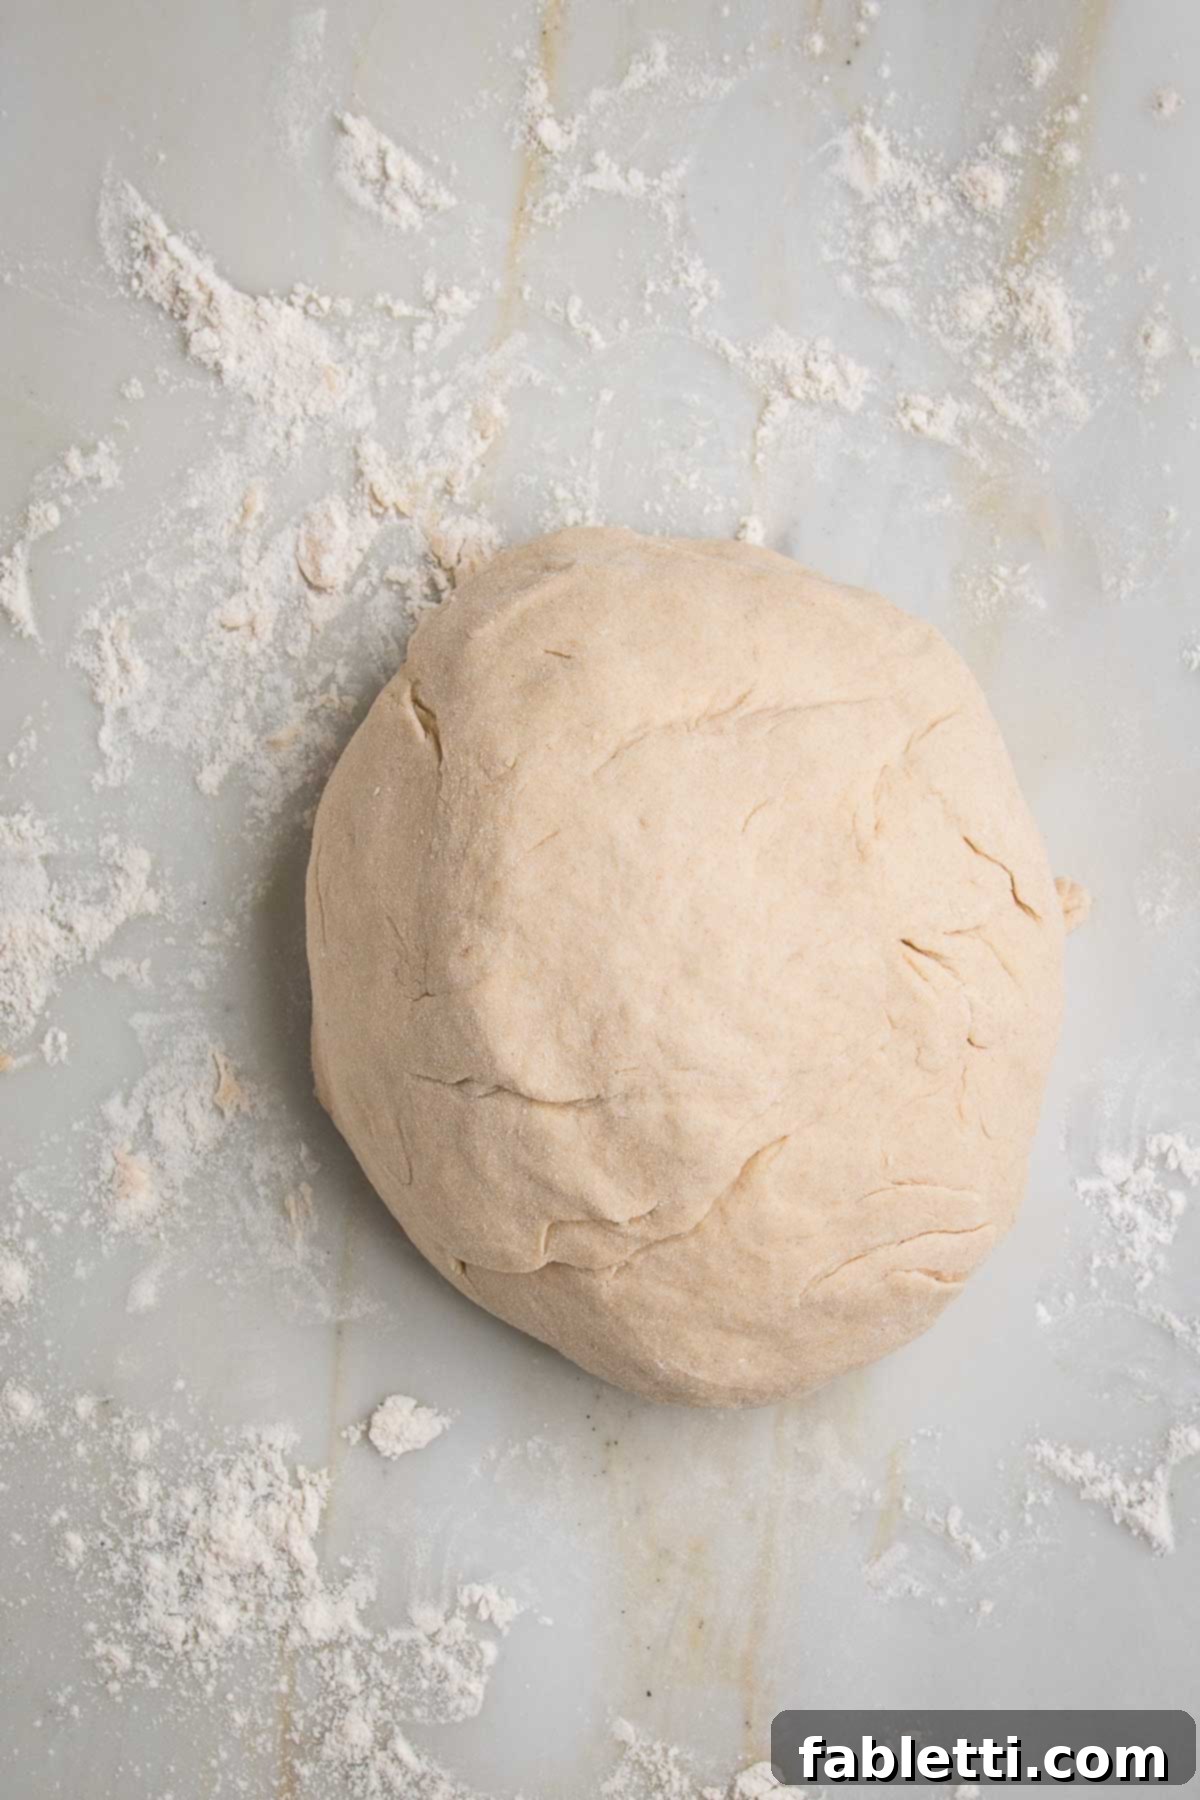
Step 4: Dividing the Dough. Once your smooth dough ball is ready, cut it in half to create two medium-sized flatbreads. If you’re planning to make smaller, individual pizzas, you can divide the dough into four equal quarters. This flexibility allows you to customize the size of your flatbreads to suit your meal plan or serving preferences.
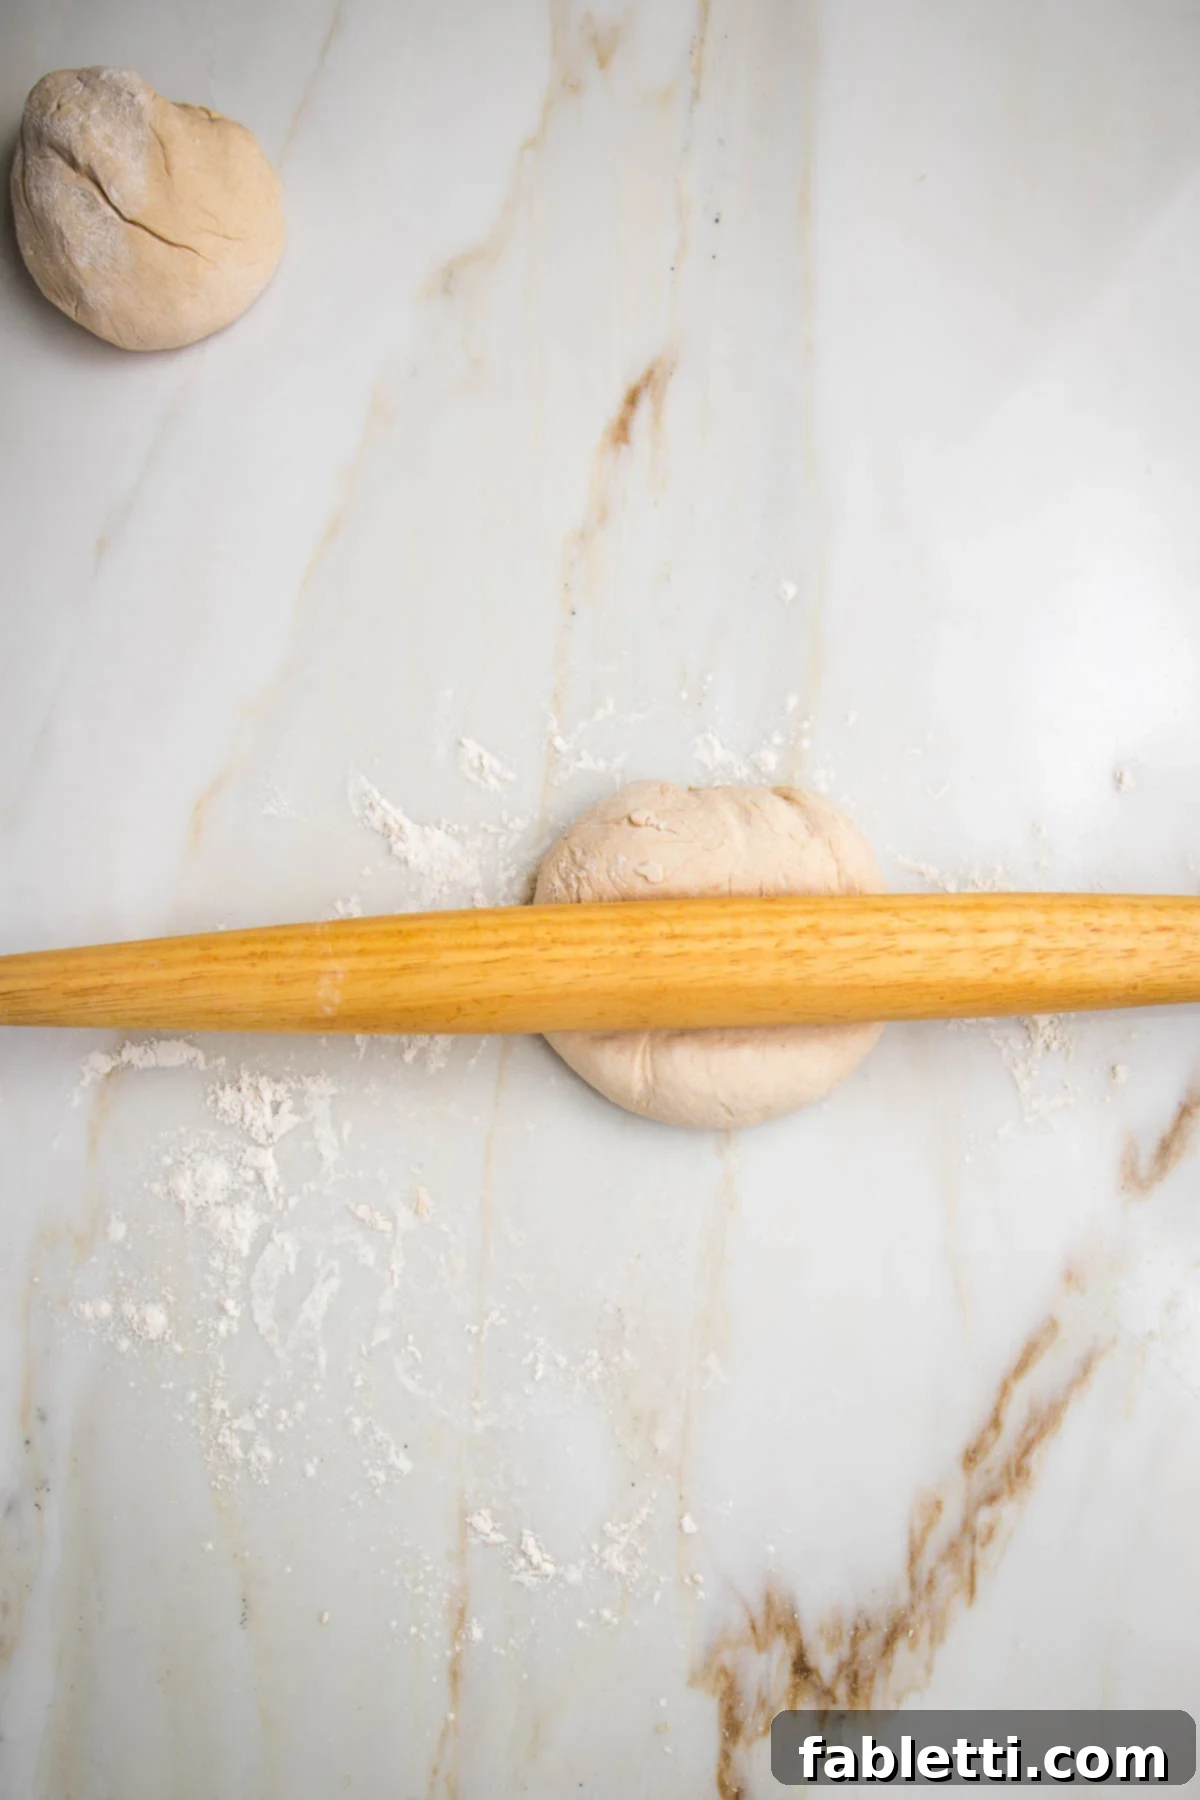
Step 5: Rolling Out the Dough. Lightly dust your work surface and rolling pin with flour to prevent sticking. Take one portion of dough and use your rolling pin to roll it out to an approximate ⅛-inch thickness. The shape is entirely up to you – round, oval, rectangular, or square – whatever fits your baking surface and aesthetic preference. The key is to achieve an even thickness for uniform cooking and crispiness. A thin crust is crucial for this recipe to ensure it cooks through quickly and doesn’t end up doughy.
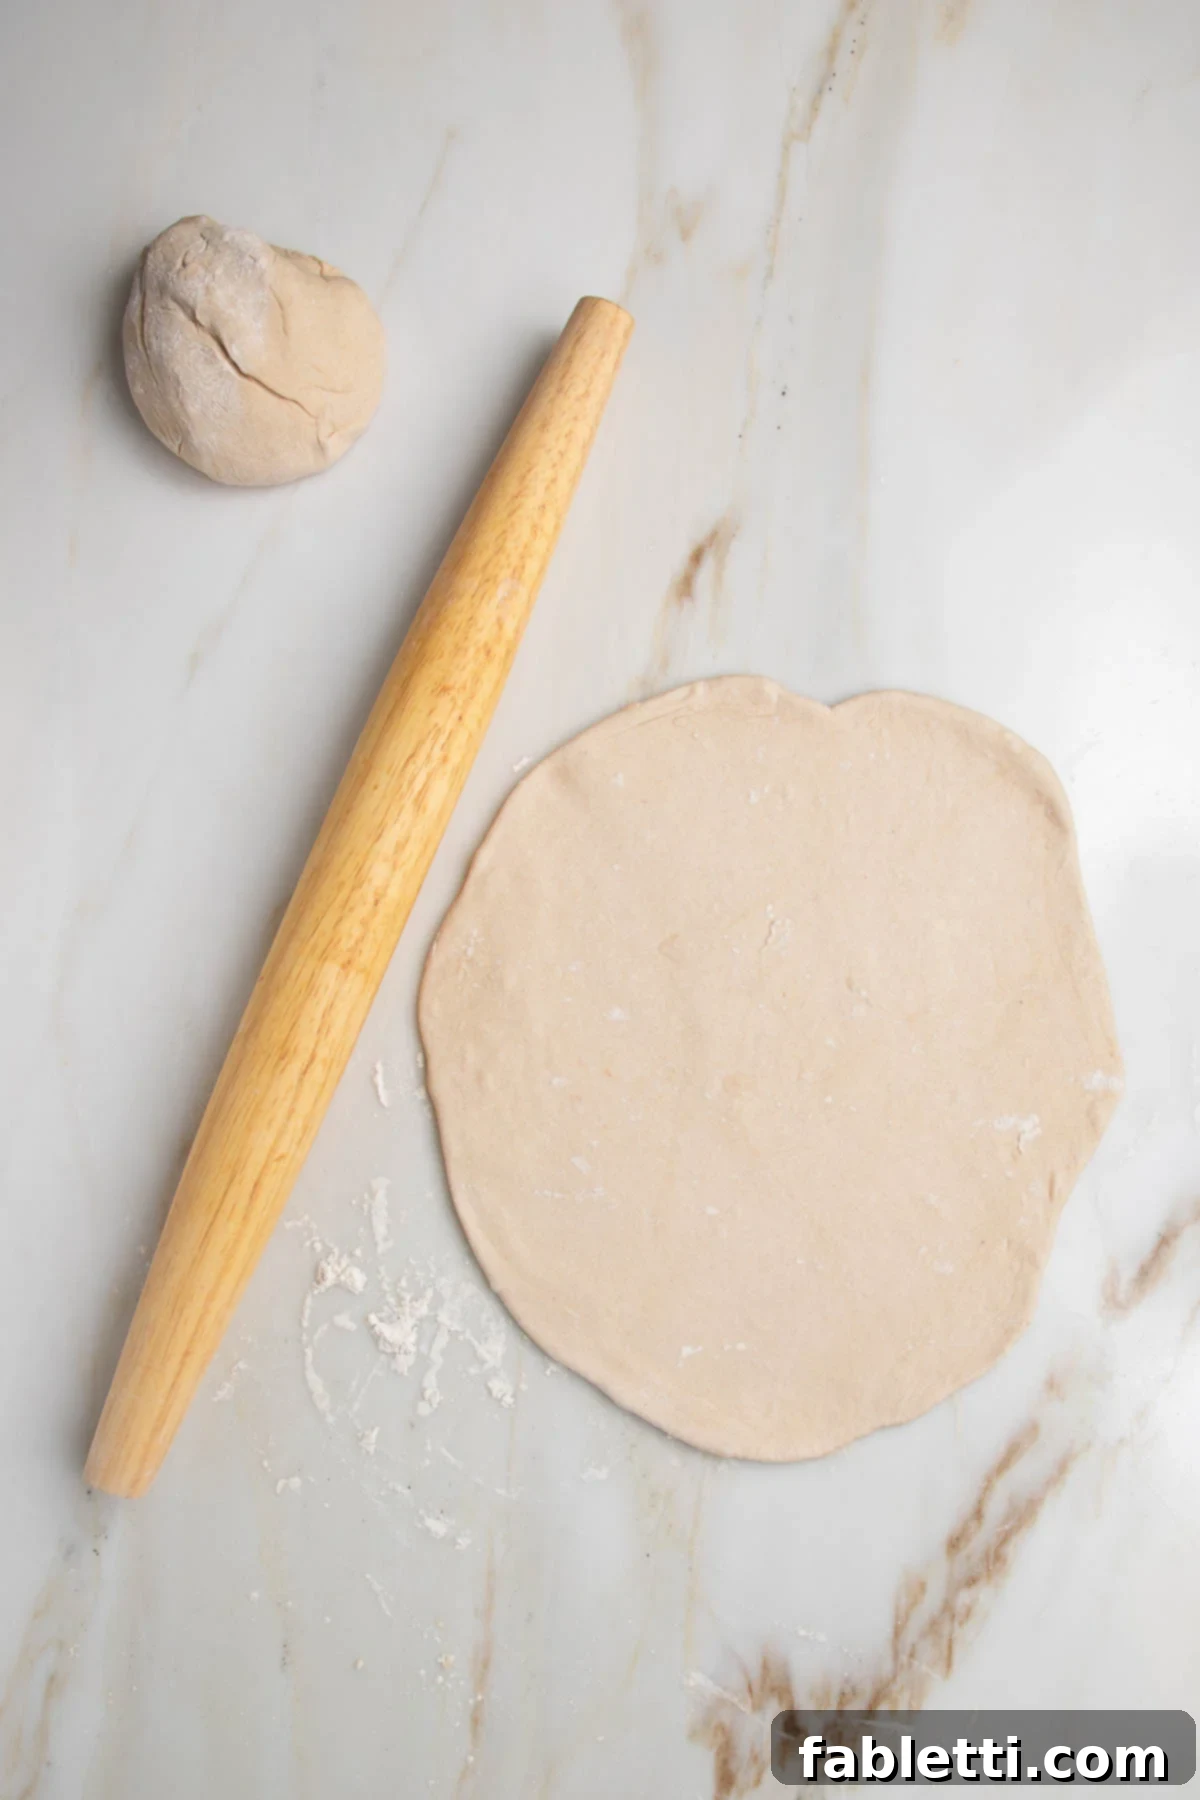
Step 6: Sizing for Your Pan. As you roll, consider your baking vessel. If you’re utilizing a pizza stone, shape the dough to match its contours. For baking on a baking sheet, ensure the rolled dough fits comfortably without overcrowding. Accuracy in size prevents uneven baking and ensures your crust gets perfectly crisp.
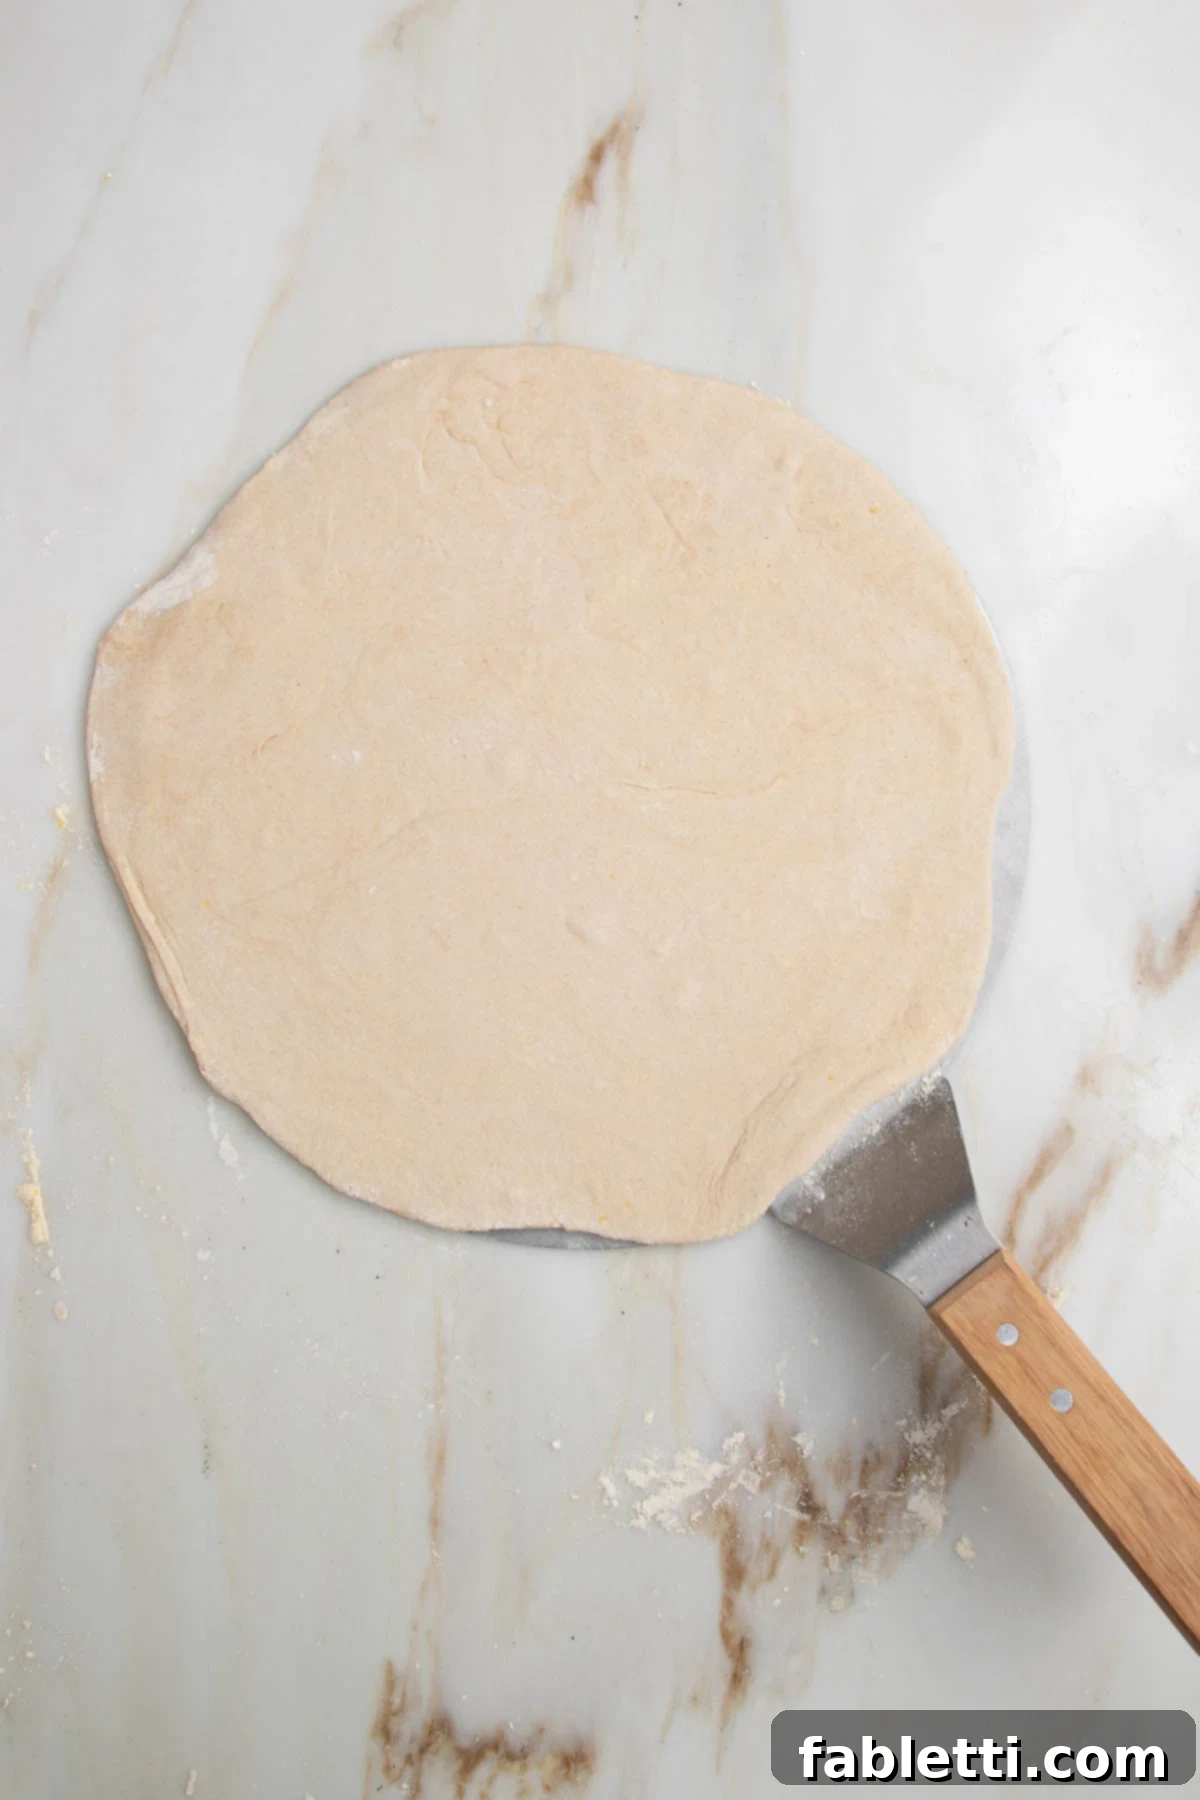
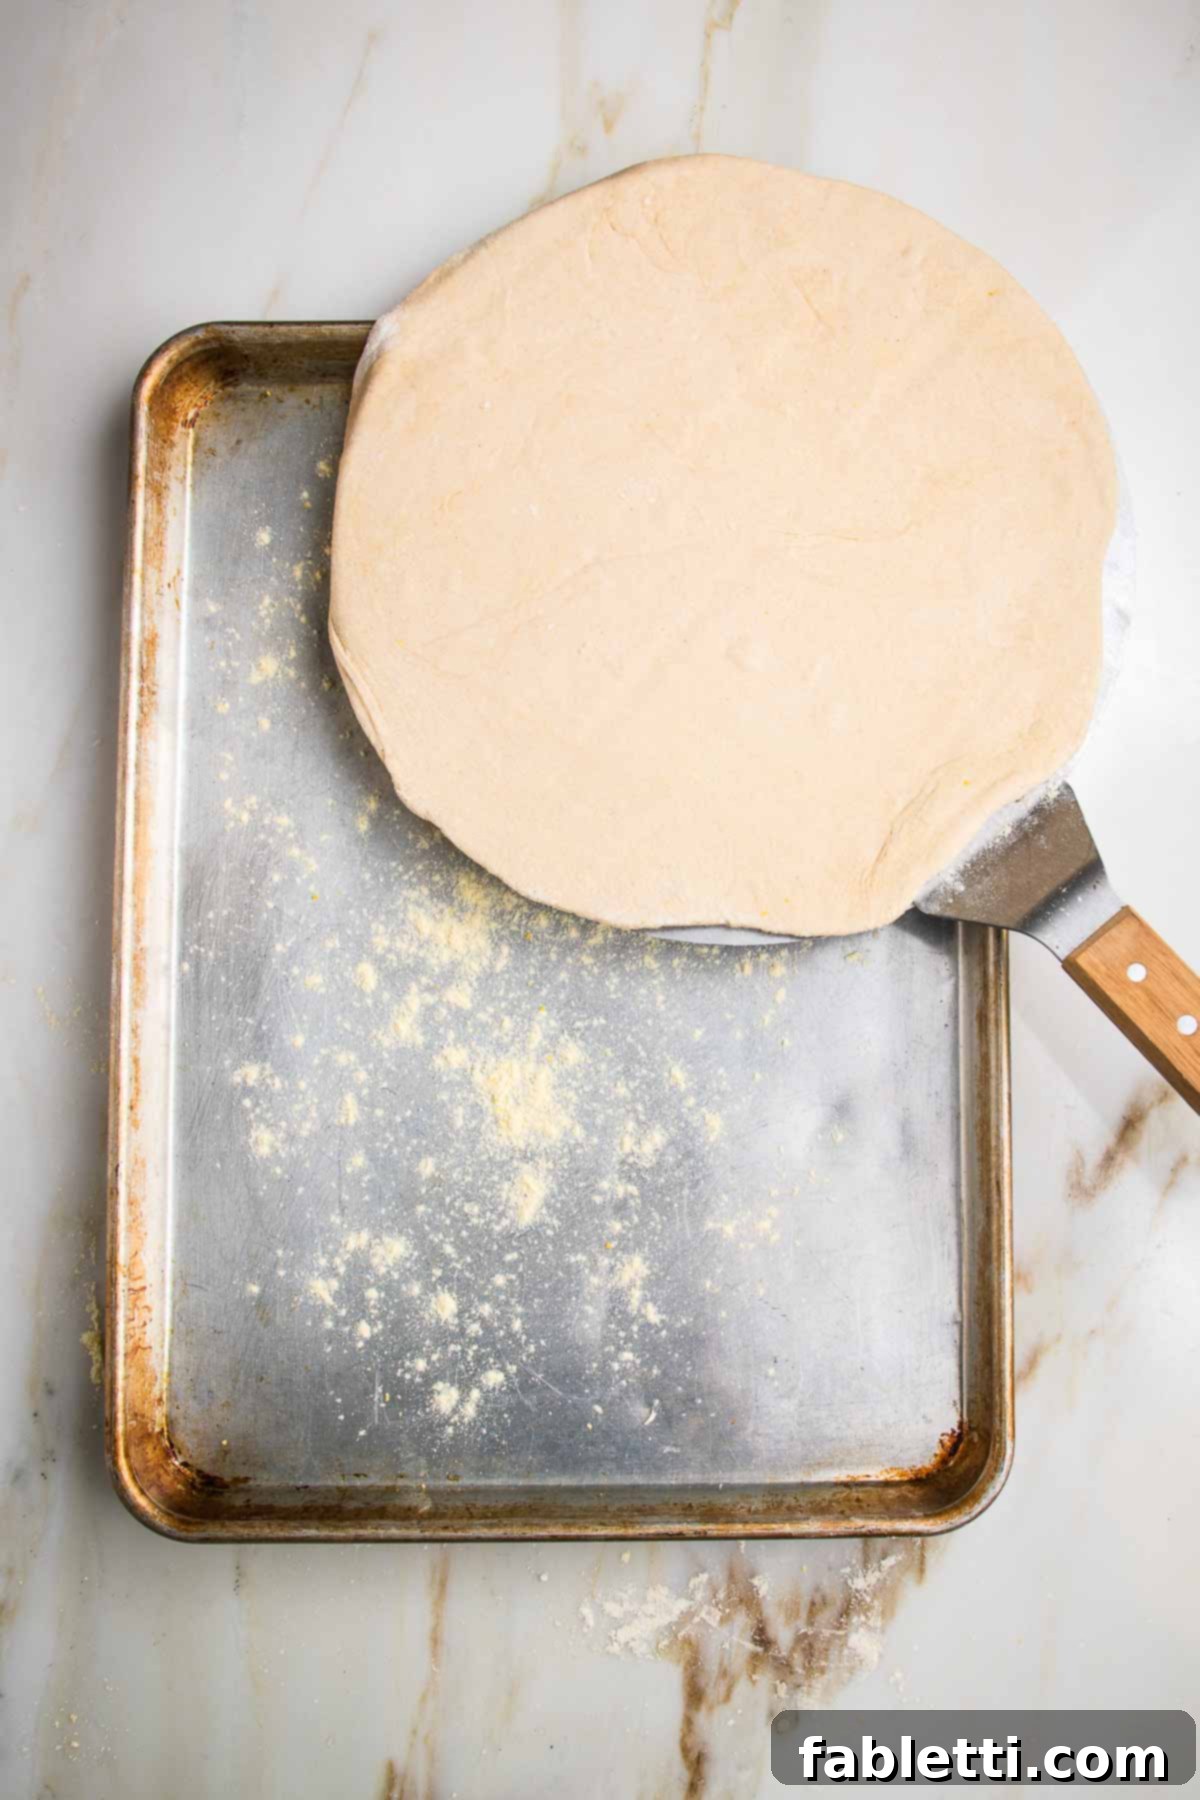
Step 7: Prepare Your Baking Surface. Generously sprinkle your baking sheet or pizza stone with coarse cornmeal. This critical step prevents the dough from sticking and contributes to a beautifully crisp bottom crust. To easily transfer the delicate, rolled-out dough, a pizza peel is invaluable. Alternatively, you can roll the dough directly onto a piece of unbleached parchment paper, then simply slide the parchment and dough onto your prepared pan.
Step 8: Prick the Dough. Once the rolled dough is on your prepared baking sheet, use a fork to prick holes all over the surface. This simple but important technique helps to release any trapped air bubbles during baking, preventing the crust from puffing up unevenly and ensuring it remains wonderfully flat and consistently crispy. Aim for a pattern of small, evenly spaced pricks across the entire surface.
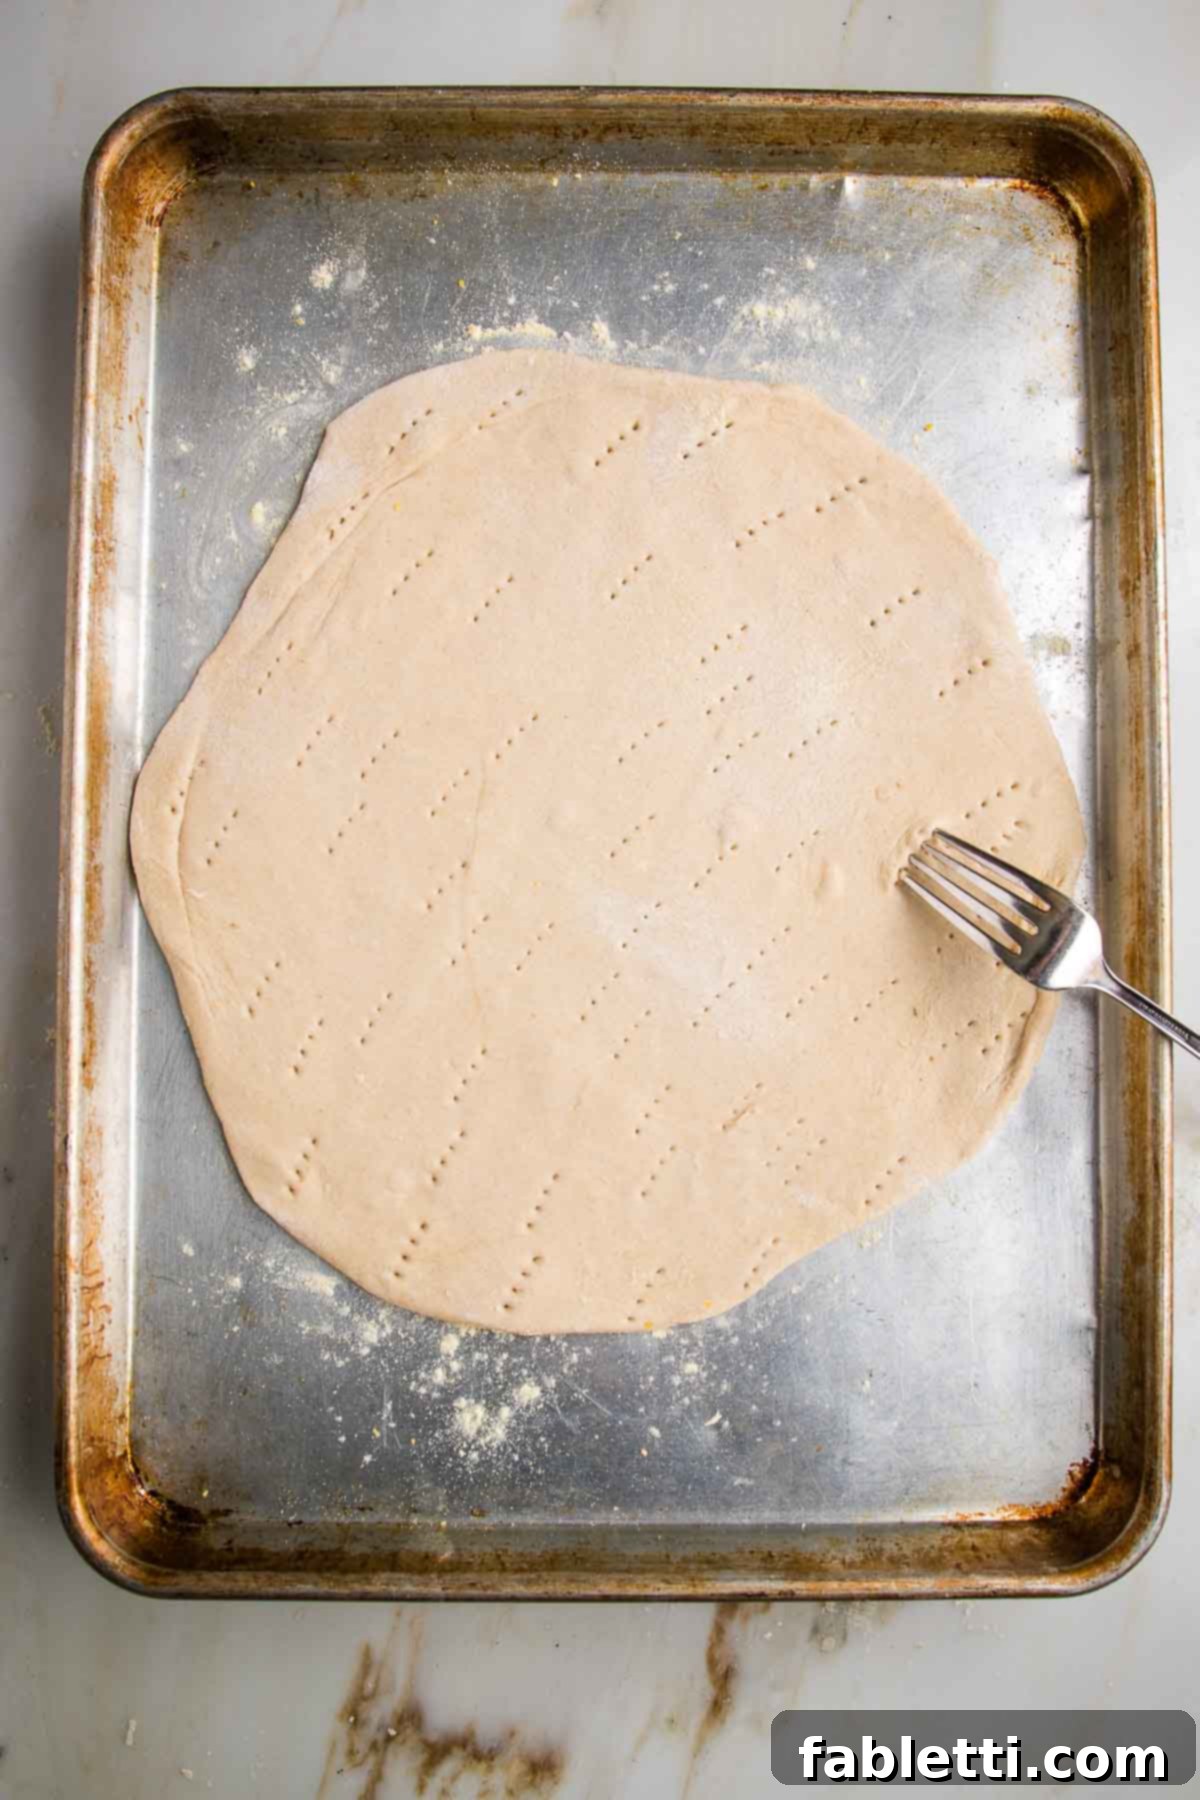
Step 9: First Bake & Oil Brush. Preheat your oven to a blazing 450 degrees Fahrenheit (or 475°F for a regular oven without convection). Bake the pricked dough for an initial 7 minutes. This par-baking step helps to set the crust and begin the crisping process. After 7 minutes, carefully remove the pan from the oven. Brush the partially cooked flatbread generously with olive oil. This extra oil contributes significantly to the final crispiness and imparts a rich flavor.
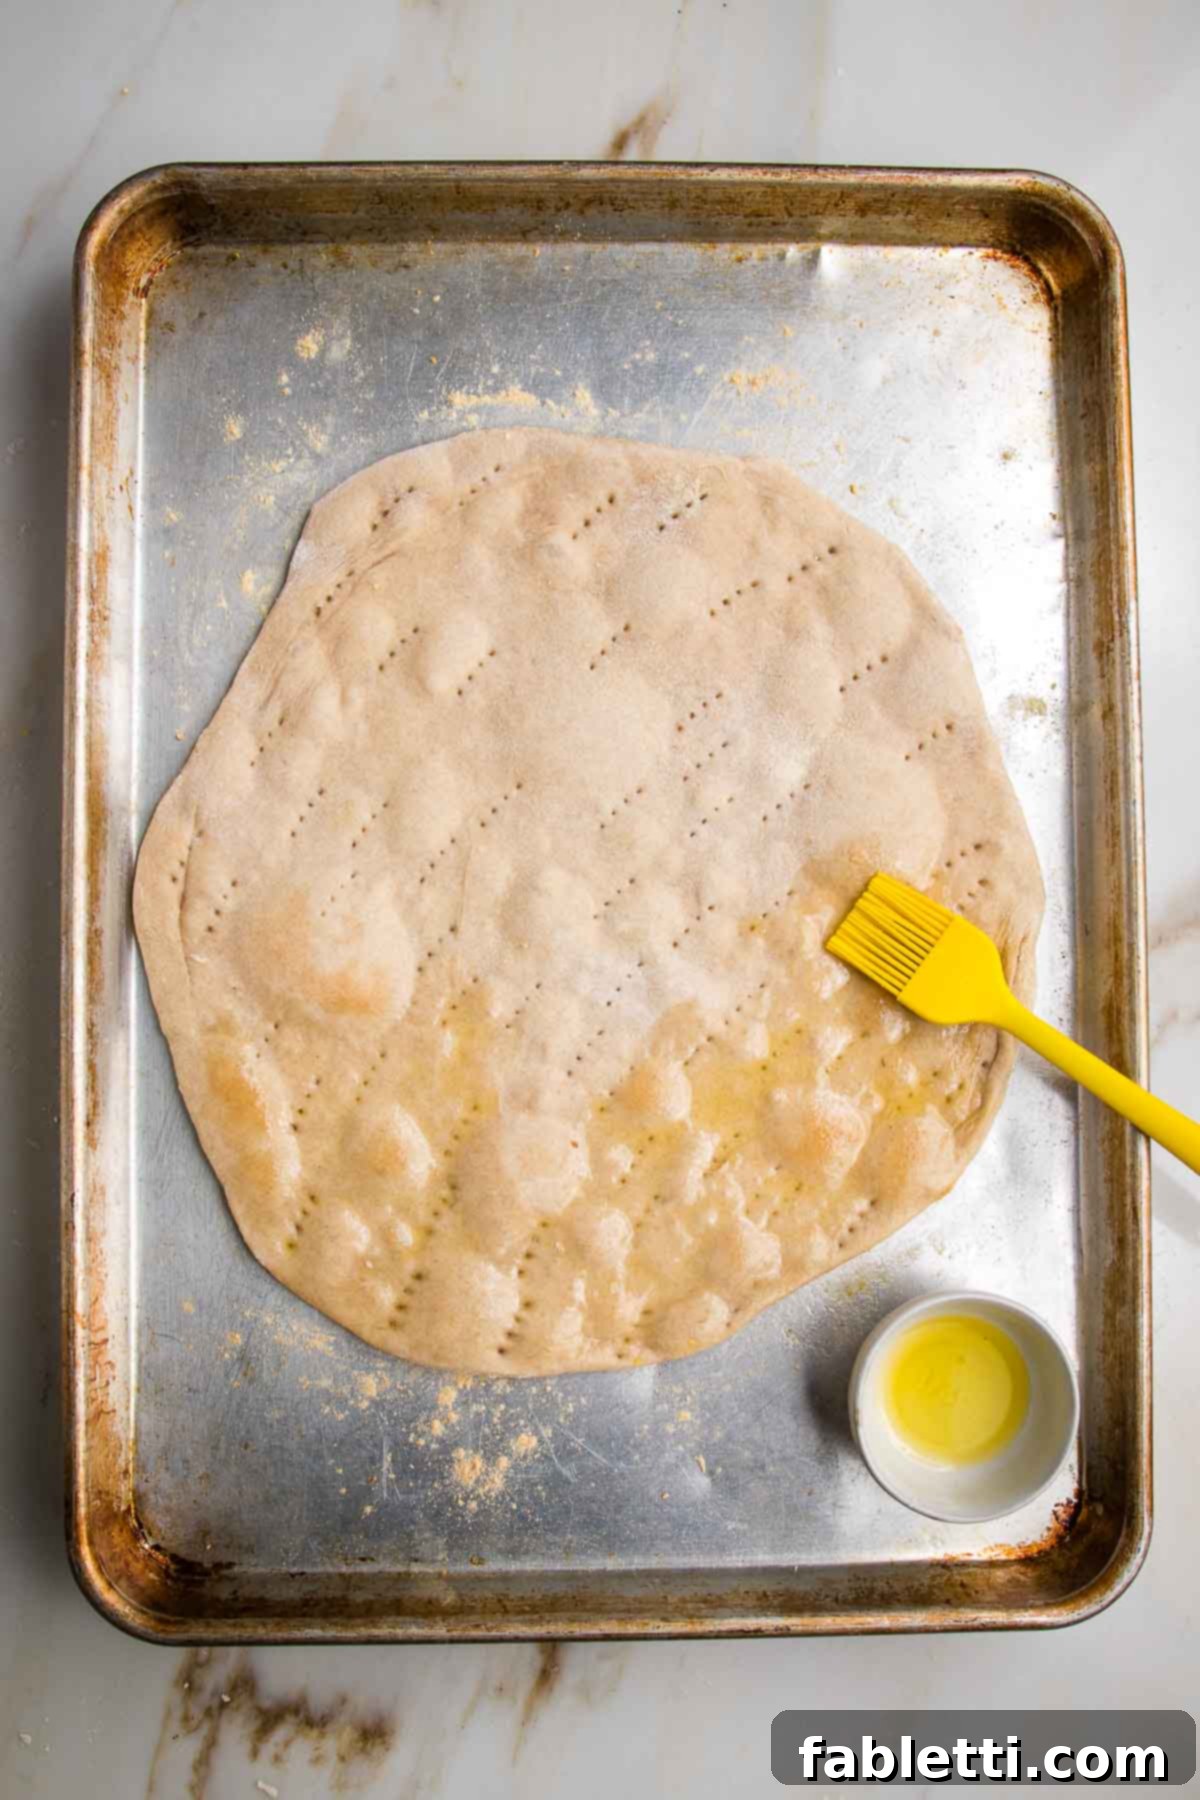
Step 10: Final Bake for Golden Crispiness. Return the olive oil-brushed flatbread to the oven and bake for an additional 7 minutes. Keep a close eye on it during this stage, as oven temperatures can vary. The goal is a beautiful golden brown color and a wonderfully crisp texture. Once achieved, your perfect flatbread pizza crust is ready for its delicious transformation!
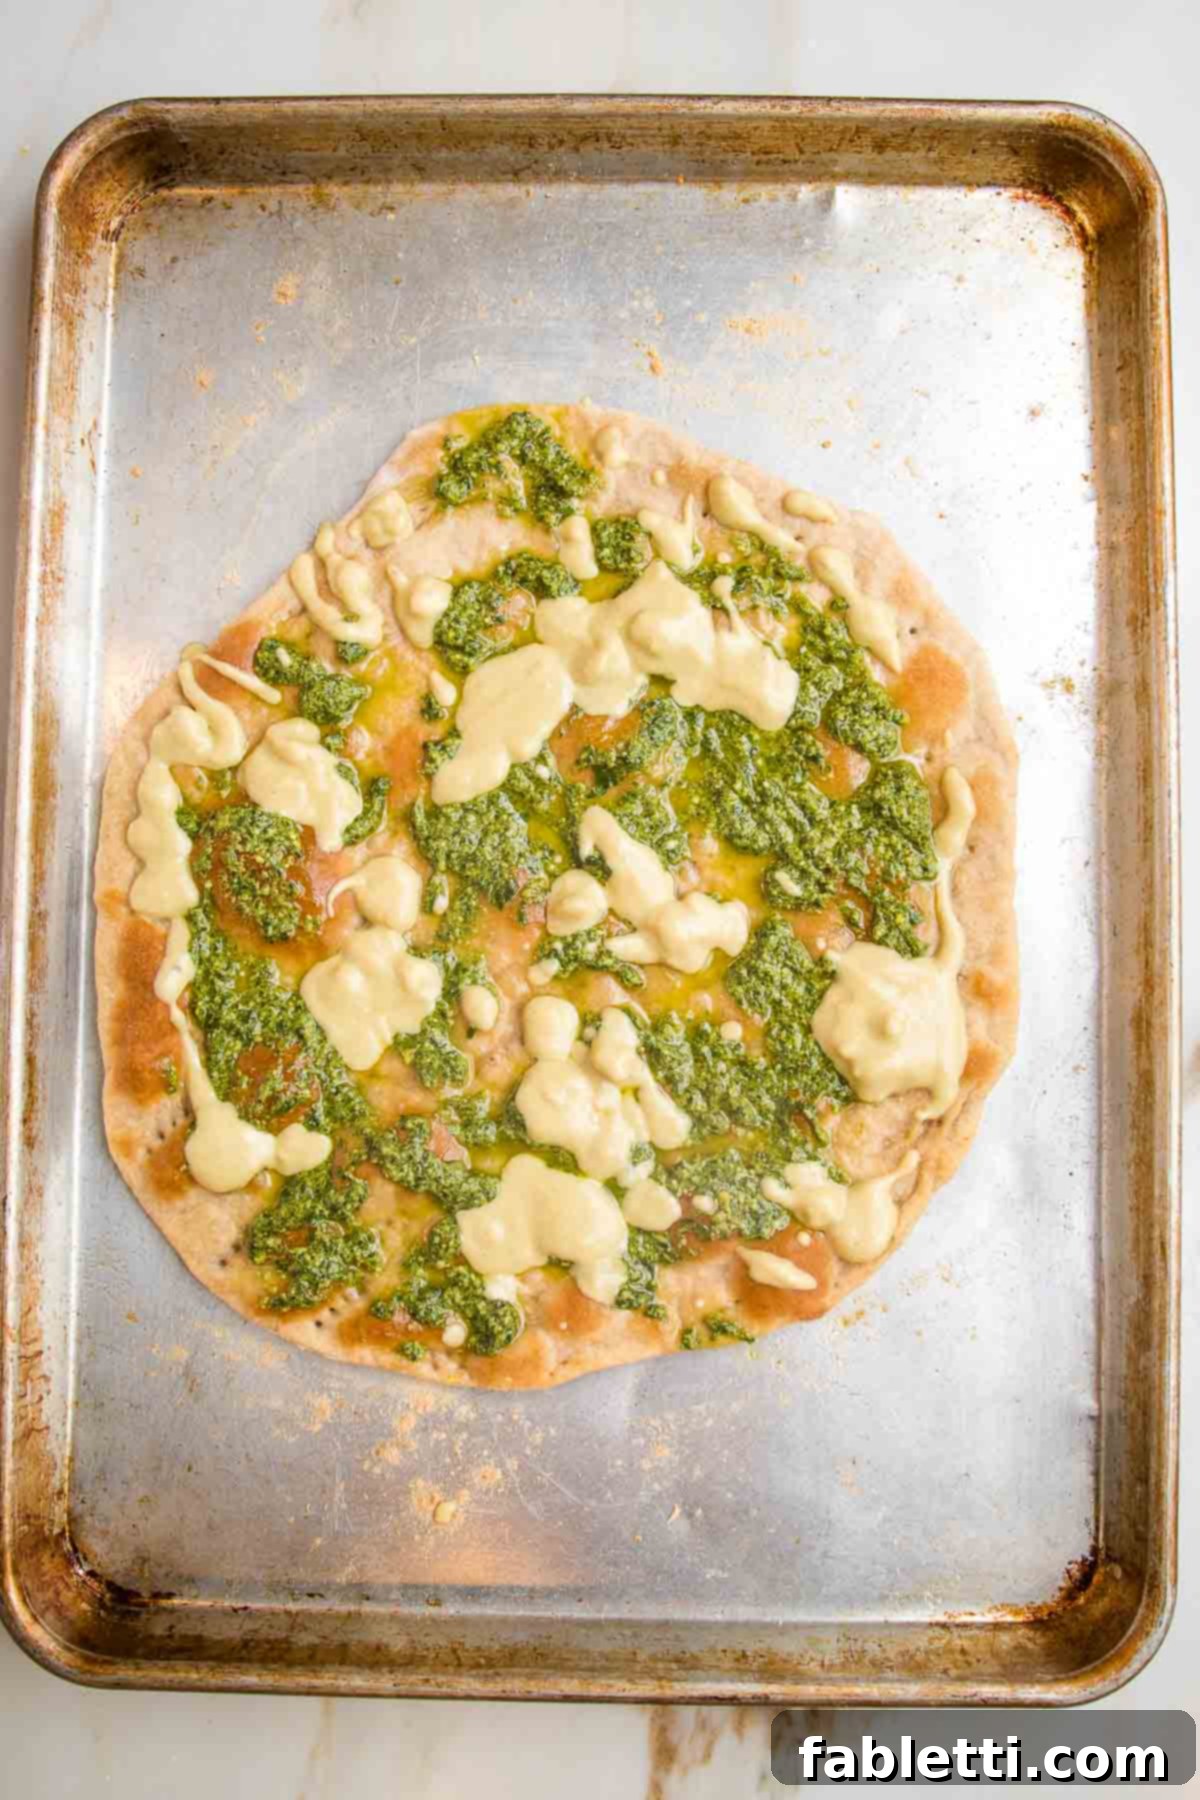
Step 11: Add Your Favorite Toppings. Now comes the fun part! Your perfectly baked flatbread pizza crust is ready. I love to start with a flavorful base – whether it’s a classic tomato sauce, a bright pesto, or a creamy hummus. This layer not only adds incredible flavor but also helps other toppings adhere to the crust. Spread it evenly to the edges, leaving a small border if desired.
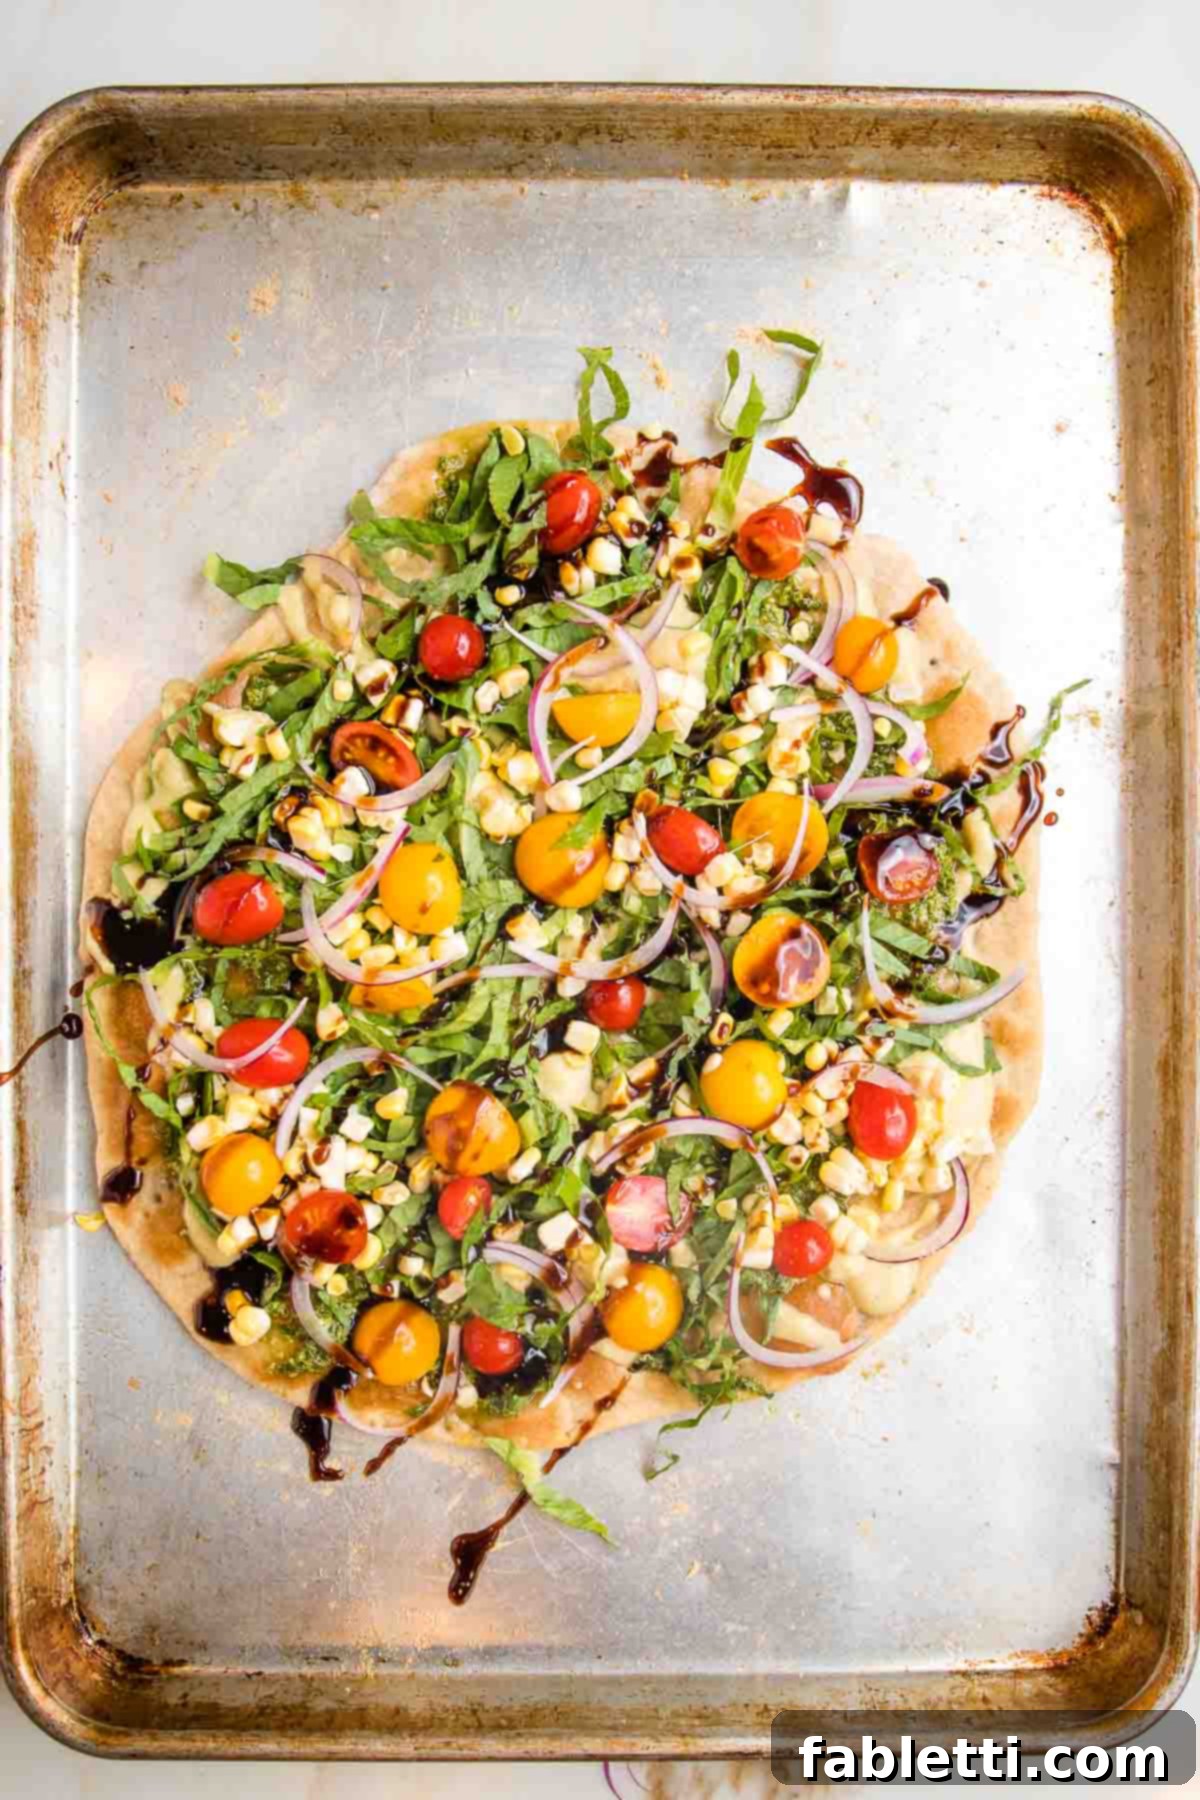
Step 12: Final Bake (If Needed). Load up your flatbread with all your favorite toppings! For fresh, uncooked ingredients like salad greens, you might just add them after the crust is fully baked. However, if your chosen toppings require heating (like vegan cheese, roasted vegetables, or sauces), place the loaded flatbread back into the preheated oven for an additional 5 minutes, or until all ingredients are heated through and melded together beautifully. A final drizzle of balsamic glaze or a sprinkle of fresh herbs can add an exquisite touch.
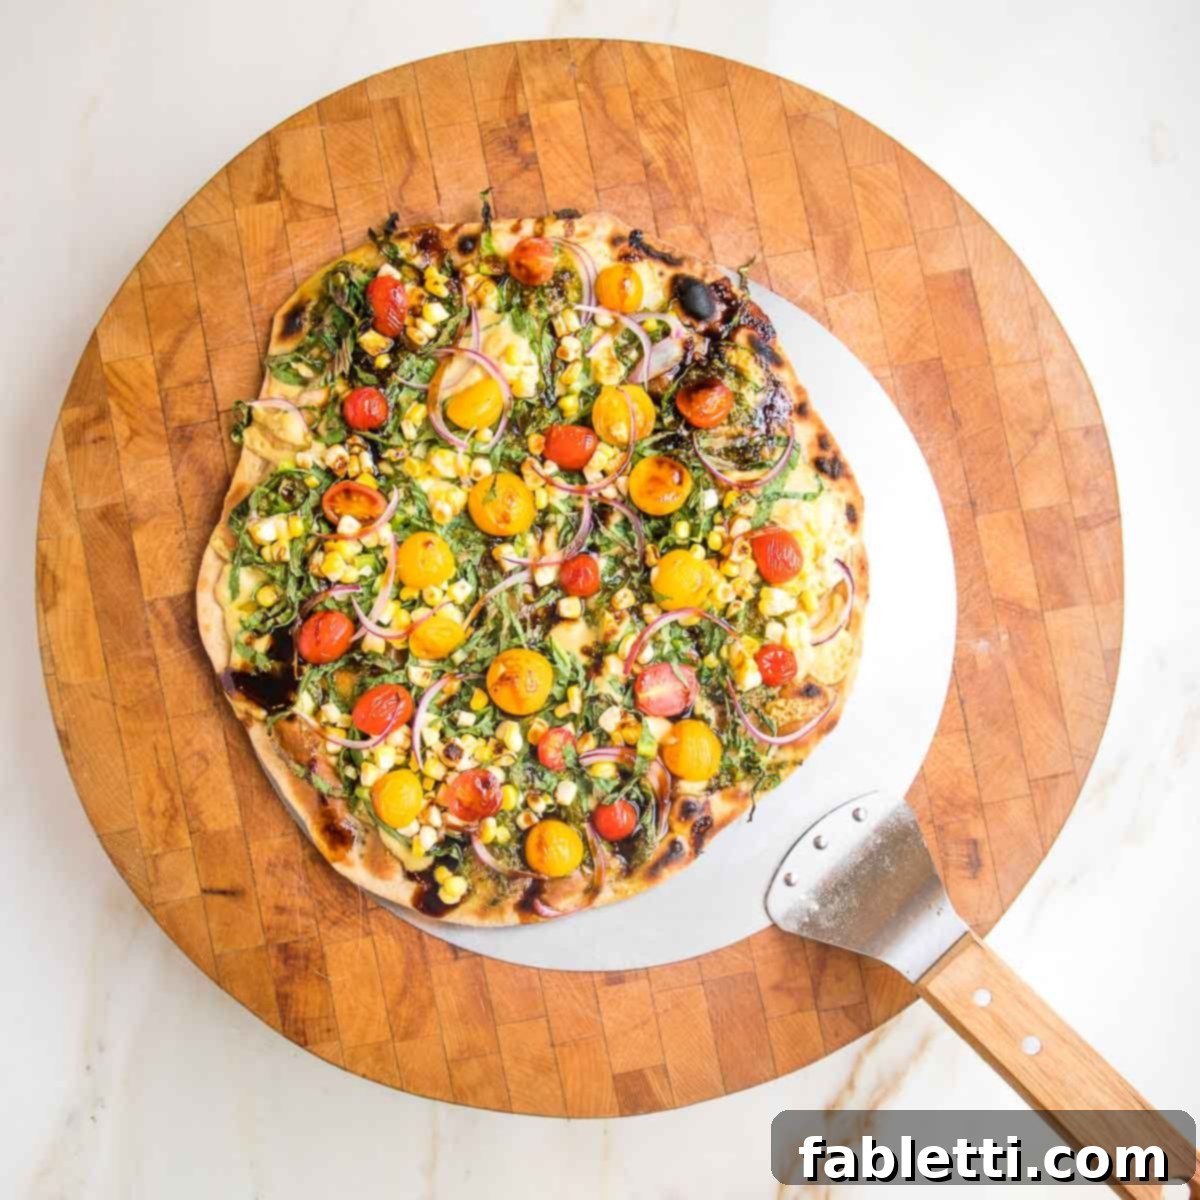
Step 13: Serve and Enjoy! Once your flatbread pizza is perfectly cooked and adorned with toppings, use a pizza peel to carefully transfer it to a cutting board. This ensures easy handling and prevents any damage to your delicious creation.
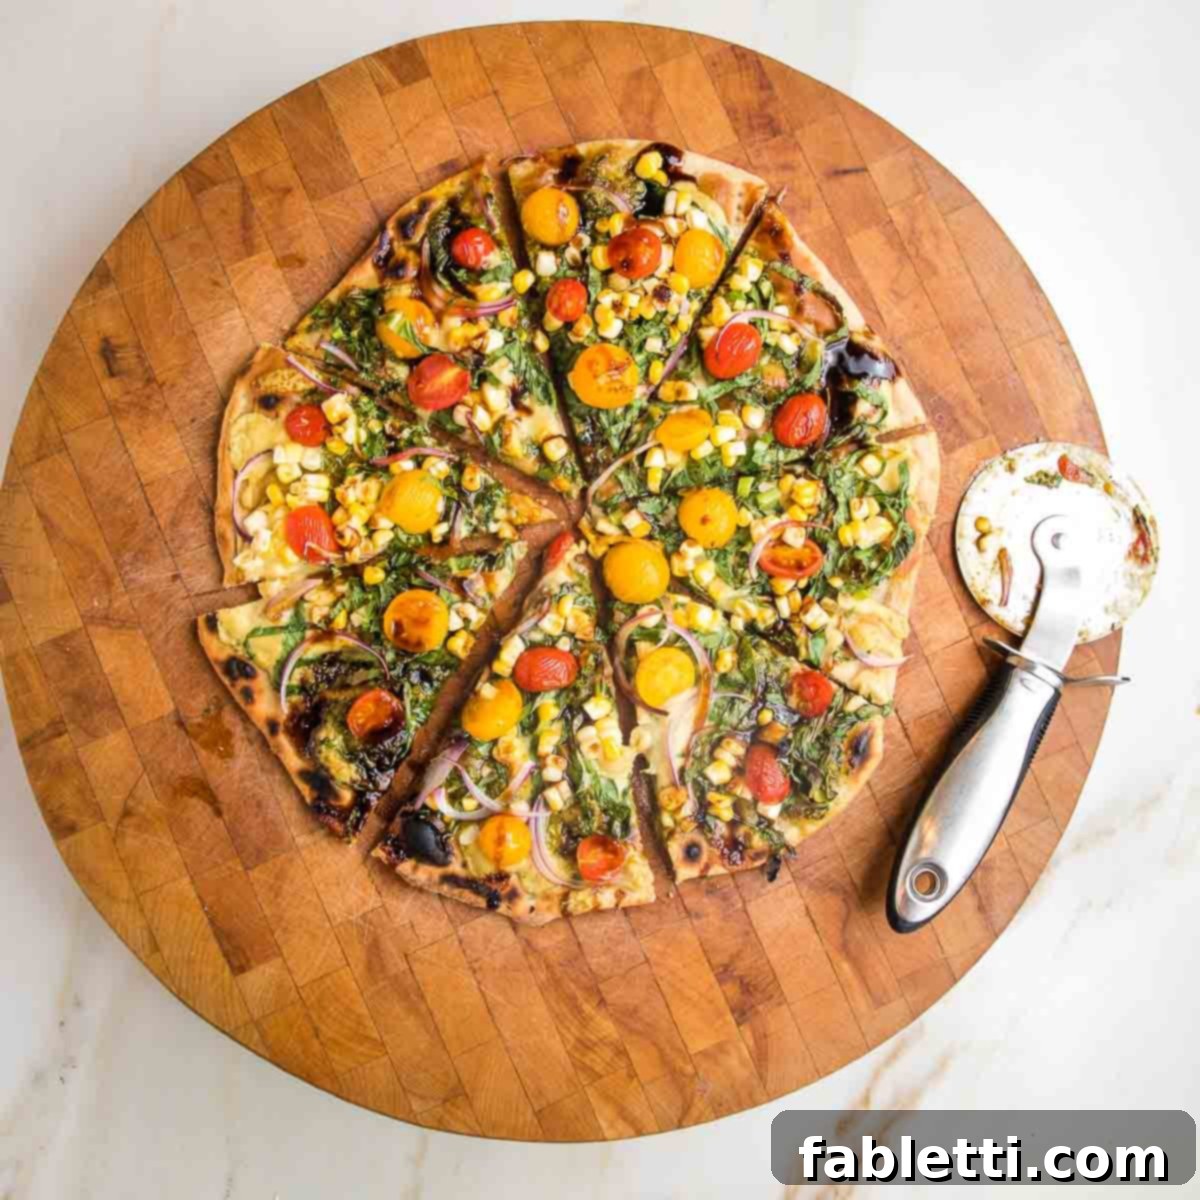
Step 14: Slice and Share. Using a sharp pizza cutter or a sturdy chef’s knife, slice the flatbread into desired portions. Serve your warm, homemade flatbread pizza immediately and savor every crispy, flavorful bite! This recipe is perfect for sharing, but don’t be surprised if you want it all to yourself.
Tips for Flatbread Pizza Perfection
Achieving the ultimate no-yeast flatbread pizza is easy with a few expert tips. These insights will help you maximize flavor, optimize texture, and streamline your cooking process, ensuring every flatbread is a resounding success.
Debra’s Pro Tips for Success:
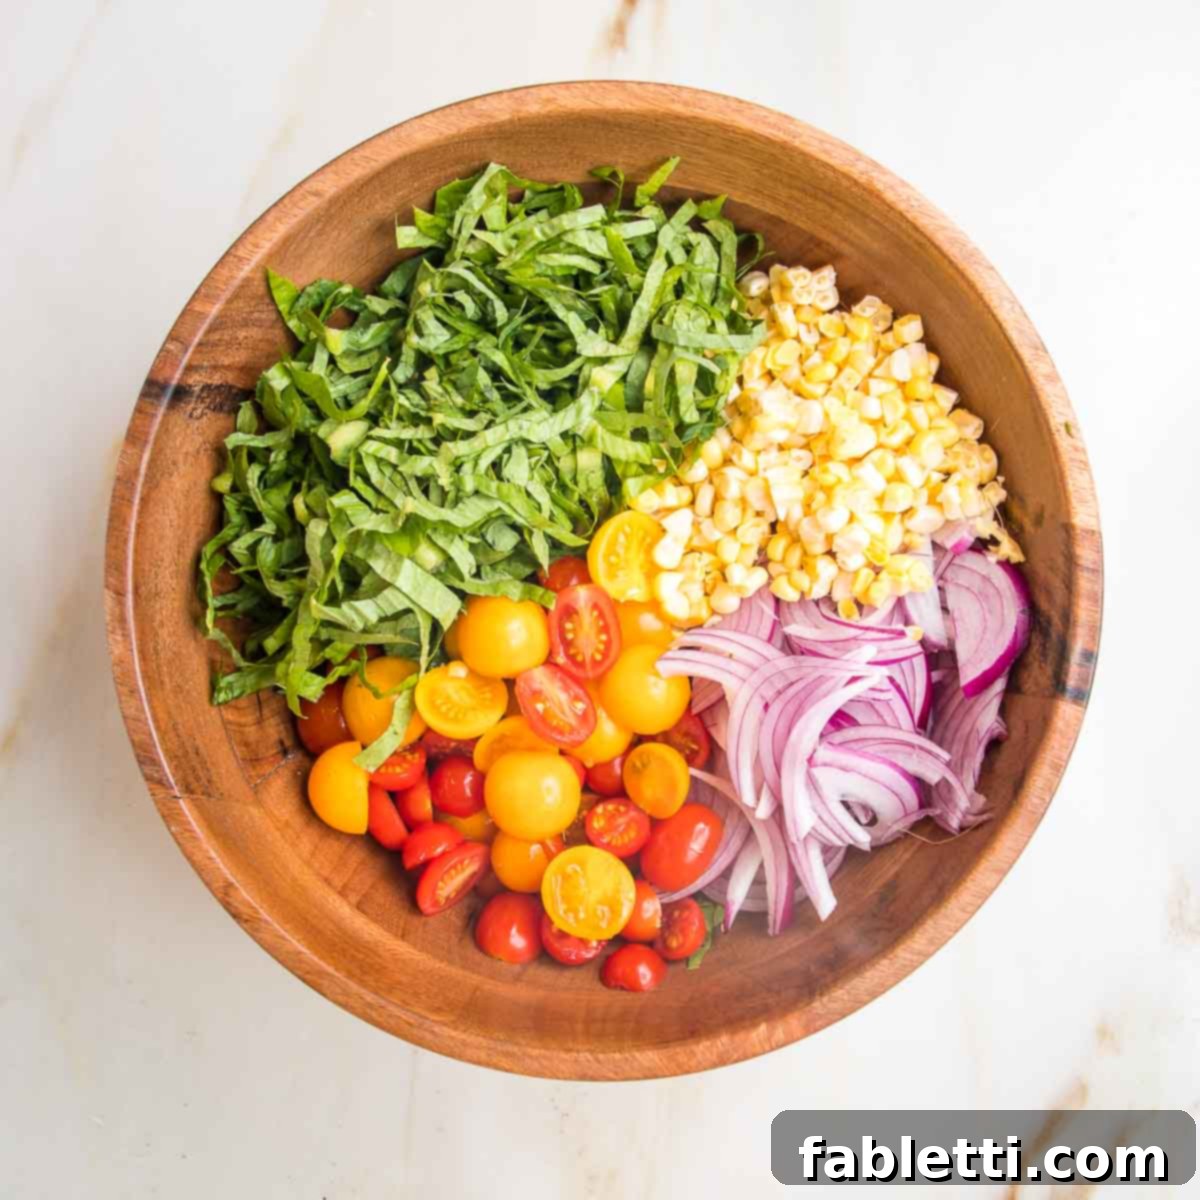
- Timing is Key: While your flatbread pizza crust is baking in the oven, use this valuable time to prepare and gather all your desired toppings. Chop vegetables, prepare sauces, or mix salads. This efficient workflow ensures your flatbread is topped and ready to serve almost immediately after the crust is cooked.
- Unexpectedly Delicious Salad Topping: For a truly amazing and healthy dinner, try topping a crispy vegan flatbread crust with a vibrant Tuscan kale chopped salad. The crispness of the flatbread perfectly complements the fresh, crunchy texture of the salad, creating a meal that is both satisfying and incredibly nutritious.
- Mastering the Shape: To ensure your flatbread fits perfectly and cooks evenly, roll your no-yeast pizza dough into a long, thin rectangle. This shape is ideal for accommodating a standard half sheet pan. Once baked, serving it on a large wooden cutting board not only looks impressive but also makes slicing and sharing effortless.
- Preventing Bubbles: Don’t skip pricking the dough all over with a fork before its initial bake. This crucial step allows steam to escape during cooking, preventing unwanted air bubbles from forming and ensuring your crust remains uniformly flat and exceptionally crispy.
- Optimize for Quick Meals: For the ultimate quick and easy pizza night, consider making the dough in advance. As mentioned, the dough can be stored in the refrigerator for up to two days or frozen for a month. Having pre-made dough means you’re just minutes away from a fresh, homemade pizza whenever the craving strikes!
- Don’t Overload the Crust: While it’s tempting to pile on all your favorite toppings, remember that a thinner crust benefits from a more balanced approach. Overloading can make the center soggy. Aim for a generous but not excessive amount of toppings to maintain that signature crispiness.
- Experiment with Flours: While whole wheat offers great texture and nutrition, feel free to experiment with other flours. A blend of all-purpose and whole wheat, or even a different whole grain like spelt, can yield interesting variations in flavor and texture.
Meal Prep and Storage Solutions
This no-yeast flatbread recipe is fantastic for meal prepping, allowing you to enjoy homemade pizza even on your busiest days. Here’s how to efficiently prepare, store, and reheat your flatbreads for maximum convenience and freshness.
- SERVE: This versatile flatbread can be served in many ways. Enjoy it as a delightful appetizer, a light lunch, or a satisfying main course, especially when paired with a fresh side salad. Its sturdy base makes it ideal for dipping, too!
- PREP AHEAD (Dough): The dough itself is incredibly forgiving for advance preparation. Simply make the dough according to the instructions, roll it into balls, and wrap each ball tightly in plastic wrap to prevent it from drying out. Uncooked dough will keep beautifully in the refrigerator for up to three days. For longer storage, it can be frozen for up to one month. When ready to use, thaw frozen dough in the fridge overnight, then bring to room temperature before rolling out for optimal workability.
- PREP AHEAD (Cooked Flatbread): If you want to get a head start on baking, you can par-bake the flatbread crusts without any toppings. Once cooled, wrap the cooked flatbreads well (plastic wrap, then foil or an airtight container) and store them in the fridge for up to five days. For extended freshness, cooked, untoppled flatbread can be frozen for up to three months. To re-crisp, simply place the cooked flatbread in a preheated 450-degree Fahrenheit oven for about 5 minutes, or until it regains its desired crispiness.
- STORE (Leftovers): Any leftover flatbread pizza (with toppings) should be stored in an airtight container in the refrigerator. It will remain delicious for up to five days.
- FREEZE (Leftovers): While best enjoyed fresh, leftover flatbread pizza can be frozen for up to one month. Wrap individual slices or whole flatbreads tightly in plastic wrap and then foil to prevent freezer burn. Defrost in the fridge before reheating.
- REHEAT: To reheat leftover flatbread pizza, place it in a preheated 425-450 degree Fahrenheit oven for 5-10 minutes, or until the crust is crisp and the toppings are heated through. This method is superior to microwave reheating, which can make the crust soggy.
Frequently Asked Questions About No Yeast Flatbread
Q: Can I use different types of flour for this recipe?
A: Absolutely! While whole wheat flour offers a great texture and nutritional benefits, this recipe is highly adaptable. You can use all-purpose flour for a softer crust, spelt flour for a slightly sweeter, nuttier flavor, or a measure-for-measure gluten-free all-purpose blend for a gluten-free option. Keep in mind that different flours absorb liquids differently, so you might need slight adjustments to the water content to achieve the desired dough consistency.
Q: Why do I need to prick the dough with a fork?
A: Pricking the dough with a fork is a crucial step to prevent it from puffing up excessively and unevenly during baking. These small holes allow steam to escape, ensuring your flatbread remains thin, flat, and consistently crispy. Without pricking, you might end up with large air pockets, resulting in an unevenly cooked and less desirable crust.
Q: How can I make my flatbread extra crispy?
A: Several factors contribute to an extra crispy flatbread. First, ensure you roll the dough as thinly as possible (aim for ⅛-inch thickness). Second, don’t skimp on the olive oil brush during the par-baking stage – this adds flavor and promotes browning and crispiness. Third, preheat your oven to a high temperature (450-475°F) and use a pizza stone or heavy baking sheet to ensure even heat distribution. Finally, avoid overloading your flatbread with too many wet toppings, which can make the crust soggy.
Q: Can I prepare the dough in advance?
A: Yes, this dough is perfect for meal prepping! You can make the dough up to 2-3 days in advance and store it tightly wrapped in plastic in the refrigerator. You can also freeze the dough for up to a month. Just be sure to bring it to room temperature before rolling it out for the best results.
Q: What are some good plant-based topping ideas?
A: The possibilities are endless! Beyond the suggestions above (pesto, hummus, roasted vegetables, fresh salads), consider a base of roasted red pepper sauce, sun-dried tomato spread, or even a vegan cashew cream. Top with sautéed mushrooms, caramelized onions, artichoke hearts, spinach, olives, fresh herbs, or a sprinkle of vegan mozzarella. For a sweet twist, try fruit and a drizzle of maple syrup after baking.
More Quick & Easy Recipes (30 Minutes or Less!)
- Cold Sesame Noodles with Tahini
- Zucchini Corn Fritters
- Vegan Taco Soup with Baked Tortilla Strips
- Tuscan Kale Chopped Salad
Did you enjoy this recipe? Your feedback helps fellow home cooks! Please consider leaving a five-star rating and a comment below if you made this delicious no-yeast flatbread. We’d also love to see your culinary creations! Share your photos on Instagram by tagging me @dkhealthcoach and using the hashtag #debraklein. Happy cooking!
📖 Recipe: Quick & Easy No Yeast Flatbread Pizza

No Yeast Flatbread Recipe
Debra Klein
Rate this Recipe
Pin Recipe
5 mins
15 mins
20 mins
Side Dish, Main Course, Appetizer
American, Mediterranean
2 flatbread pizzas
458 kcal
Equipment
- Pizza Wheel and Cutter
- Extra Large Pizza Paddle
- Pizza Stone for Oven and Grill
- Stainless Steel Heavy Duty Baking Sheet
Ingredients
- 3 ¼ cups whole wheat flour (or gluten-free all-purpose flour, spelt flour, or plain flour)
- 1 teaspoon fine grain salt
- 1 cup warm water
- ¼ cup olive oil divided (3 tbsp for dough, 1 tbsp for brushing)
- 1 Tablespoon coarse cornmeal for dusting pan (optional, use parchment paper if preferred)
Instructions
- Preheat your oven to 450°F (convection bake) or 475°F (regular oven). This high temperature is key for a crispy crust.
- In a food processor (or large bowl), pulse the flour and fine grain salt together until well combined.
- Add the warm water and 3 tablespoons of olive oil to the flour mixture. Process (or mix by hand/stand mixer) until the dough comes together and easily pulls away from the sides of the bowl, forming a cohesive ball.
- Turn the dough out onto a lightly floured surface. Knead by hand for a minute or two until a smooth ball of dough has formed. The dough should be soft and pliable.
- Cut the dough ball into two equal pieces for standard flatbreads, or into four pieces for individual pizzas. Roll each piece into a ball. Ensure your work surface and rolling pin are dusted with flour to prevent sticking. Use the rolling pin to roll each dough ball into a thin circle, oval, or square, aiming for approximately ⅛” thickness. A thin dough is essential for a crispy, evenly cooked crust. If the dough is too thick, it may burn on top before cooking through in the center.
- Lightly dust a rimmed baking sheet or pizza stone with coarse cornmeal. This helps prevent sticking and adds to the crispy texture.
- Carefully place the rolled-out dough onto the prepared pan. Using a fork, prick holes all over the surface of the dough. This prevents large air bubbles from forming. Bake in the preheated oven for 7 minutes.
- Remove the par-baked flatbread from the oven. Brush the top generously with the remaining 1 tablespoon of olive oil. Return to the oven and bake for an additional 7 minutes, or until the crust is beautifully golden brown and crisp.
- While the flatbread is baking its second round, gather and prepare your favorite topping ingredients. Refer to the “Unleash Your Creativity: Incredible Flatbread Topping Ideas” section above for inspiration.
- Once the crust is golden, spread your desired sauce (pesto, hummus, or tomato sauce) and add your chosen toppings. If your toppings require heating or melting (e.g., vegan cheese or roasted vegetables), return the topped flatbread to the oven for an additional 5 minutes, or until everything is heated through and bubbly. Fresh toppings like salad greens can be added after baking.
- Use a pizza peel to transfer the finished flatbread to a cutting board. Use a pizza cutter or sharp knife to slice it into portions. Serve this delicious flatbread pizza warm and enjoy!
- Leftover flatbread can be stored in an airtight container in the fridge for up to 5 days. Reheat in a preheated 425-450°F oven for 5 minutes, or until heated through and re-crisped.
Notes
FLATBREAD TOPPING IDEAS RECAP:
– One of the most delightful ways to enjoy this flatbread is topped with a fresh salad. First, spread a layer of vibrant pesto or creamy hummus. Then, pile on fresh, julienned greens, thin slices of red onions, aromatic fresh basil, and juicy tomatoes.
– Other beloved pizza toppings include classic tomato sauce, dollops of rich vegan ricotta, colorful sliced red peppers, and a sprinkle of aromatic Italian spices. Get creative and use what you love!
Nutrition
Calories: 458kcal
Carbohydrates: 72g
Protein: 13g
Fat: 16g
Saturated Fat: 2g
Polyunsaturated Fat: 13g
Sodium: 534mg
Fiber: 11g
Note
The nutrition calculations were performed using online tools and are provided as an estimate. To obtain the most accurate nutritional information for your specific recipe, it is recommended to calculate it based on the actual ingredients you use. You are ultimately responsible for ensuring the accuracy, completeness, and usefulness of any nutritional data.
Did you make this recipe?
Please leave a review below, then snap a picture and tag me @dkhealthcoach or use hashtag #debraklein on Instagram so I can see it!
