In a world increasingly conscious of health and wellness, many are exploring dietary changes that align with their personal goals. For me, the journey toward a more vibrant and healthy life led me to part ways with dairy. This decision, while often straightforward, occasionally presents a longing for that creamy texture or rich flavor that milk provides in various dishes. Whether it’s enhancing a bowl of warm oatmeal, creating a luxuriously smooth smoothie, or serving as a crucial ingredient in baking, having a reliable dairy-free alternative is invaluable. Through personal experimentation, I’ve discovered that homemade almond milk excels as a dairy substitute, and its counterpart, cashew milk, can brilliantly replace richer ingredients like crème.
Discover the Pure Goodness: Homemade Almond Milk for Optimal Health
While numerous commercial almond milk options line grocery store shelves, I’ve developed a strong preference for crafting my own. There’s a significant difference in taste, texture, and nutritional value when you control the ingredients. Understanding the distinctions between homemade and commercially produced almond milk is key to making informed dietary choices. Over time, I’ve honed my technique to perfection, transforming the process into an effortless routine. If I remember the simple overnight soaking step for the almonds, preparing a fresh batch takes less than five minutes, including cleanup.
One aspect that initially presented a challenge was the leftover almond pulp. The thought of wasting food deeply bothers me, prompting a series of culinary explorations to utilize this nutritious byproduct. My experiments have unveiled a myriad of creative applications for almond pulp, not only preventing waste but also boosting the nutritional profile and enhancing the texture of countless dishes. Be sure to keep an eye out for more recipes that highlight the versatility of almond pulp, as it’s truly a hidden gem in the kitchen.
The Unrivaled Benefits of Crafting Your Own Almond Milk
Beyond the satisfaction of creating something from scratch, homemade almond milk offers distinct advantages that set it apart from its store-bought counterparts. Commercial almond milks often contain a host of additives, stabilizers, and sugars to extend shelf life and mimic dairy’s consistency. Ingredients like carrageenan, guar gum, and added sugars can negate some of the health benefits almonds naturally offer. When you make almond milk at home, you have complete control over what goes in, ensuring a pure, wholesome beverage free from unwanted chemicals and unnecessary sweeteners. This purity results in a remarkably fresh, clean taste that simply cannot be replicated by processed versions.
Furthermore, homemade almond milk is often more cost-effective in the long run. While an initial investment in a quality blender and a nut milk bag is required, the price per serving typically drops significantly when you buy almonds in bulk. This economic benefit, coupled with the ability to customize flavor and consistency, makes homemade almond milk a superior choice for many health-conscious individuals. It’s a small investment of time that yields substantial rewards for your health and your wallet.
Unlocking the Power of Almond Pulp: A Zero-Waste Approach
The culinary journey with homemade almond milk doesn’t end with the strained liquid; it opens up a world of possibilities with the leftover almond pulp. Instead of discarding it, this fibrous material is a treasure trove of nutrients, including dietary fiber, healthy fats, and residual protein. Embracing a zero-waste philosophy in the kitchen not only benefits the environment but also adds unique textures and nutritional boosts to your meals.
I’ve been delighted by the diverse ways almond pulp can be incorporated into recipes. It can act as a natural thickener, an enriching ingredient in baked goods, or a subtle flavor enhancer in savory dishes. The fine, crumbly texture of dried pulp makes it an excellent substitute for almond flour in certain recipes, while fresh pulp can add moisture and fiber to smoothies, porridges, and even dips. This commitment to using every part of the almond underscores the holistic benefit of making your own nut milk.
Homemade Almond Milk: A Simple Guide to Freshness
Ready to embark on your homemade almond milk adventure? The first essential tool you’ll need is a nut milk bag. This specialized bag makes the straining process incredibly efficient, yielding a smooth, pulp-free milk. If you’re eager to start and can’t wait for your nut milk bag to arrive, a fine-mesh sieve or even cheesecloth can serve as a temporary alternative. While these methods might require a bit more effort for optimal straining, they will still allow you to create delicious homemade almond milk right away.
How to Make Fresh Almond Milk in Four Easy Steps
Step 1: Prepare Your Almonds for Blending

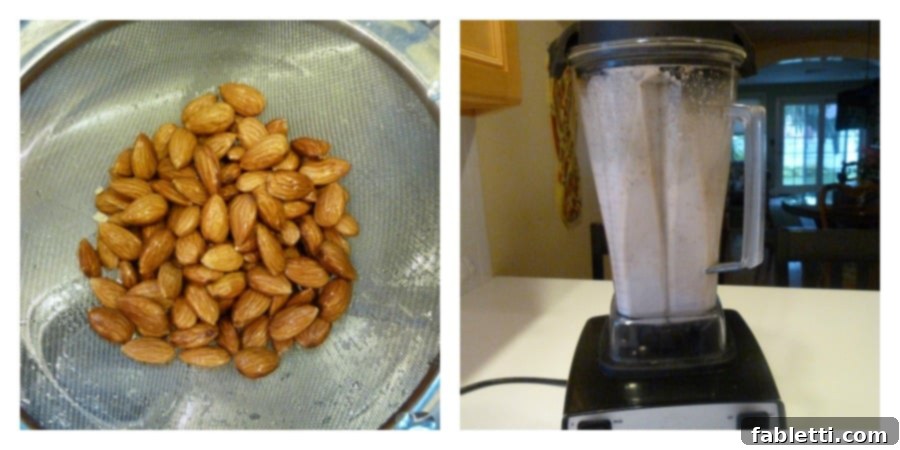
Begin by soaking your almonds (refer to the ‘Notes’ section for soaking instructions). Once adequately soaked, drain them thoroughly, rinse under cold water, and drain again. Combine the rinsed almonds with filtered water in a high-speed blender. Blend for approximately one minute, or until the mixture appears creamy and well-pulverized. A high-quality blender like a Vitamix Blender can achieve optimal smoothness.
Step 2: Strain the Milk from the Pulp

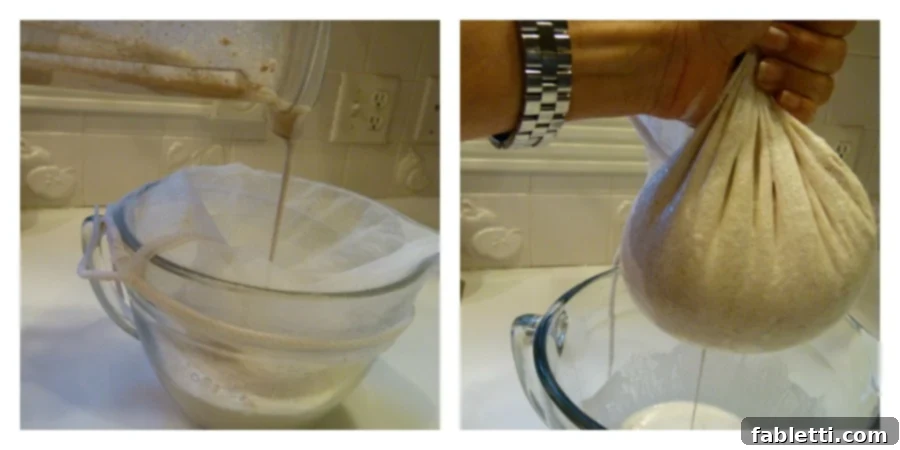
Position your nut milk bag (or cheesecloth/fine sieve) over a large bowl. Carefully pour the entire contents of your blender into the bag. Lift the bag, allowing the almond milk to naturally drip into the bowl. Gently squeeze the bag to extract every last drop of liquid from the pulp. Continue squeezing until the pulp feels relatively dry and firm, and only the pure almond milk remains in the bowl. This method ensures maximum yield and a smooth texture.
Step 3: Preserve the Nutrient-Rich Almond Pulp

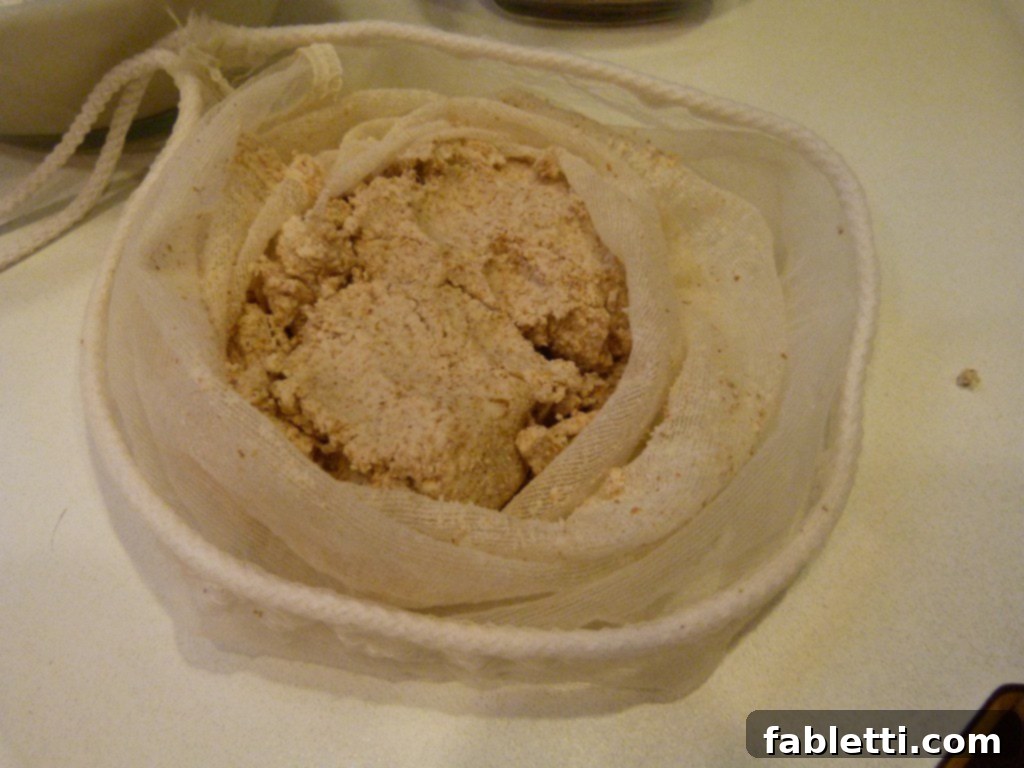
Do not discard the leftover almond pulp! This versatile ingredient can be saved for a multitude of future uses. Transfer the squeezed pulp into an airtight container. If you plan to use it within the week, store it in the refrigerator. For longer storage, freeze it in an airtight container or bag. For inspiration, this delightful healthy banana bread recipe is an excellent way to incorporate almond pulp and reduce food waste.
Step 4: Savor Your Homemade Almond Milk

Your fresh, homemade almond milk is now ready to enjoy! Pour it into a clean glass jar with a tight-fitting lid and store it in the refrigerator. It typically stays fresh for up to four days. If you find yourself with extra, freeze portions in ice cube trays for convenient future use in smoothies or coffee. Remember that natural separation will occur, so always shake well before serving to ensure a consistent, creamy texture.
📖 Recipe: Homemade Almond Milk
Equipment
- Nut milk bag
- 13-oz. glass bottles (for storage)
- High-speed Blender (e.g., Vitamix)
- Large bowl
Ingredients
- 1 cup raw organic almonds, soaked*
- 3 cups filtered water
Optional Flavor Enhancers:
- 2-4 pitted dates (for sweetness)
- 1 teaspoon pure vanilla extract
- 2 teaspoons raw cacao powder
- 5 large strawberries
- 2 teaspoons maple syrup
- 1 teaspoon ground cinnamon
- Pinch of sea salt
Instructions
- Drain, rinse, and drain again the almonds that have been soaking (see notes below* for soaking details).
- Combine the prepared almonds and filtered water in a high-speed blender. Blend on high speed for approximately 1 minute, or until the mixture is creamy and smooth.
- Place a nut milk bag over a large bowl. Slowly pour the entire contents of the blender into the bag. Lift the bag, allowing the milk to stream into the bowl, then gently squeeze the bag to release any remaining liquid. Continue to squeeze until all the liquid has been extracted, and all that remains in the bag is dry almond pulp**. Do not discard the almond pulp; see suggestions below for its uses.
- Store the fresh almond milk in a glass jar with a tight-fitting lid in the refrigerator for up to 4 days. For longer storage, freeze any unused almond milk in ice cube trays for future convenience.
- Homemade nut milk will naturally separate, so be sure to shake the jar well before each use to reincorporate the ingredients and achieve a consistent texture.
- If you wish to enhance the flavor with any of the optional ingredients listed above, follow steps 1 and 2. Then, rinse the blender jar thoroughly. Add the freshly made almond milk along with your chosen flavor enhancer(s) back into the clean blender jar. Blend on high for 30 seconds until all ingredients are well incorporated. Store in a glass jar as instructed in step 4.
Notes
*Soaking Almonds: Soaking is highly recommended to maximize the bioavailability of almond nutrients and aid in digestion. Cover raw almonds with cold, filtered water and let them soak for 8-12 hours, or overnight. If you forget to soak your almonds in advance, a quick method involves pouring boiling water over the almonds and allowing them to soak for 30-60 minutes before draining and rinsing.
USES FOR ALMOND PULP:
**The leftover almond pulp is a valuable ingredient! If you plan to use the almond pulp within the week, store it in an airtight glass container in the refrigerator. For longer preservation, store it in an airtight container in the freezer until you are ready to use it.
- Use as a natural thickener in smoothies, adding fiber and nutrients.
- Dehydrate the pulp (bake on a low temperature, around 200°F/95°C, for 30 minutes until completely dried out), then grind it in a food processor to create a homemade almond meal or flour. This can be substituted in baked goods.
- Add a spoonful or two to hummus or other dips and spreads to boost their nutritional value and improve texture.
- Mix into your morning oatmeal along with fresh berries, hemp seeds, and a splash of maple syrup for added texture and nutrition.
- Replace half of the flour in your favorite quick bread or muffin recipe with an equal amount of almond pulp to enhance fiber content.
- Get creative outside the kitchen! Mix almond pulp with fresh aloe vera gel for a fantastic natural facial scrub, leveraging its gentle exfoliating properties.
Note: The nutrition calculations provided in some recipe platforms are often generated using online tools. To ensure the most accurate representation of the nutritional information for any given recipe, it is recommended that you calculate the nutritional data using the specific brands and quantities of ingredients you used. You are ultimately responsible for verifying the accuracy, completeness, and usefulness of any nutritional information.
Did you make this recipe? We’d love to hear from you! Please leave a review below, then snap a picture and tag me @dkhealthcoach or use hashtag #dkhealtcoach on Instagram so I can see your delicious creation!