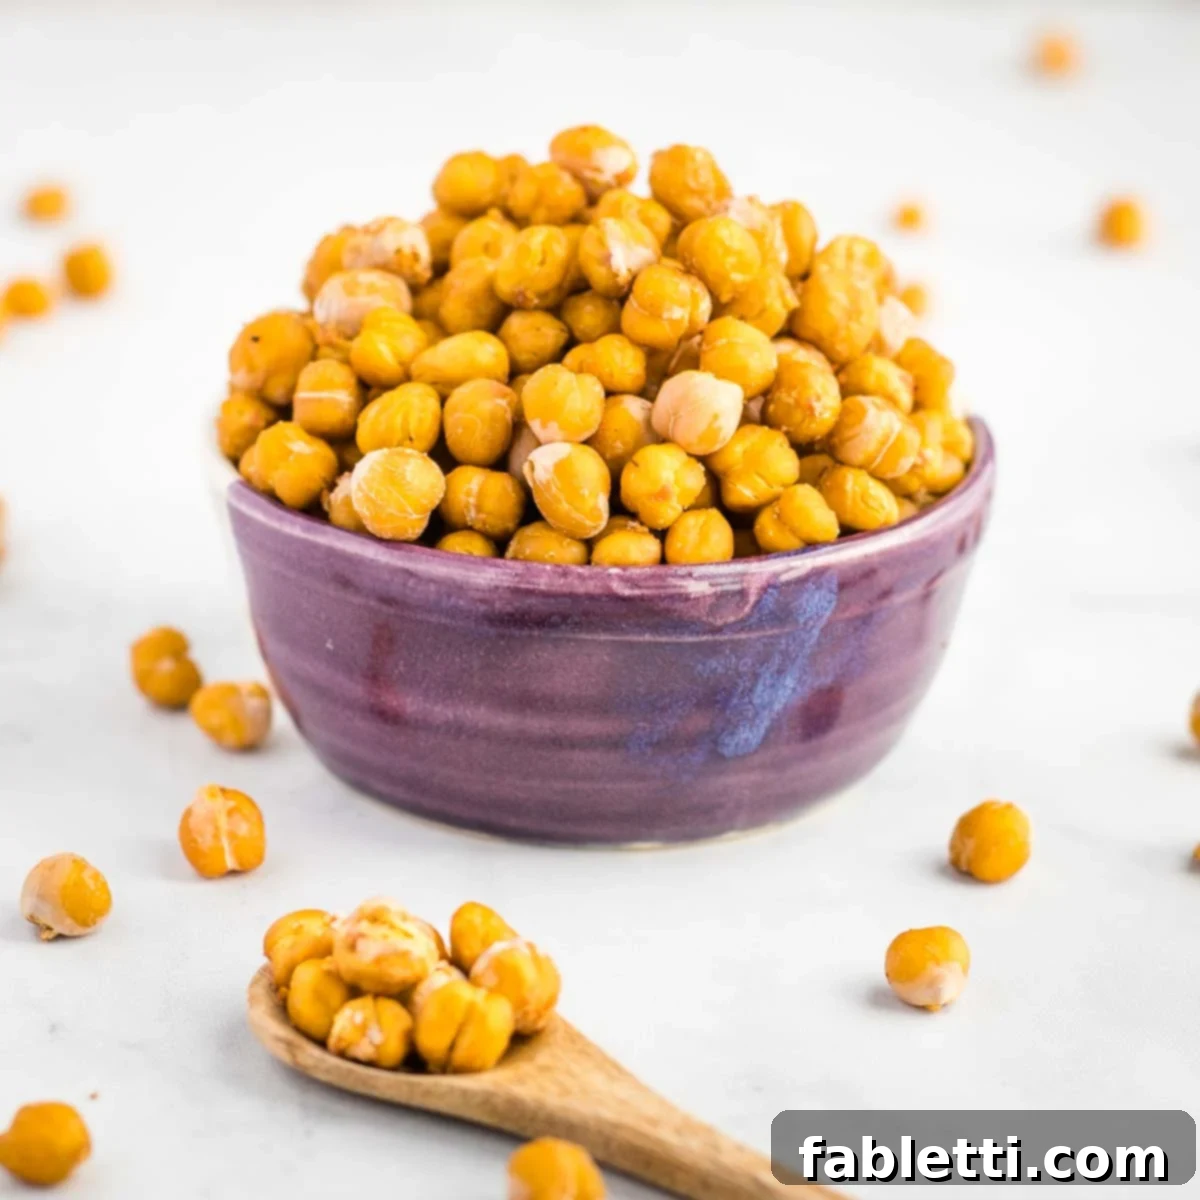
Craving a delicious, guilt-free snack that’s both crunchy and satisfying? Look no further than these healthy roasted chickpeas! Transform a simple can of chickpeas into an irresistible savory treat that’s perfect for any time of day. This easy-to-make recipe promises crispy, crunchy, and utterly delicious results, whether you use your oven or air fryer. Forget unhealthy potato chips; these wholesome garbanzo beans deliver a powerful punch of flavor and nutrition, making them the ultimate healthy alternative you’ll want to munch on endlessly.
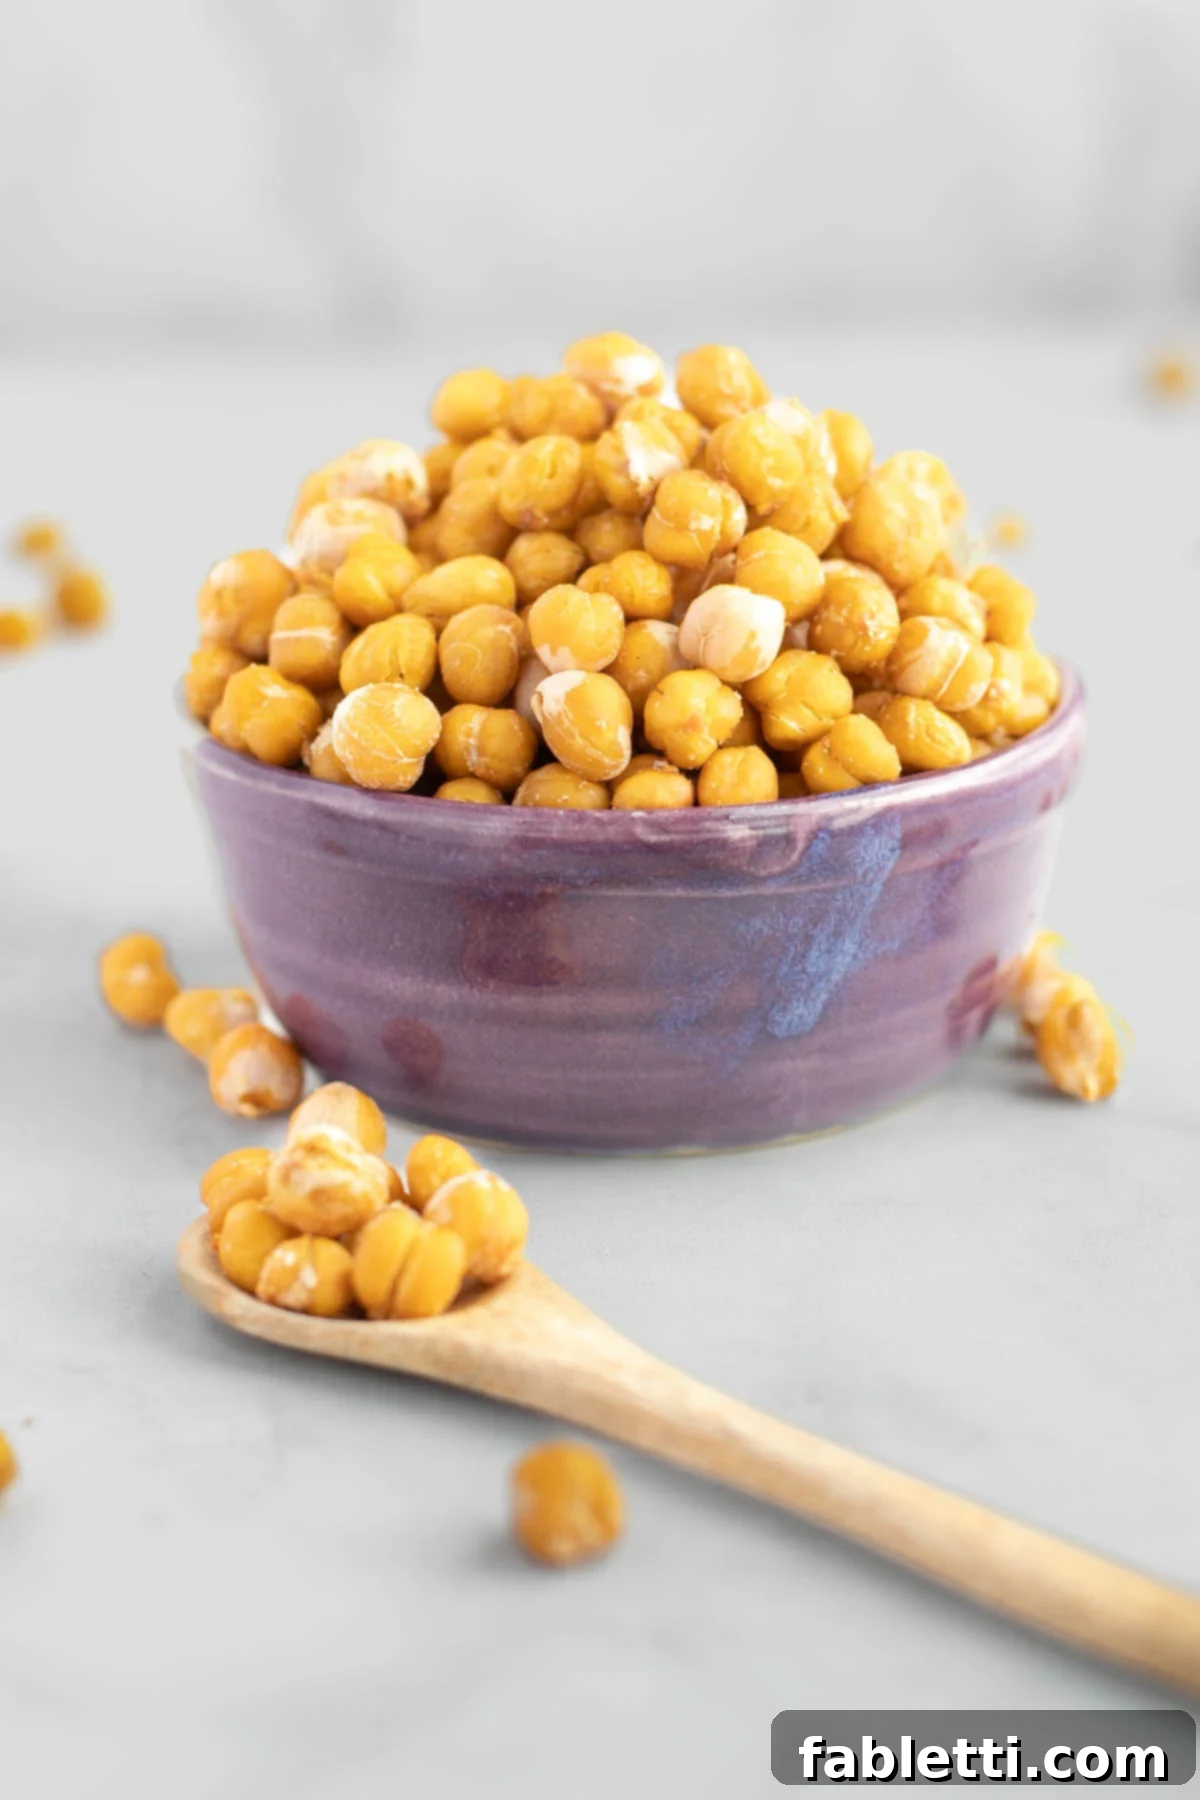
Roasted chickpeas are a revelation in healthy snacking. They take canned garbanzo beans and, with just a few of your favorite spices, transform them into a super healthy munchie. They’re incredibly versatile, serving as a fantastic snack on their own, a crunchy topping for salads and nourish bowls, or even a flavorful addition to creamy soups. As a personal favorite, I often make a large batch, though this high-protein, fiber-rich snack rarely lasts more than a day or two in my kitchen!
What makes these roasted chickpeas truly stand out is their simplicity and health benefits. They are completely oil-free, vegan, and gluten-free, catering to a wide range of dietary needs without compromising on taste or texture. In just about 30 minutes, you can have an addictively snackable treat that satisfies your savory cravings and keeps you feeling full and energized.
Why You’ll Love These Crispy Roasted Chickpeas
Beyond their amazing taste, these roasted chickpeas offer a multitude of benefits that make them an ideal snack choice:
- Effortlessly Easy to Make: With minimal prep and simple steps, even a novice cook can achieve perfect results. No need for olive oil, parchment paper, or complicated techniques. Just rinse, dry, season, and roast!
- Maintain Crispiness at Room Temperature: Unlike many healthy snacks that quickly lose their texture, these roasted chickpeas stay delightfully crunchy when stored correctly, making them excellent for meal prep or on-the-go snacking.
- Simple Pantry Ingredients: You likely already have everything you need in your kitchen – canned chickpeas and a selection of common spices. This makes them a convenient and budget-friendly option.
- Superior Crispy Texture: Their satisfying crunch rivals that of unhealthy potato chips, but with the added bonus of substantial fiber and plant-based protein. Say goodbye to empty calories and trans fats, and hello to sustained energy and satiety.
- Flexible Cooking Methods: Achieve perfect crunchiness with two versatile methods without using any oil. Whether you prefer the oven for larger batches on a baking tray or the speed of an air fryer for a quick snack, these chickpeas turn out perfectly every time.
- Nutrient-Dense and Wholesome: Packed with essential nutrients, these chickpeas contribute to a balanced diet, supporting overall well-being.
Essential Ingredients and Flavorful Substitutions
Crafting the perfect batch of roasted chickpeas requires just a few basic items, but don’t be afraid to get creative with your flavor profiles!
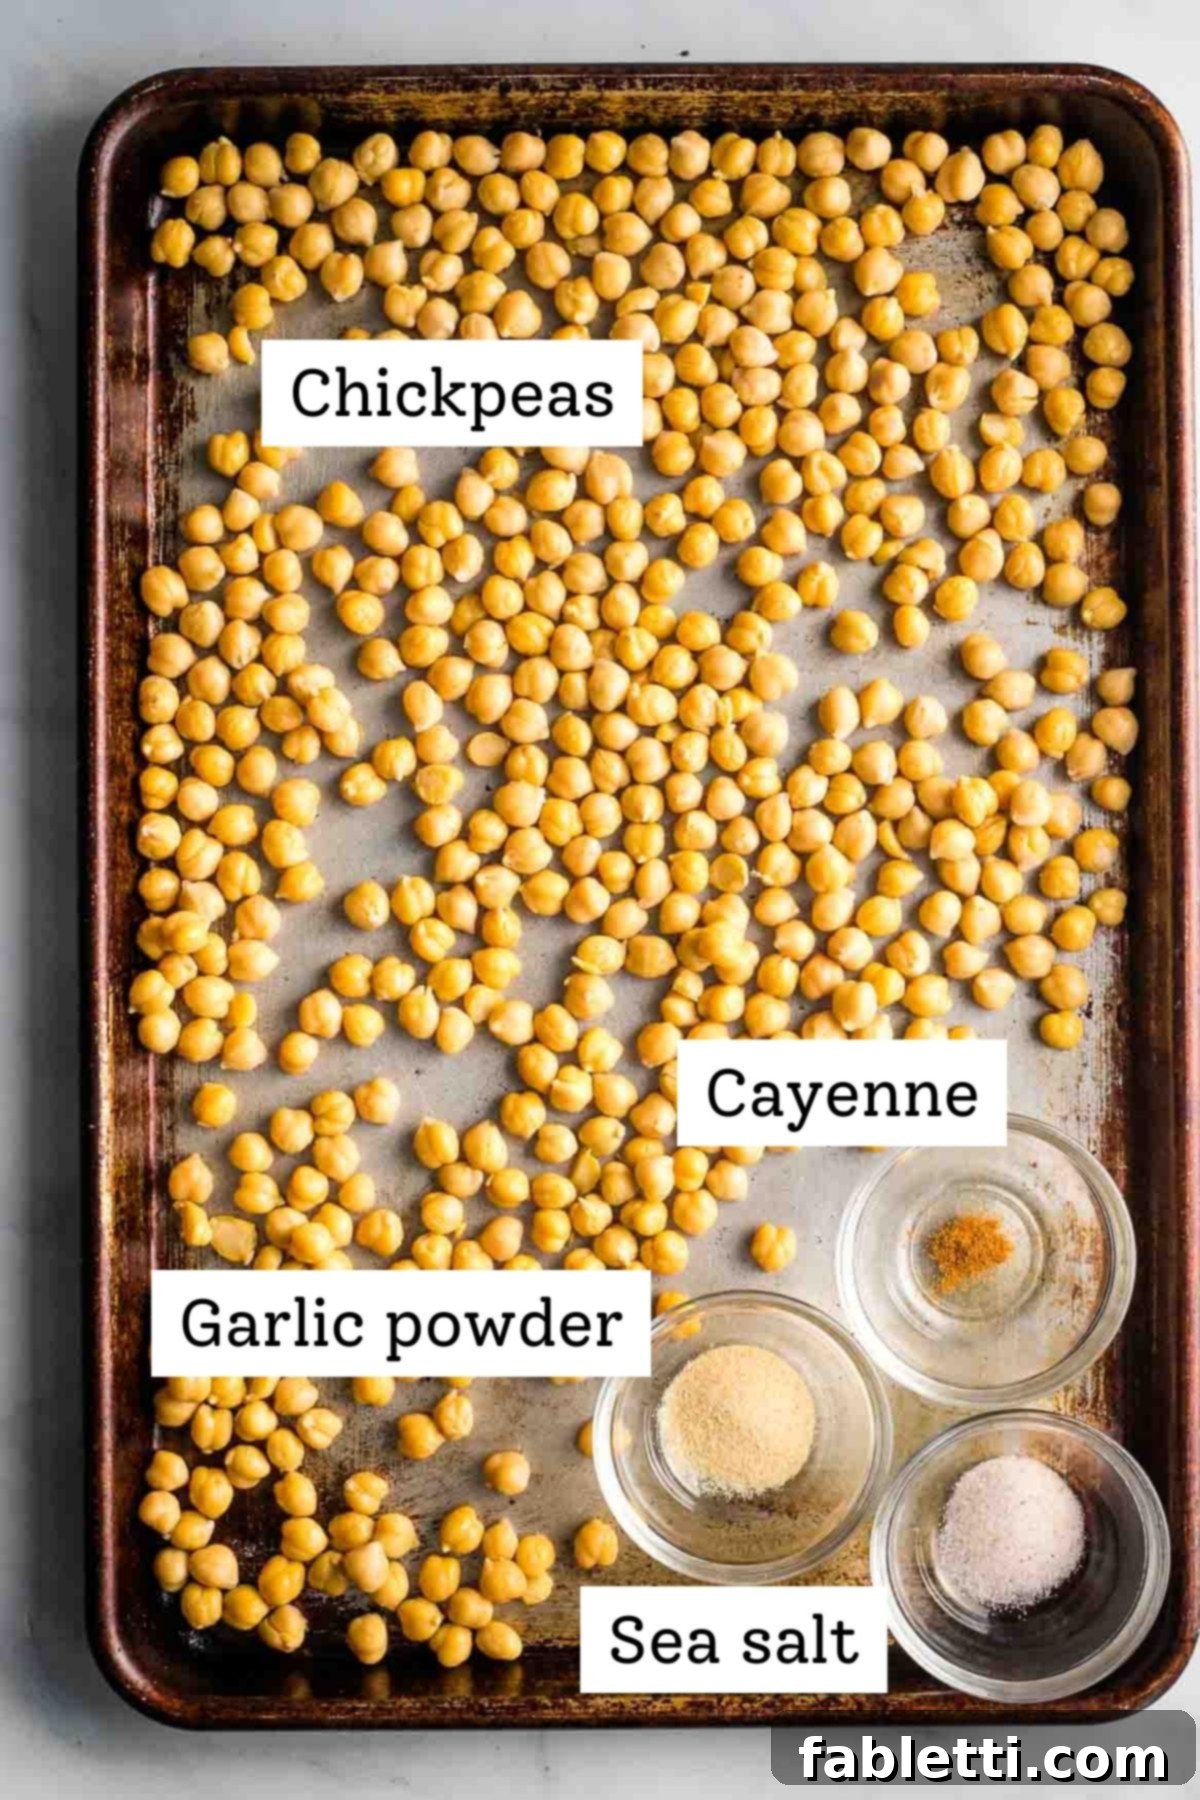
- Chickpeas (Garbanzo Beans): The star of our snack! Canned chickpeas are incredibly convenient and make this recipe super easy. Simply rinse, drain, and dry them thoroughly. For variety, you can also experiment with other beans like black beans, kidney beans, or pinto beans, following the same roasting method. Just note that cooking times might vary slightly for different bean types.
- Seasonings: The beauty of roasted chickpeas lies in their adaptability to various flavors. Our base recipe uses a classic combination of garlic powder, sea salt, and a pinch of cayenne pepper for a subtle kick. However, feel free to customize! If you’re managing sodium intake, skip the salt or use a low-sodium seasoning blend. Explore the “Variations” section below for exciting flavor ideas that can transform your snack.
- No Oil Needed: This might surprise some, but I’ve found that chickpeas achieve a much superior crunch when roasted *without* oil. The dry roasting method allows the chickpeas to truly crisp up, rather than steam or fry. This works beautifully in both the oven and the air fryer, delivering a lighter, crunchier result.
Incorporating beans into your daily diet is a cornerstone of longevity, a philosophy championed by Dan Buettner, author of The Blue Zones. His extensive research into the world’s five “Blue Zones” – areas where people consistently live to 100 or beyond – highlights the significant role of plant-based foods, especially beans. In his newer work, The Blue Zones American Kitchen, Buettner emphasizes that beans are unparalleled in their nutrient density, packing more goodness per gram than virtually any other food on the planet. This makes our crispy, satisfying chickpea snack not just delicious, but also a smart choice for long-term health and vitality!
Delicious Flavor Variations to Try
The beauty of dry-roasting beans is how easily you can customize them with your favorite spices. Use the same roasting method as detailed in the recipe card, but get creative with your seasoning blends!
- Crunchy Taco Flavored Beans: For a fiesta in every bite, sprinkle 2 teaspoons of your favorite taco seasoning blend over the dried beans. This variation is particularly fantastic with black beans, providing a hearty, savory, and slightly spicy kick. My no-salt taco seasoning is a perfect choice for controlling sodium.
- Zesty Ranch Flavored Crispy Chickpeas: This is a new favorite! A generous coating of dry ranch seasoning mix gives these chickpeas an irresistible, slightly cheesy flavor, thanks to the nutritional yeast often found in ranch blends. For an extra layer of brightness, add a touch of fresh lemon zest before roasting.
- Exotic Curry Spiced Chickpeas: Transport your taste buds to distant lands by seasoning your chickpeas with 1 teaspoon of curry powder, ½ teaspoon of ground cumin, ¼ teaspoon of hot chili powder (adjust to your heat preference), and ¼ teaspoon of mustard powder. This blend creates a warm, aromatic, and deeply flavorful snack.
- Fragrant Asian-Inspired Chickpeas: For a unique flavor profile, toss dried chickpeas with 2 teaspoons of Asian five-spice powder before roasting. The blend of star anise, cloves, Chinese cinnamon, Szechuan peppercorns, and fennel seeds offers a complex, sweet, and savory experience.
- Spicy Cajun Kick: Embrace the vibrant flavors of the bayou with a robust Cajun seasoning. A combination of smoked paprika, onion powder, garlic powder, black pepper, and a dash of white pepper delivers a spicy, subtly smoky, and truly addictive taste.
- Sweet Cinnamon Sugar Chickpeas: If you lean towards sweet snacks, these are for you! Sprinkle ½ teaspoon of cinnamon, ½ teaspoon of date sugar (or your preferred natural sweetener), and a tiny pinch of sea salt over the chickpeas. This transforms them into a delightful, healthy dessert or a sweet counterpoint to savory dishes.
How to Make Crispy Roasted Chickpeas (Step-by-Step)
Achieving truly crispy chickpeas is all about moisture removal. Follow these detailed steps for the best results:
Step 1: Rinse and Thoroughly Dry the Chickpeas
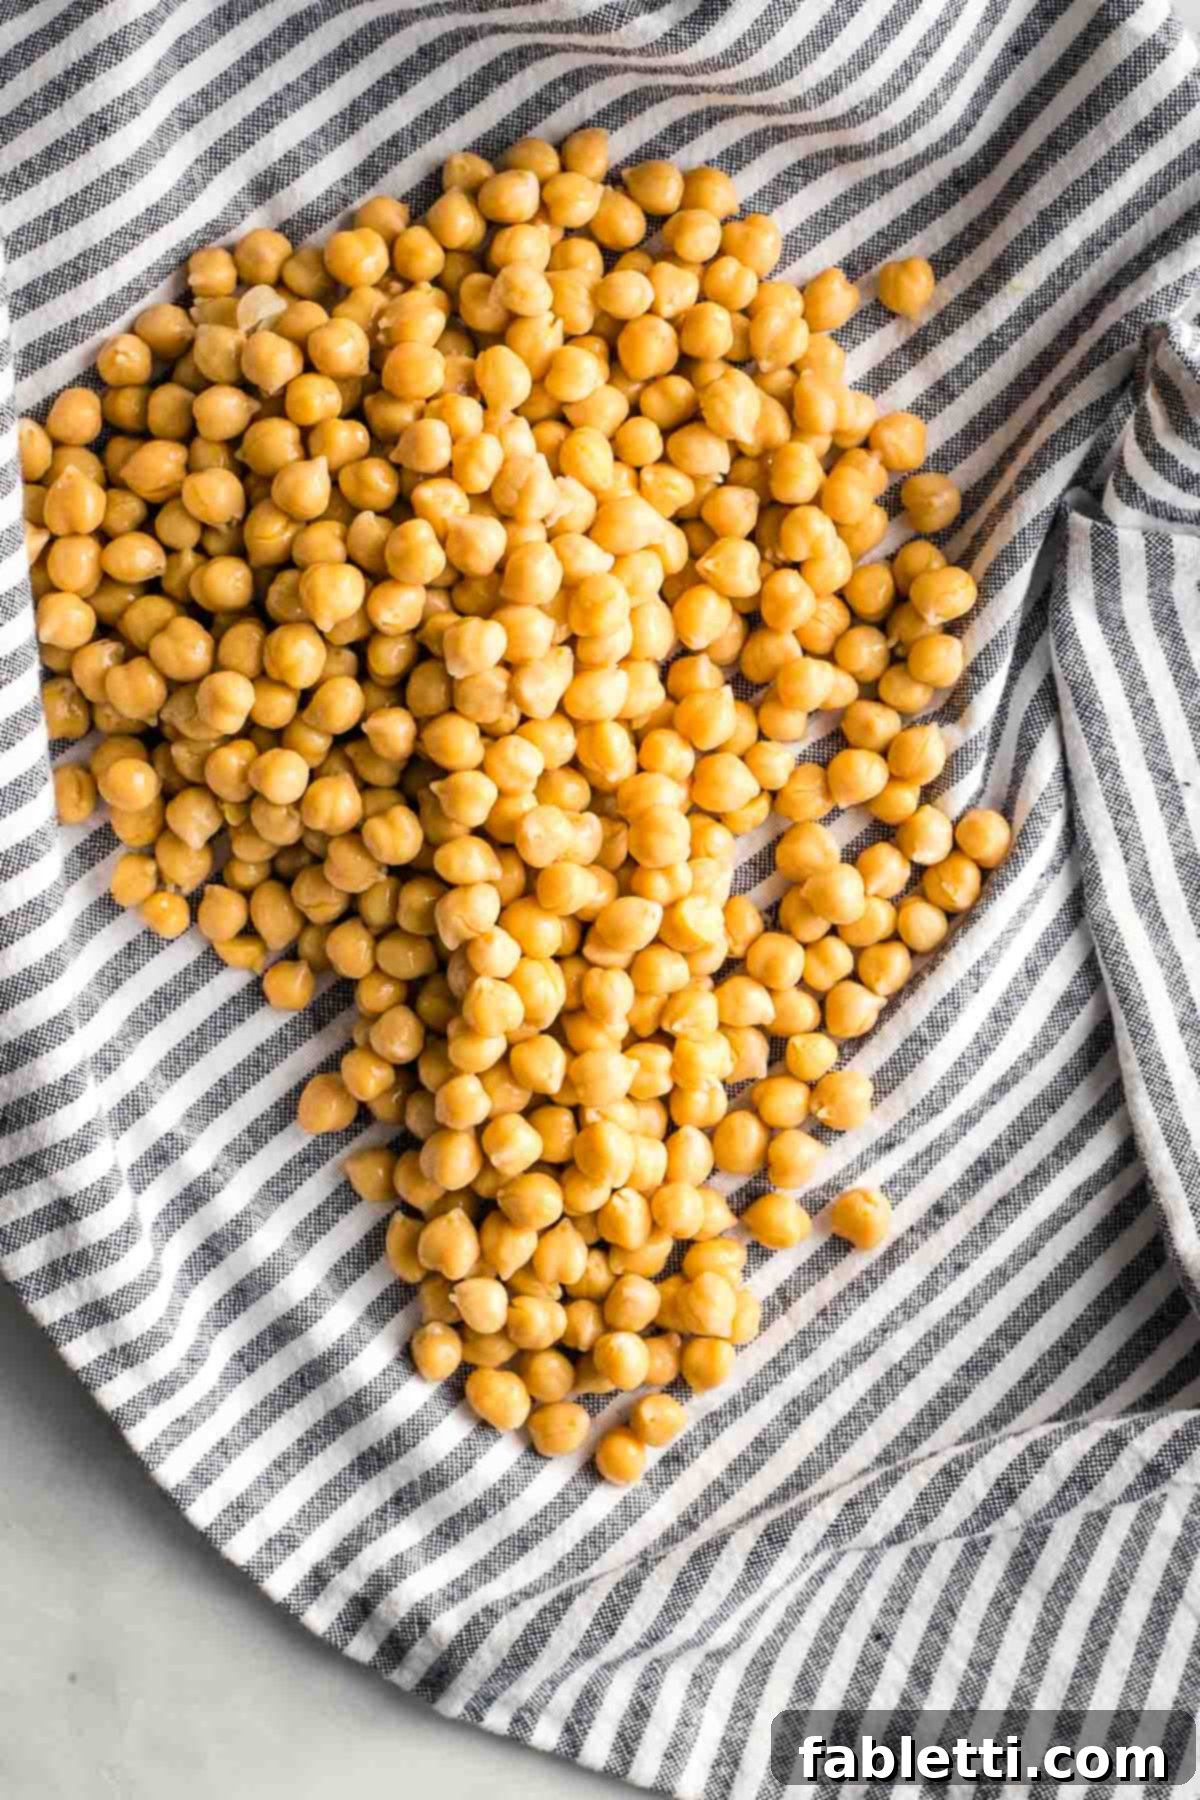
The most crucial step for achieving maximum crispiness is ensuring your chickpeas are completely dry. Start by draining and rinsing your canned chickpeas thoroughly under cold water. Once rinsed, spread them out evenly on a clean kitchen towel. Vigorously rub the chickpeas with the towel, applying gentle pressure. This action not only dries them but also helps to dislodge their loose skins. These skins can trap moisture and prevent crisping, so discard as many as you can. The drier the chickpeas, the crispier your final snack will be.
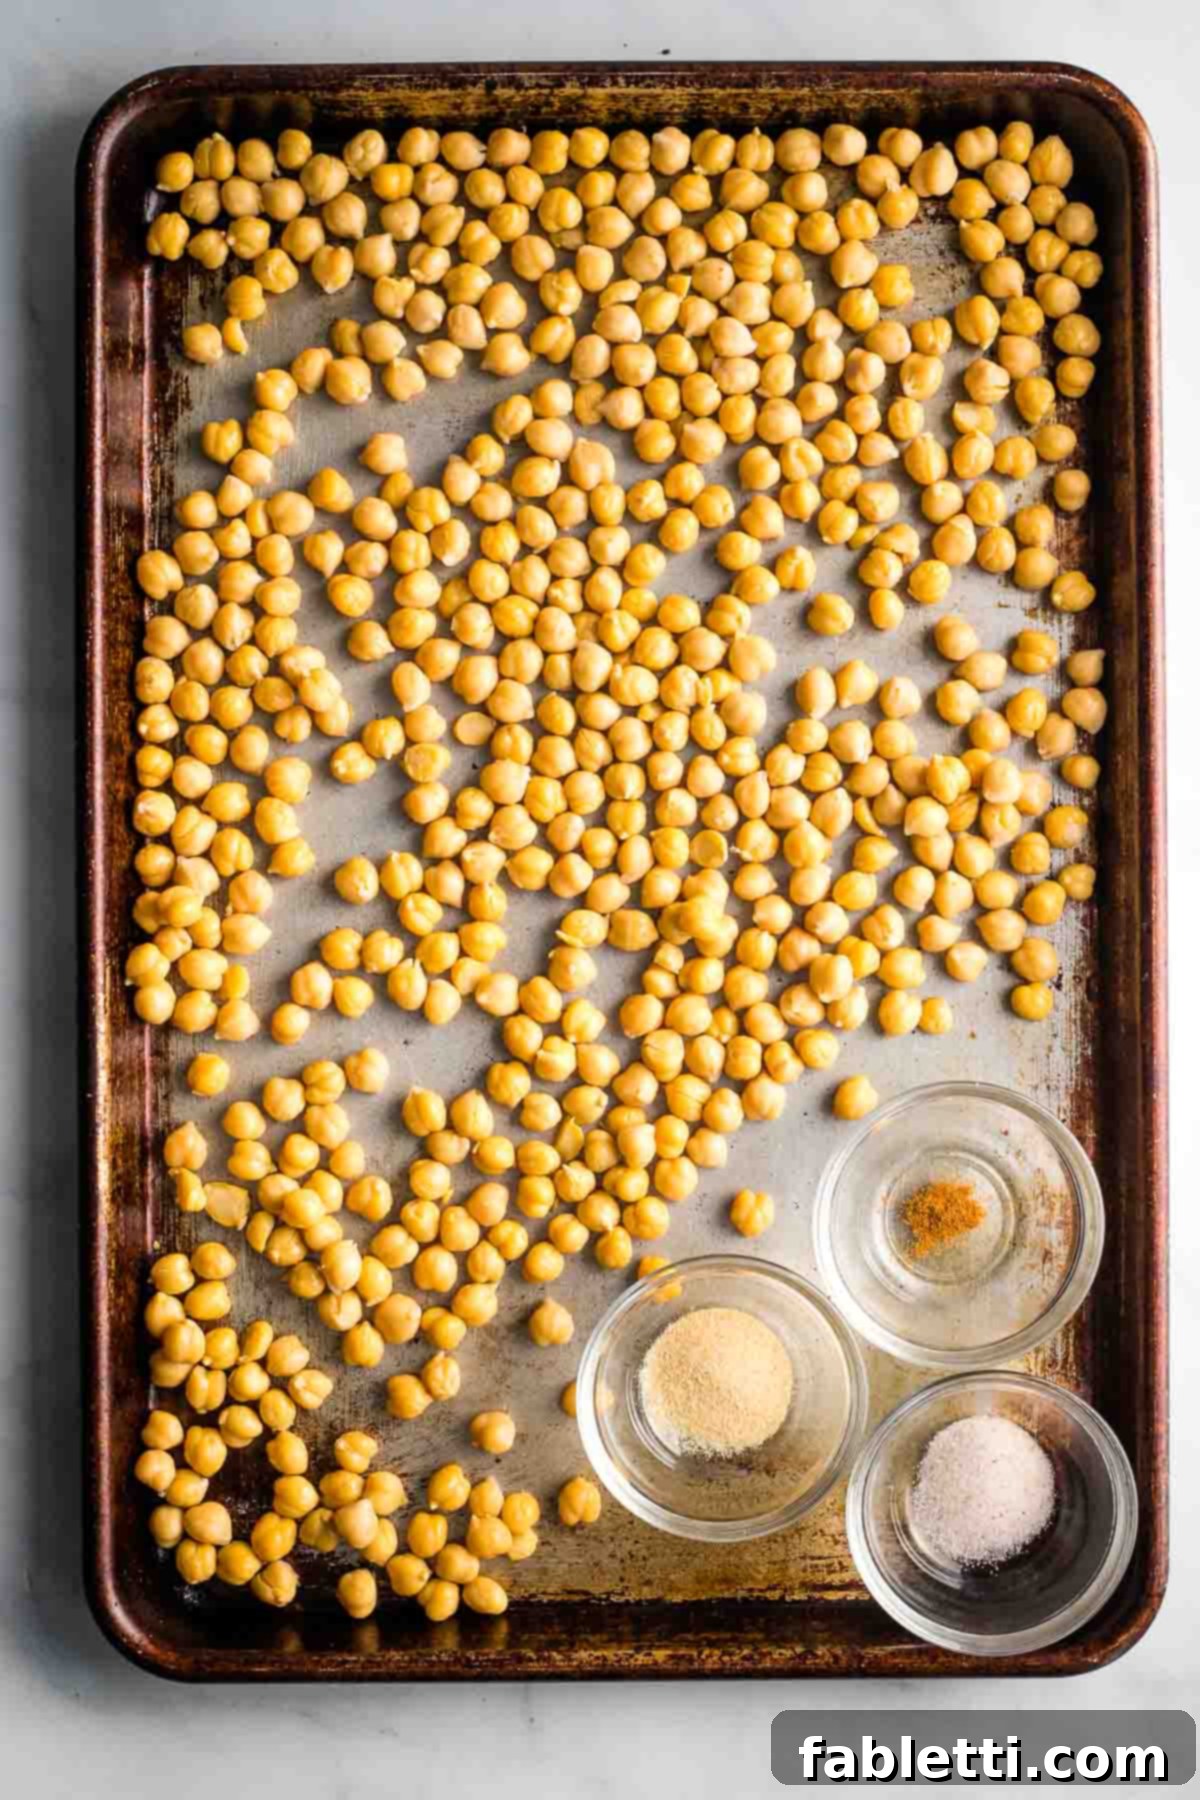
Step 2: Season and Spread Evenly
Once dried, spread the chickpeas in a single layer on a large rimmed baking sheet. Ensure the sheet is large enough that the chickpeas aren’t crowded; overcrowding leads to steaming rather than roasting. If needed, use two baking sheets. Before seasoning, give them one last pat with a paper towel to absorb any residual moisture. Then, sprinkle your chosen spices—garlic powder, cayenne pepper, and sea salt for the basic recipe—over the chickpeas. Using your hands is often the easiest and most effective way to ensure every chickpea is evenly coated with the delicious seasoning.
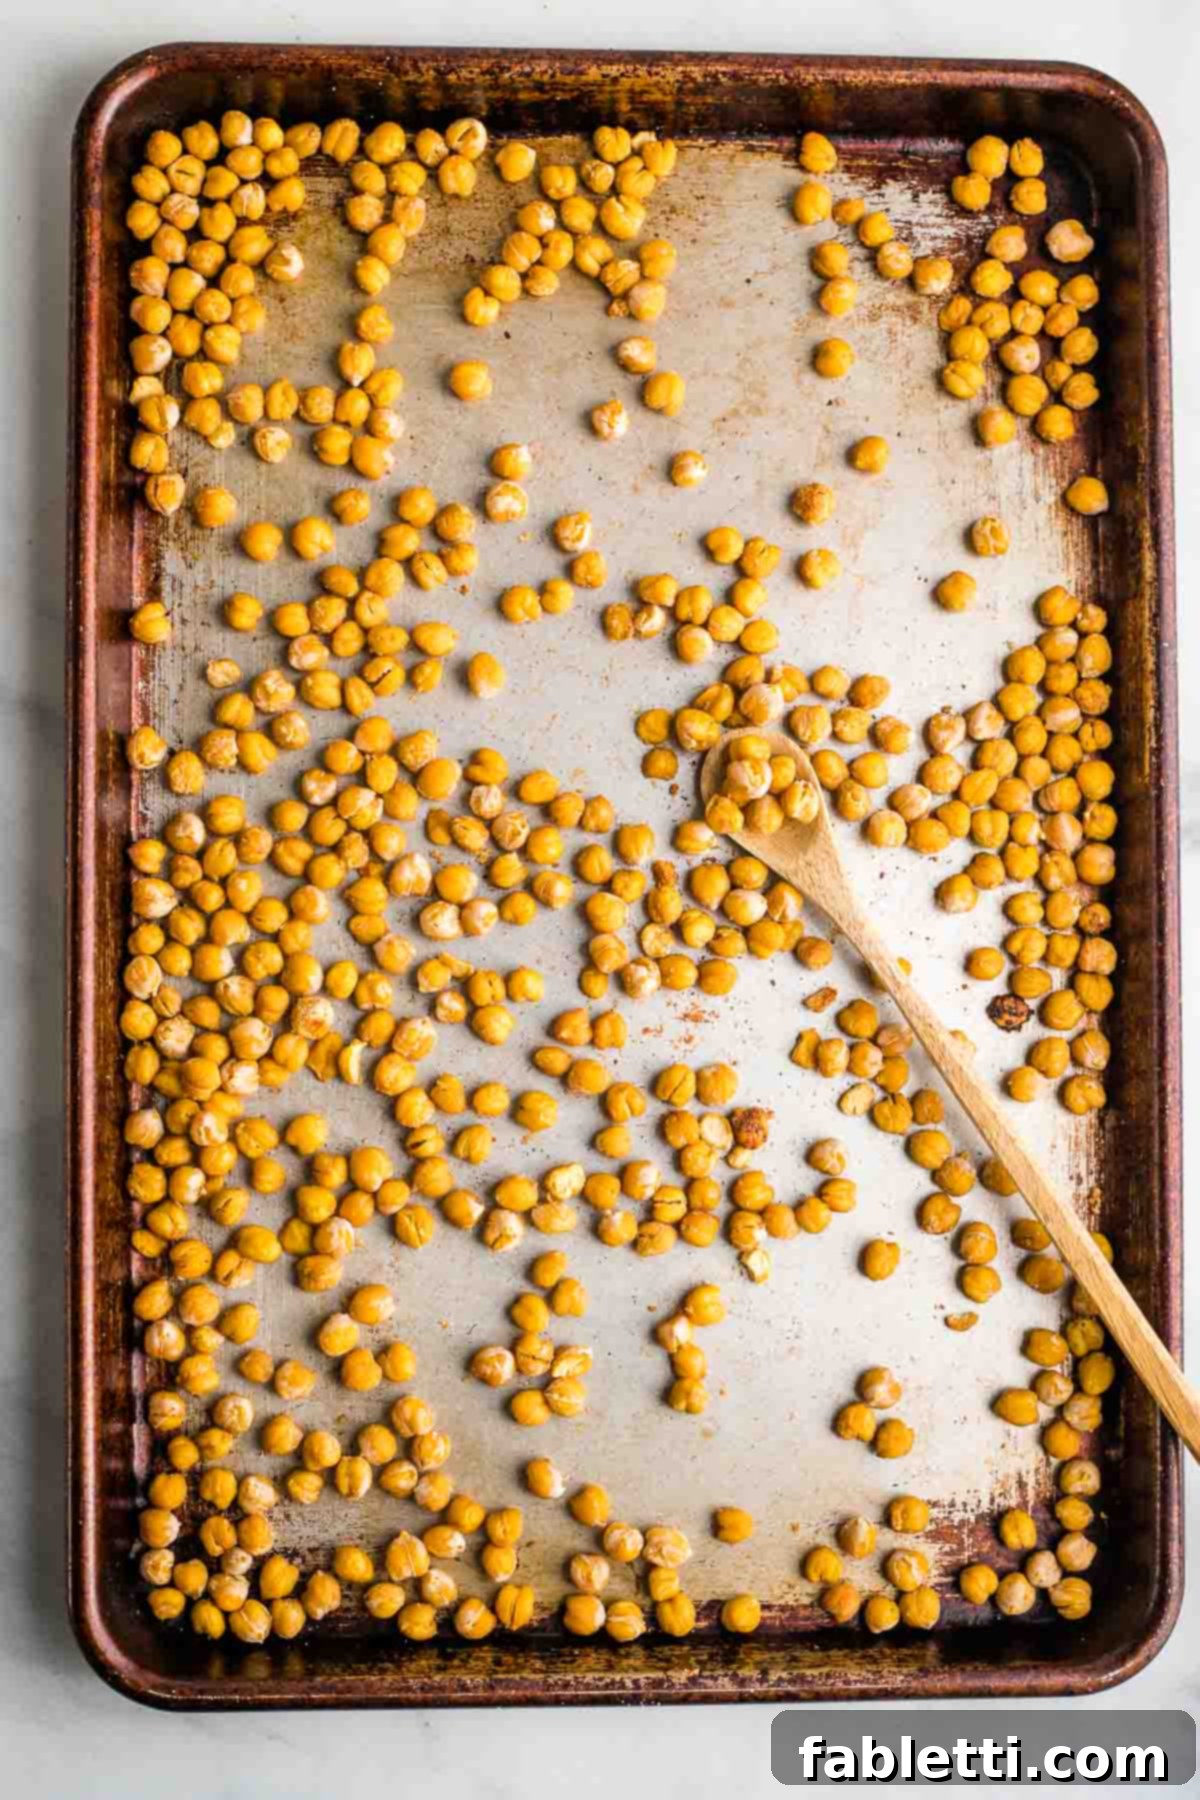
Step 3: Roast to Perfection
Preheat your oven to a high temperature of 450°F (232°C). Place the baking sheet with the seasoned chickpeas into the preheated oven. Immediately reduce the oven temperature to 350°F (175°C). This initial high heat helps to shock the chickpeas and kickstart the crisping process. Roast for 15 minutes, then remove the pan from the oven. Carefully shake the pan or use a spoon to stir and roll the chickpeas around, ensuring even roasting on all sides. Return them to the oven for another 10-15 minutes, or until they are firm, golden brown, and delightfully crispy.
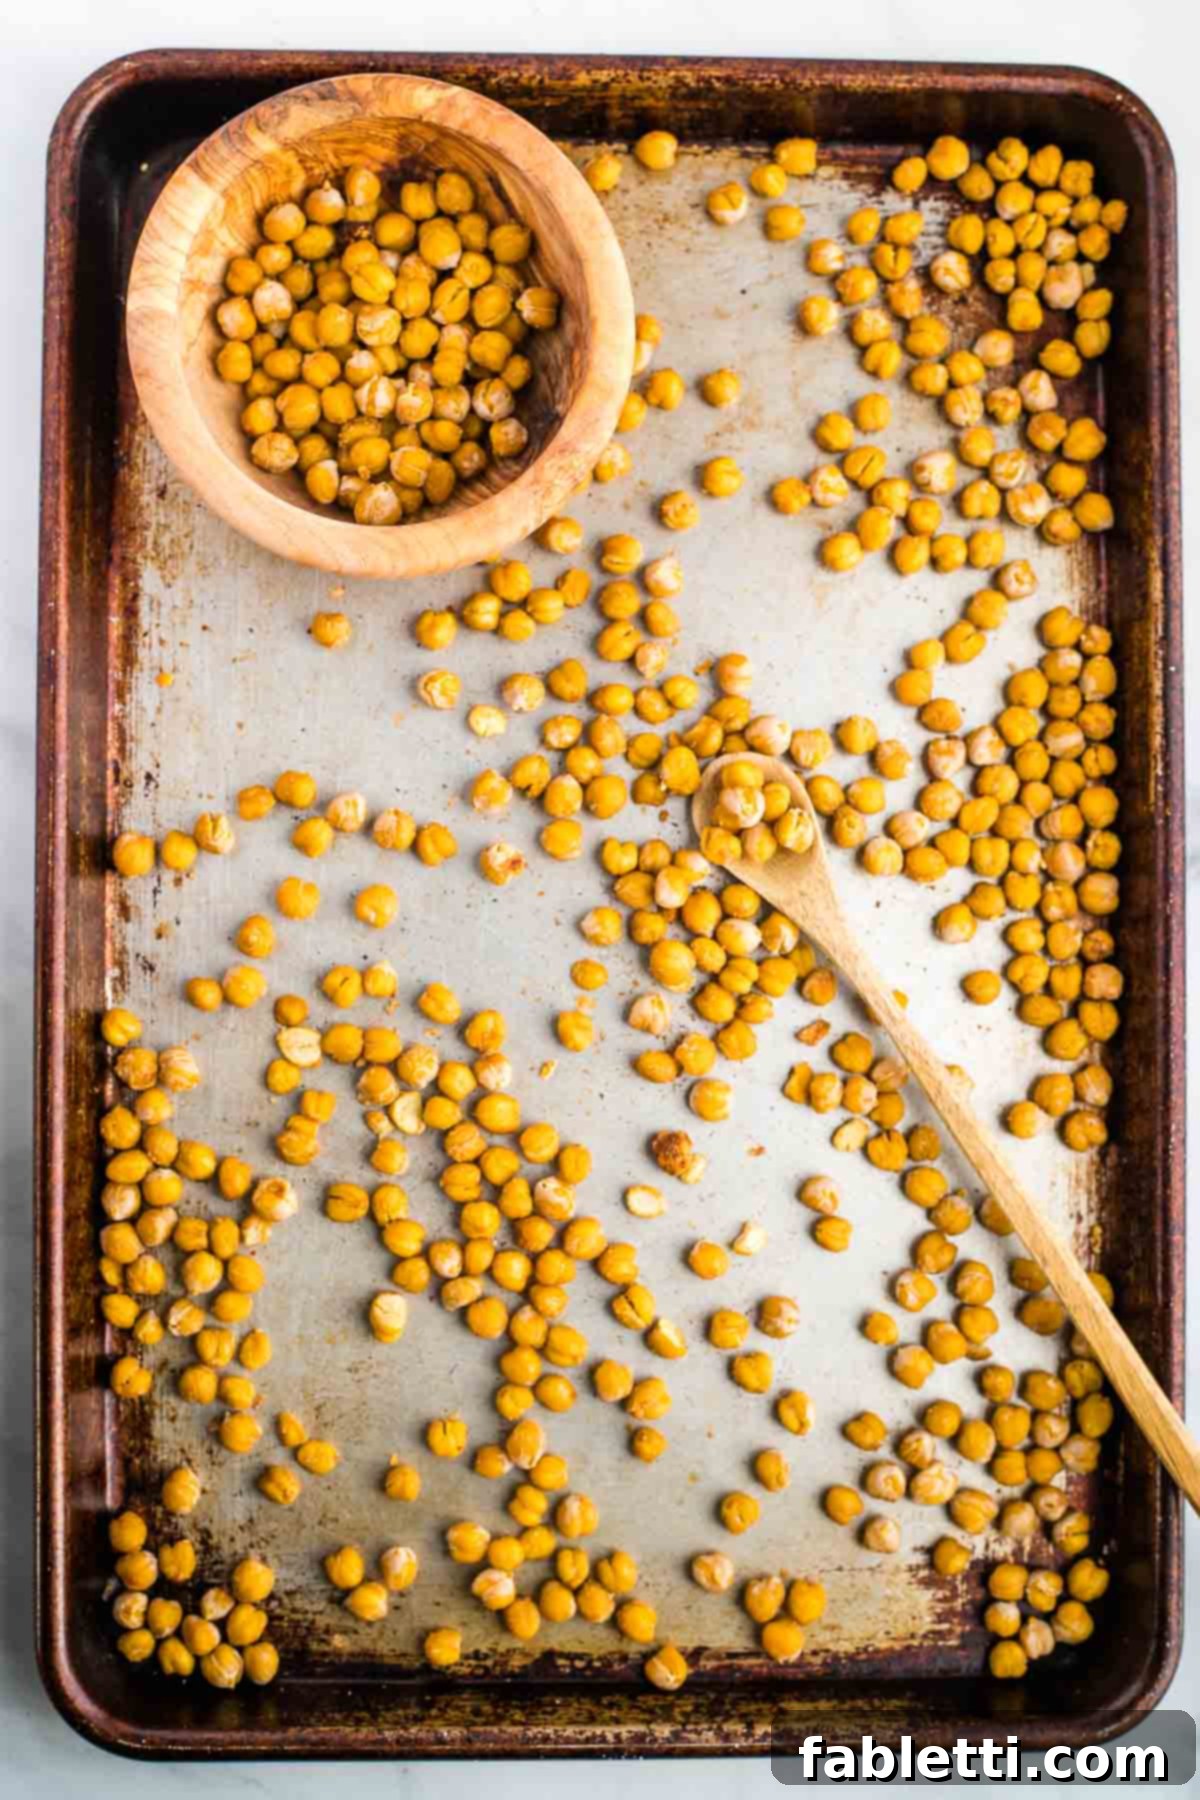
Step 4: Serve and Enjoy
Once roasted to your desired crispiness, carefully transfer the hot chickpeas from the baking sheet to a serving bowl. They are absolutely delicious served warm, fresh from the oven, where their aroma and crunch are at their peak. However, they also maintain their fantastic texture and flavor at room temperature, making them an excellent snack to prepare in advance for parties, lunchboxes, or a quick grab-and-go option.
Air Fryer Method for Crispy Chickpeas
For an even quicker route to crispy perfection, your air fryer is an excellent tool! Begin by preheating your air fryer to 390°F (199°C). As with the oven method, rinse and thoroughly dry your chickpeas to ensure they get wonderfully crisp. Place the dried chickpeas in a large mixing bowl, sprinkle them generously with your chosen spices, and toss well to ensure every chickpea is coated. Transfer the seasoned chickpeas to the air fryer basket, ensuring they are spread in a single layer if possible, to allow for optimal air circulation. Cook for approximately 15 minutes, pausing halfway through (around the 7-8 minute mark) to give the basket a good shake. This ensures even cooking and uniform crispiness. Continue cooking until they reach your desired level of golden brown and crunch.
How to Store Roasted Chickpeas for Lasting Crispiness
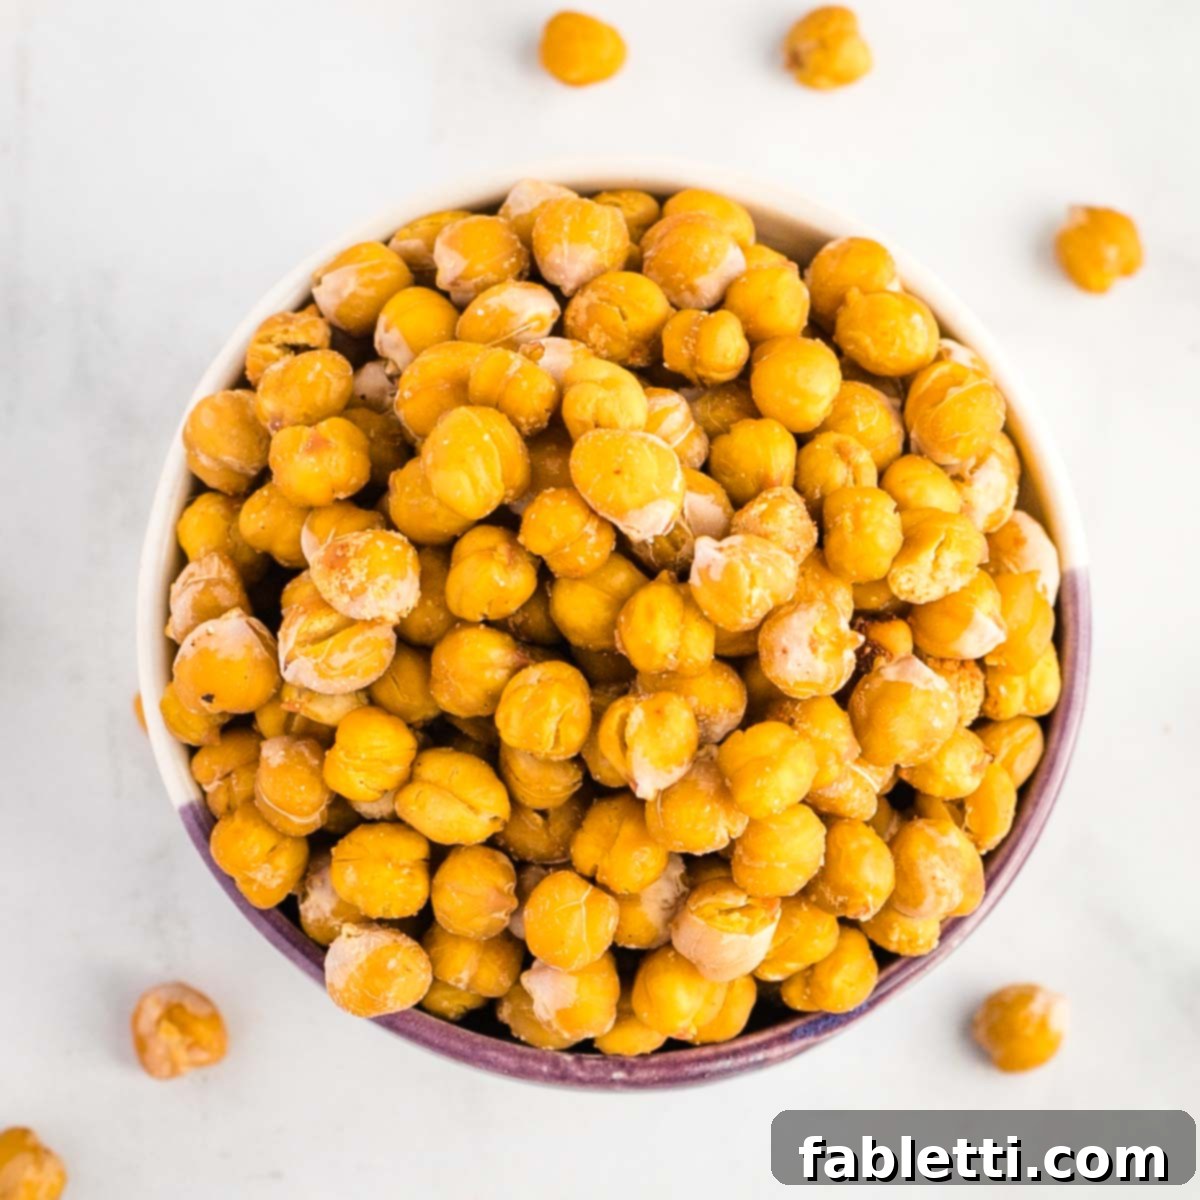
Proper storage is key to maintaining the irresistible crunch of your dry roasted chickpeas. Counterintuitively, you should not store them in an airtight container. This is because any remaining moisture within the chickpeas or residual warmth will create condensation, making them soft and soggy. Instead, leave them uncovered at room temperature in a bowl. Alternatively, a paper bag, loosely rolled at the top, also works wonderfully. This allows air to circulate, preventing moisture buildup and keeping your chickpeas wonderfully crisp for up to 4 days, assuming they last that long!
Troubleshooting: If Your Roasted Chickpeas Aren’t Crunchy
Don’t despair if your first batch isn’t as crisp as you’d hoped! Achieving perfect crunchiness is a common goal, and usually, the issue can be easily fixed. Here are the most common reasons your chickpeas might not be crunchy, along with solutions:
- Insufficient Baking/Cooking Time: This is perhaps the most frequent culprit. Chickpeas need enough time in the heat to thoroughly dry out and crisp up. Double-check the cooking times provided in the recipe card for both oven roasting and air fryer methods. If they still feel soft, simply put them back in for an additional 5-10 minutes, checking frequently, until they reach your desired level of crispness.
- Inadequate Drying Before Roasting: Moisture is the enemy of crispiness! If your chickpeas are still damp when they go into the oven or air fryer, they will steam instead of roast, resulting in a soft, soggy texture. Ensure you vigorously rub them with a clean kitchen towel until they are thoroughly dry, and even give them a final pat with a paper towel right before seasoning.
- Loose Skins Not Removed: The skins on chickpeas can hold onto moisture. Gently rubbing the chickpeas in a clean dish towel not only dries them but also helps to dislodge many of these loose skins. While removing every single skin isn’t necessary, getting rid of a good portion of them will significantly contribute to a superior, crisper end product.
- Overcrowding the Baking Sheet/Air Fryer Basket: If the chickpeas are piled on top of each other, they won’t have enough direct heat exposure and air circulation to crisp up. Instead, they will steam. Always spread them in a single layer with a little space between each chickpea. If you have too many, roast in batches or use a larger baking sheet.
Creative Ways to Serve Crispy Roasted Chickpeas
While irresistible on their own, crispy roasted chickpeas are also a fantastic versatile ingredient to elevate many dishes. Think of them as a healthy, protein-packed alternative to traditional croutons!
- Elevate Your Salads: Sprinkle them generously over any green salad for an added layer of texture and protein. They’re particularly good with a vibrant Vegan Kale Caesar Salad, replacing the usual bread croutons.
- Top Your Favorite Soups: Add a handful to your bowl of warm soup just before serving for a delightful crunch. They pair wonderfully with creamy options like Dairy-Free Tomato Soup or a comforting Butternut Squash Soup.
- Transform Veggie Sides: Looking to jazz up your vegetable dishes? For those with nut allergies or simply looking for a twist, replace almonds with these crunchy chickpeas in dishes like Green Beans Almondine – a truly delicious and unexpected combination!
- Boost Grain Bowls & Wraps: Add them to your buddha bowls, quinoa salads, or a hearty wrap for an extra boost of plant-based protein and satisfying texture.
- Snack Time Hero: Of course, they are perfect for simply enjoying by the handful as a healthy, savory snack whenever hunger strikes.
Expert Tips for Perfect Roasted Chickpeas
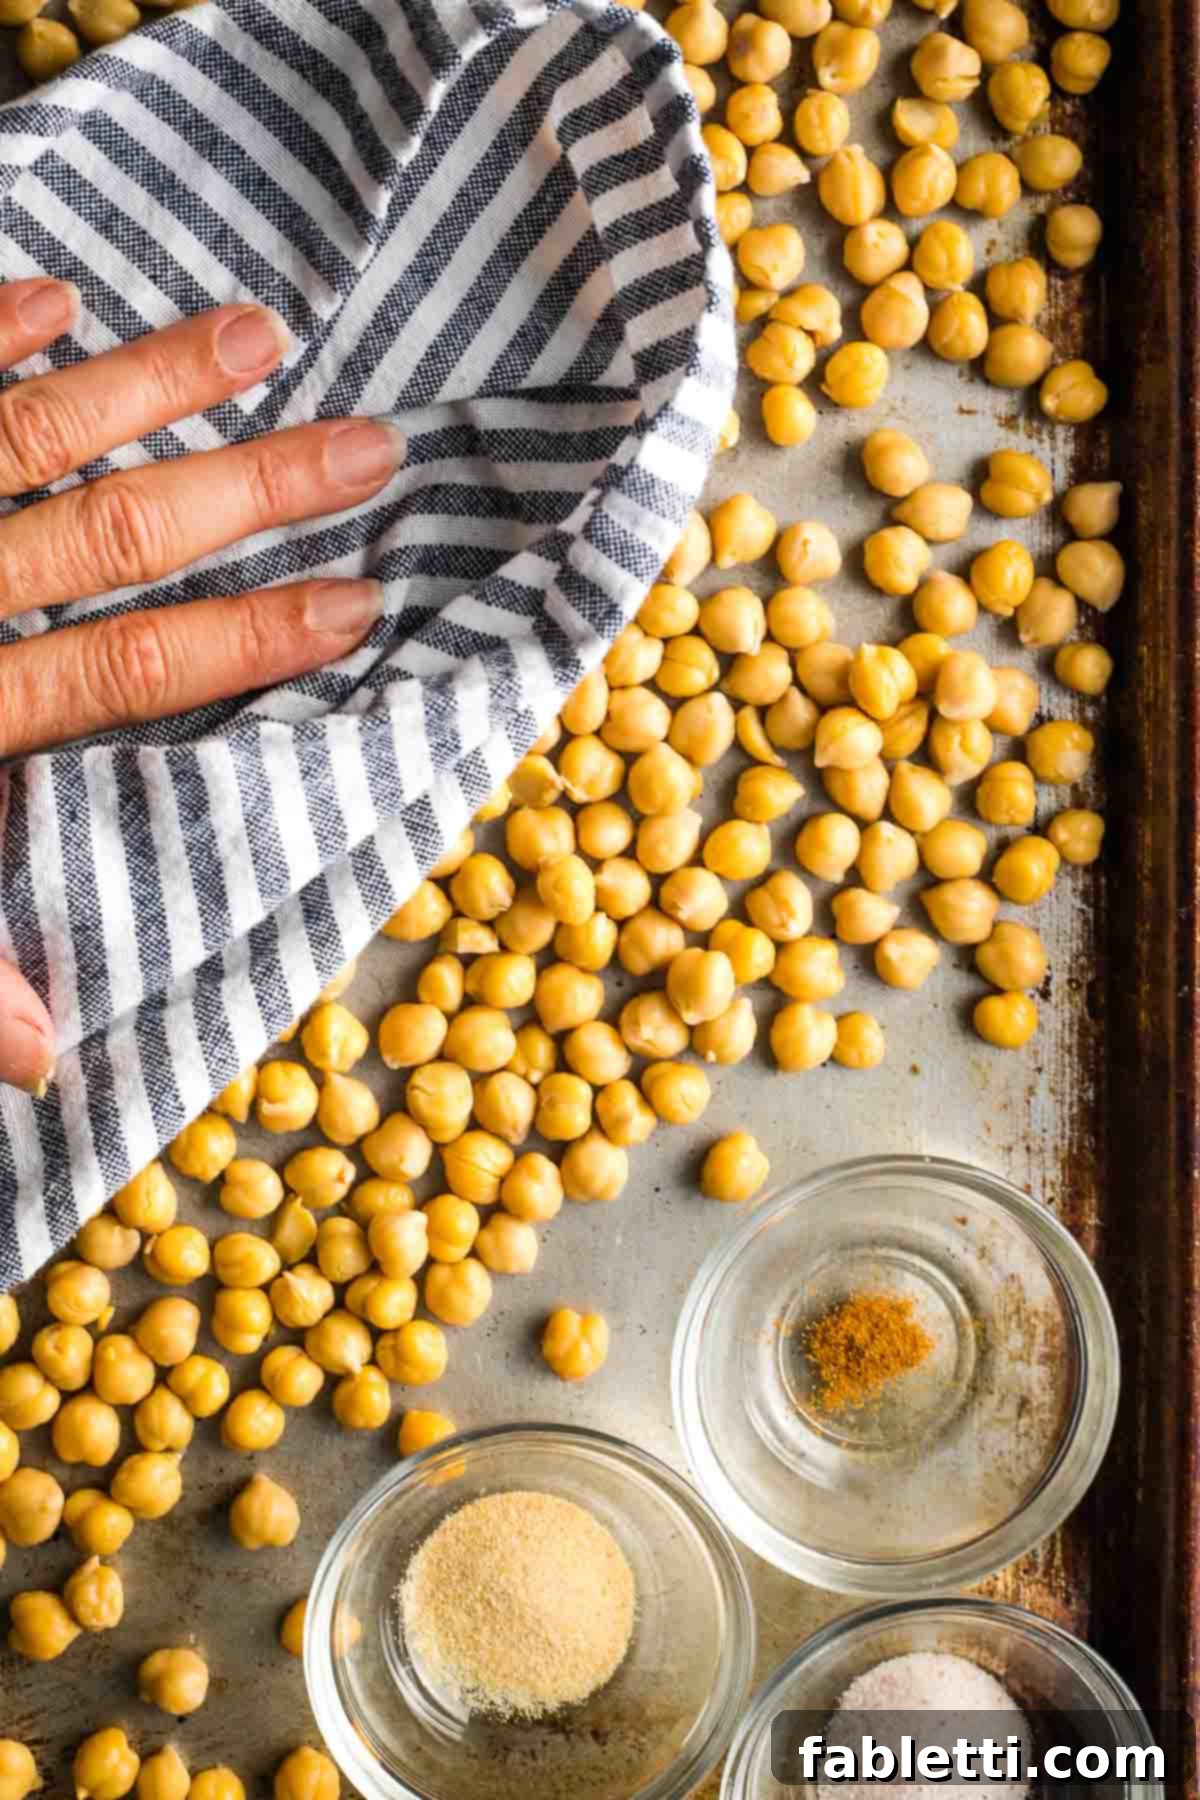
- The Double Dry Rule: After spreading your chickpeas on the baking sheet and before adding any spices, give them one final rub with a clean dish towel or paper towel. This extra step ensures maximum dryness and helps dislodge any stubborn skins, setting the stage for ultimate crispiness.
- Homemade vs. Store-Bought: While you can buy already roasted chickpeas at the grocery store, always check the ingredient list for added oils, sugars, and preservatives. Making them at home ensures you control all the ingredients, resulting in a cleaner, healthier, and often more flavorful snack. Once you try this easy recipe, you’ll see why homemade is always best!
- From Dry to Delicious: If you’re a fan of cooking from scratch, you can easily turn dry chickpeas into the equivalent of canned chickpeas using an Instant Pot or stovetop. This method offers even greater cost savings and the satisfaction of cooking from basic ingredients.
- Alternative Cravings Killer: Craving something savory and satisfying like french fries? Give a batch of these crispy roasted chickpeas a try! Or, for another wholesome alternative, whip up some sweet potato fries. Both offer that comforting factor without the guilt.
- Don’t Rush the Cooling: Once out of the oven, allow the chickpeas to cool on the baking sheet for a few minutes. They will continue to crisp up as they cool. Avoid covering them immediately, as this will trap steam and make them soft.
Crispy Roasted Chickpea FAQs
Why are my roasted chickpeas not crunchy?
There are typically three main reasons why your roasted chickpeas might not have reached peak crunchiness: 1) You didn’t bake them long enough. Chickpeas need sufficient time in the oven or air fryer to dry out completely. Consult the recipe card for recommended cooking times, but always feel free to extend them if your chickpeas still feel soft. 2) You didn’t dry them thoroughly before baking. Any residual moisture will cause them to steam rather than crisp. Ensure they are completely dry after rinsing. 3) You didn’t remove enough of the loose skins. Gently rubbing the chickpeas in a clean dish towel helps remove these skins, which can trap moisture and impede crisping.
How do you make chickpeas tasty?
The best way to make chickpeas delicious is by roasting them with your favorite spices. Roasting enhances their nutty flavor and creates an irresistible crunchy texture. Experiment with various spice blends, from savory garlic and cayenne to exotic curry or sweet cinnamon. This simple process transforms plain cooked chickpeas into a savory, tasty, and totally satisfying snack or meal component.
Can I use fresh chickpeas instead of canned?
Yes, you can absolutely use fresh (cooked) chickpeas! You’ll need to soak dry chickpeas overnight, then boil or pressure cook them until tender. Once cooked, ensure they are thoroughly drained and dried just like canned chickpeas before roasting. This method is often more economical and allows for greater control over texture.
Do I need to add oil to make them crispy?
No, surprisingly, oil is not necessary and can even hinder crispiness. Dry roasting allows the chickpeas to truly dehydrate and become crunchy. Many recipes call for a drizzle of olive oil, but for the crispiest, oil-free results, follow our method of roasting them completely dry.
Can I make a large batch for meal prep?
Yes, these are excellent for meal prep! Just remember the storage tips: keep them uncovered at room temperature to maintain their crisp texture. They will stay crunchy for 3-4 days, making them perfect to have on hand for quick snacks or additions to meals throughout the week.
More Healthy Chickpea Recipes to Explore
- Easy Homemade Vegan Meatballs
- Healthy Baked Falafel Recipe
- Chocolate Chunk Skillet Cookie (vegan & gluten-free)
- 5-minute Vegan Tuna Salad Recipe
Did you know commenting and rating recipes is one of the best ways to support your favorite food bloggers? If you made this recipe, please consider leaving a five-star rating below and a comment. Also, please share your photos on Instagram by tagging me @dkhealthcoach and using the hashtag #debraklein. Your feedback truly helps!
📖 Recipe
Healthy Roasted Chickpeas
Author: Debra Klein
Healthy roasted chickpeas are just the savory snack you’ve been craving. If you have a can of chickpeas, you can make these oven-roasted chickpeas. They’re crispy, crunchy, delicious and so easy to make.
Average Rating: 5 from 36 votes
Print Recipe | Pin Recipe
Prep & Cook Time
- Prep Time: 5 mins
- Cook Time: 30 mins
Course & Cuisine
- Course: Snack
- Cuisine: American
Servings & Calories
- Servings: 6
- Calories: 134 kcal
Equipment
- 1 Large Rimmed Baking Sheet
Ingredients
- 2 15.5-oz. cans chickpeas
- ½ teaspoon garlic powder
- ½ teaspoon sea salt
- ¼ teaspoon cayenne pepper
Instructions
- Preheat the oven to 450°F (232°C). (For air fryer directions, see the notes section below.)
- Drain, rinse, and drain again the canned chickpeas. Spread them out on a clean kitchen towel and rub vigorously (but don’t smash them) to thoroughly dry. Discard any chickpea skins that fall off. The more skins you’re able to peel away, the crispier the chickpeas will be.
- Spread the dry chickpeas out on a large rimmed baking sheet that is big enough to fit them in a single layer without crowding. Use a paper towel to give them one last rub to absorb any lingering moisture.
- Sprinkle with your chosen spices and use your hands to mix until they’re evenly coated.
- Place the baking sheet in the preheated oven and immediately turn the temperature down to 350°F (175°C). Set a timer for 15 minutes. After 15 minutes, shake the pan or use a spoon to roll them around for even roasting. Place them back in the oven for another 10-15 minutes, or until they are firm and crispy.
Notes
Air Fryer Directions: If you want to make crispy chickpeas in the air fryer: Preheat it to 390°F (199°C). Use the same basic directions above for rinsing and drying. Place the chickpeas in a mixing bowl, toss with spices, and mix well. Transfer to the air fryer basket (ensure it’s not overcrowded) and cook for about 15 minutes. Check on them after 10 minutes and shake the basket. Continue cooking for another 5 minutes, or until desired crispiness is reached.
Storage: To keep roasted chickpeas crispy, store them in an uncovered bowl at room temperature. As long as they’re cooked through, they’ll stay good for 3-4 days, if they last that long!
Nutrition
Calories: 134kcal | Carbohydrates: 21g | Protein: 7g | Fat: 3g | Saturated Fat: 0.3g | Polyunsaturated Fat: 1g | Monounsaturated Fat: 1g | Sodium: 614mg | Potassium: 222mg | Fiber: 7g | Sugar: 0.01g | Vitamin A: 57IU | Vitamin C: 0.2mg | Calcium: 53mg | Iron: 2mg
Note
The nutrition calculations were done using online tools. To obtain the most accurate representation of the nutritional information in any given recipe, you should calculate the nutritional information with the actual ingredients you used. You are ultimately responsible for ensuring that any nutritional information is accurate, complete and useful.
Did you make this recipe?
Please leave a review below, then snap a picture and tag me @dkhealthcoach or use hashtag #dkhealtcoach on Instagram so I can see it!!
