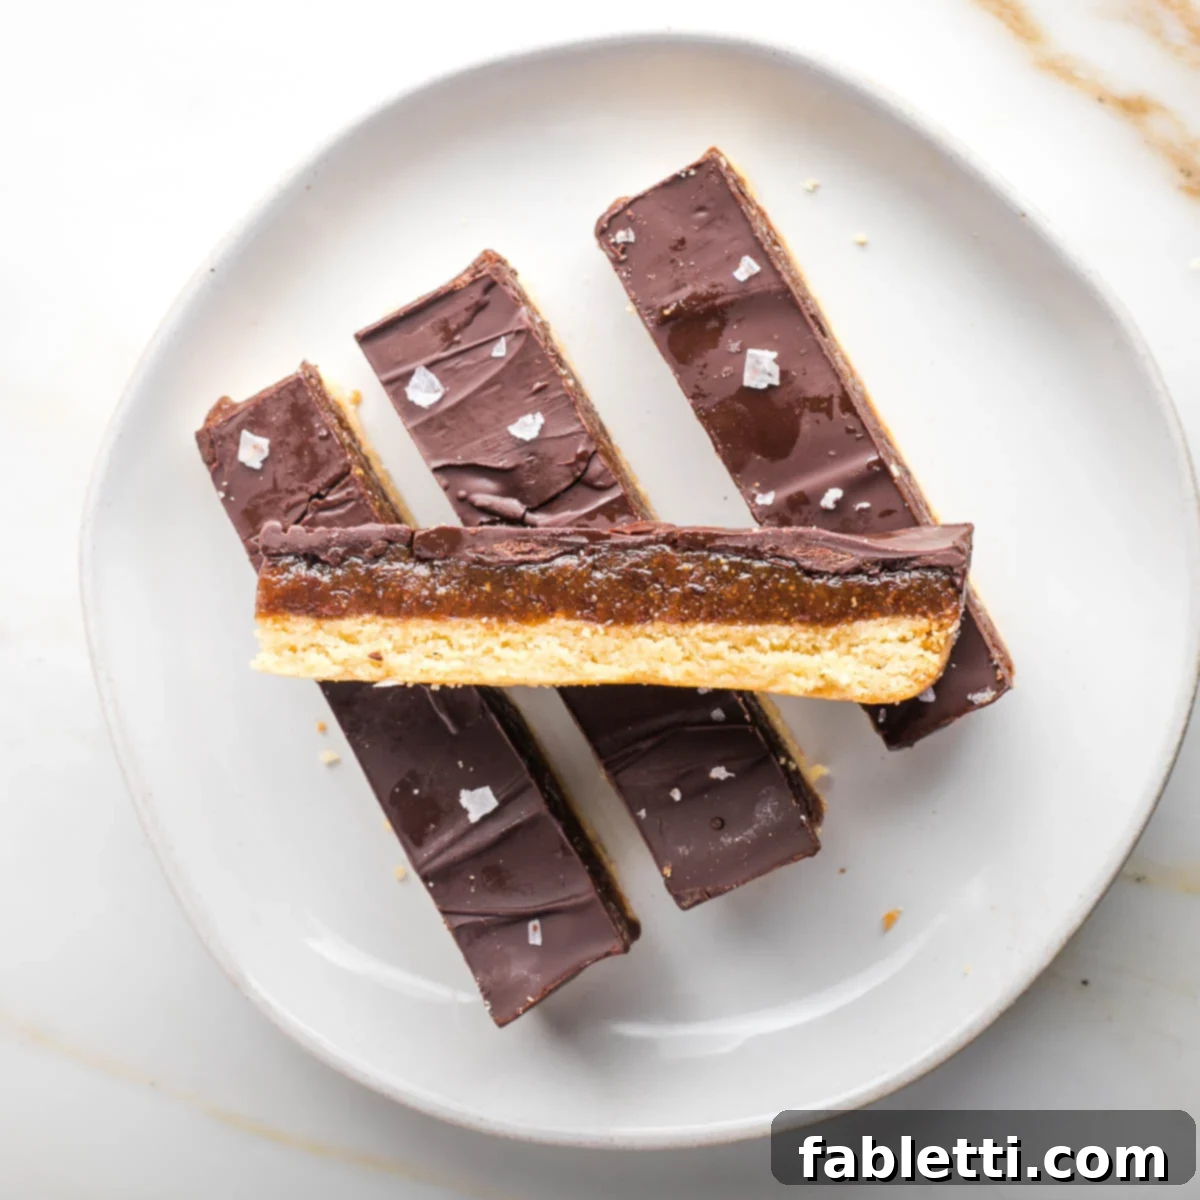
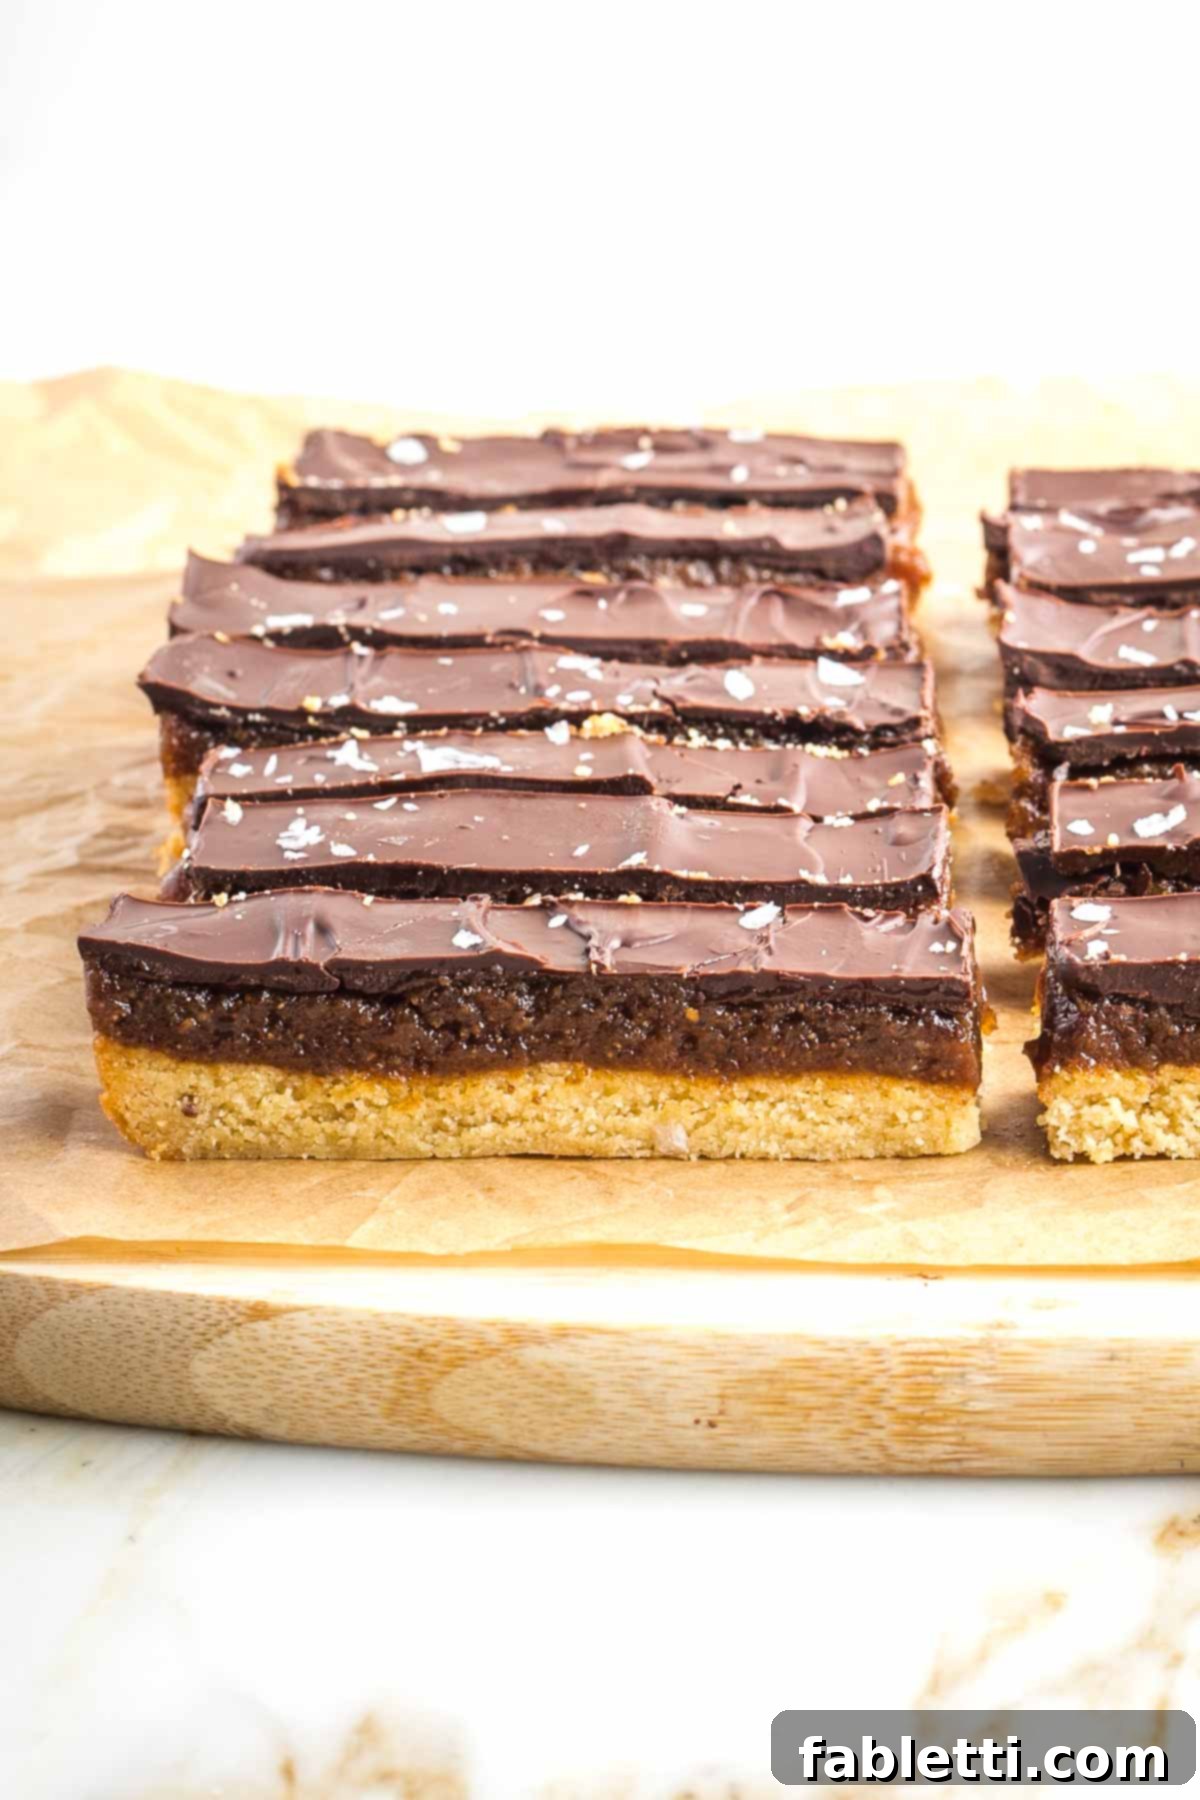
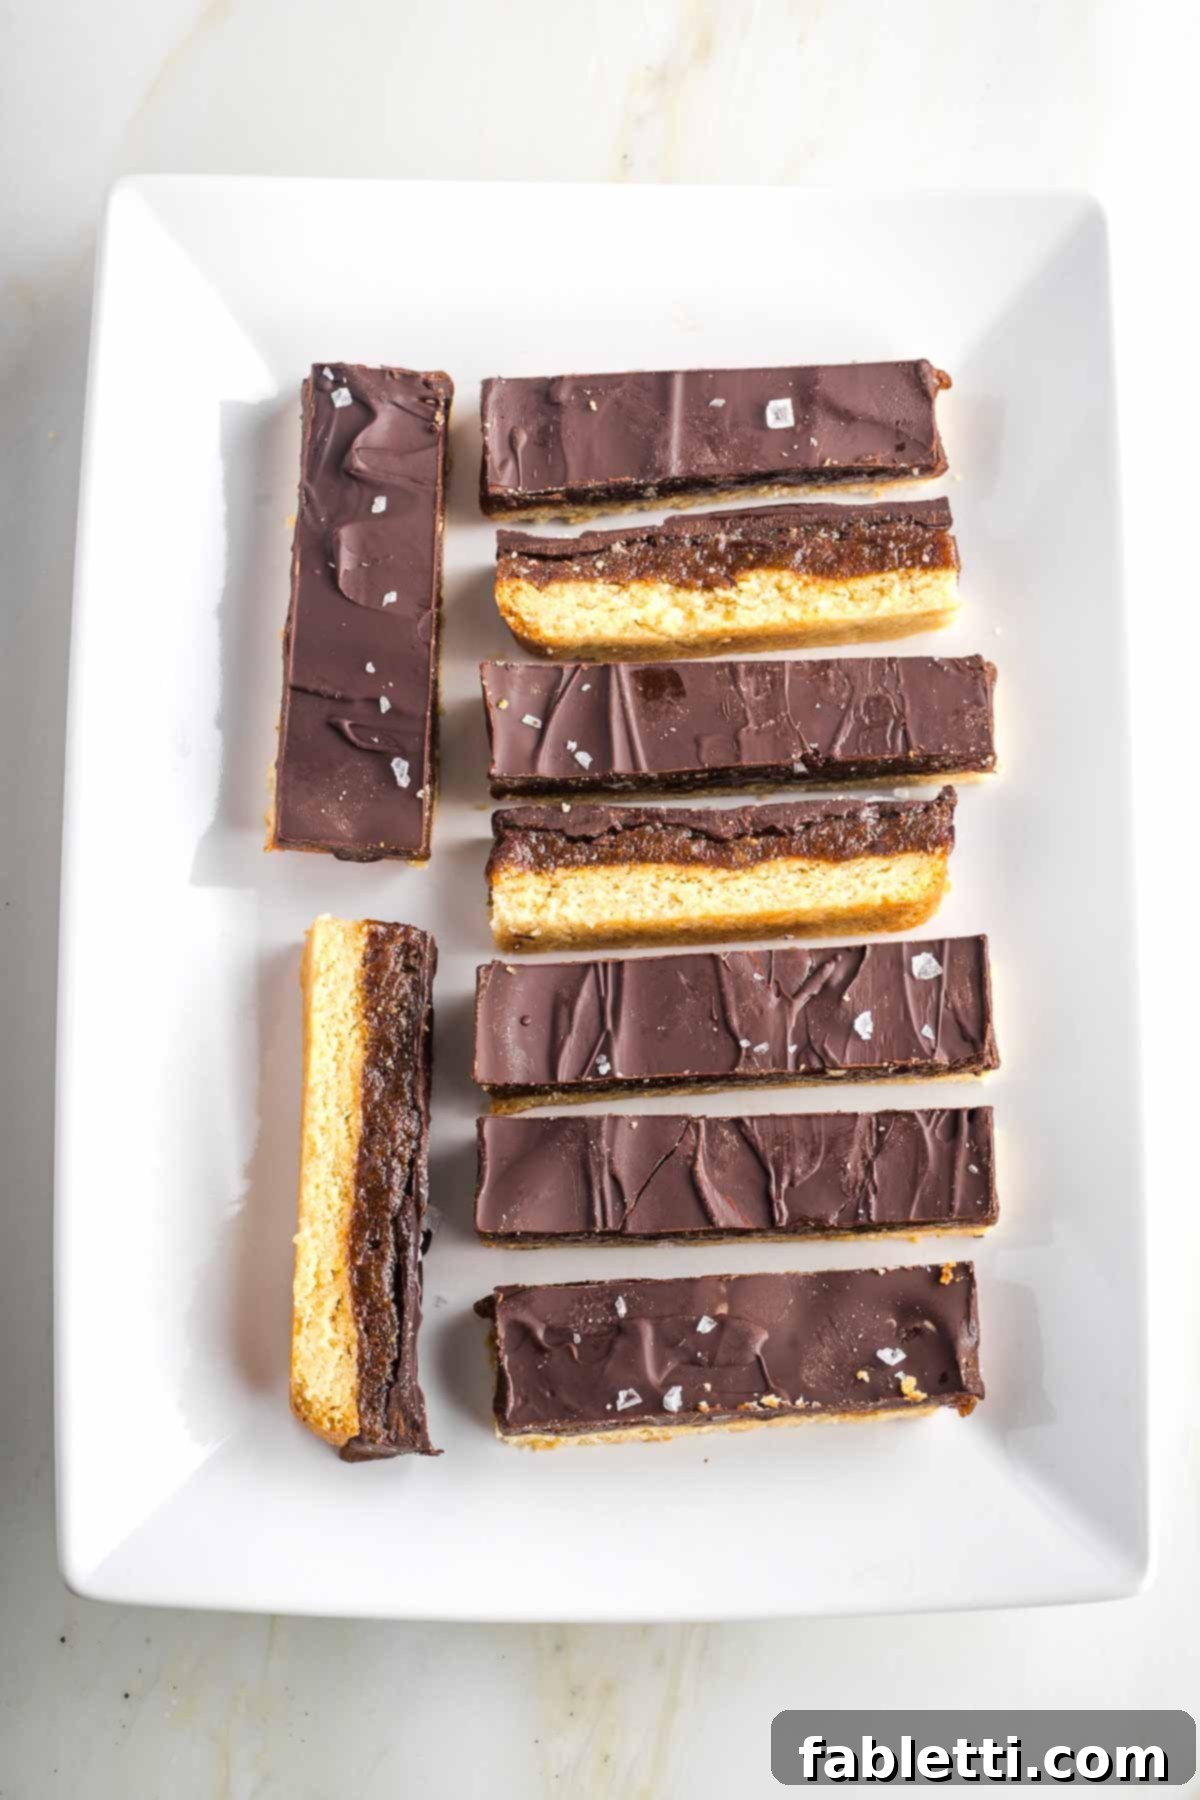
Indulge your sweet cravings with these incredible Healthier Homemade Twix Bars, a delightful treat that perfectly captures the magic of the classic candy bar, but without any refined sugars or processed oils. Imagine a firm, yet tender biscuit base, generously topped with a luscious, gooey caramel, and finally enrobed in a rich layer of dark chocolate. Each bite offers a harmonious blend of crunchy, chewy, and smooth textures, delivering a profoundly satisfying and utterly delicious experience.
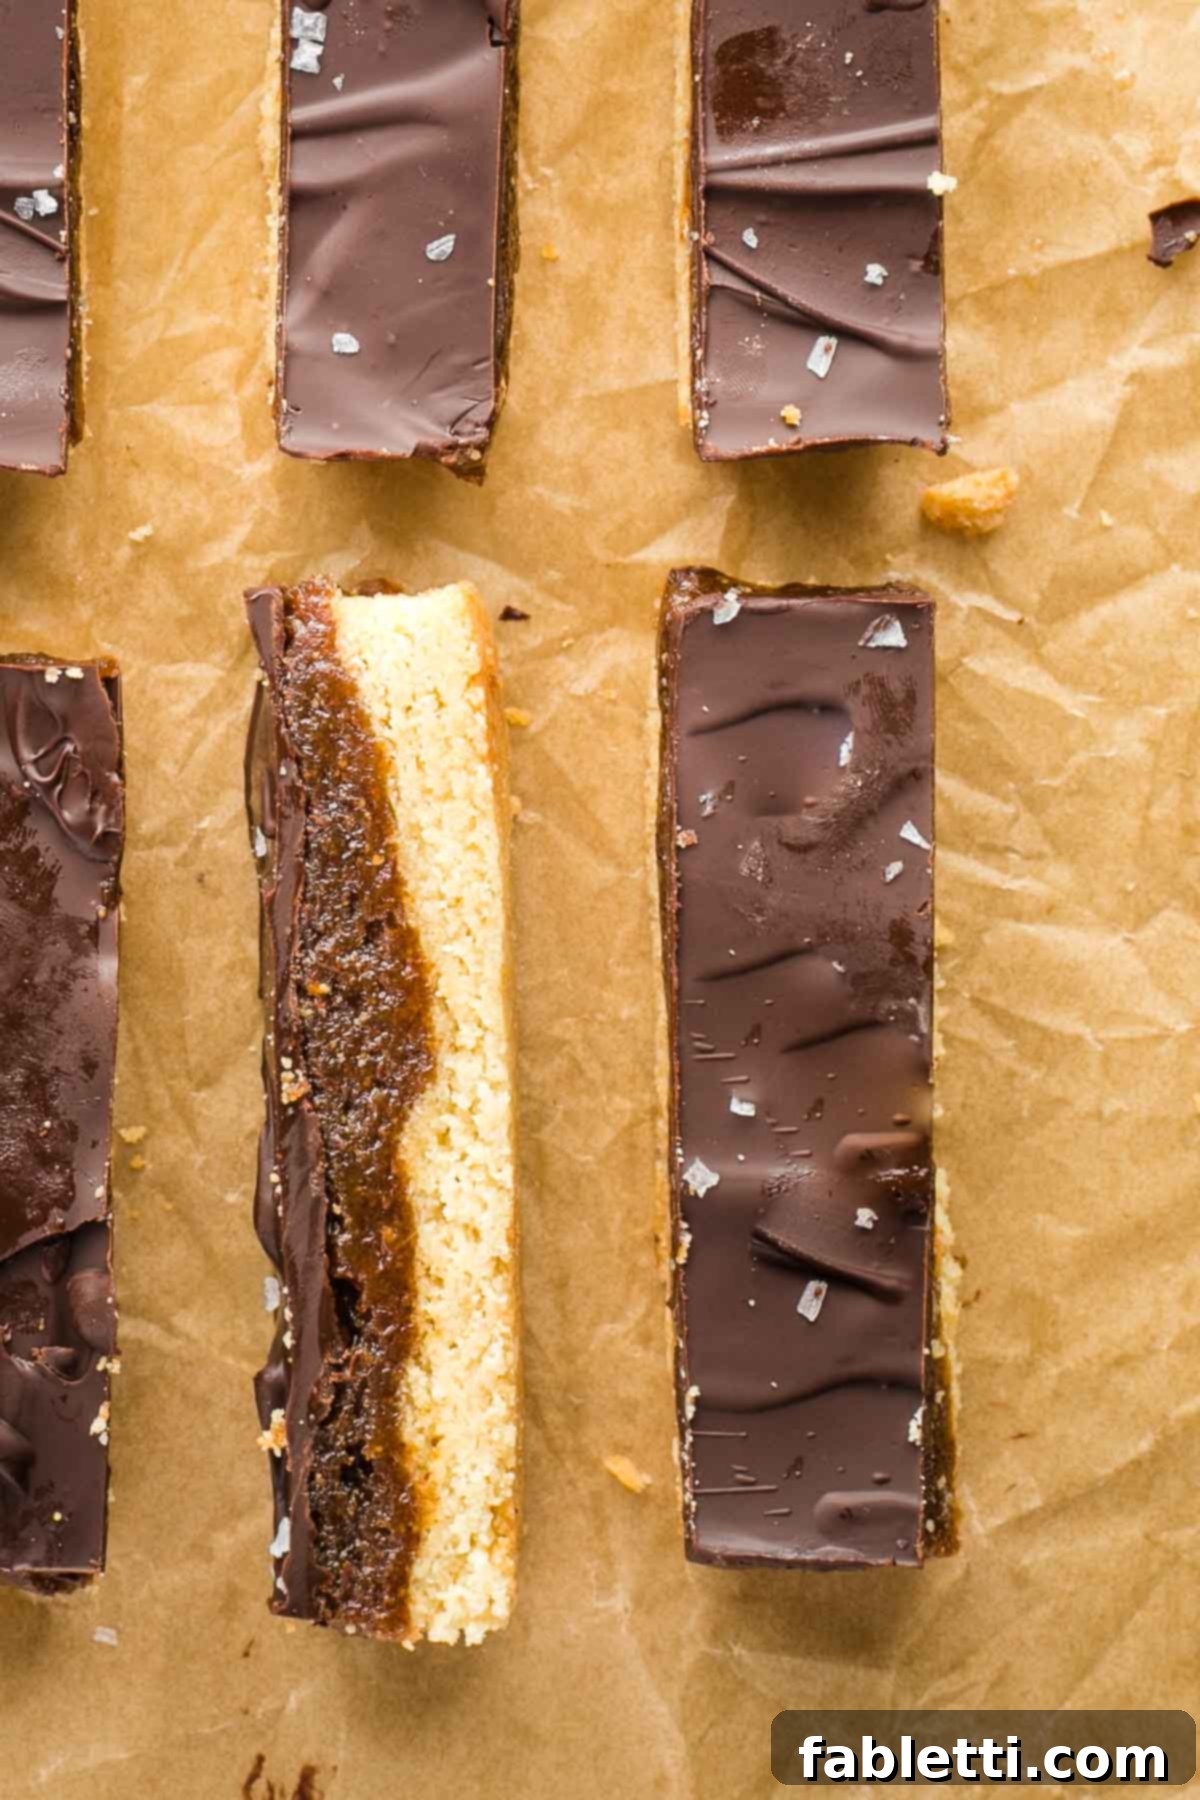
For anyone with a serious sweet tooth and an undeniable love for chocolate, this recipe is an absolute game-changer. These Healthier Homemade Twix Bars evoke the nostalgic taste of the store-bought versions you cherished in your childhood, but they come with a significant upgrade in terms of ingredients and nutritional value. You’ll be amazed at how easily you can recreate this iconic treat right in your own kitchen, gaining complete control over the quality and quantity of every component.
The beauty of making your own Twix bars at home lies in the power to choose what goes into them. This recipe delivers all the familiar, irresistible taste and satisfying texture of those beloved Twix bars we grew up with. However, my healthier rendition is meticulously crafted to be free from trans-fats, highly refined flour, excessive sugar, corn syrup, and the myriad of artificial additives typically found in commercial candy bars. This means you can enjoy a truly decadent dessert that not only tastes incredible but also supports a healthier lifestyle.
Why You’ll Fall in Love with These Healthy Homemade Twix Bars
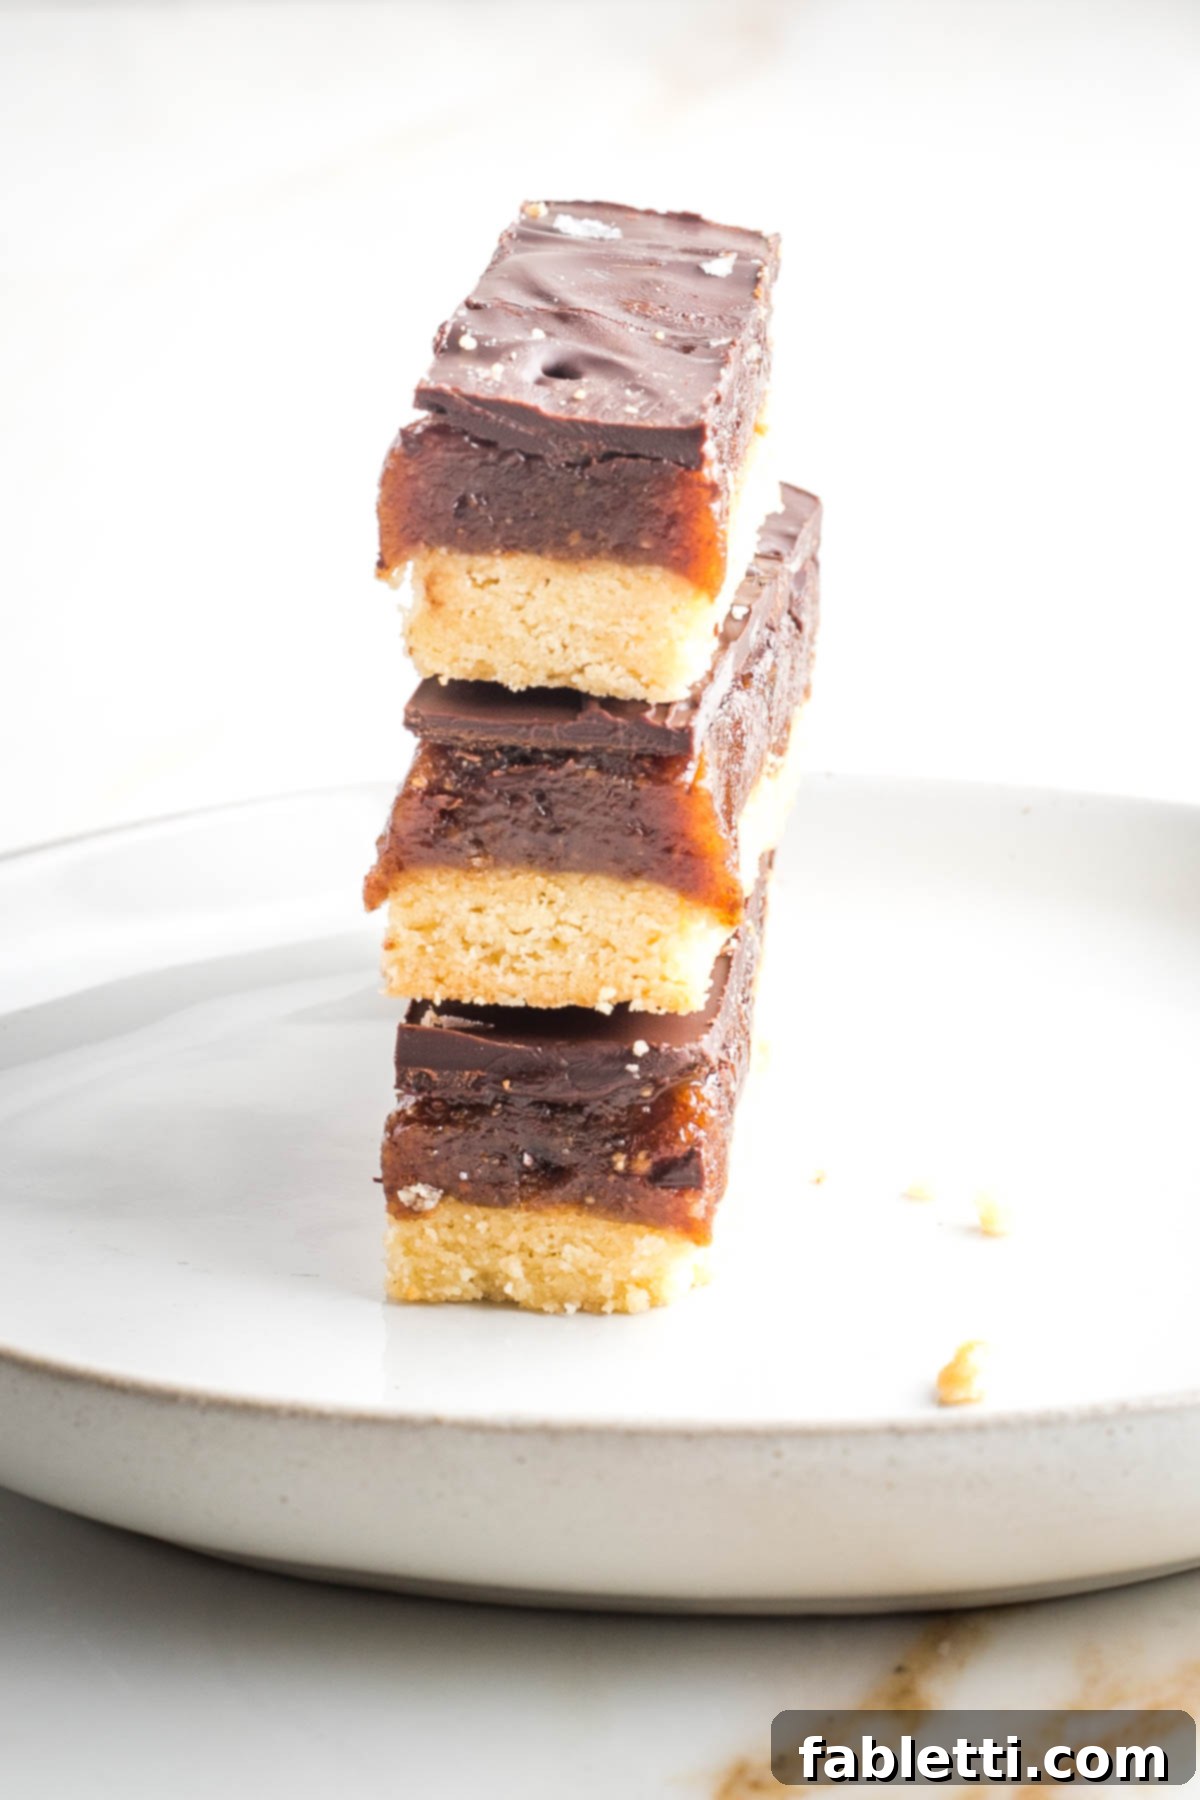
- Irresistible Flavor and Texture Combination: Each bite is a symphony of gooey caramel, a satisfyingly crisp cookie base, and a blanket of rich, delicious chocolate. This trifecta creates an experience that truly needs no further explanation – it’s pure bliss!
- Nostalgic Taste, Modern Nutrition: These bars taste just like the classic Twix bars you remember, but they’re even better. Made with wholesome, nutritious ingredients and completely free from refined sugar, they offer guilt-free indulgence. You get all the comfort without the compromise.
- Surprisingly Simple to Prepare: Don’t let the three distinct layers intimidate you! Each component is remarkably easy to make, even for novice bakers. The steps are straightforward, and the process is enjoyable, leading to impressive results that will surely delight.
- Conveniently Freezer-Friendly: Prepare a batch ahead of time and store them in the freezer for whenever a craving strikes. In fact, many find these bars taste even better when enjoyed straight from the freezer, offering a refreshing and satisfying chill.
- Inclusive for Everyone: Crafted to be both vegan and gluten-free, these homemade Twix bars cater to a wider range of dietary needs and preferences. Now, everyone can savor this delectable treat without worry or compromise.
- Homemade Control, Unbeatable Quality: By making these bars yourself, you have complete control over the ingredients, ensuring only the freshest, highest-quality components are used. This not only enhances the flavor but also significantly boosts the nutritional profile compared to their store-bought counterparts.
- Reduced Processed Ingredients: Say goodbye to artificial flavors, colors, trans fats, and corn syrup. This recipe focuses on whole, natural foods, offering a cleaner, more wholesome dessert option that you can feel good about eating and serving.
Essential Ingredients for Your Vegan Twix Bars
Creating these delightful vegan Twix bars relies on a selection of wholesome and nutrient-dense ingredients. Here’s a closer look at what you’ll need and why each plays a crucial role:
- Almond Flour: This grain-free, gluten-free flour forms the base of our crunchy cookie layer. Rich in protein and dietary fiber, almond flour helps to stabilize blood sugar levels, preventing the sharp spikes often associated with traditional baked goods. It also contributes healthy fats, making for a more satiating and nutrient-rich cookie.
- Almond Butter: For a truly wholesome caramel, opt for an almond butter with a single ingredient: almonds. This ensures you’re getting a pure source of healthy monounsaturated fats, protein, and fiber, along with a good dose of Vitamin E. Creamy almond butter works best here to achieve that perfectly smooth, luscious caramel texture. For those with nut allergies or specific dietary needs, peanut butter, sunflower seed butter (sun butter), or tahini can be excellent alternatives. Remember to thoroughly mix a new jar of nut butter to ensure a consistent, drippy consistency.
- Medjool Dates: These natural powerhouses are the secret to our caramel’s incredible sweetness and chewy texture. Beyond their delightful flavor, Medjool dates are packed with essential nutrients like potassium, fiber, and B vitamins. Using dates with the pits still in is recommended, as they tend to retain their moisture better. Pitting them yourself just before use ensures maximum freshness and pliability.
- Olive Oil: Unlike highly refined vegetable oils often found in processed snacks, extra virgin olive oil is minimally processed and a fantastic source of both monounsaturated and polyunsaturated fats, which are known for their heart-healthy benefits. It contributes to the desired texture and richness in all three layers.
- Maple Syrup: This natural sweetener adds a subtle depth of flavor to both the cookie and caramel layers. As a less processed alternative to refined sugars, maple syrup contains antioxidants and minerals, offering a healthier sweetening option without compromising on taste.
- Dark Chocolate Chips: The final decadent layer! Choose a dark chocolate with at least 70% cacao for a richer, more intense chocolate flavor and significantly less sugar compared to milk chocolate varieties. Select a brand you enjoy and tolerate well, ensuring it aligns with your vegan preferences.
- Optional: Flakey Sea Salt: A sprinkle of flakey sea salt over the chocolate layer is highly recommended. It enhances the chocolate and caramel flavors, creating a gourmet touch that elevates the entire bar and perfectly balances the sweetness.
Step-by-Step Guide: Crafting Your Vegan Twix Bars
Creating these healthier homemade Twix bars is a rewarding process, broken down into three manageable layers. Let’s get started!
First, preheat your oven to 350 degrees Fahrenheit (175°C). Line an 8×8-inch square pan with unbleached parchment paper, leaving an overhang on the sides to easily lift the bars out later.
The Crispy Cookie Layer
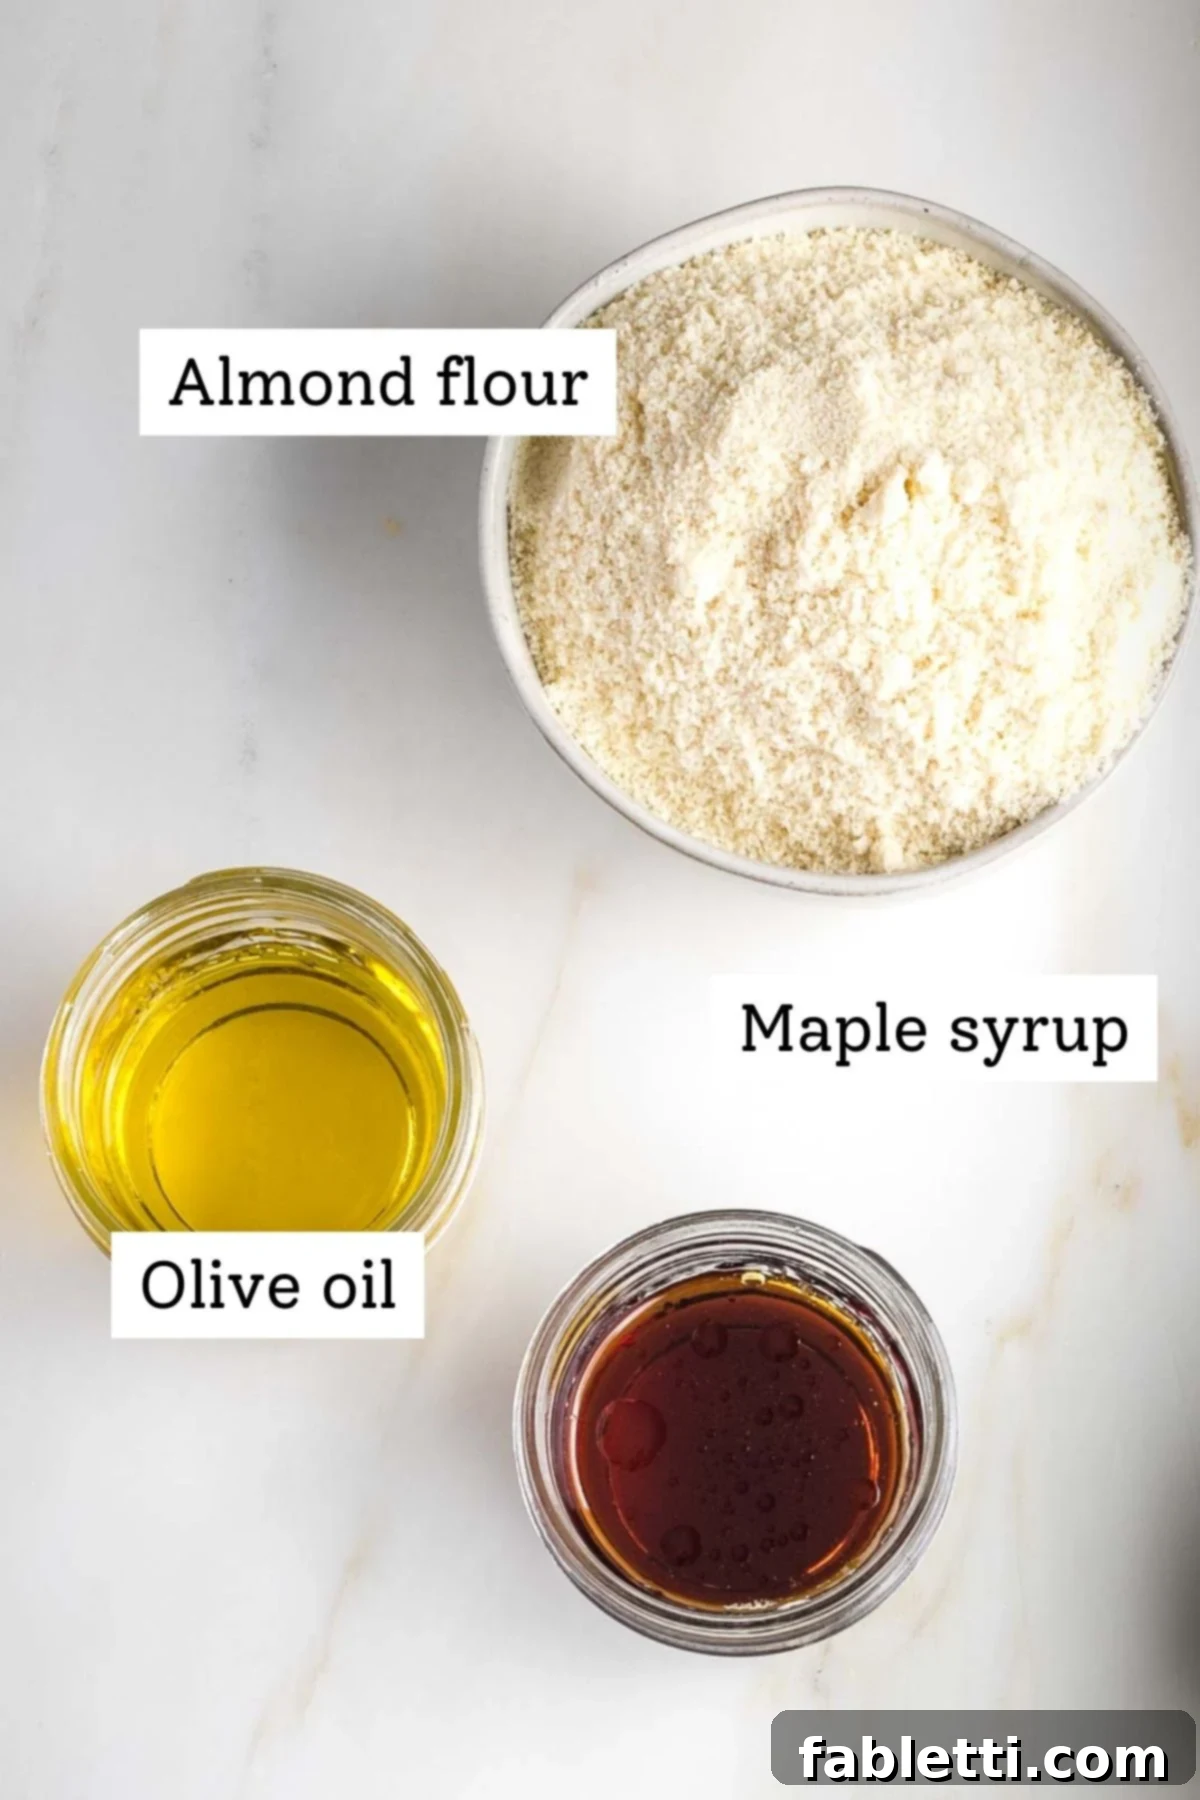
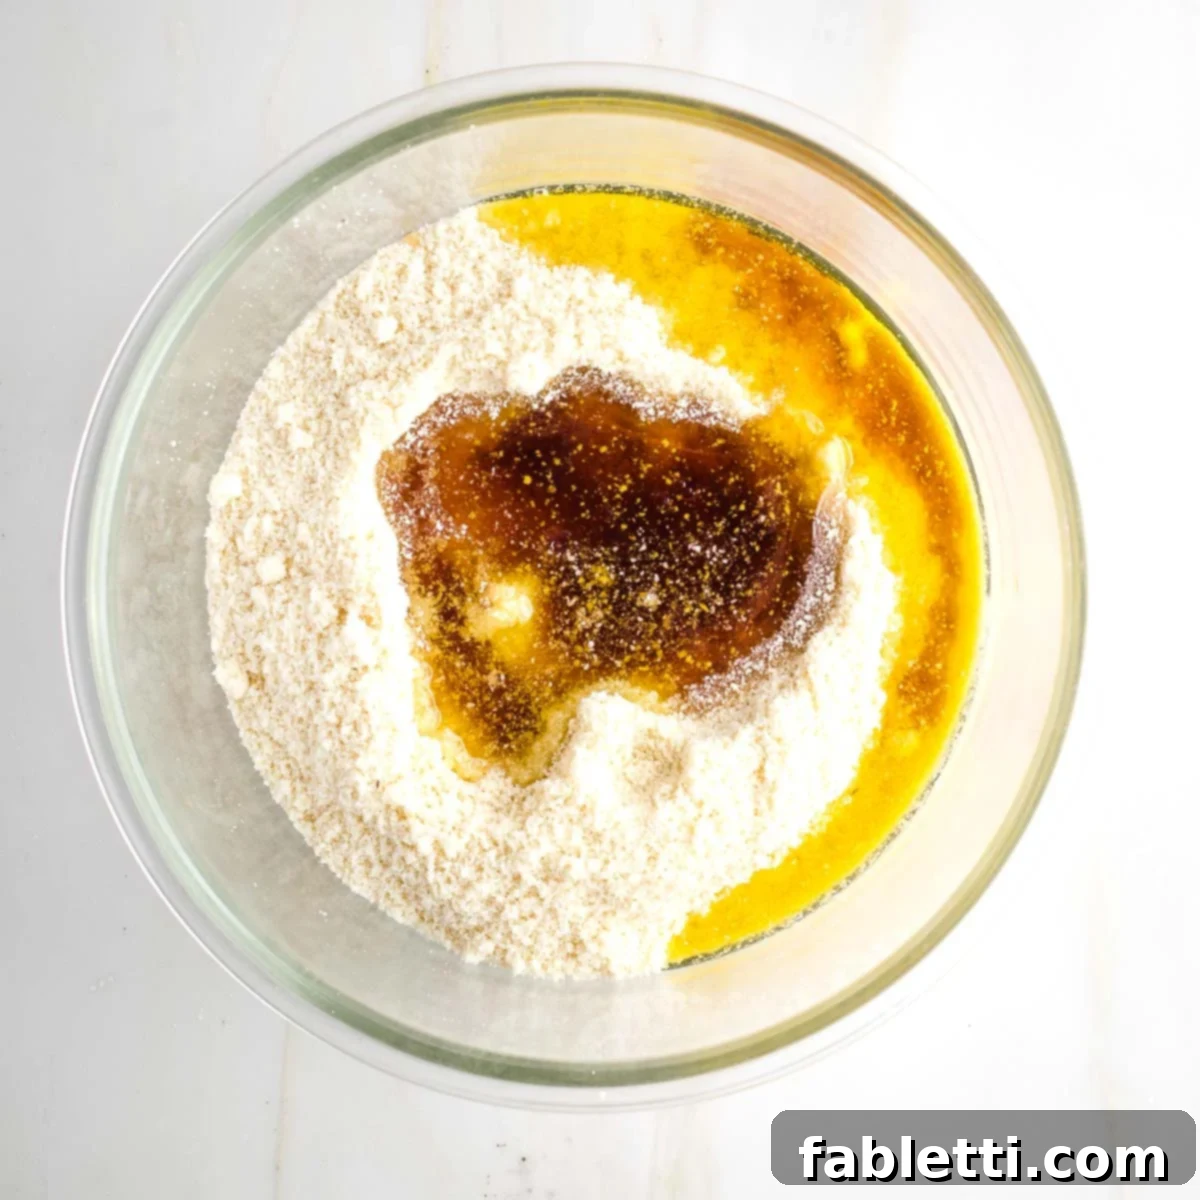
Your first step is to create the foundational cookie layer. In a medium-sized mixing bowl, combine the almond flour, maple syrup, and olive oil. Stir these ingredients thoroughly until they are well integrated.
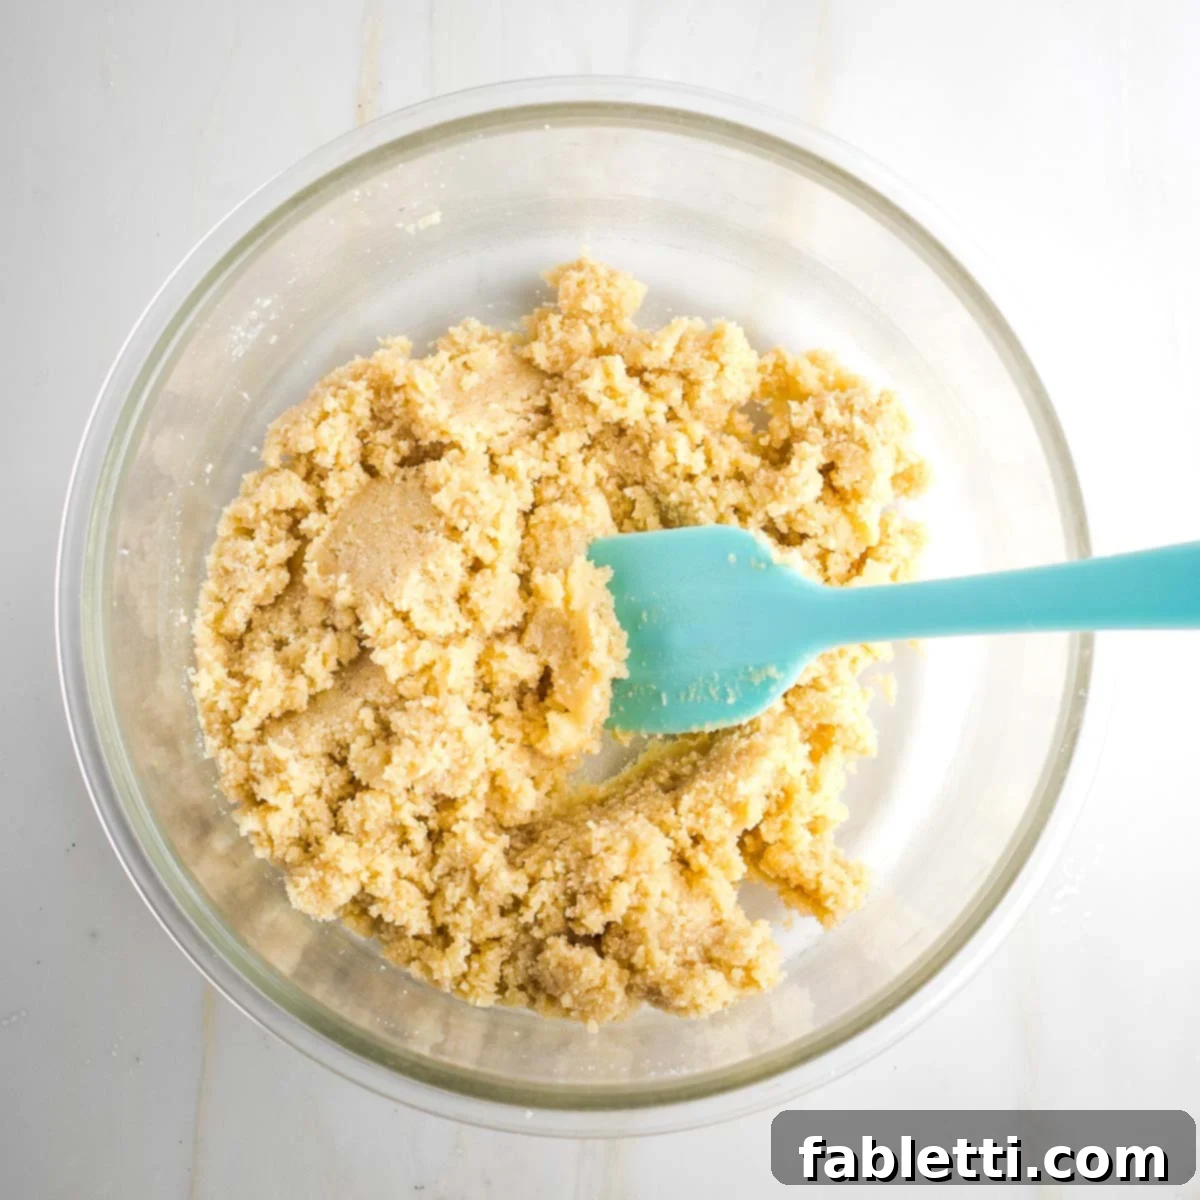
The mixture might appear a bit crumbly at first, but don’t worry. It should be pliable enough to hold together firmly when pressed between your thumb and finger, indicating the correct consistency for baking.
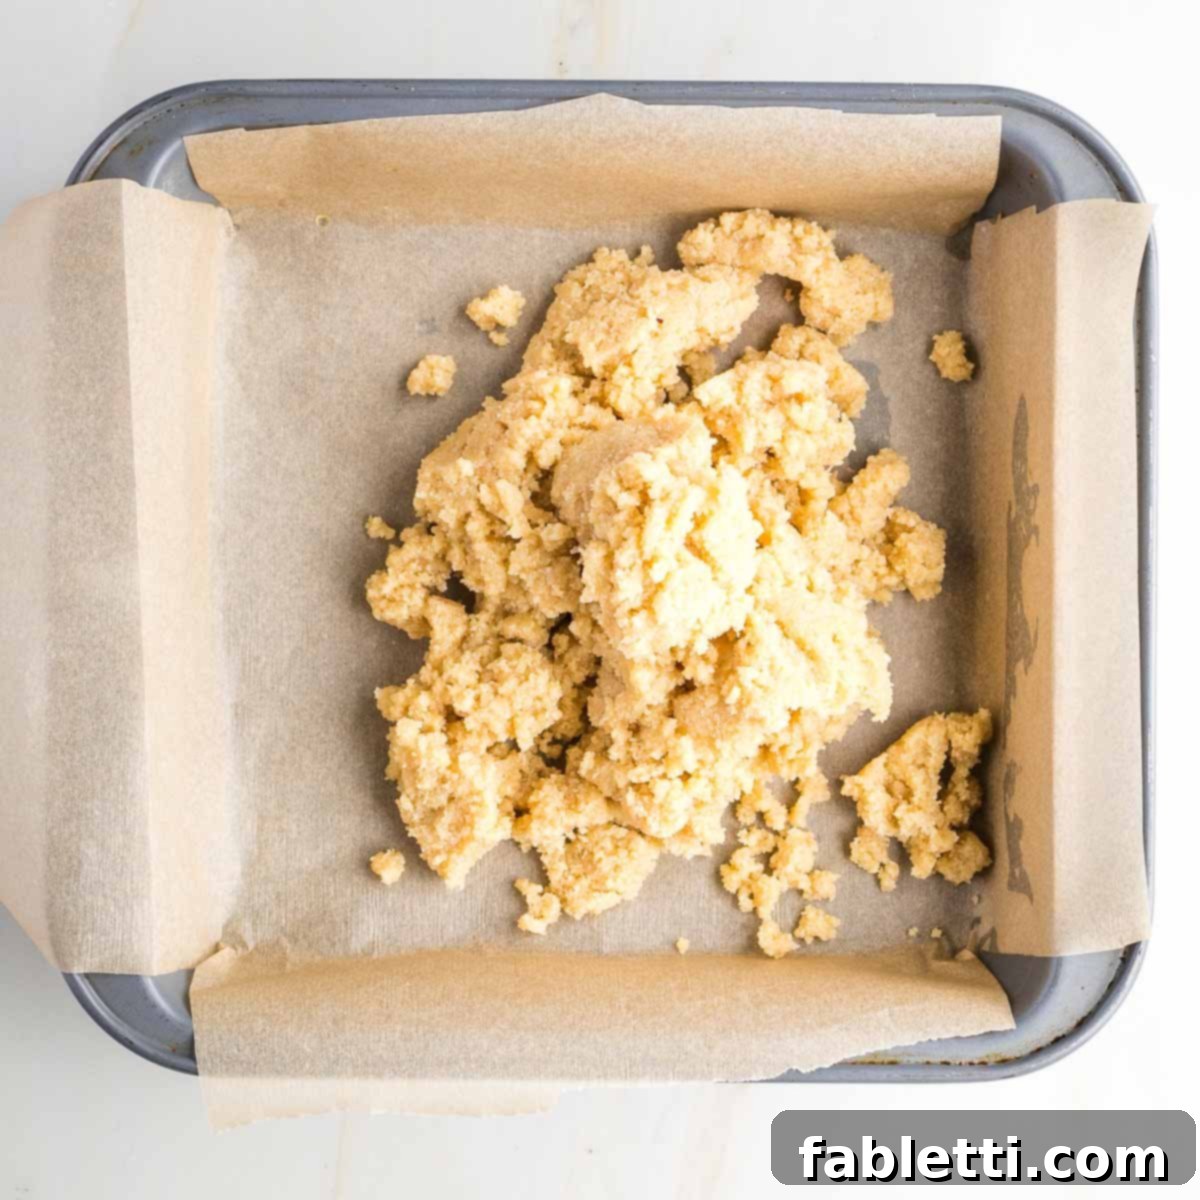
Transfer the cookie dough mixture into your prepared pan. Use your hands to evenly distribute and press the dough across the entire bottom of the pan, ensuring a uniform layer.
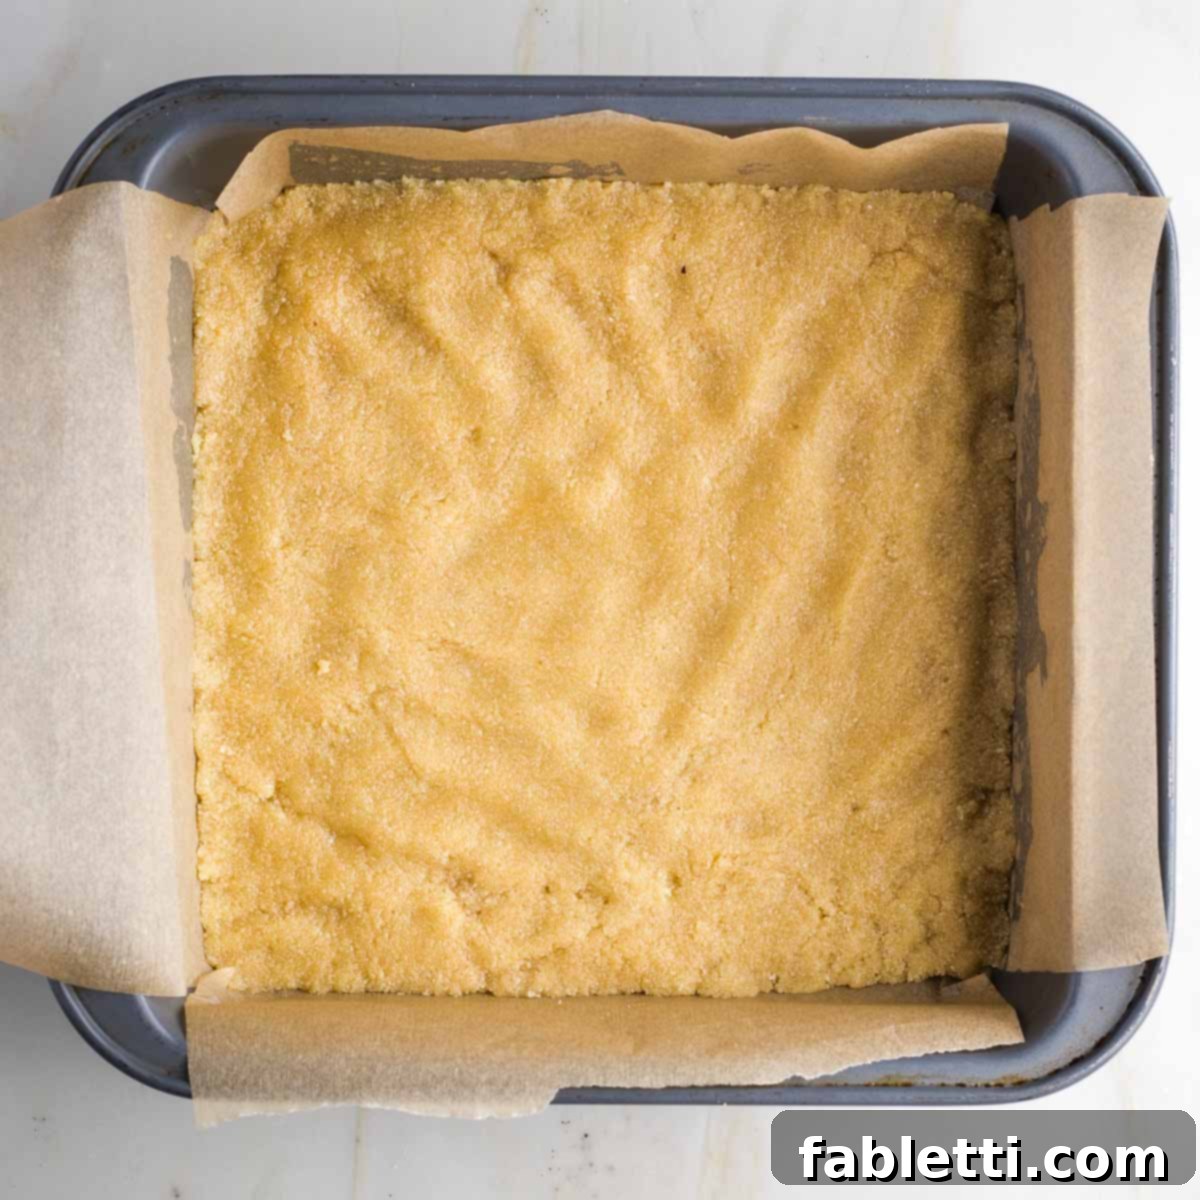
This layer will be quite thin, which is exactly what we want for that classic biscuit crunch. Gently but firmly compress the dough with your fingers, paying special attention to pushing it into all the corners to create a neat, even base. Bake in the preheated oven for 15 minutes, until lightly golden.
The Luxurious Caramel Layer
While your cookie layer is baking to perfection, you can begin preparing the rich and gooey caramel. This efficient timing ensures your homemade Twix bars come together smoothly.
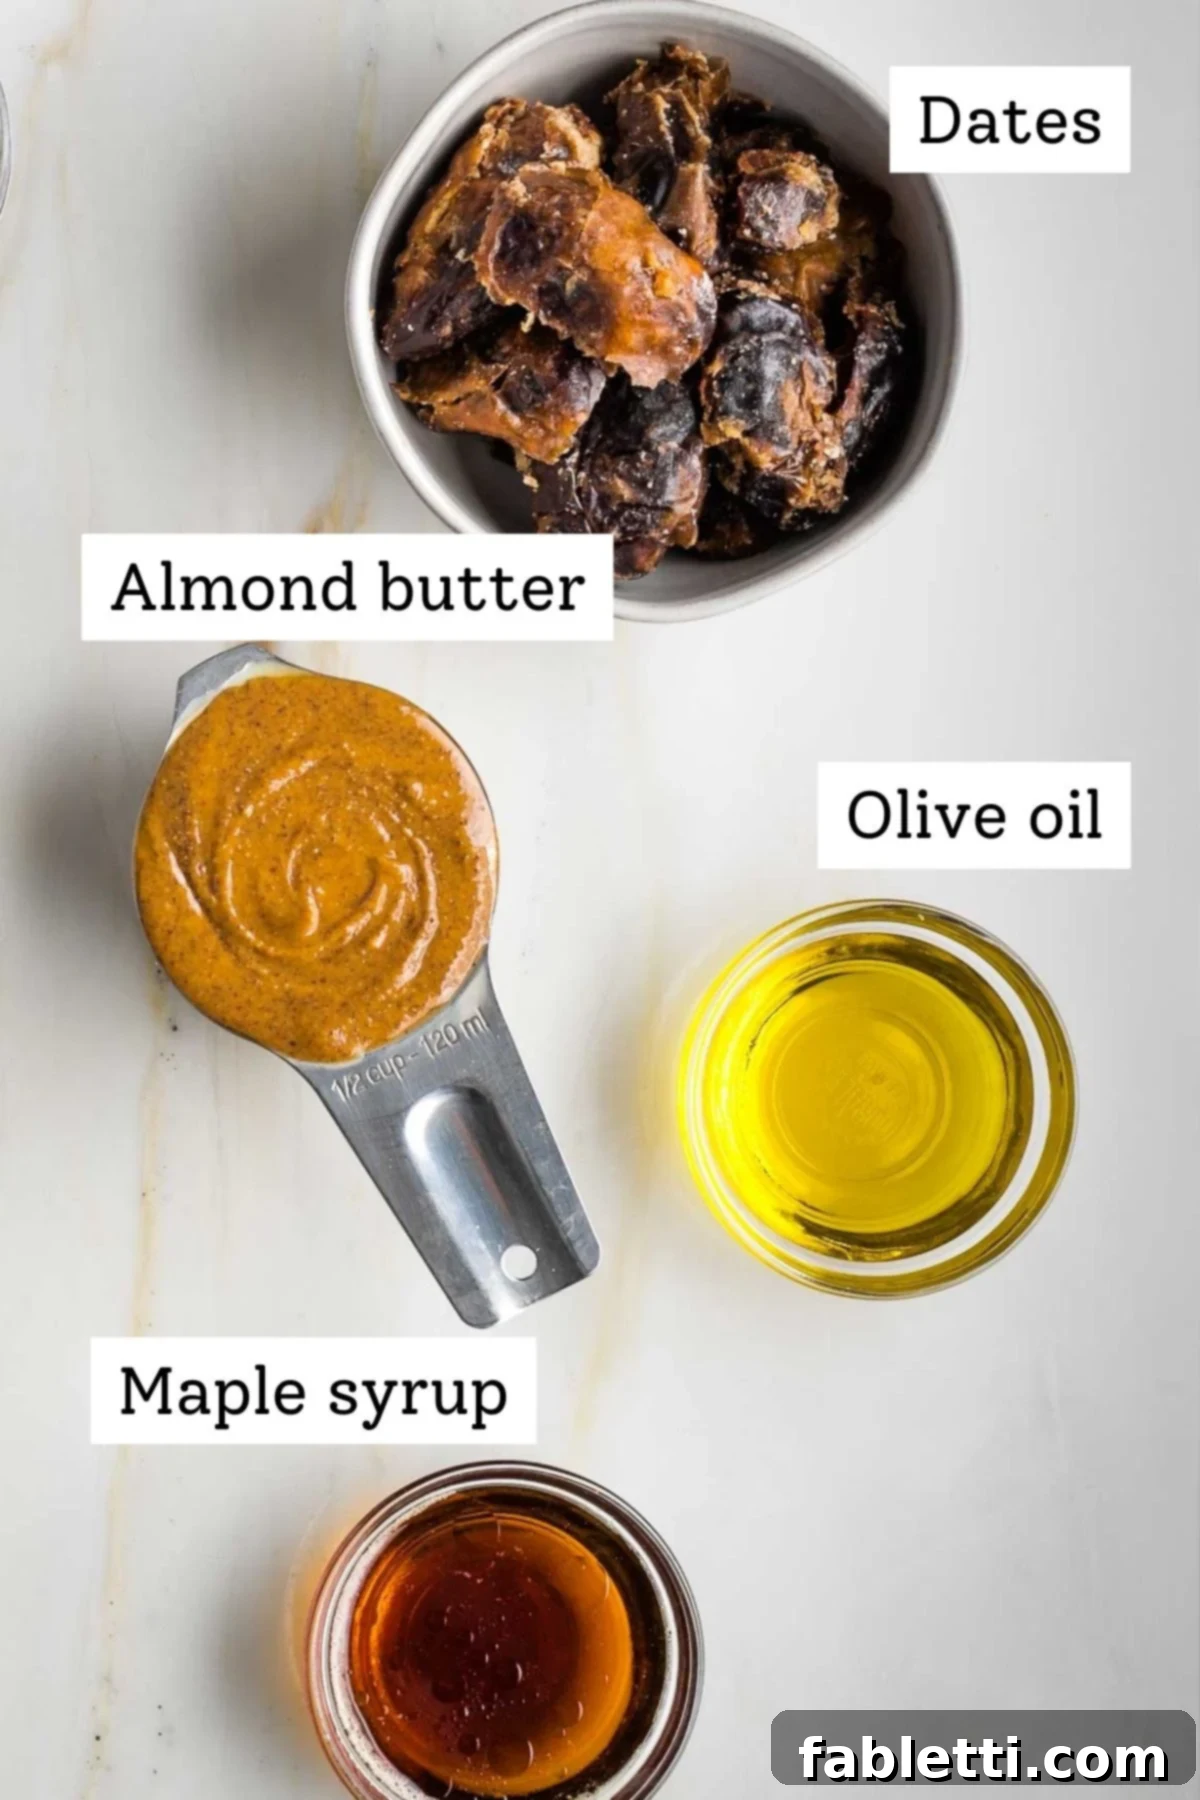
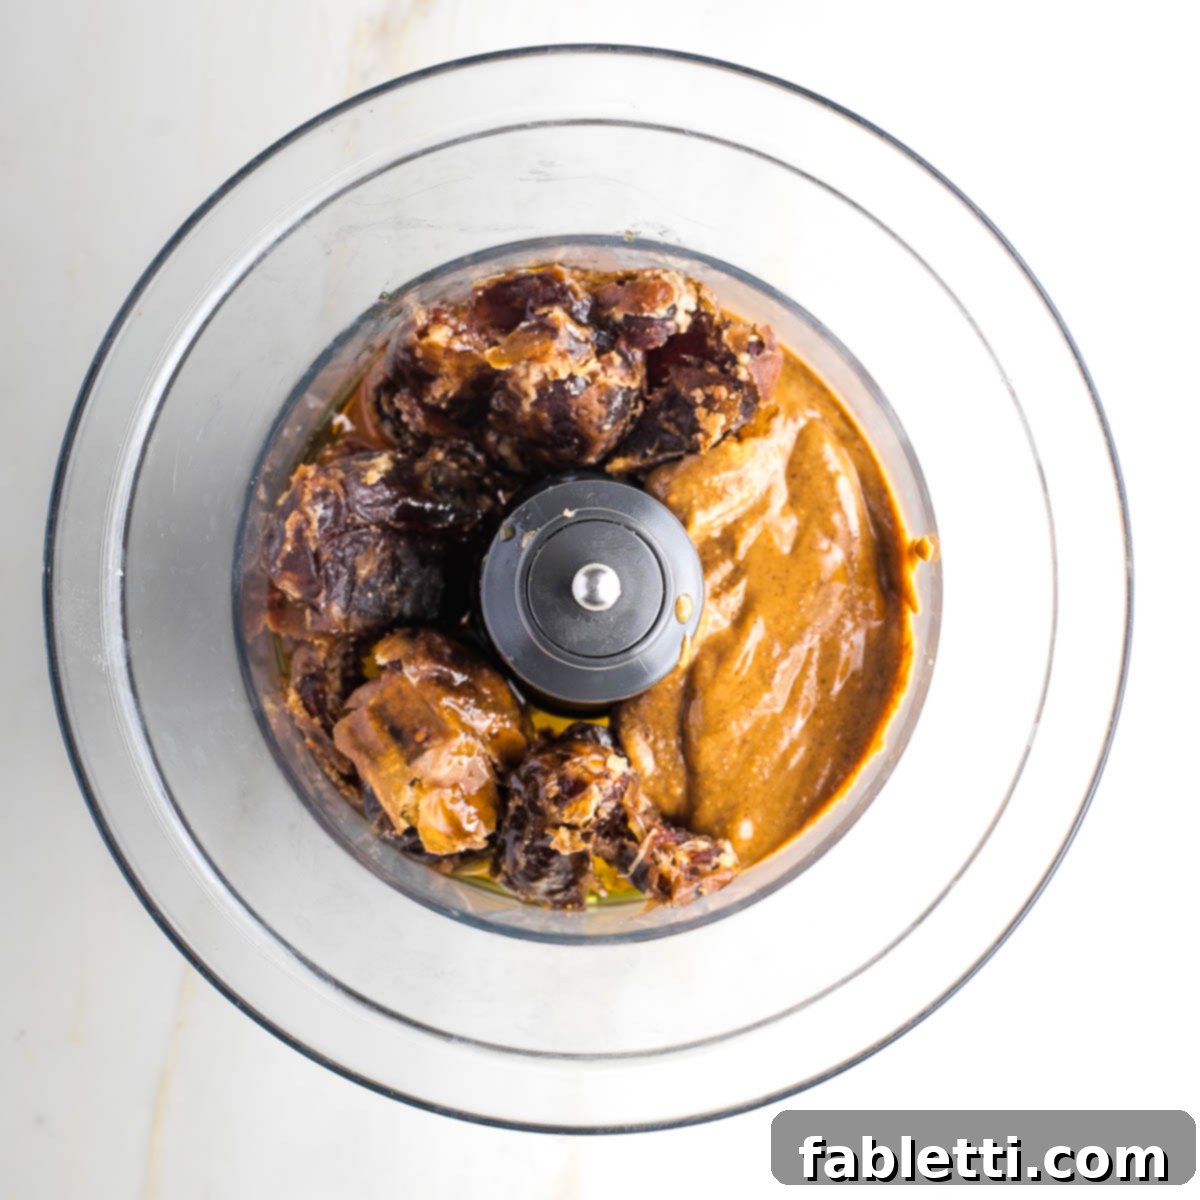
Begin by carefully removing the pits from your Medjool dates. Place the pitted dates into the bowl of a food processor. Then, add the creamy almond butter, maple syrup, and olive oil to the bowl.
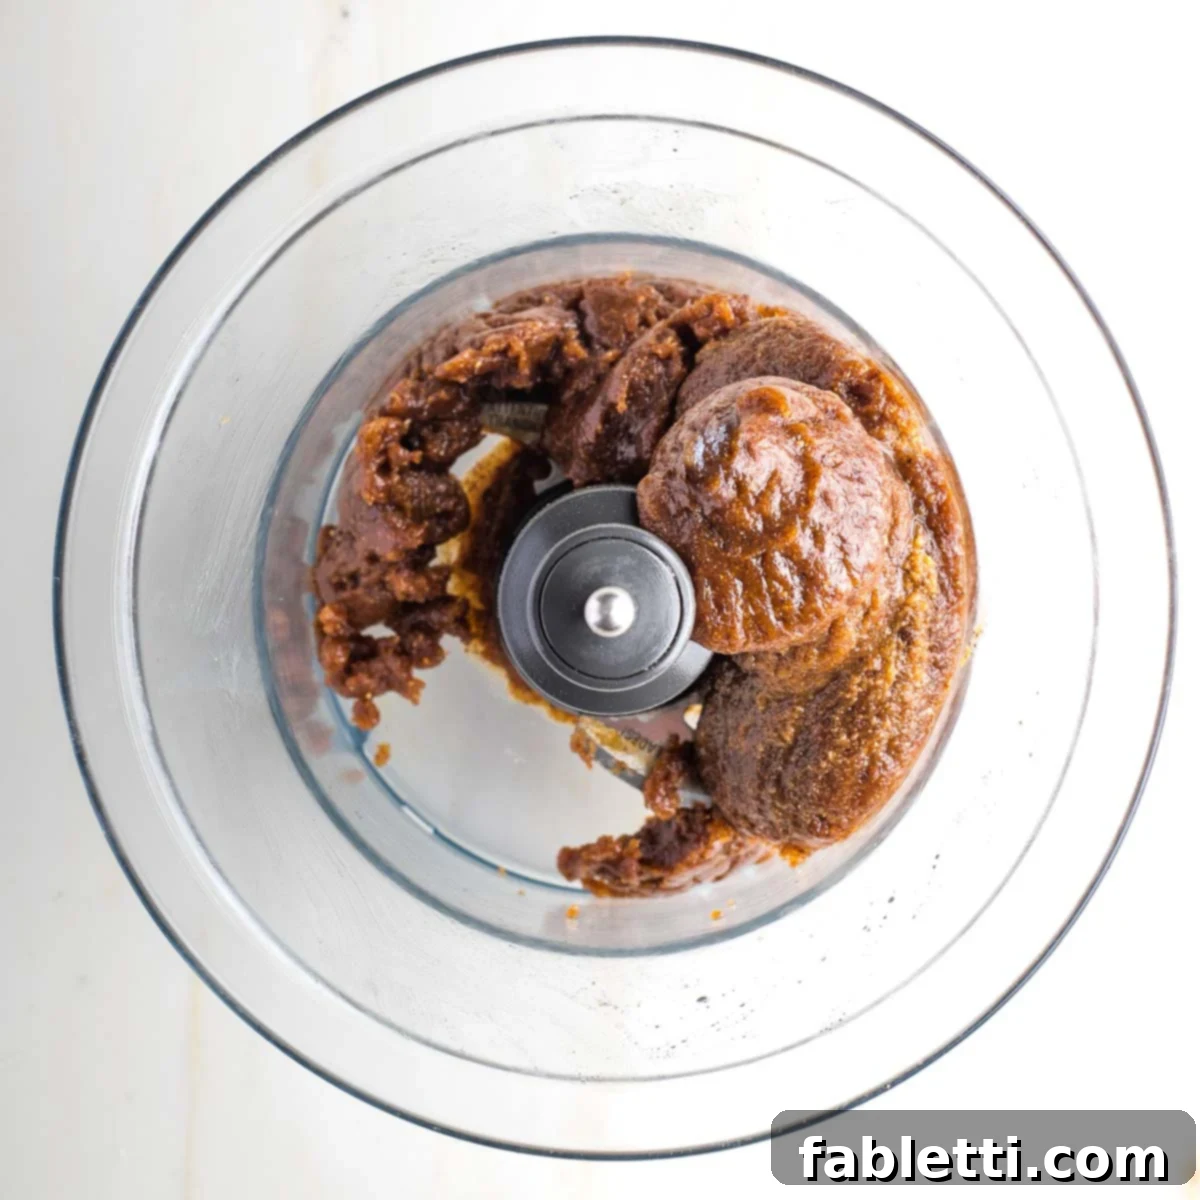
Process these ingredients until the mixture achieves a uniform, smooth texture. You may need to stop and scrape down the sides of the food processor bowl several times to ensure everything is thoroughly combined. The resulting caramel will be wonderfully sticky, but easy enough to handle and spread.
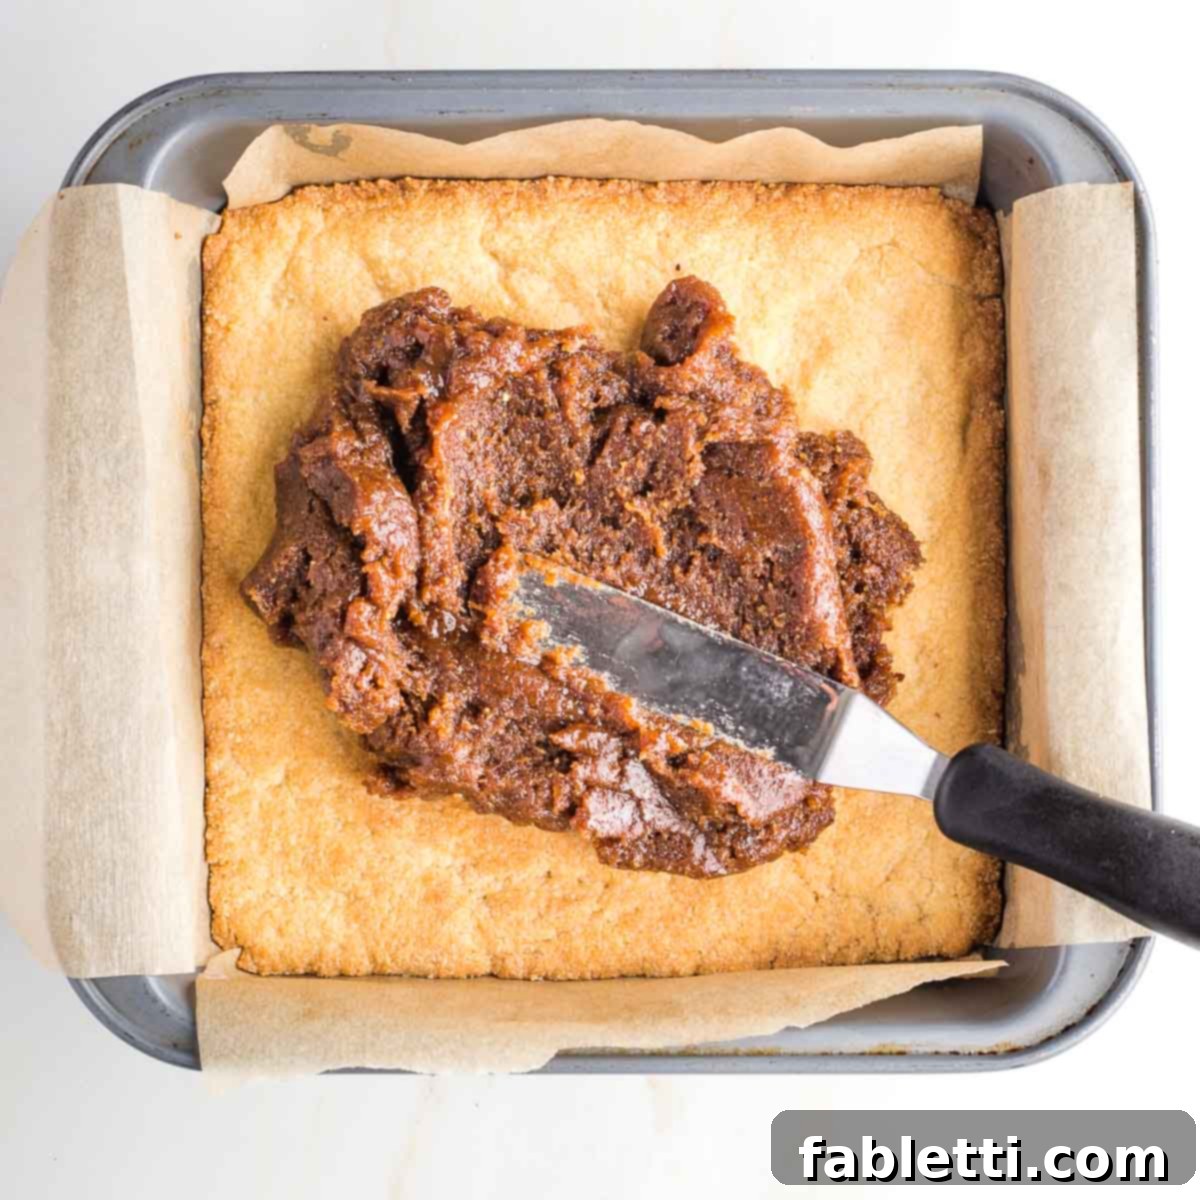
Once the cookie layer emerges from the oven, it should have a beautiful golden hue and feel slightly soft to the touch. This indicates it’s perfectly baked and ready for the next layer.
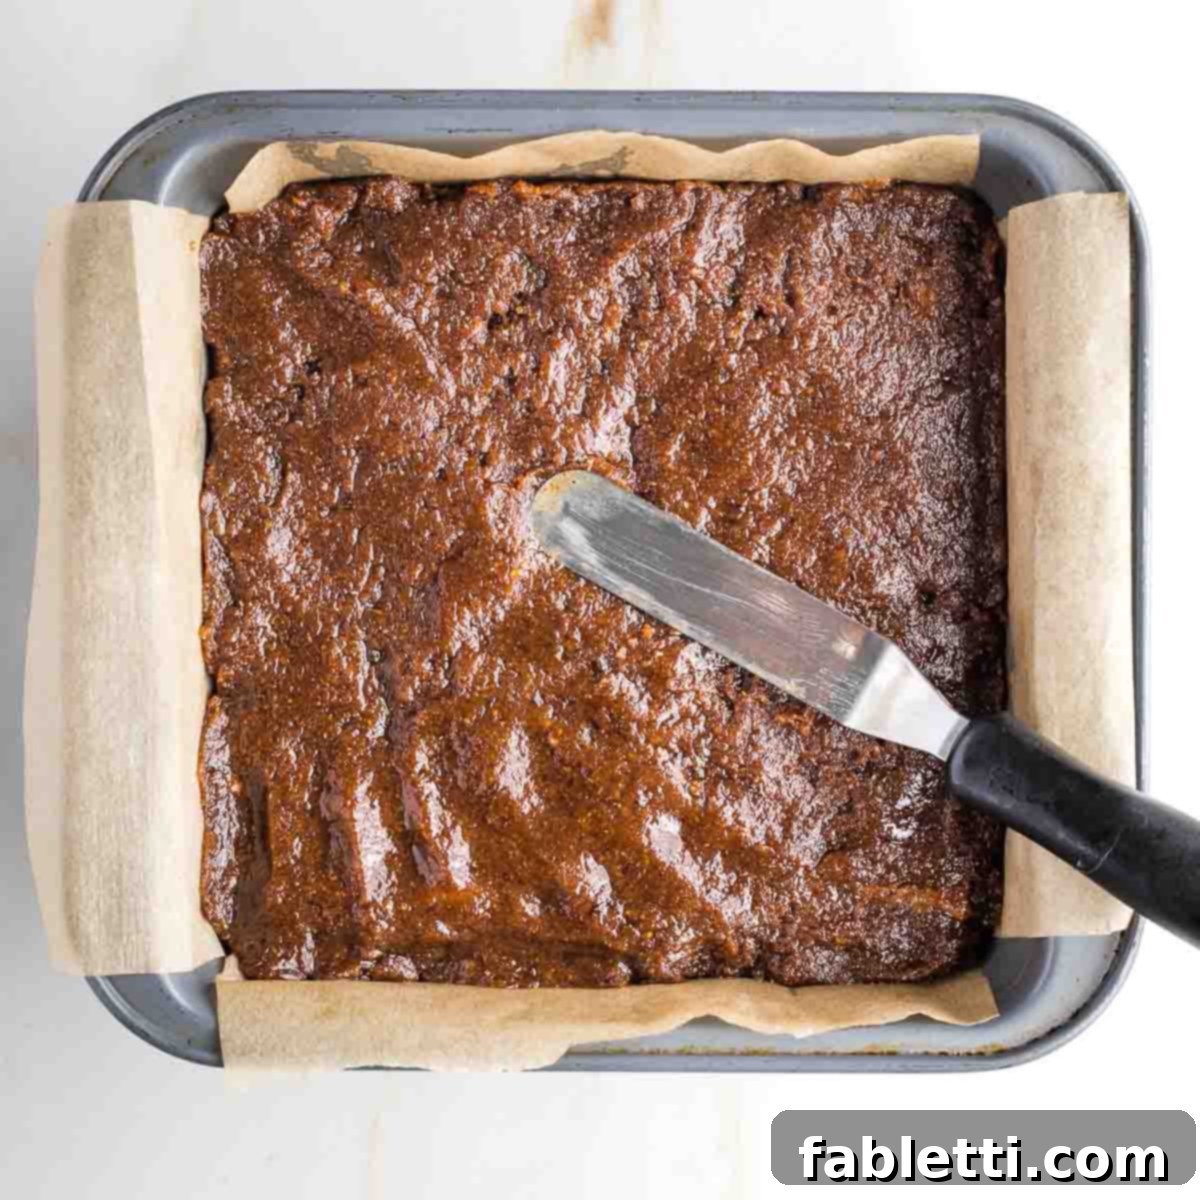
Allow the cookie layer to cool for just a few minutes, then use an offset spatula or even your clean hands to spread the date caramel evenly over the baked biscuit-like cookie. Ensure it reaches all the way to the edges and corners for a consistent layer.
To firm up the caramel and prepare it for the chocolate, place the pan with both the cookie and caramel layers into the freezer for at least one hour. For best results and easier handling, you can even leave it overnight.
The Decadent Chocolate Layer
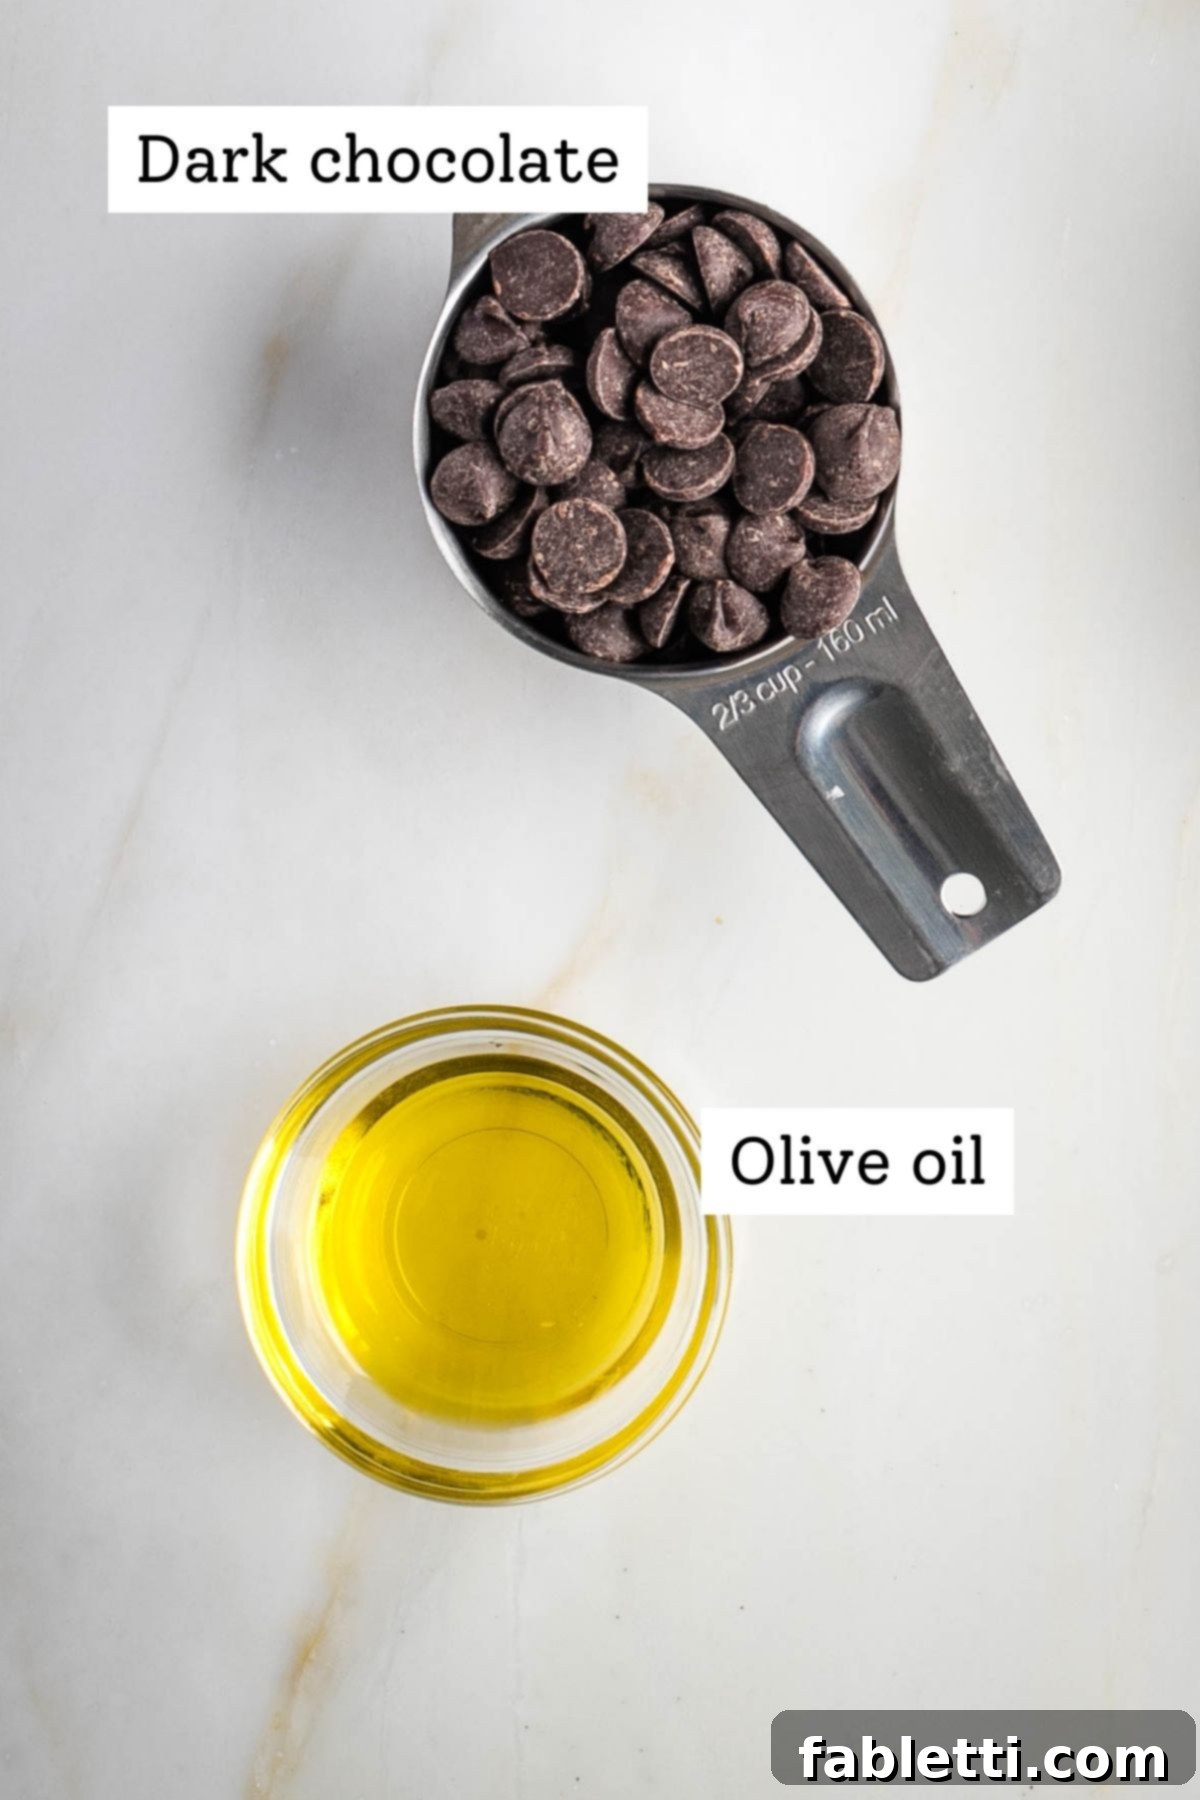
Now for the grand finale – the rich chocolate topping! Gently melt the dark chocolate chips with the olive oil. The addition of olive oil is key here; it creates a smoother, more fluid chocolate consistency that will be much easier to cut through later without cracking. For melting, use a small saucepan on the stove over the absolute lowest heat setting. As soon as you see the chocolate beginning to melt around the edges, start stirring constantly. Turn off the heat when there are still a few small solid pieces of chocolate remaining. The residual heat from the melted chocolate will continue to melt these remaining pieces as you stir, creating a perfectly smooth, pourable consistency. This entire process is quick, usually taking about one minute from start to finish.
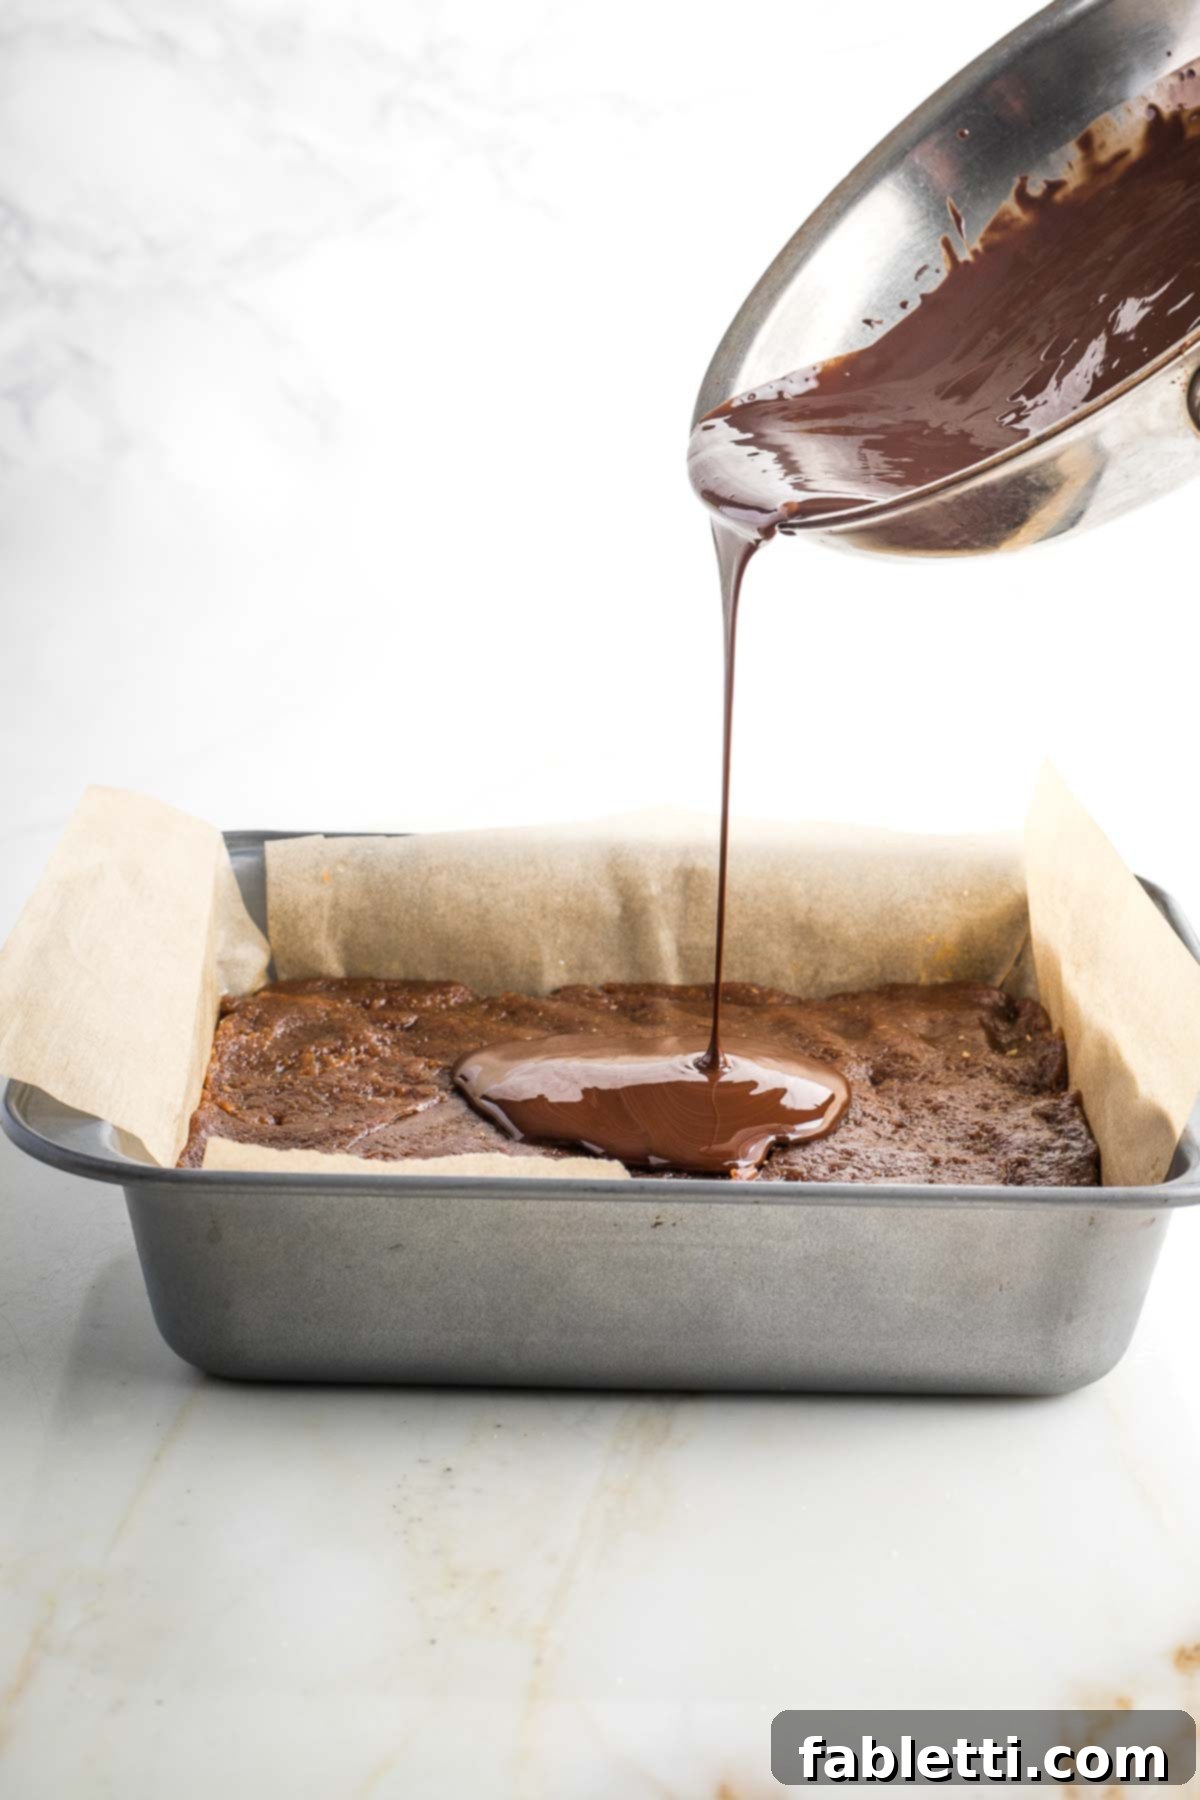
Once melted and smooth, pour the glistening chocolate mixture directly over the now-hardened caramel layer of your Twix bars. Work quickly to ensure an even distribution.
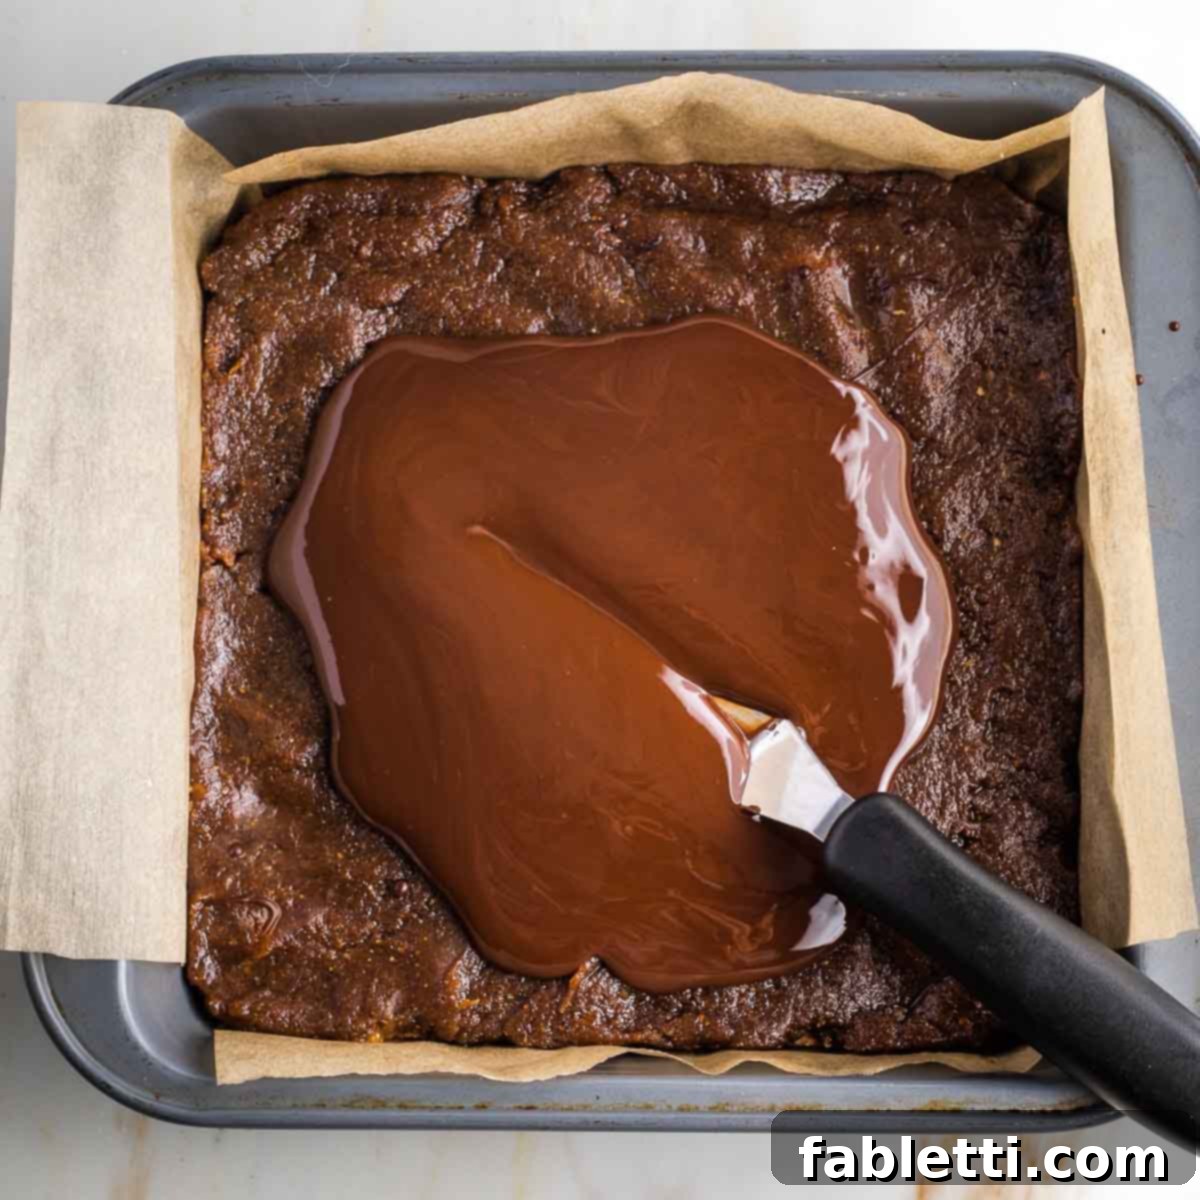
Immediately use your offset spatula to gently spread the chocolate towards all the corners and edges of the pan. This technique ensures a beautifully smooth and even top layer, giving your homemade Twix bars a professional finish.
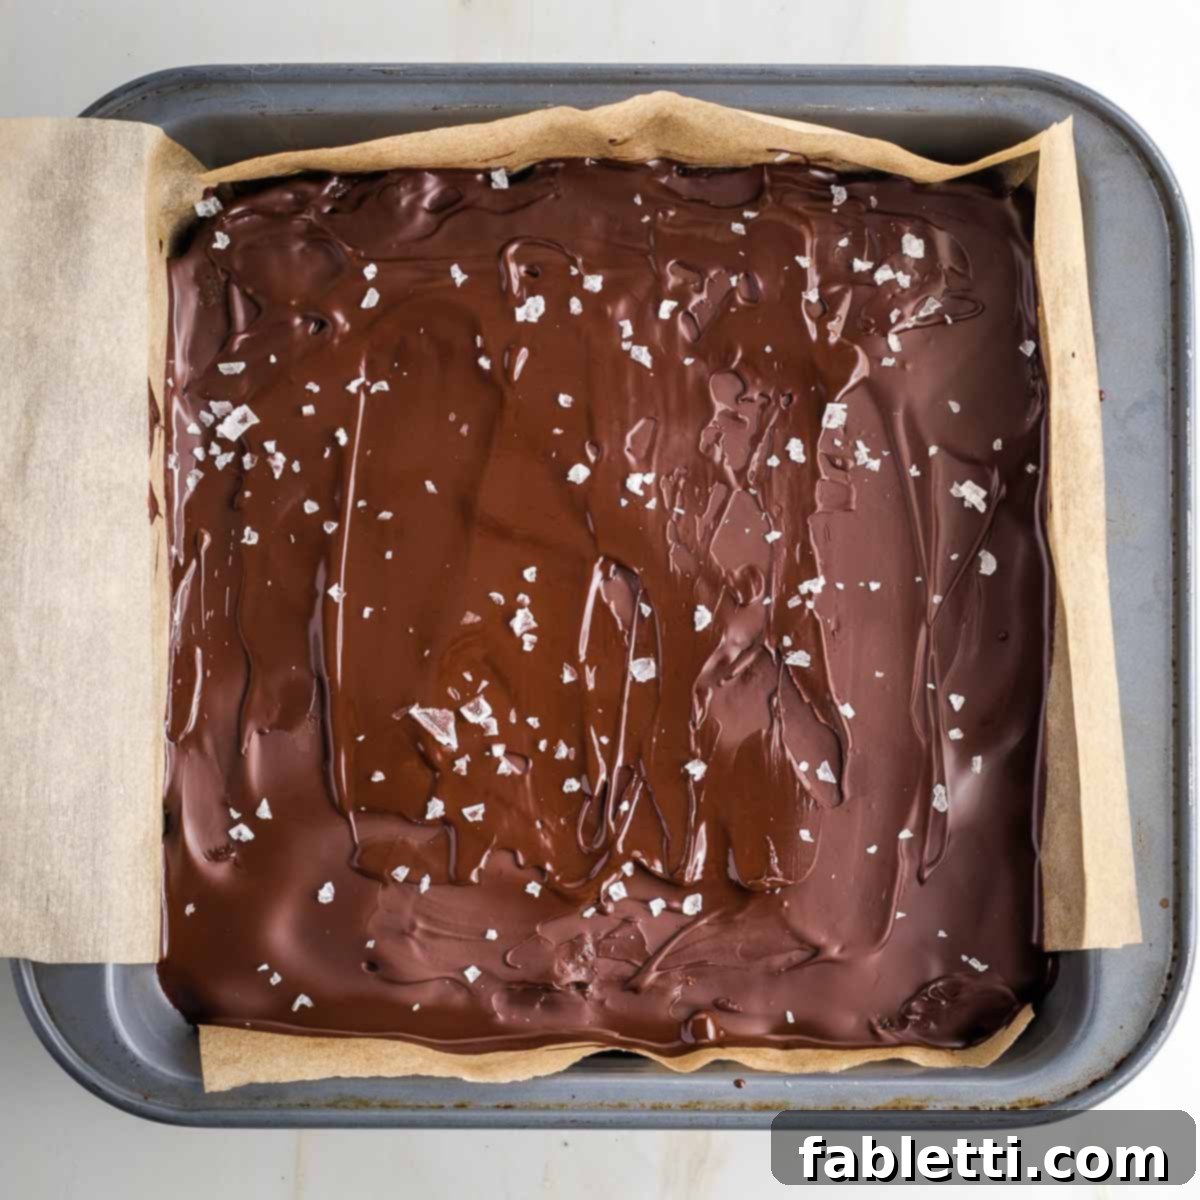
If you desire, sprinkle a touch of flakey sea salt over the wet chocolate layer. This addition is optional but highly recommended as it beautifully contrasts the sweetness and enhances the overall flavor. Place the pan in the refrigerator for just 5 minutes to allow the chocolate to set and harden. If you leave it longer, that’s perfectly fine, but make sure to let the pan sit on the counter for about 10 minutes, allowing it to come closer to room temperature before you attempt to cut it into bars. This crucial step helps prevent the chocolate from cracking.
Precision Cutting: How to Slice Your Twix Bars Without Cracking the Chocolate
Learning from my own past mistakes, I can assure you that cutting these bars into neat, crack-free pieces is entirely achievable if you follow these simple, yet vital, tips. The key is in the timing and technique, ensuring your homemade Twix bars look as perfect as they taste.
Once the chocolate has set, remove the pan from the fridge. Carefully pull on the parchment paper overhang to lift the entire slab of Twix bars out of the pan and transfer it onto a clean cutting board. Let it rest on the counter for a couple of minutes to allow it to come slightly closer to room temperature. This brief wait is crucial for preventing the chocolate from cracking when you apply pressure with your knife.
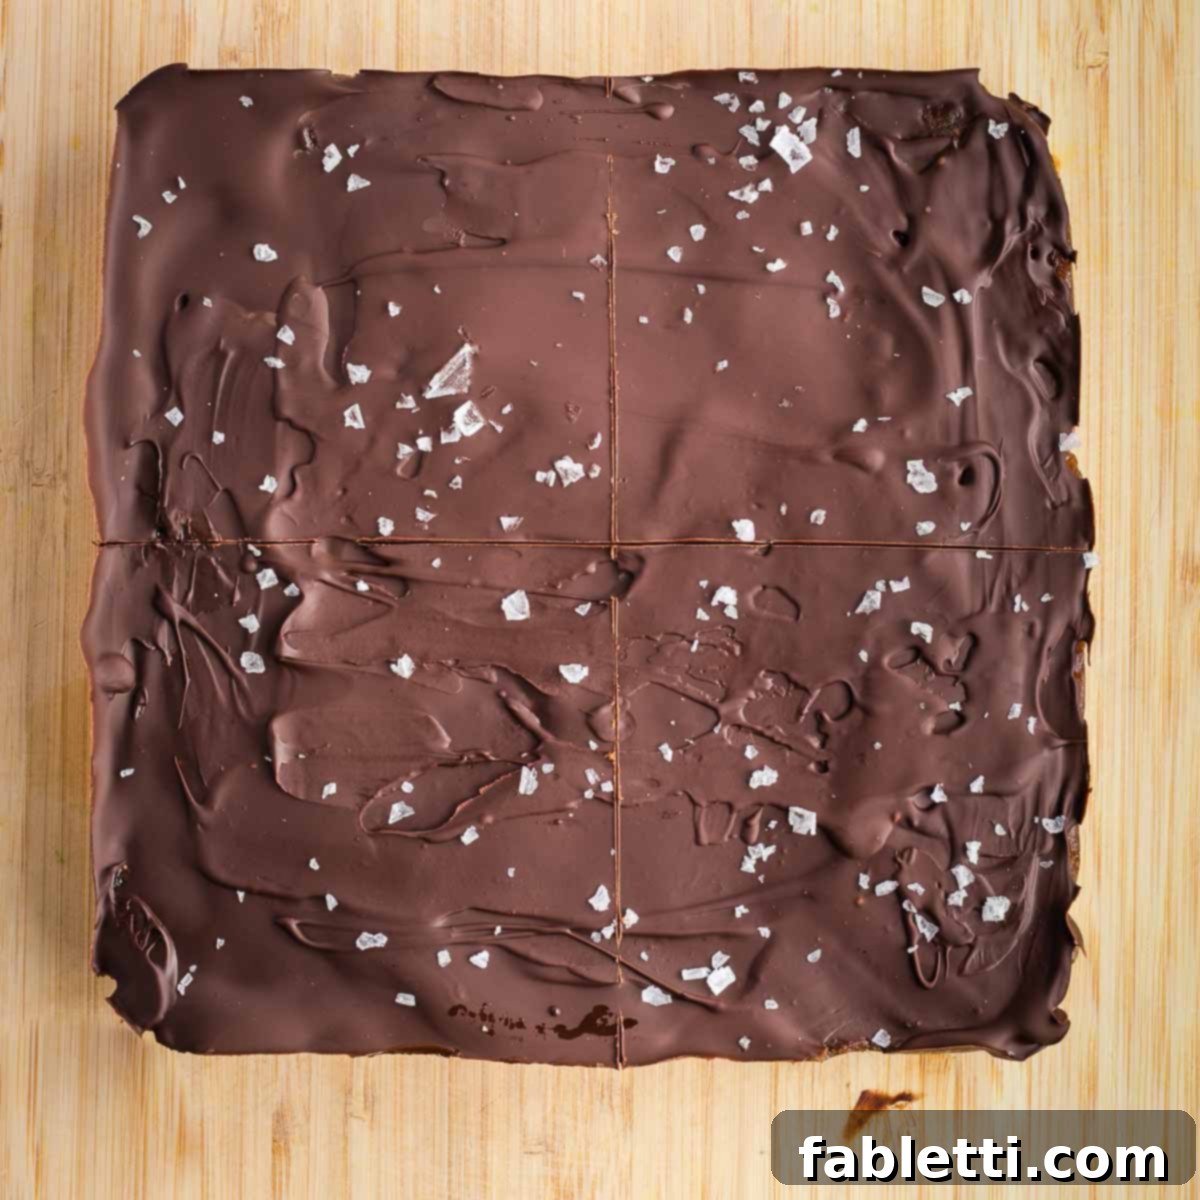
Using a very sharp knife, make only shallow scores to begin with. Think of it as marking your lines rather than cutting all the way through initially. First, mark a line horizontally across the center and then vertically through the center, effectively dividing your large square into four equal, smaller squares.
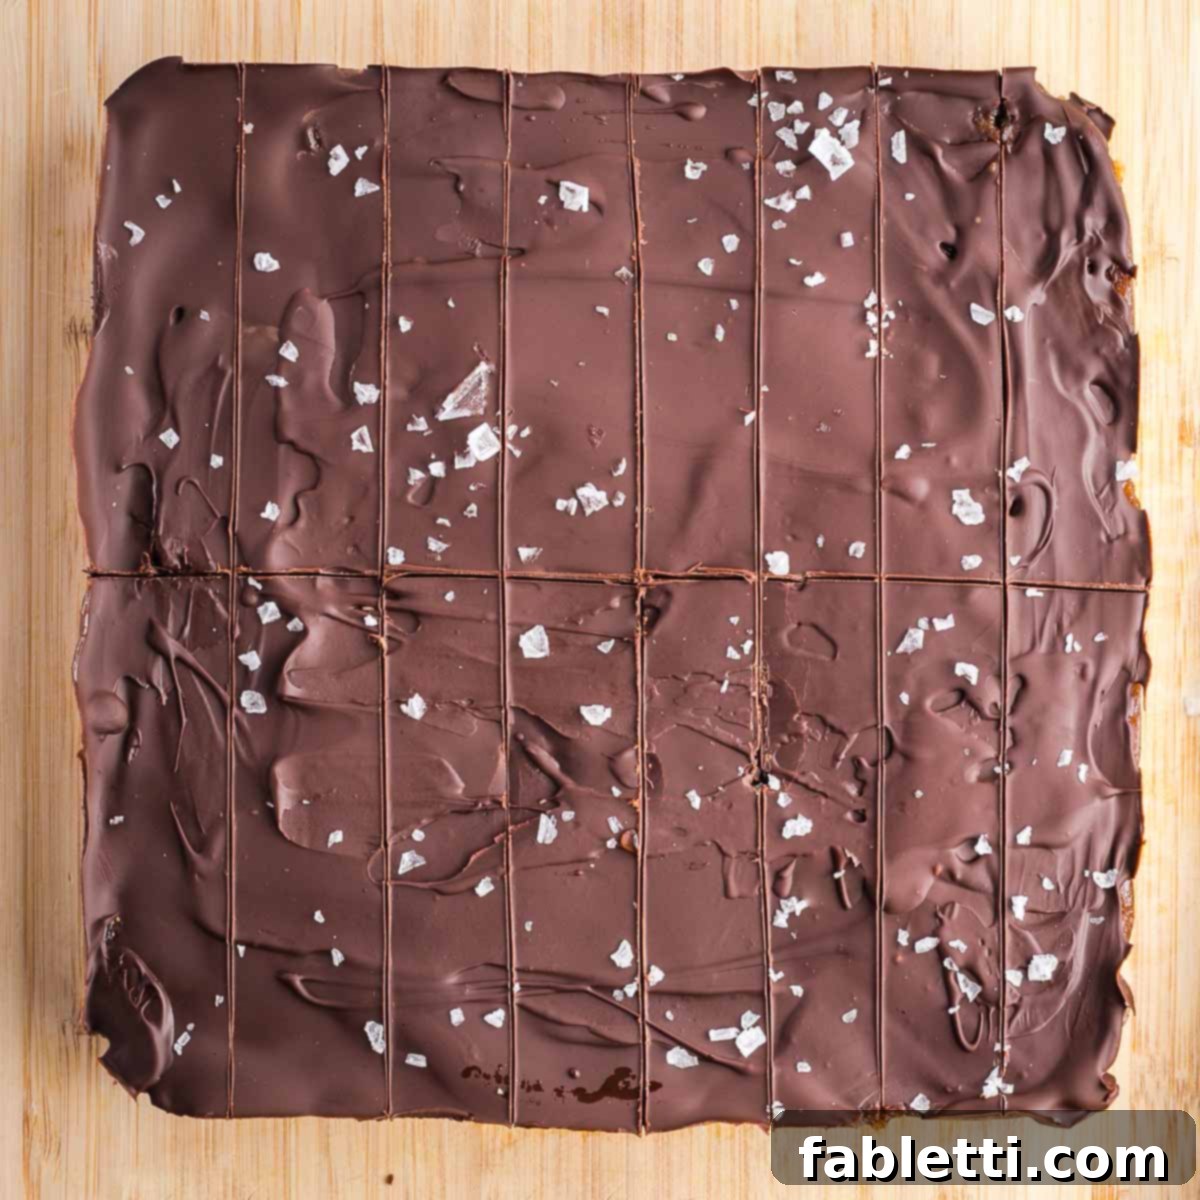
Next, divide each of those four quarter-squares further by making four long, vertical marks within each, creating your individual bar shapes. Once all your “lines” are meticulously marked, go back over them with your sharp knife and carefully cut all the way through. This two-step scoring and cutting method ensures clean edges and minimizes cracking.
Storing Your Healthier Homemade Twix Bars
Proper storage is key to maintaining the freshness, texture, and deliciousness of your homemade Twix bars. These tips will help you keep them perfect for as long as possible:
- Airtight Container is Essential: Once your Twix bars are cut and ready, store them in an airtight container. This protects them from absorbing odors from other foods in the refrigerator and prevents them from drying out.
- Refrigerator Life: In the refrigerator, these delectable bars will maintain their quality and taste for up to 2 weeks. This makes them a fantastic make-ahead dessert or snack for meal prepping.
- Freezer for Longevity (and Texture!): For longer storage, or if you simply prefer a firmer, colder treat, freeze these homemade Twix bars. They can be stored in the freezer for up to 3 months without any loss of flavor or texture. What’s more, they are perfectly delicious when eaten straight from the freezer – a truly refreshing way to enjoy them, especially on a warm day. This is often my preferred method for enjoying and storing them!
Debra’s Pro Tips for Twix Bar Perfection
- The Maple Syrup Slide: Here’s a clever little trick: measure your olive oil first, then use the same measuring spoon for the maple syrup. The oil coats the spoon, allowing the sticky maple syrup to slide right out effortlessly, minimizing mess and waste.
- Optimal Cutting Temperature: These bars are definitely easier to cut when they’re cold, as the caramel won’t ooze out. However, if they’re too cold, the chocolate layer can become brittle and crack. For perfectly clean cuts and beautifully intact Twix bars, strictly follow the cutting advice mentioned above regarding letting them sit out for a few minutes before scoring and slicing.
- The Power of Sea Salt: While adding flakey sea salt to the top is optional, it’s a game-changer! What’s a truly exceptional chocolate caramel dessert without that perfect hint of salt to balance and intensify the flavors? It really elevates the entire experience, creating a sophisticated sweet and savory note.
- Freezer Storage & The Hiding Game: These bars are undeniably best when stored in the freezer, offering a delightful chewiness and longer shelf life. But be warned: their deliciousness might not deter others from finding your stash! If you have specific plans for these treats (like saving them for yourself!), you might want to employ your best hiding skills.
- Quality of Ingredients Matters: Since this recipe uses minimal, whole ingredients, the quality of each component truly shines through. Opt for good quality almond flour, creamy almond butter with no added sugars, fresh Medjool dates, and a dark chocolate you genuinely enjoy. Better ingredients equal better taste.
A Nutritional Showdown: Store-Bought vs. Healthier Homemade Twix Bars
Let’s take a moment to understand why choosing homemade, healthier Twix bars is a superior option compared to their conventional store-bought counterparts. The differences are significant, especially when it comes to your health and well-being:
- Sugar Content and Type: Store-bought Twix bars are notoriously high in refined sugar and corn syrup. These ingredients can lead to rapid blood sugar spikes, followed by energy crashes, and contribute to chronic inflammation in the body over time. In stark contrast, this recipe for healthier Twix Bars is naturally sweetened primarily with Medjool dates, which contain fiber to help regulate blood sugar levels. Maple syrup, a less processed natural sweetener rich in antioxidants, provides additional depth of flavor without the harsh effects of highly refined sugars.
- Fats: Commercially produced Twix bars often contain trans fats, which are unhealthy and known to raise LDL (bad) cholesterol levels while lowering HDL (good) cholesterol, significantly increasing the risk of heart disease. My vegan Twix bars, however, are made with extra virgin olive oil, a source of healthy monounsaturated and polyunsaturated fats. Additionally, beneficial fats are derived from almond butter and almond flour, contributing to heart health and overall well-being.
- Refined Carbohydrates: The biscuit base of traditional Twix bars is typically made with refined flour, which is stripped of its natural fiber and nutrients during processing. This can cause quick spikes in blood sugar. My recipe ingeniously uses almond flour, which is not only grain-free and gluten-free but also boasts a high protein and low carbohydrate content. This provides a much more balanced nutritional profile for the cookie base, offering sustained energy and less impact on blood glucose levels.
- Additives and Artificial Ingredients: Read the label of a store-bought Twix, and you’ll likely find a list of artificial flavors, colors, and preservatives. These synthetic additives offer no nutritional value and can sometimes lead to adverse health reactions. This recipe for homemade Twix bars prides itself on using only whole, natural food ingredients such as pure almond butter, real maple syrup, nutrient-rich dates, and healthy olive oil, ensuring a clean and wholesome treat.
Discover More Delicious Chocolate Recipes
- Vegan Chocolate Pudding Recipe
- Vegan Tahini Brownies
- Chocolate Peanut Butter Cups with Pistachios and Pomegranate Seeds
- Double Chocolate Zucchini Muffins
Did you know commenting and rating recipes is one of the best ways to support your favorite food bloggers? If you made this recipe, please consider leaving a five-star rating below and a comment sharing your experience. Also, we’d love to see your creations! Please share your photos on Instagram by tagging me @dkhealthcoach and using the hashtag #debraklein. Your feedback and shares mean the world!
📖 Recipe
Healthier Homemade Twix Bars
Debra Klein
Rate this Recipe
Pin Recipe
10 minutes
15 minutes
1 hour
5 minutes
1 hour
30 minutes
Dessert, Snack
American
16
248
kcal
Equipment
- 8×8″ square baking pan
- Mixing bowls
- Silicone spatula
- Offset spatula
- Food Processor
- Measuring Cups and Spoons
Ingredients
Cookie Base Layer
-
1 ½
cups
blanched almond flour -
3
tbsp
olive oil -
3
tbsp
maple syrup -
pinch
sea salt
Caramel Layer
-
9
medjool dates -
½
cup
creamy almond butter -
2
tbsp
olive oil -
2
tbsp
maple syrup
Chocolate Layer
-
⅔
cup
dark chocolate chips -
1
tbsp
olive oil
Instructions
- Preheat oven to 350°F (175°C). Line an 8″ square baking pan with parchment paper, leaving an overhang on two sides for easy removal.
Make the Cookie Base Layer
- In a medium-sized mixing bowl, stir together the blanched almond flour, olive oil, and maple syrup until well combined. The mixture will be thick and slightly sticky, and you should be able to press it together firmly between two fingers.
- Press the cookie dough evenly into the bottom of the prepared pan, ensuring it reaches all the way to the corners. Using your hands is often the easiest and most effective way to do this.
- Bake for 15 minutes, or until the edges are lightly golden brown and the center is slightly soft to the touch. Remove from oven and let cool slightly.
Make the Caramel Layer
- Remove the pits from the Medjool dates and place them into the bowl of a food processor. Add the creamy almond butter, olive oil, and maple syrup.
- Process until the mixture is uniform in texture and forms a thick, somewhat pasty caramel. You may need to stop and scrape down the sides of the bowl a few times to ensure everything is fully incorporated.
- Spread the caramel mixture evenly over the cooled, cooked cookie layer. You can use an offset spatula or your hands to ensure it’s dispersed all the way to the corners for a smooth, consistent layer.
- Place the pan in the freezer for at least one hour, or ideally overnight, to allow the caramel layer to harden completely. This is crucial for easy handling and cutting later.
Make the Chocolate Layer
- In a small saucepan over the lowest heat setting, melt the dark chocolate chips with the olive oil.
- Stir constantly for about 1 minute as the chocolate begins to melt. Turn off the heat while there are still a few solid pieces remaining and continue stirring until everything is fully melted and the consistency is smooth and pourable. This prevents overheating the chocolate.
- Pour the melted chocolate evenly over the hardened caramel layer. If desired, sprinkle with flakey sea salt for an enhanced flavor. Place the pan in the fridge for 5 minutes to quickly set the chocolate. If left longer, allow it to sit at room temperature for about 10 minutes before attempting to cut.
Cut into Bars
- If the pan has been in the fridge for longer than 5 minutes, remove it and let it sit on the counter for approximately 10 minutes to allow the layers to slightly soften and prevent cracking during cutting.
- Using a sharp knife, gently score (make shallow marks) the top layer into 4 equal pieces: one vertical line across the center and one horizontal line. Then, mark each ¼ square into 4 long strips, totaling 16 bars.
- Once all 16 bar lines are marked, go back with your sharp knife and carefully cut all the way through each scored line for clean, defined bars.
Storage
- Store these delicious bars in an airtight container in the fridge for up to 2 weeks, or in the freezer for up to 3 months. Many find they taste best enjoyed straight from the freezer for a delightful chewy texture!
Nutrition
Calories:
248
kcal
Carbohydrates:
22
g
Protein:
5
g
Fat:
17
g
Saturated Fat:
4
g
Polyunsaturated Fat:
2
g
Monounsaturated Fat:
6
g
Cholesterol:
0.1
mg
Sodium:
9
mg
Potassium:
214
mg
Fiber:
3
g
Sugar:
16
g
Vitamin A:
21
IU
Vitamin C:
0.04
mg
Calcium:
87
mg
Iron:
1
mg
Note
The nutrition calculations were done using online tools. To obtain the most accurate representation of the nutritional information in any given recipe, you should calculate the nutritional information with the actual ingredients you used. You are ultimately responsible for ensuring that any nutritional information is accurate, complete and useful.
Did you make this recipe?
Please leave a review below, then snap a picture and tag me @dkhealthcoach or use hashtag #dkhealtcoach on Instagram so I can see it!!
