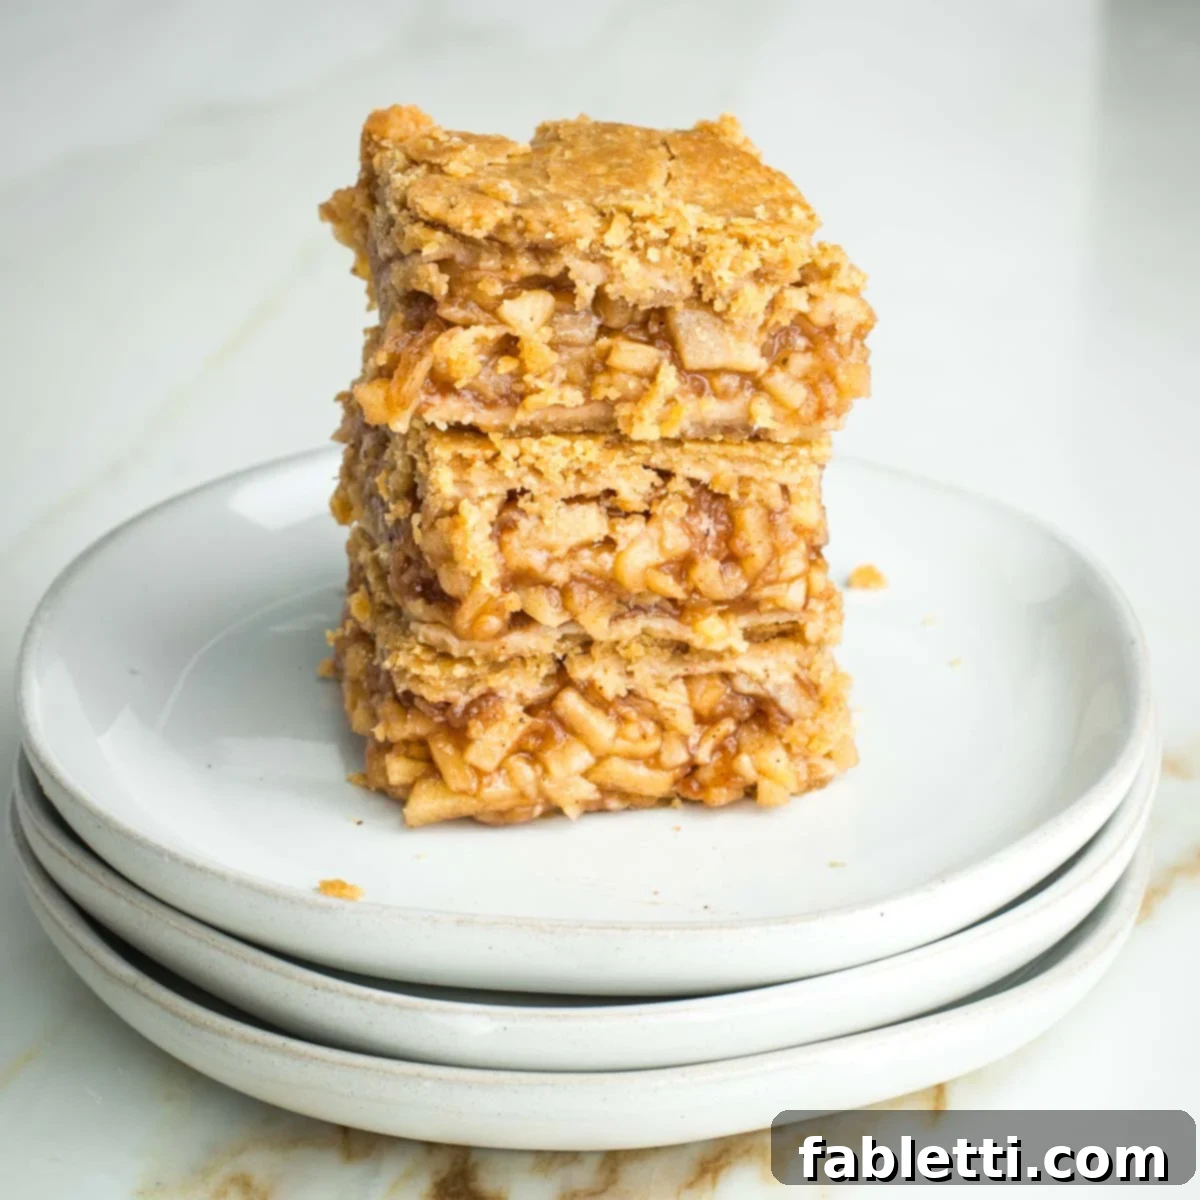
Imagine tender, sweet apple pieces nestled in a rich, spiced, jam-like sauce, all baked between layers of a perfectly flaky, golden-brown vegan pie crust. This isn’t just a dream; it’s a reality with these irresistible vegan apple pie bars. Forget the fuss of traditional pies; these delightful bars offer all the comforting flavors of homemade apple pie in a convenient, make-ahead format. Crafted with ease in mind, the entire recipe comes together in a single bowl, simplifying your baking process. Plus, these bars are a breeze to store and are wonderfully freezer-friendly, making them the perfect dessert for any occasion, from casual weeknight treats to grand holiday gatherings.
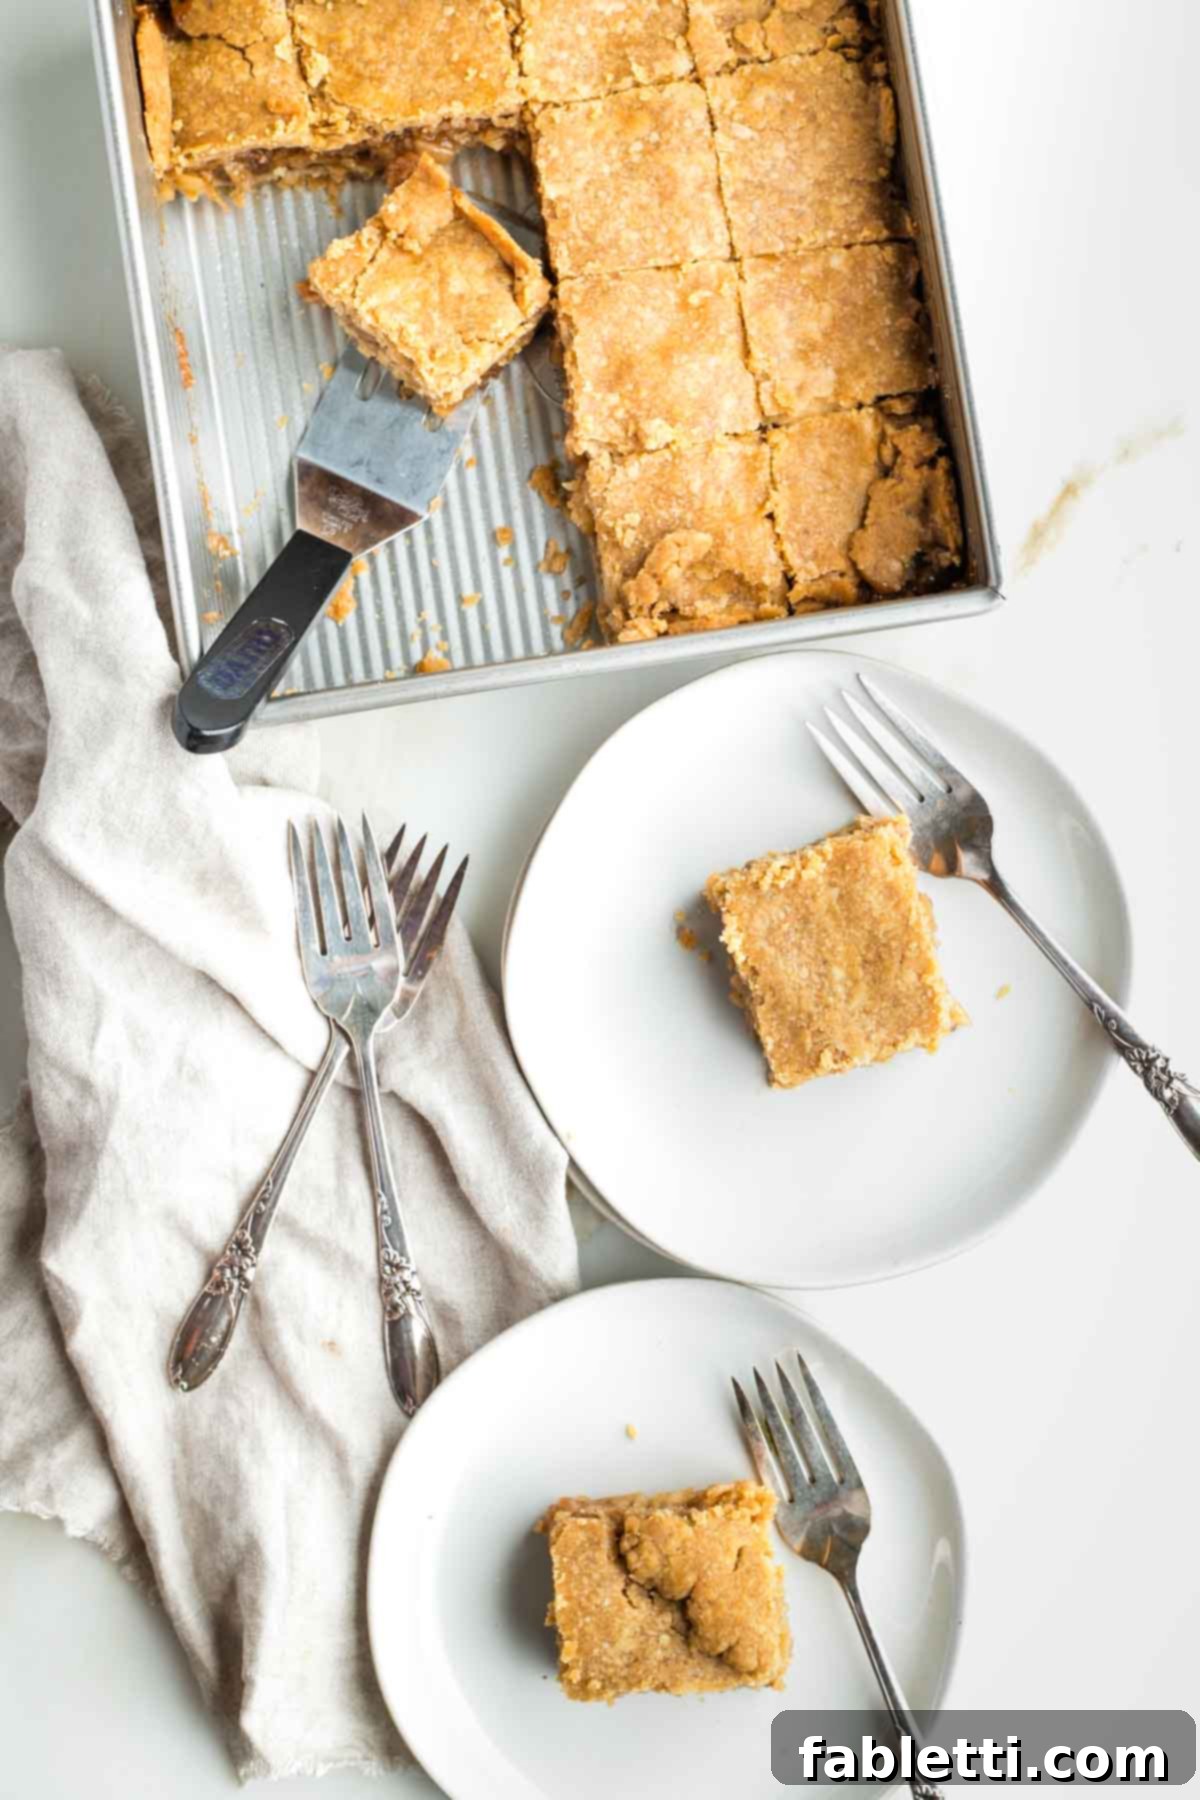
Hosting a dinner party or preparing for a major holiday like Rosh Hashanah, Thanksgiving, or even Sukkot often means a whirlwind of last-minute preparations. Desserts, in particular, can add significant stress. While a traditional apple pie is often best enjoyed fresh out of the oven, these Vegan Apple Pie Bars are a game-changer. They deliver the exact same incredible taste and heartwarming aroma of classic apple pie, but with the added convenience of being a make-ahead treat. This ingenious bar version allows you to prepare them in advance, freeing up valuable time on the day of your event, ensuring you can savor the moments with your loved ones.
My culinary journey has led me to perfect a vegan pie crust that stands apart from those relying on heavily processed butter substitutes. It was a quest for a crust that was both authentic in texture and wholesome in ingredients. Through persistent experimentation, I edged closer with each attempt until, finally, it clicked! The result is a uniquely flaky, subtly sweet crust – the ideal foundation for holding our luscious, jammy apple filling. This crust doesn’t just hold the filling; it complements it beautifully, creating a harmonious balance of textures and tastes.
This dairy-free apple dessert isn’t just a holiday staple; it’s versatile enough for any moment. Whether it’s a special occasion or simply an ordinary Tuesday when you crave something sweet and comforting, these bars fit the bill perfectly. And for those who love all things apple, rest assured, this recipe won’t replace my affection for unsweetened applesauce or healthy baked apples. There are always plenty of apples to go around, and each preparation offers its own unique delight!
Mastering the Flaky Vegan Pie Crust: Ingredient Notes
Creating an exceptional vegan pie crust doesn’t require a long list of obscure ingredients. With just a few pantry staples, you can achieve a wonderfully flaky and tender crust that rivals its traditional butter-laden counterparts. Here’s a closer look at the key components:
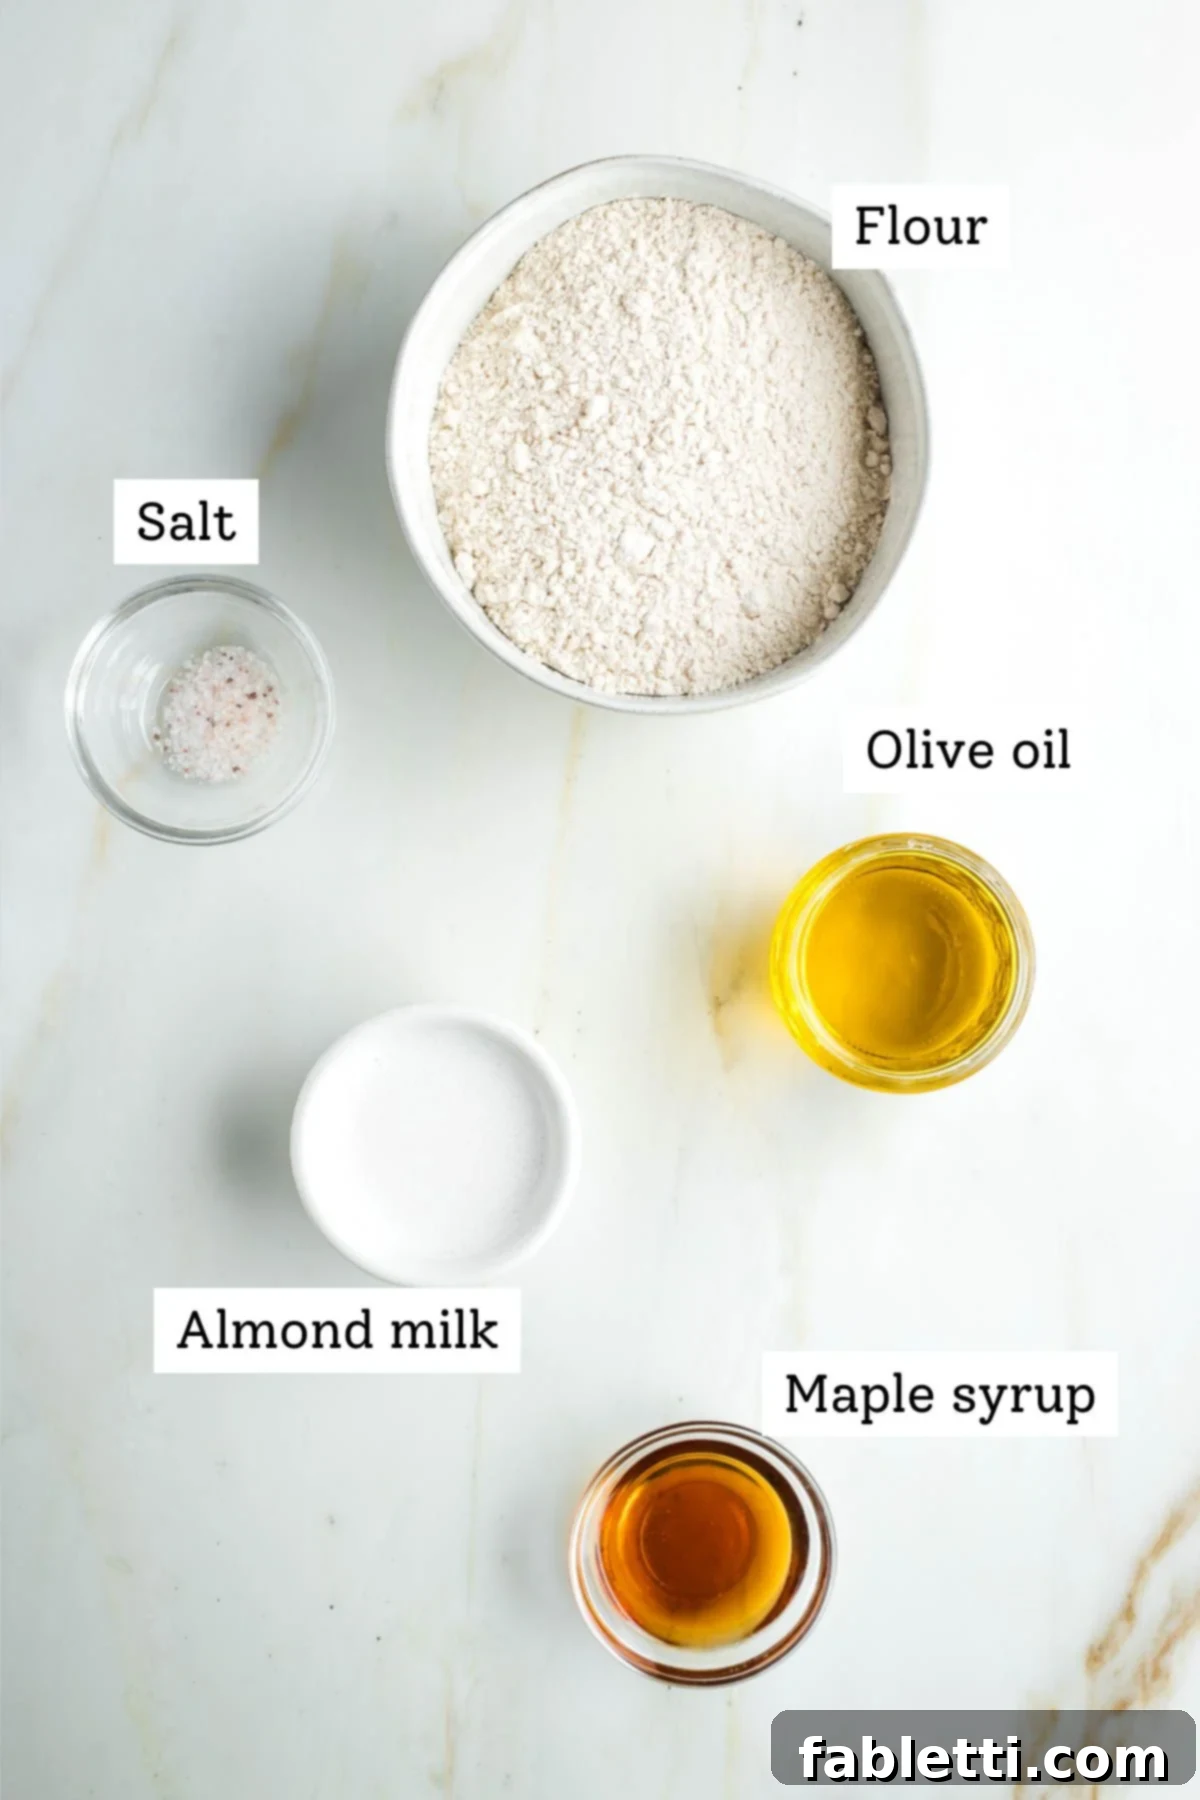
- Flour: The foundation of our crust. I’ve successfully tested this recipe with both nutrient-rich whole grain flour and a versatile gluten-free all-purpose flour blend. Both yielded fantastic results, offering flexibility for various dietary preferences without compromising on texture or taste. The key is to measure accurately and avoid overworking the dough to maintain tenderness.
- Oil: Contrary to conventional wisdom, a superb vegan pie dough can indeed be crafted using extra virgin olive oil. This eliminates the need for heavily processed vegan butter alternatives, offering a healthier and often more accessible option. The olive oil contributes to the crust’s incredible flakiness and a subtle, delightful flavor that complements the apple filling beautifully.
- Milk: For the liquid component, I opted for almond milk, which provides a delicate creaminess and a hint of nutty flavor. If nut allergies are a concern, unsweetened soy milk or any other unsweetened plant-based milk can be substituted effectively, ensuring everyone can enjoy this delicious treat.
- Maple Syrup: A touch of maple syrup adds a subtle sweetness to the crust, balancing the savory notes of the olive oil and salt. It also helps with browning, giving the crust a beautiful golden hue.
- Salt: A pinch of salt is crucial for enhancing the overall flavor profile of the crust. It brings out the subtle sweetness and creates a lovely contrast with the spiced apple filling.
Crafting Your Vegan Pie Crust: A Step-by-Step Guide
Making this vegan pie crust is surprisingly simple, designed for ease and minimal clean-up. Follow these steps to create a perfect, flaky foundation for your apple pie bars.
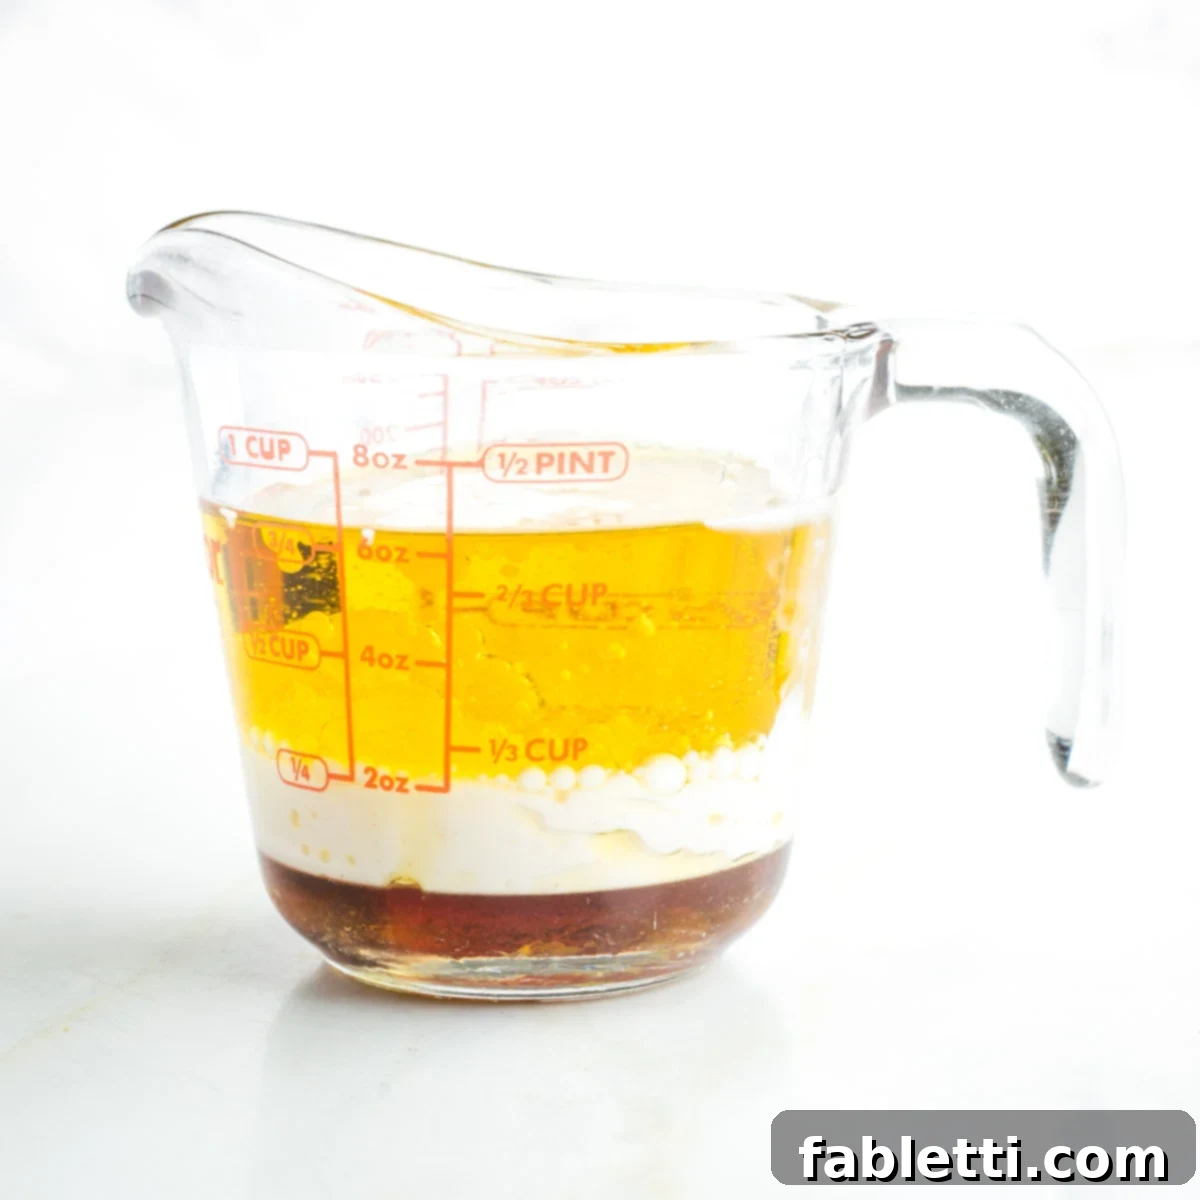
Begin by precisely measuring your liquid ingredients: the extra virgin olive oil, almond milk, and maple syrup. Using a single marked measuring cup for this step streamlines the process and ensures accuracy. Combine them in the cup, ready for the next step.
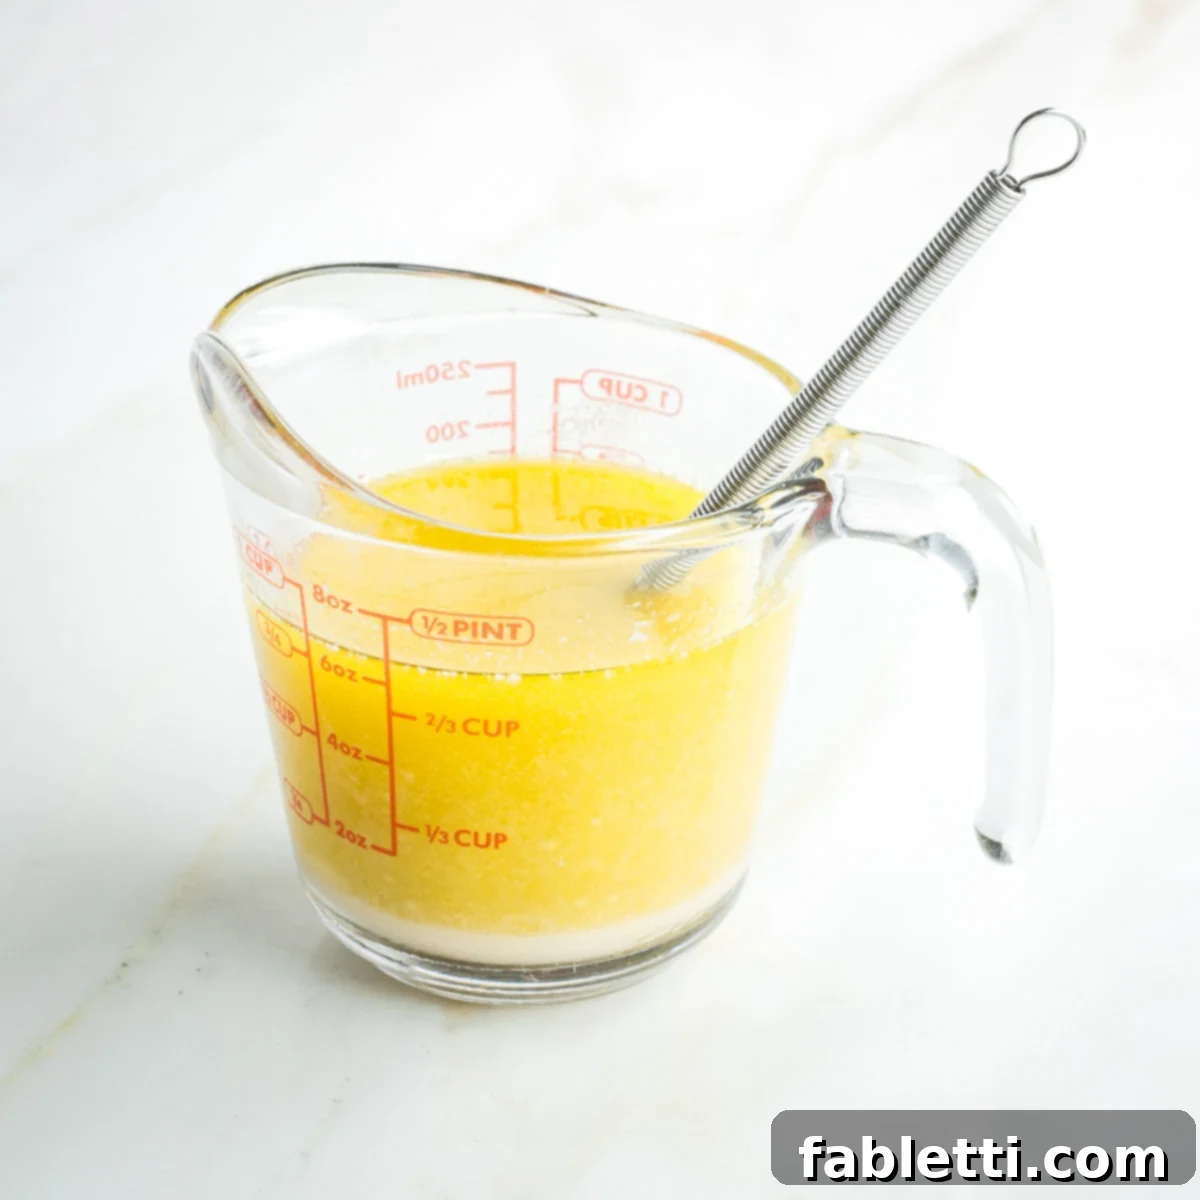
With a fork or a small whisk, vigorously mix the liquid ingredients until they are thoroughly emulsified. This crucial step ensures that the oil and milk are well combined, contributing to the crust’s uniform texture and flakiness.
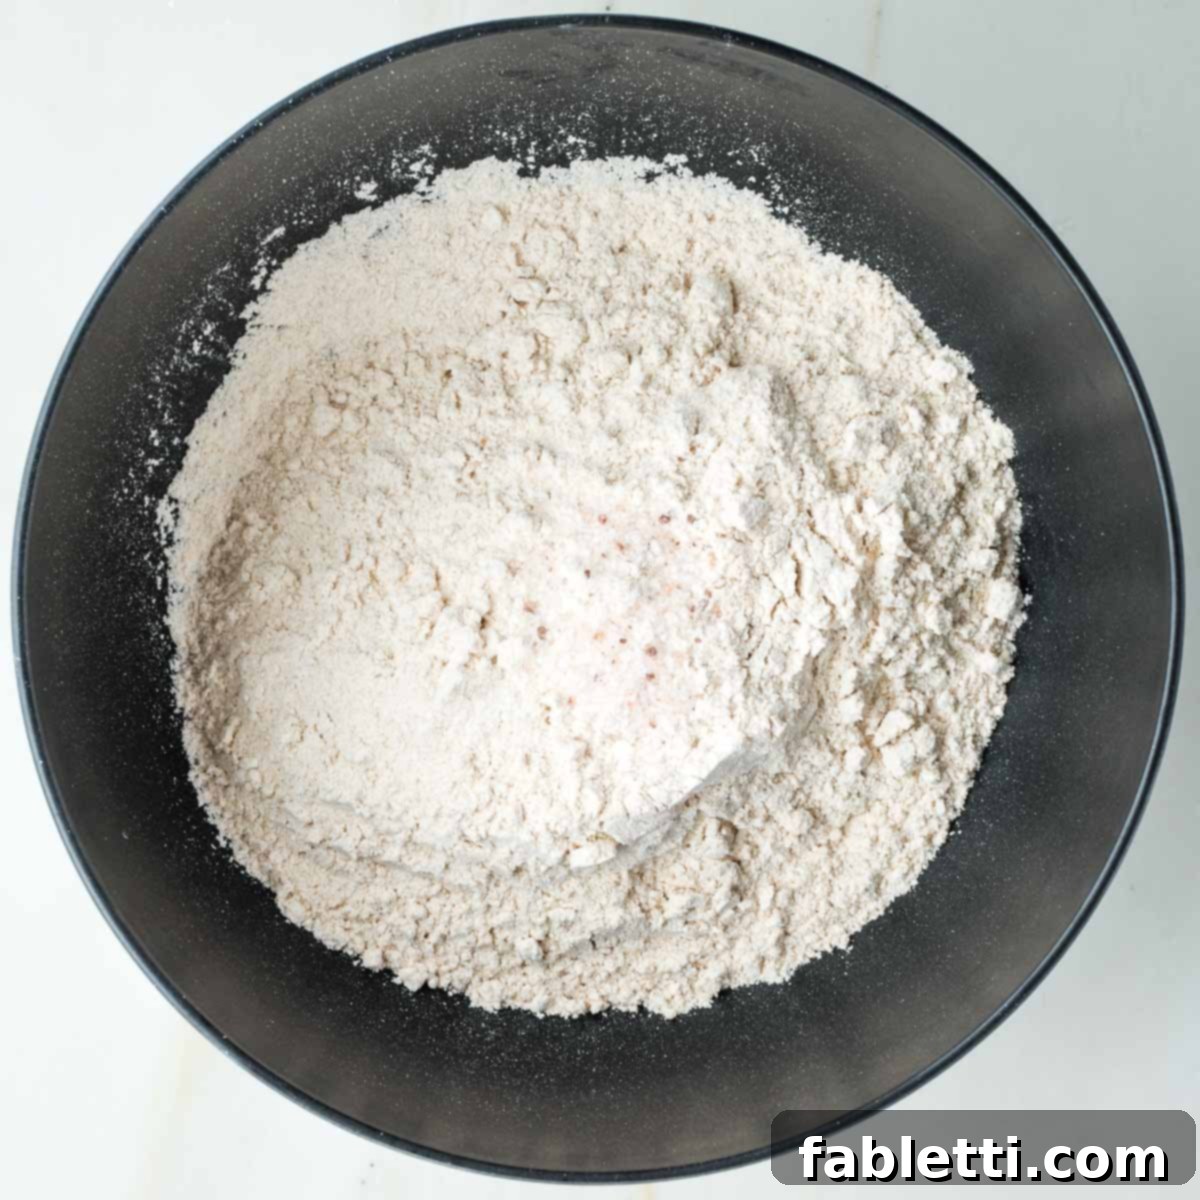
In a separate, larger bowl, combine the flour and salt. Use a fork to aerate them together for about a minute. Gently fluffing the mixture incorporates air, making the dry ingredients lighter and more receptive to the liquids.
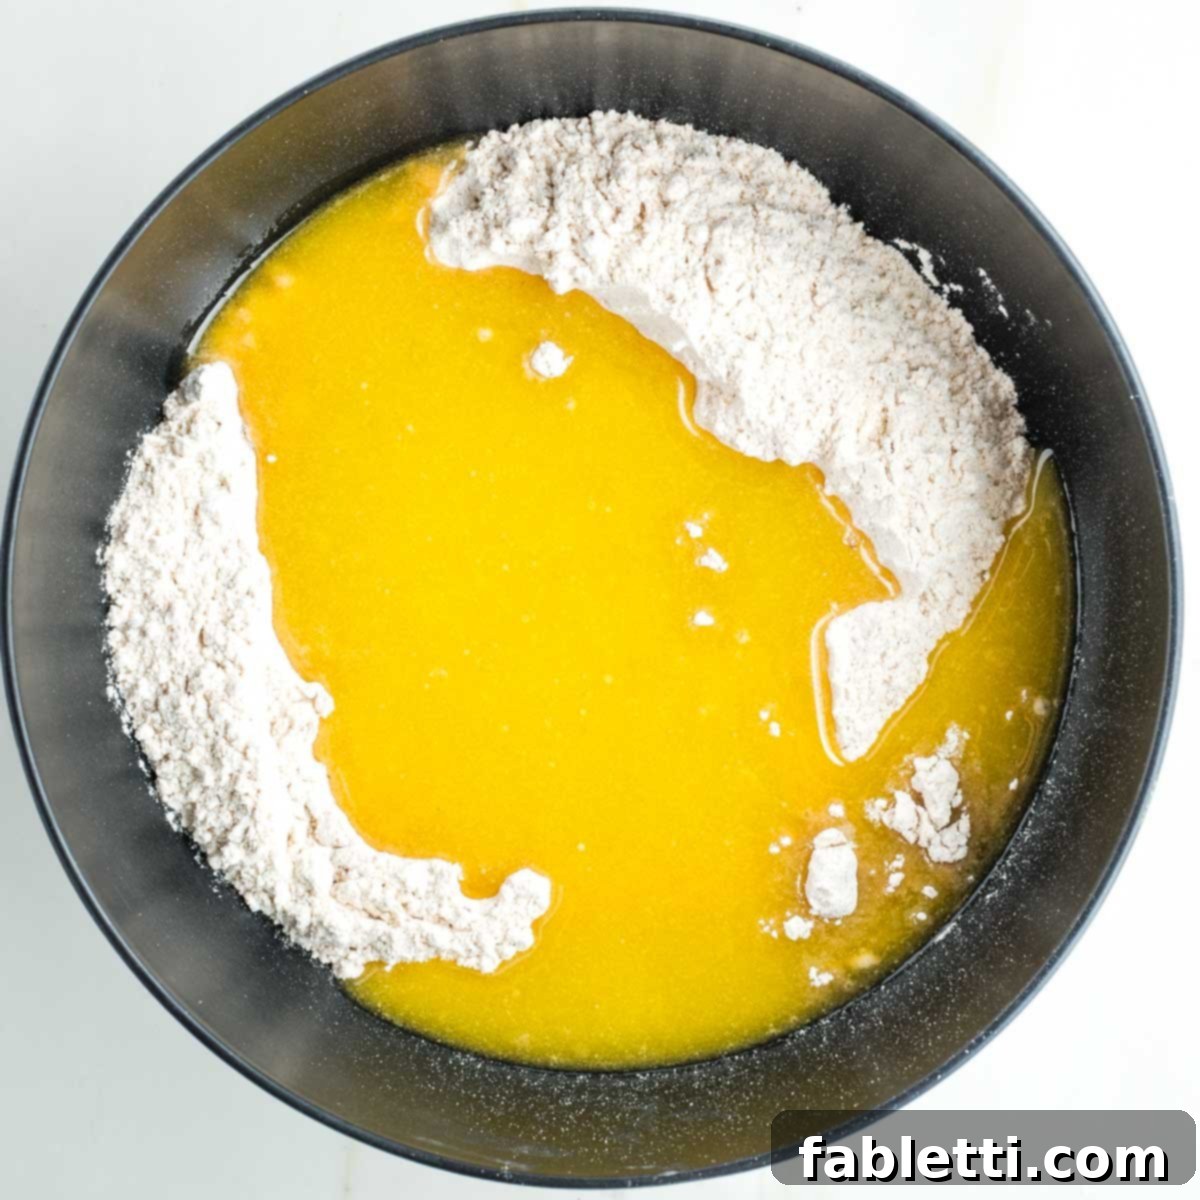
Once the dry ingredients are aerated, pour the emulsified liquid mixture directly onto the flour and salt. Ensure it’s distributed somewhat evenly to facilitate mixing.
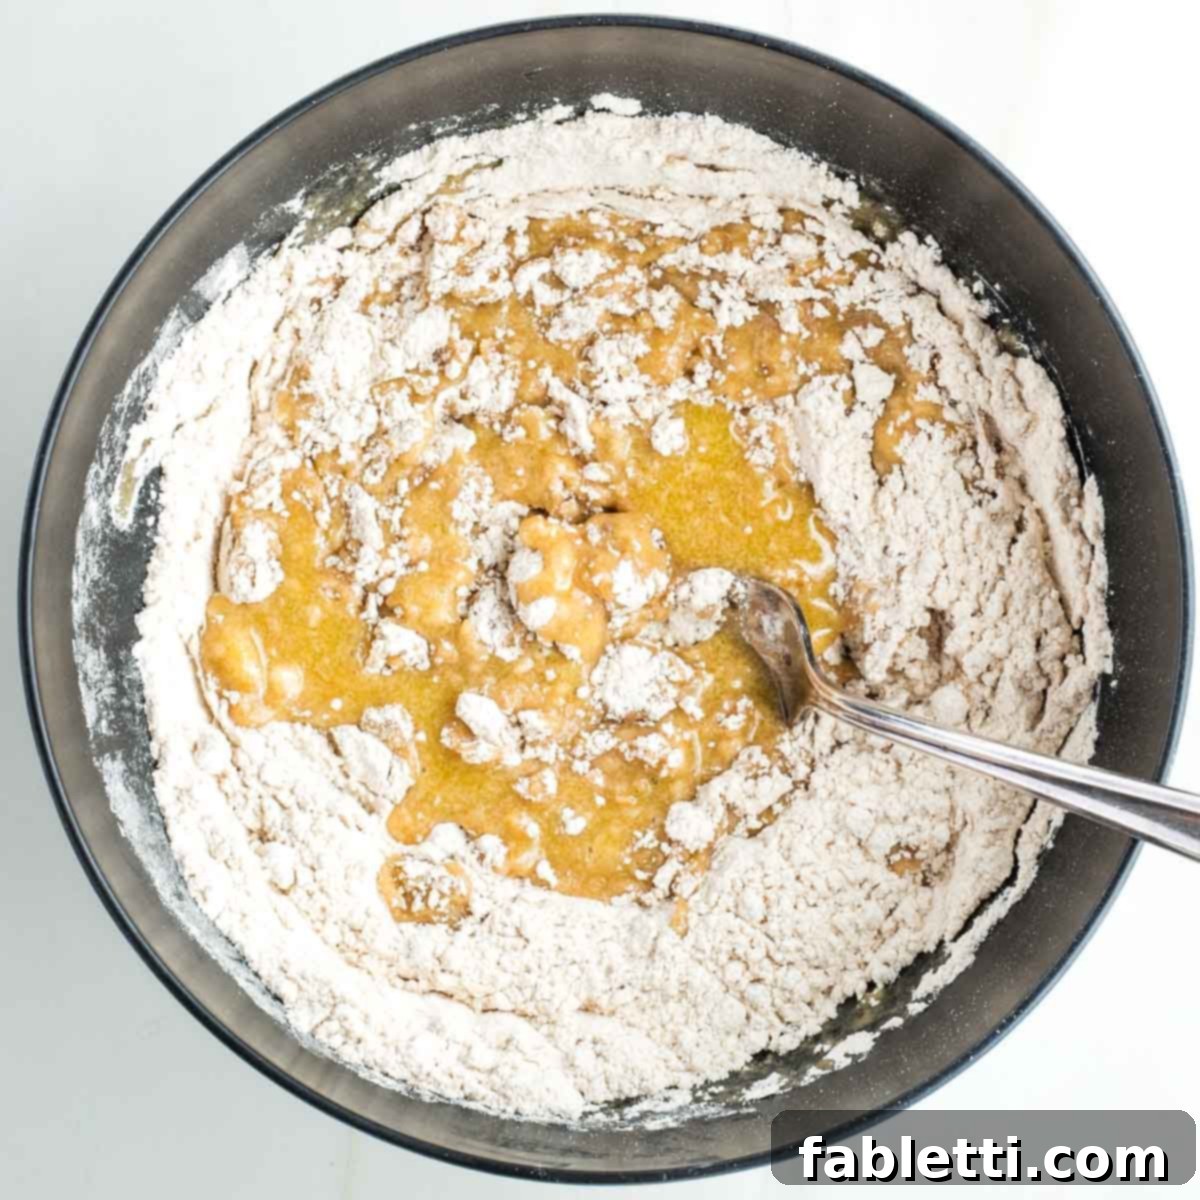
Continue mixing with your fork. At first, the mixture might seem too dry, as if there isn’t enough liquid. Resist the urge to add more liquid; trust the process, as the dough will gradually come together.
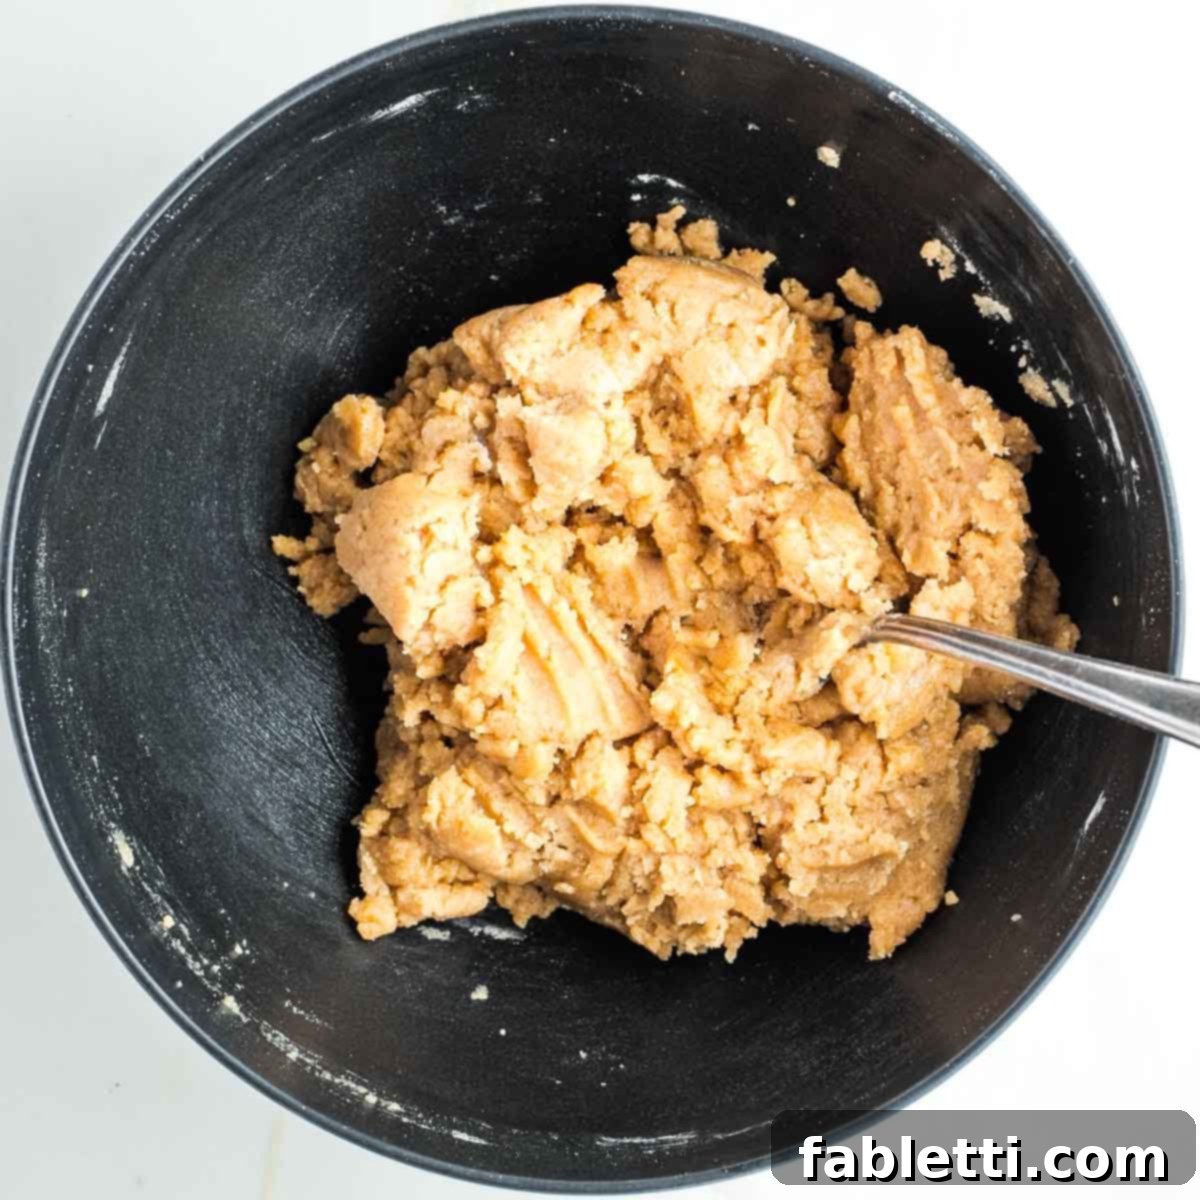
Keep mixing, diligently scraping flour from the bottom and sides of the bowl, until a sticky, shaggy dough forms. It won’t be perfectly smooth at this stage, but it should hold together when pressed.
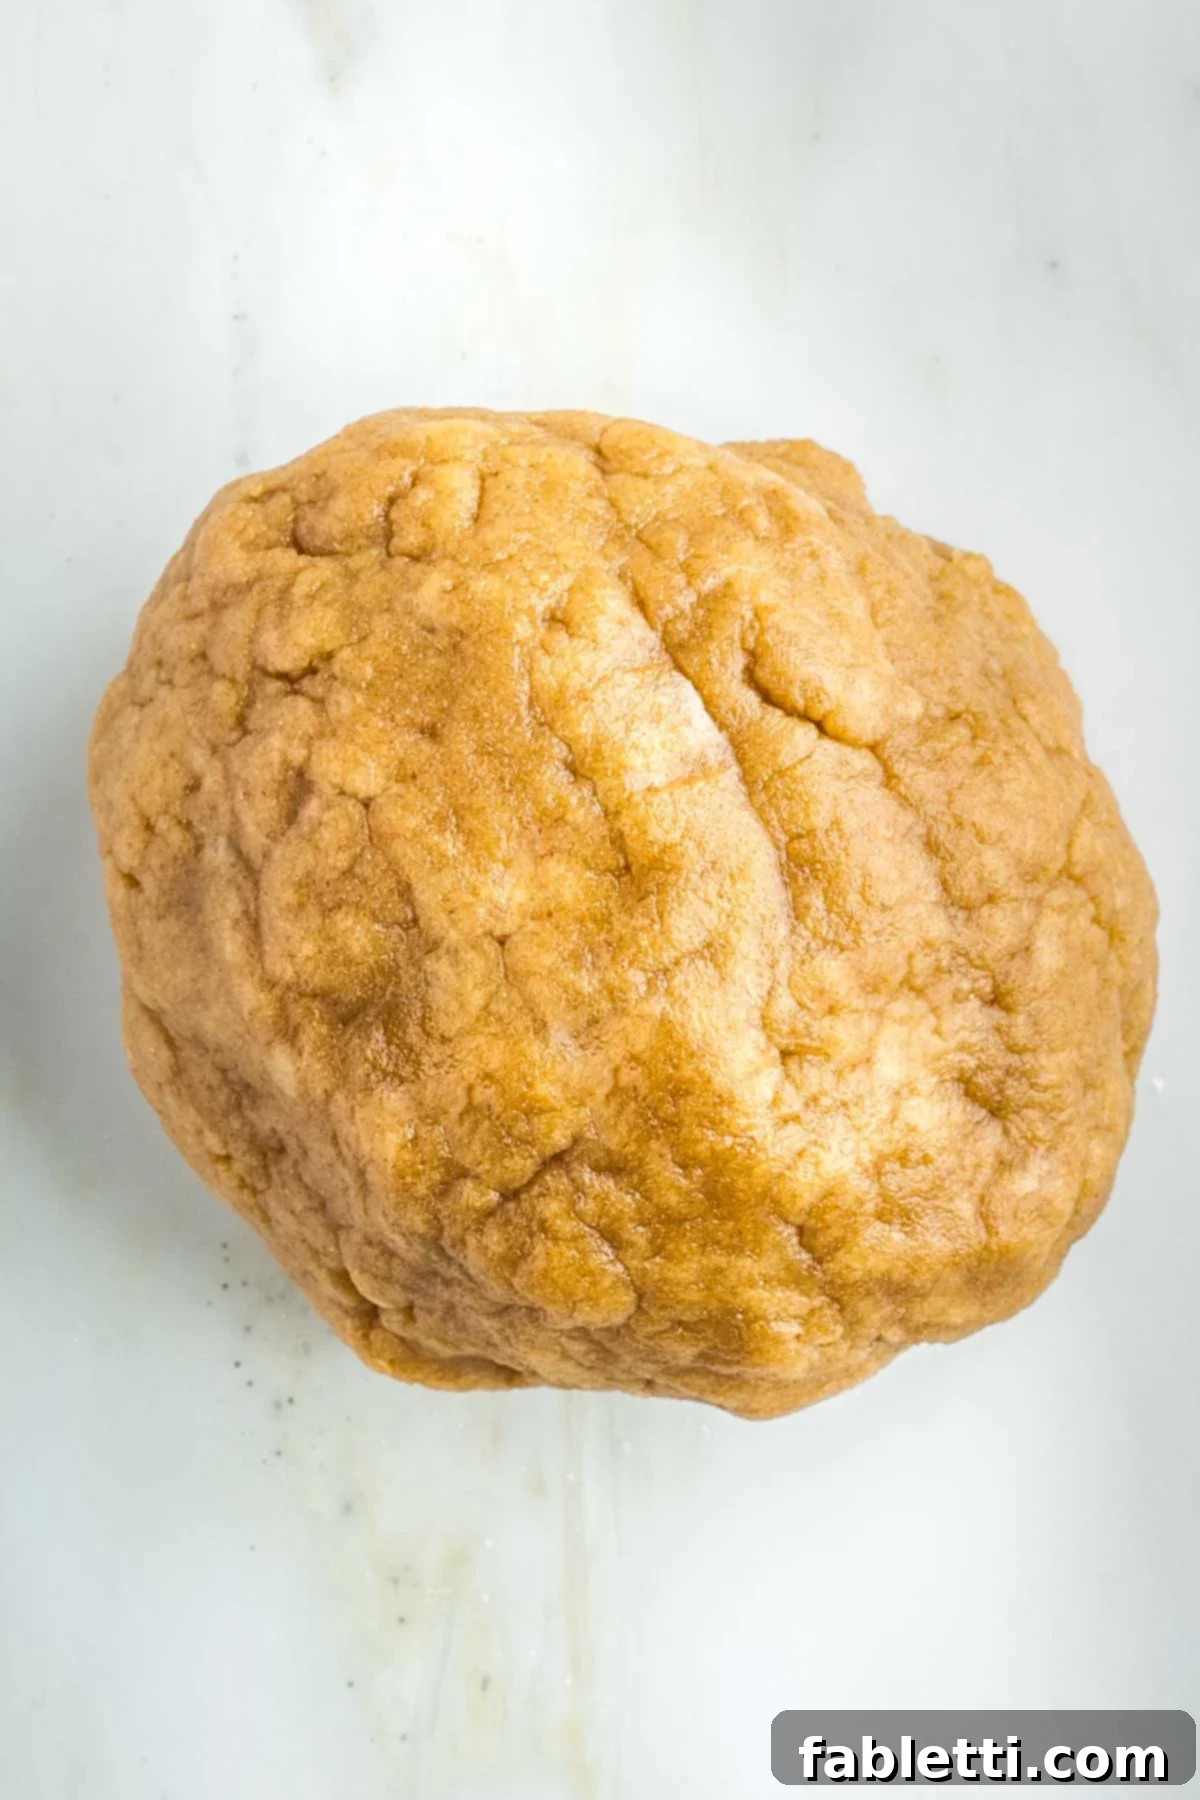
Turn the dough out onto a lightly floured counter. Divide it into two roughly equal pieces. Don’t worry if it’s not perfectly smooth; its slightly rustic texture is part of its charm and flakiness. Pinch a small piece between your fingers to ensure it holds its shape.
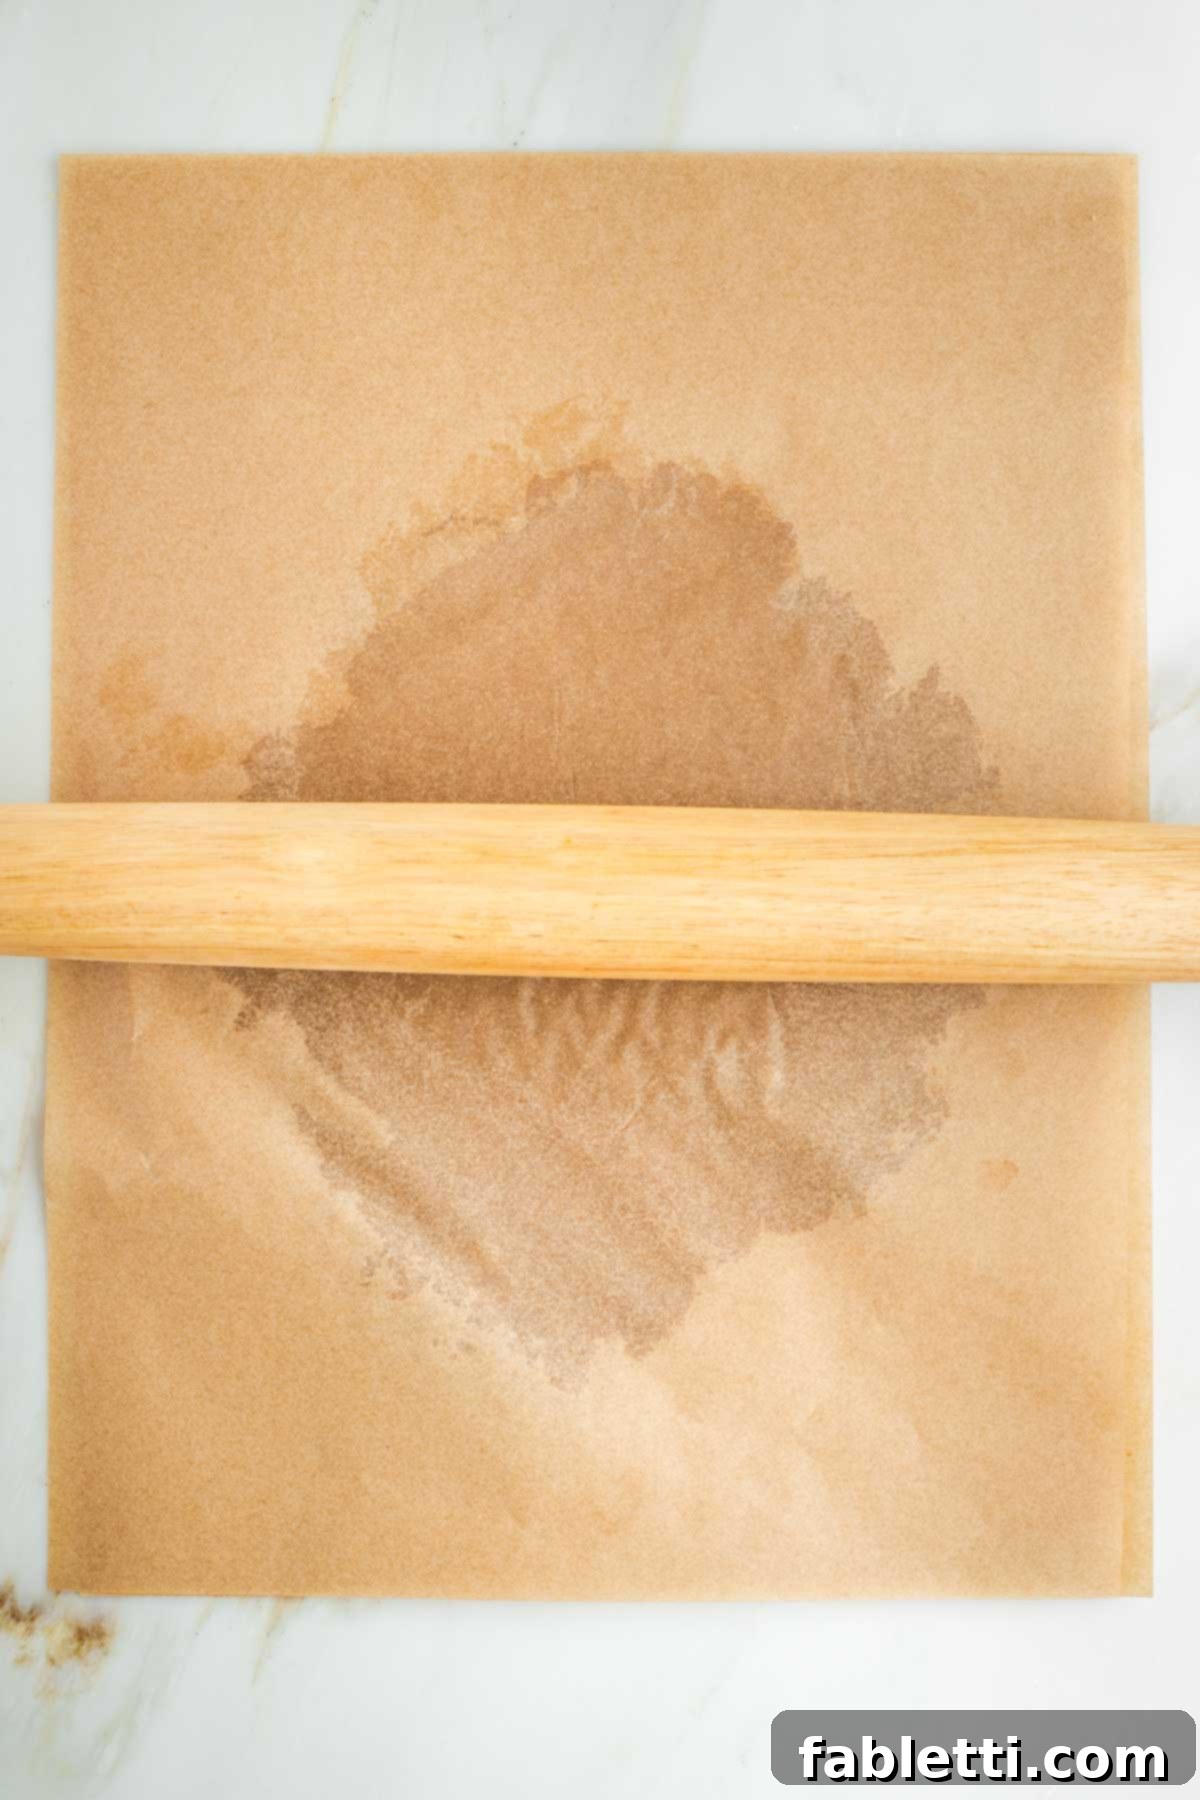
Take one half of the dough and place it between two sheets of parchment paper. Using a rolling pin, roll it out into an approximately 8×8-inch square, or slightly larger, to fit the bottom of your baking pan. Rolling between parchment prevents sticking and makes transfer effortless.
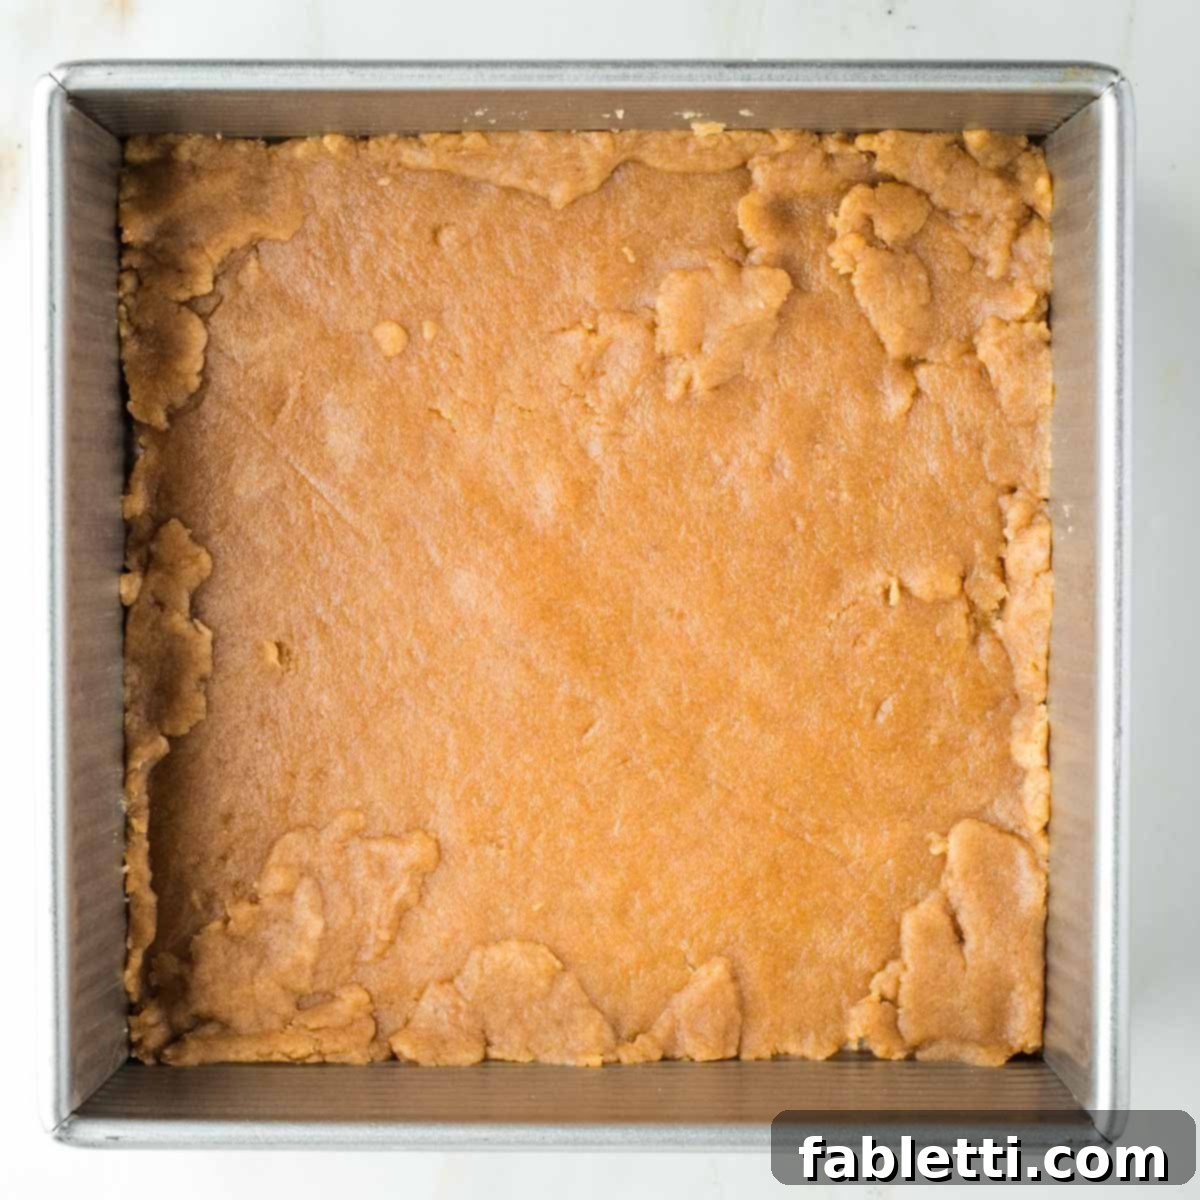
Carefully peel off the top layer of parchment and transfer the rolled-out dough into the bottom of your 8×8-inch pan. If the dough was rolled into a circle, simply patch the corners and edges with small pieces to ensure the entire bottom of the pan is covered. This flexible dough is very forgiving. Roll out the remaining half of the dough in the same manner, keeping it between the parchment sheets. Set it aside; this will be your top crust, and keeping it covered will prevent it from drying out while you prepare the filling.
The Heart of the Bars: Delicious Apple Pie Filling Ingredients
The filling is where the magic truly happens, transforming simple apples into a jammy, spiced delight that evokes all the comforting memories of homemade apple pie. The right combination of apples and spices, along with a clever thickener, ensures a perfect consistency that holds up beautifully in bar form.
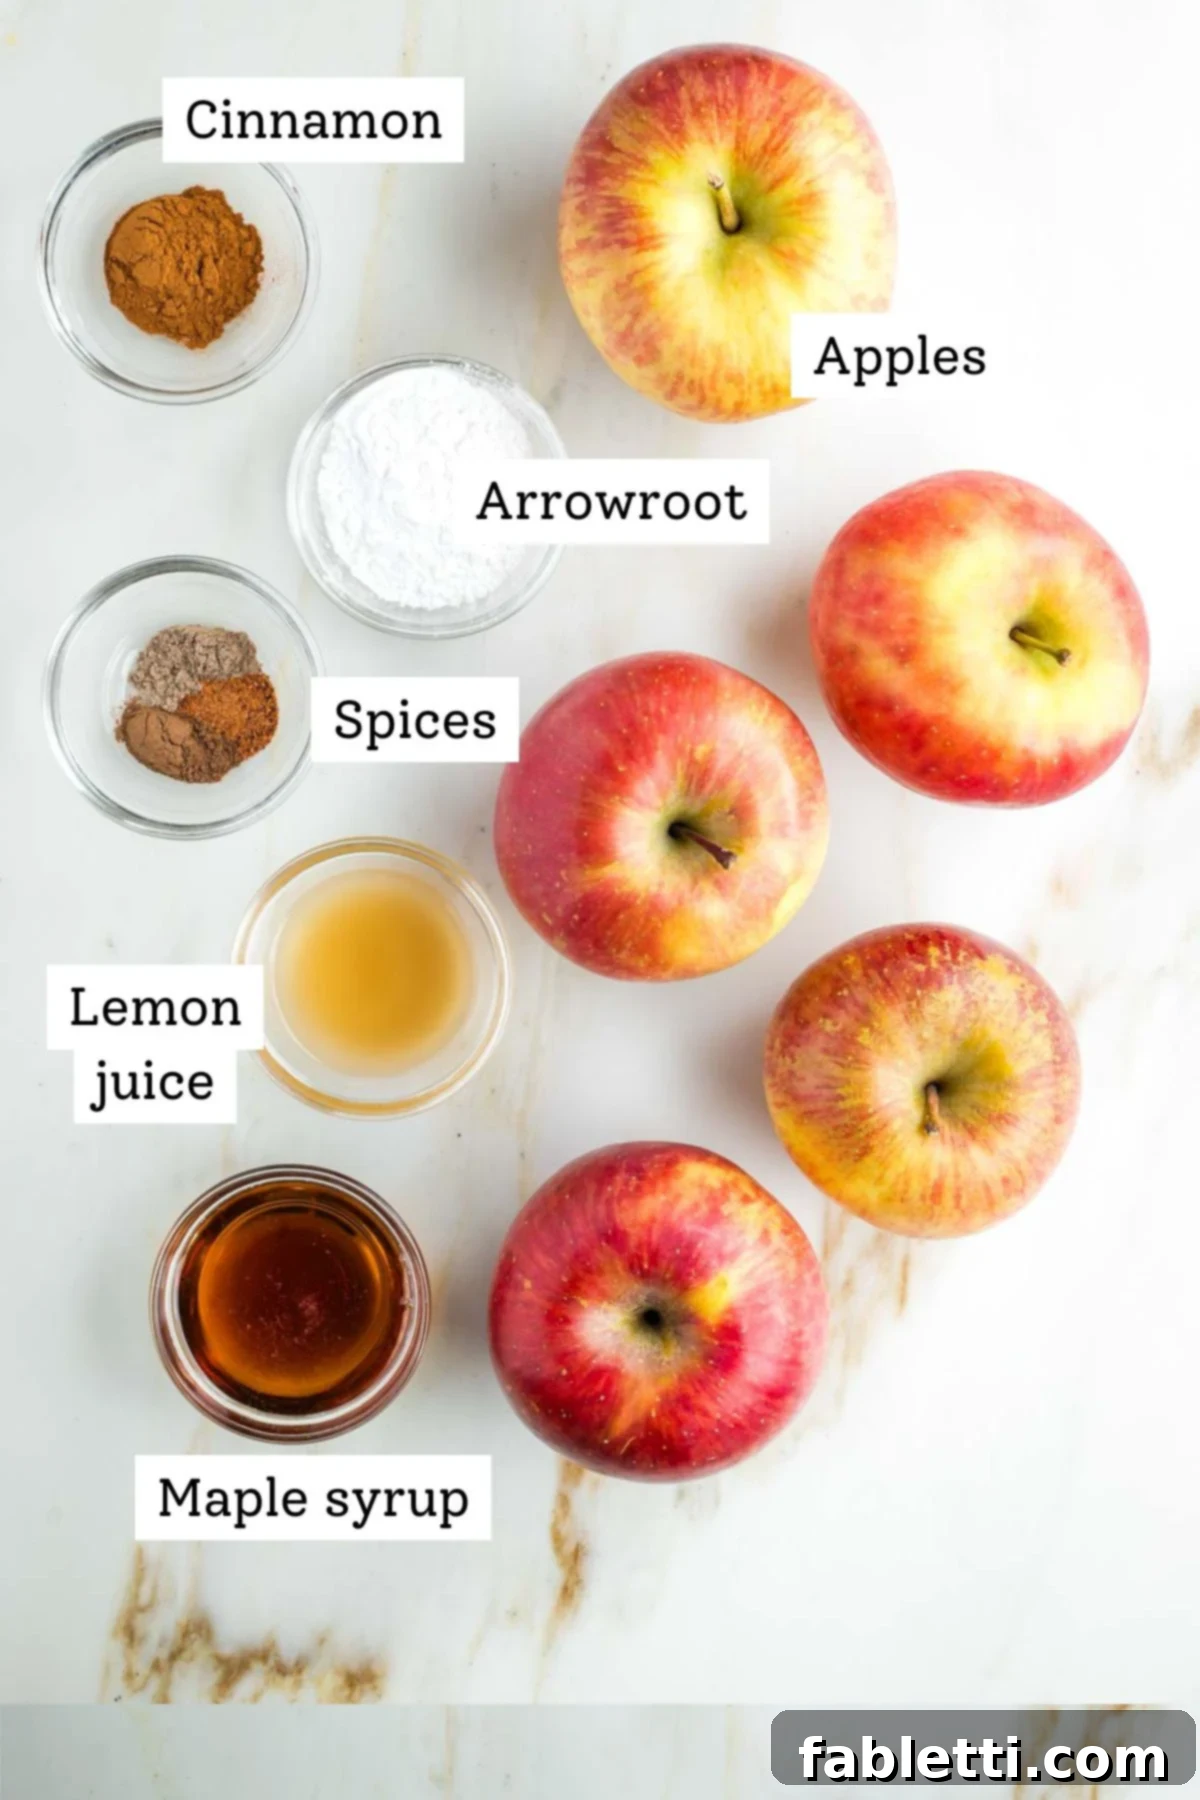
- Apples: For this recipe, I highly recommend using Fuji apples. They strike a wonderful balance, holding their shape well during baking while still softening to a delightful, slightly tart consistency. Their natural sweetness and crisp texture make them ideal for baking. However, feel free to use your favorite baking apple – Honeycrisp, Granny Smith (for a tarter profile), Braeburn, or Gala would all be excellent choices. The key is to select apples that maintain some structure when cooked rather than turning completely to mush.
- Arrowroot Powder: This natural thickener is essential for transforming the apple juices into that desirable jammy consistency. It ensures the filling sets beautifully, making these bars easy to pick up and enjoy without a gooey mess. Arrowroot powder is a fantastic alternative to cornstarch, offering easier digestibility, a grain-free profile, and being non-GMO. It creates a glossy, clear filling that truly shines.
- Spices: The heart of any great apple pie is its spice blend. Our combination of cinnamon, nutmeg, allspice, and cardamom creates a symphony of warm, aromatic flavors that perfectly complement the apples. Cinnamon provides classic warmth, nutmeg adds a hint of sweet earthiness, allspice contributes complexity with notes of clove and pepper, and cardamom introduces a fragrant, almost citrusy zest that elevates the entire profile. These spices are non-negotiable for achieving those quintessential apple pie vibes.
- Maple Syrup (for filling): While the apples provide natural sweetness, a touch of maple syrup enhances the overall flavor of the filling, adding depth and richness. It also helps create that jammy texture when combined with the arrowroot.
- Lemon Juice: A splash of fresh lemon juice is vital. It brightens the flavor of the apples, preventing the filling from becoming overly sweet, and more importantly, it helps prevent the peeled and chopped apples from browning while you prepare them.
Preparing the Irresistible Apple Pie Filling
Crafting the filling is a joyous process, filling your kitchen with the aroma of warming spices and fresh apples. This one-bowl method makes it incredibly straightforward.
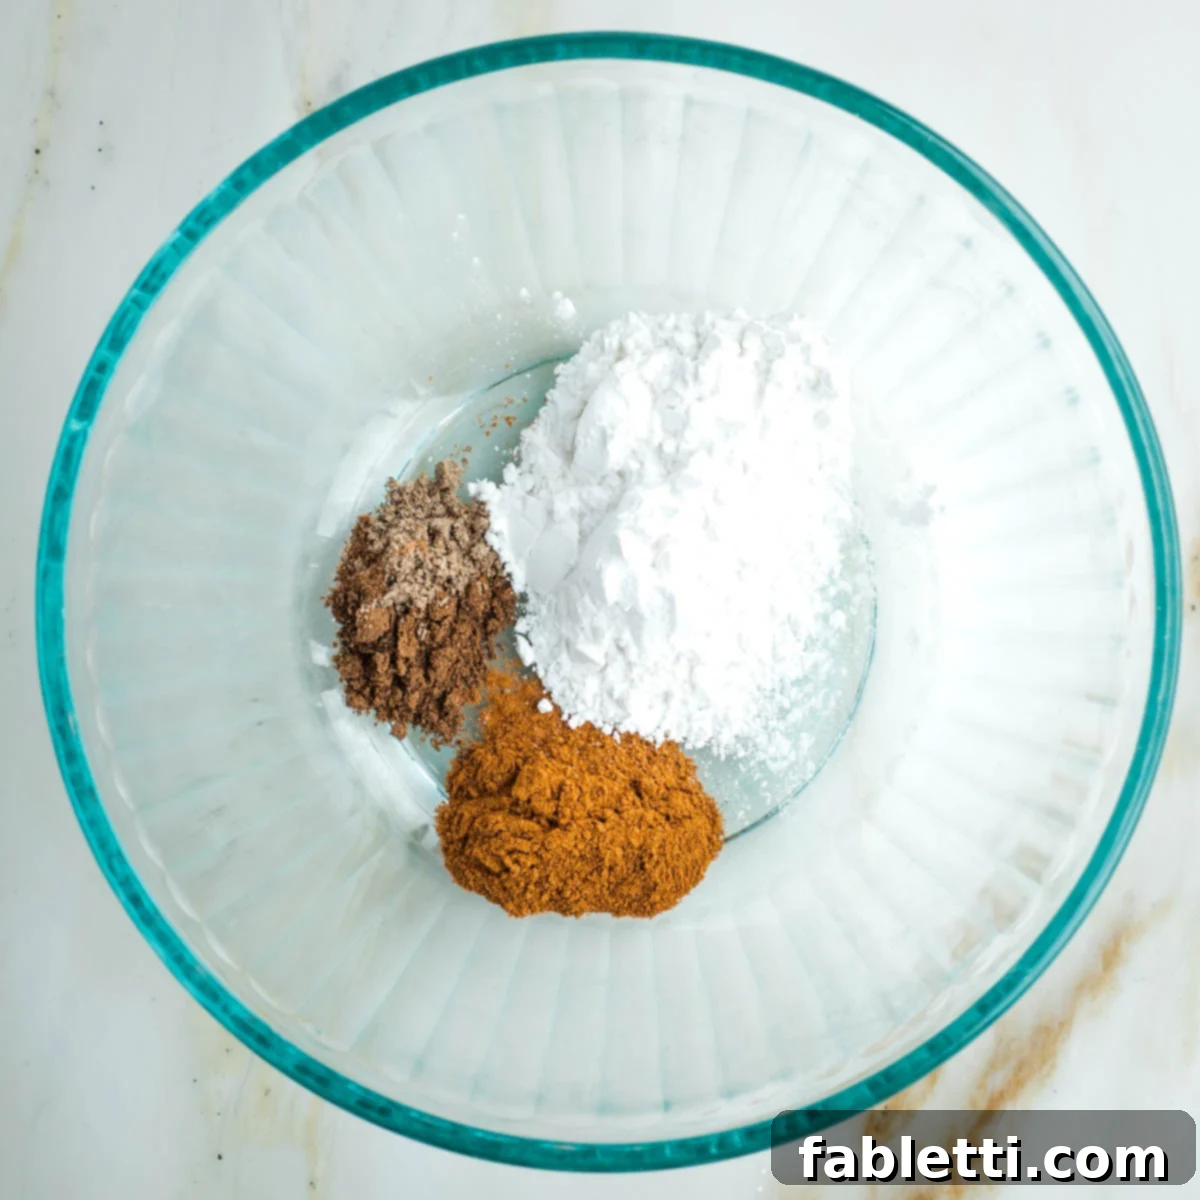
In a medium-sized bowl, combine your dry filling ingredients: arrowroot powder, cinnamon, nutmeg, allspice, and cardamom. Use a spoon or small whisk to thoroughly stir them together, ensuring an even distribution of spices.
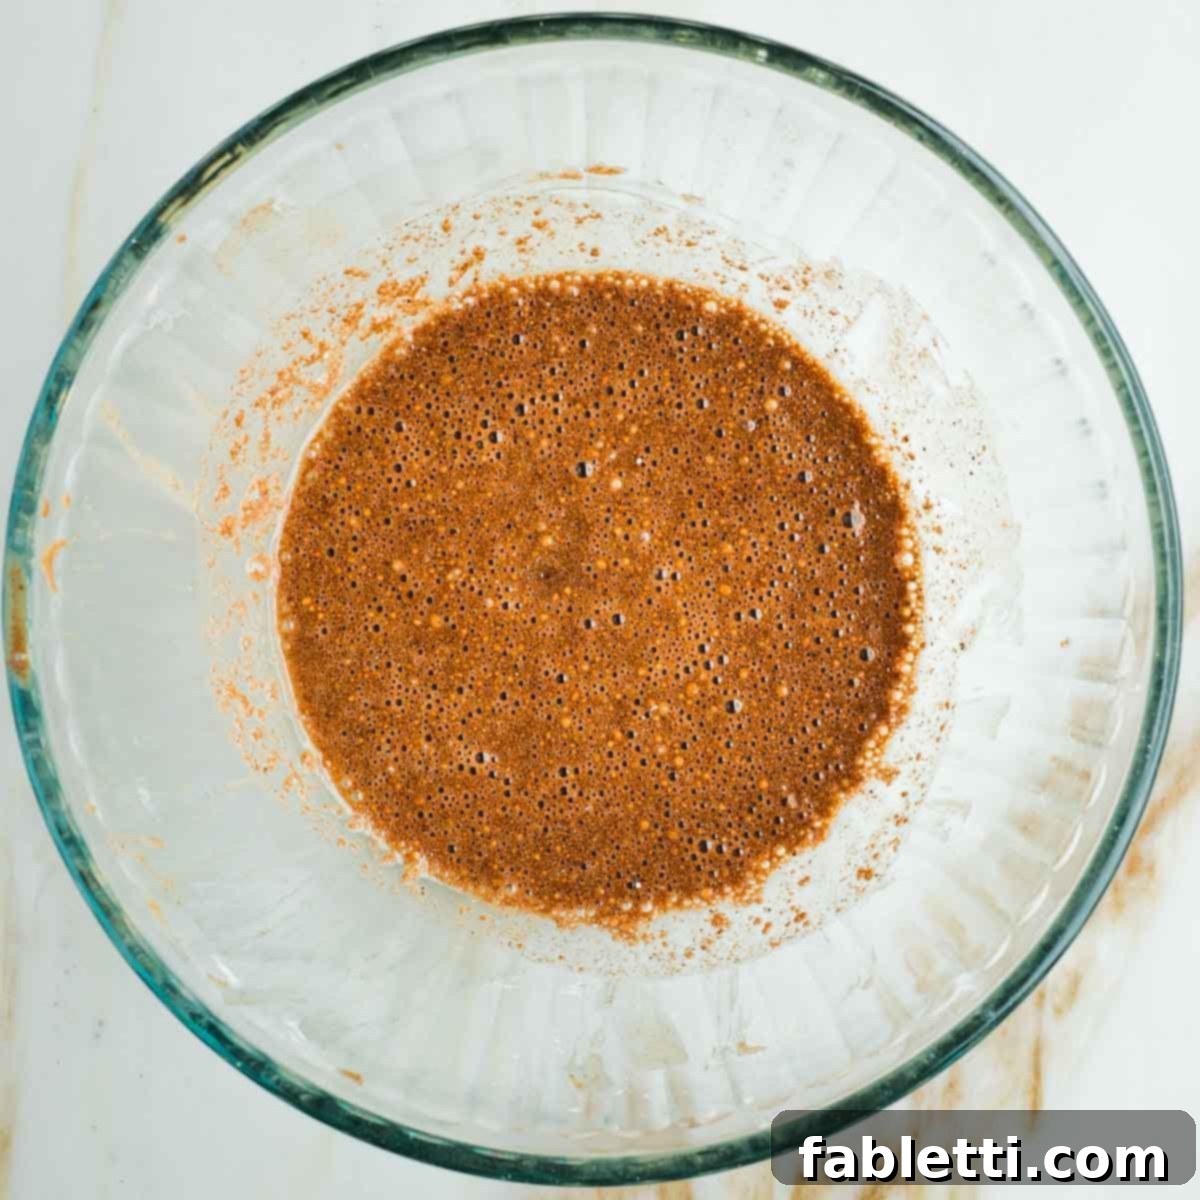
Pour in the maple syrup and lemon juice. Stir continuously until the spices are fully incorporated into the liquid. The arrowroot powder may take a little effort to break down completely, so be patient and keep mixing until the mixture is smooth and lump-free.
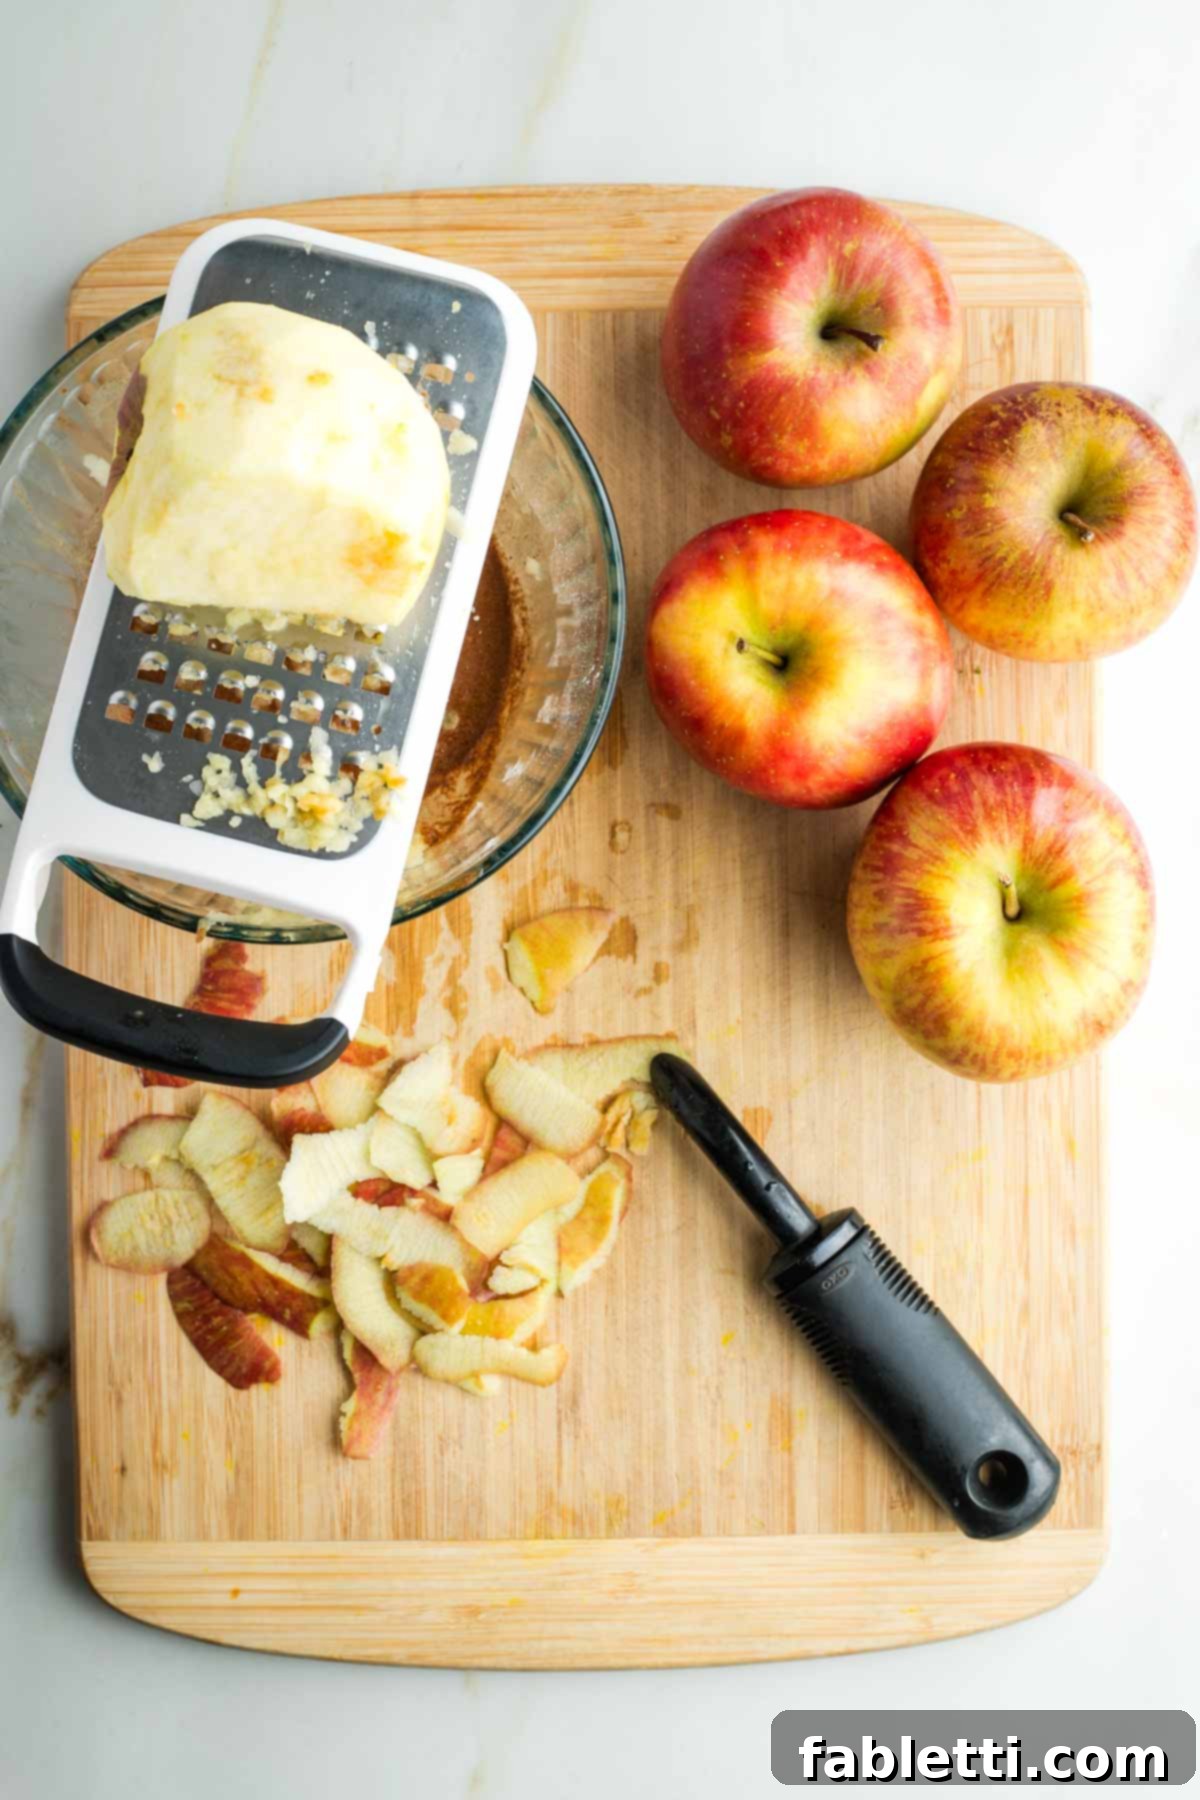
Peel one apple. Using the coarse side of a box grater, grate this apple directly over the bowl containing the liquid spices. Mix well immediately. The grated apple will help absorb and distribute the spice mixture, and the lemon juice will prevent browning.
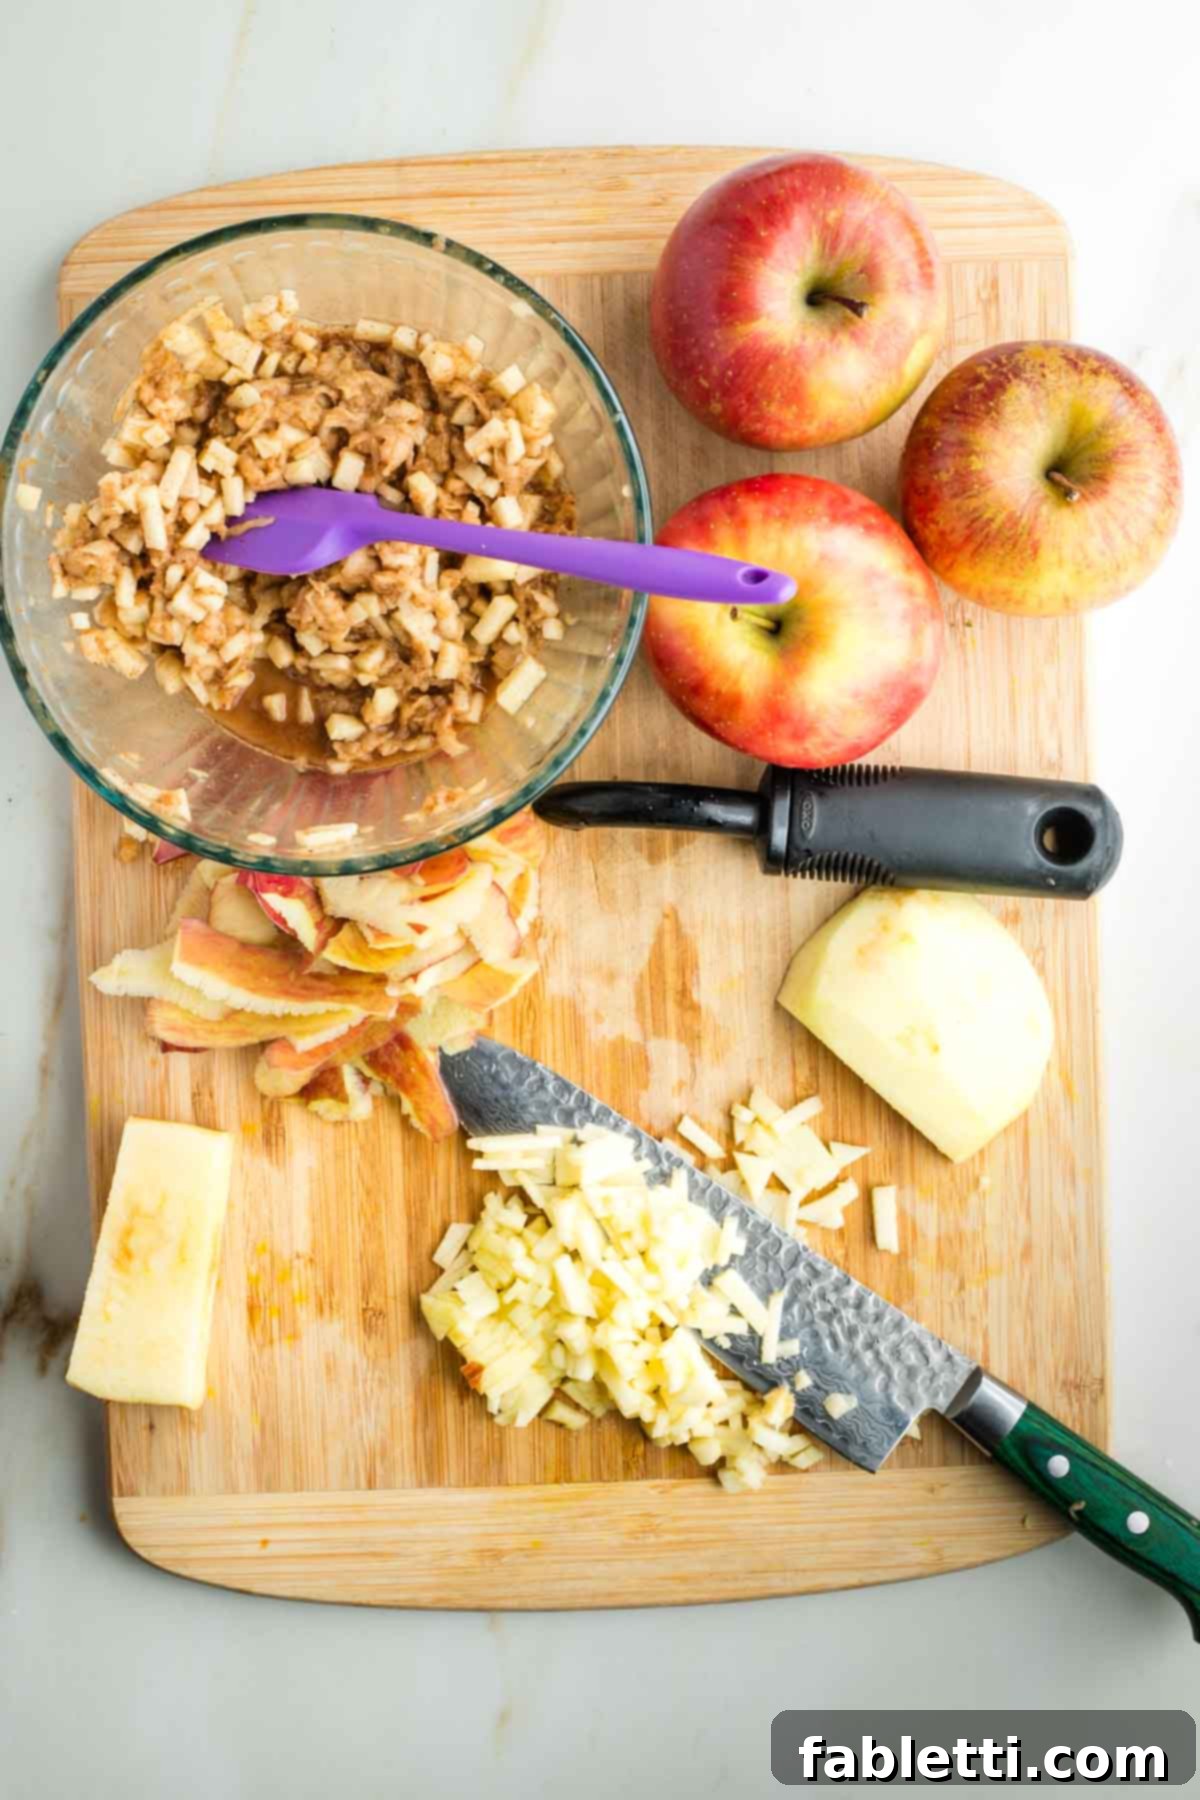
Now, peel and chop the remaining apples into very small, uniform dice. Add them to the bowl with the spice mixture as you go. Stir thoroughly after each addition to ensure all apple pieces are coated and prevent them from oxidizing. Continue this process until all your apples are peeled, diced, and mixed into the fragrant sauce. You should have approximately 6 cups of this vibrant apple mixture.
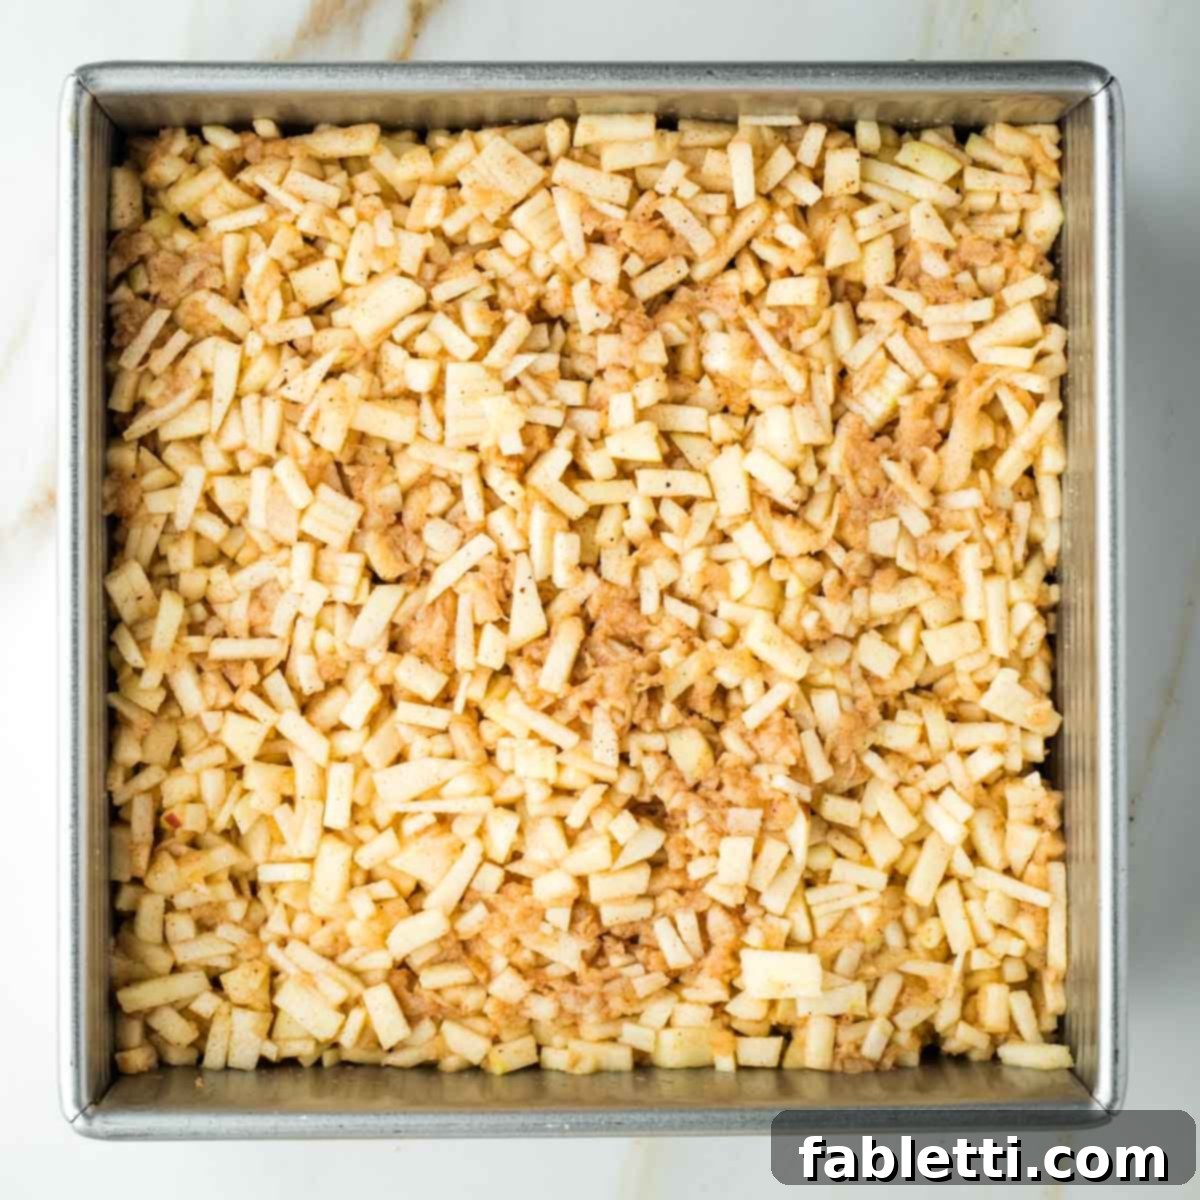
Pour the apple mixture evenly over the bottom crust in your square baking pan. Use a spatula to spread it right into the corners, creating a level layer of apples. If there’s any residual liquid in the bowl, sprinkle it over the apples for extra flavor and moisture.
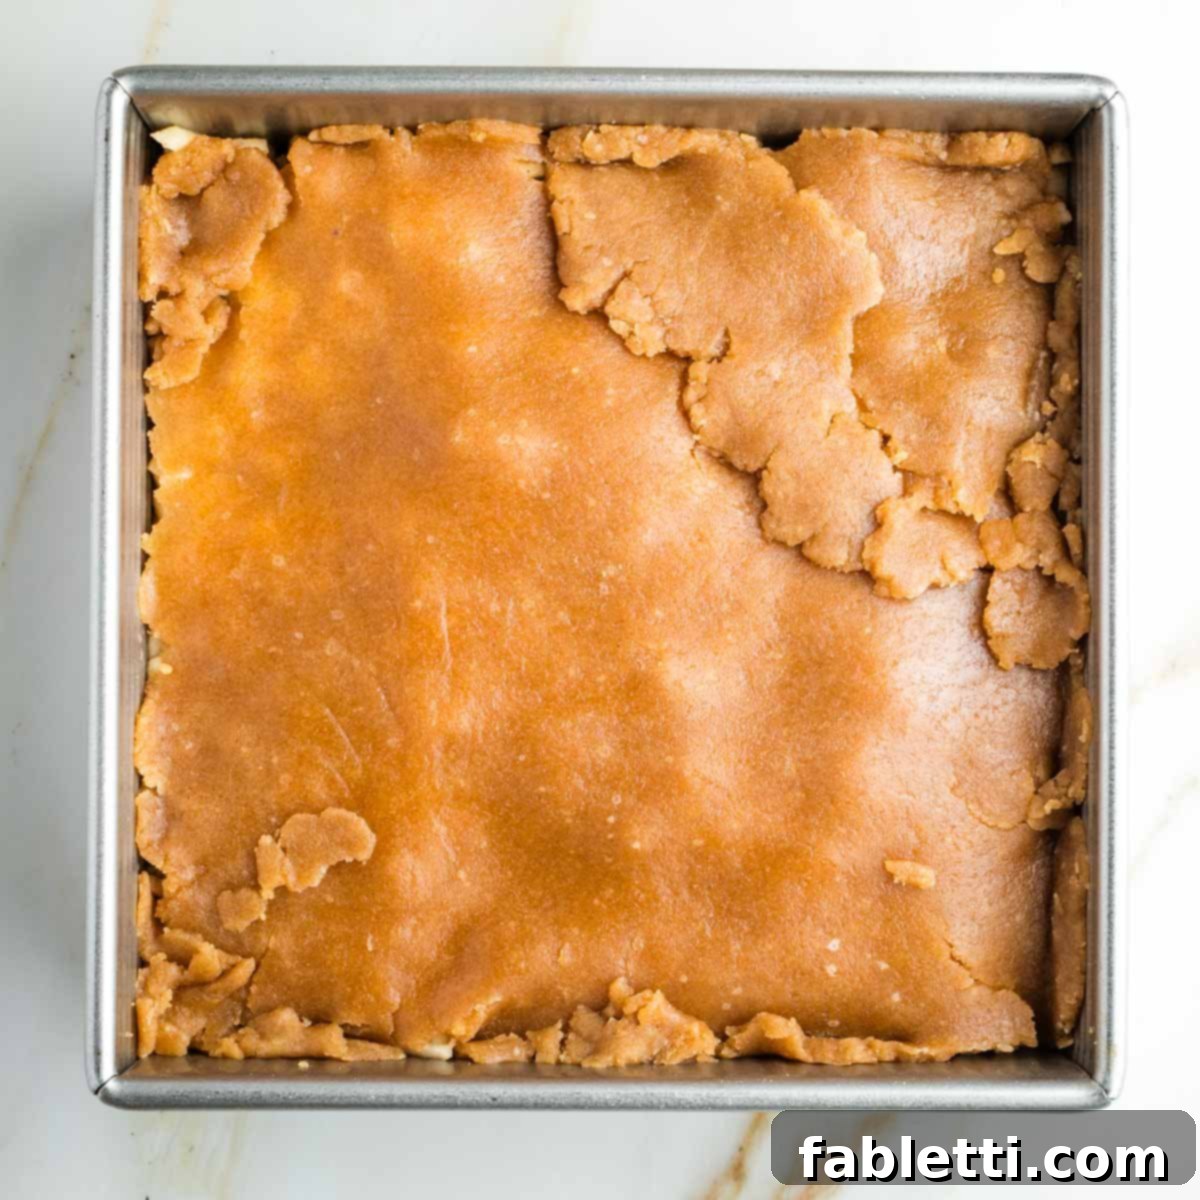
Gently transfer the remaining rolled-out dough (your top crust) onto the apples. It’s perfectly fine if you need to patch pieces together to cover the entire surface. This rustic look adds to the homemade charm. Ensure the top crust covers all the apples without significantly hanging over the pan’s edges.
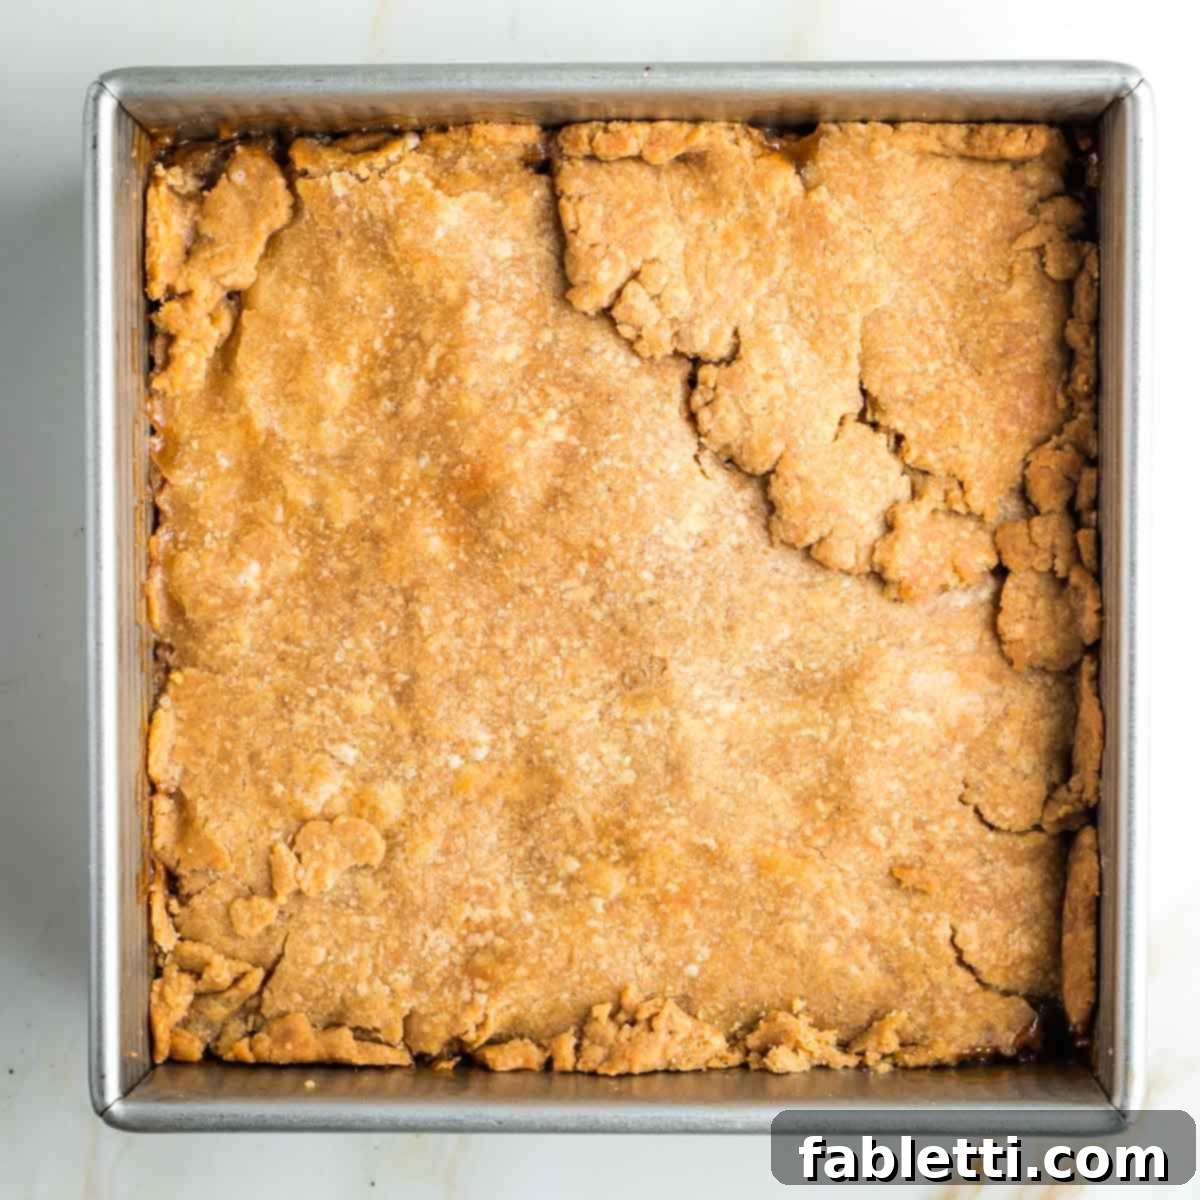
Bake your apple pie bars in a preheated 375-degree Fahrenheit oven for approximately 40 minutes. You’ll know they’re perfectly baked when the apple filling is bubbling enticingly around the edges, and the top crust has achieved a beautiful, rich golden-brown hue. The aroma filling your kitchen will be absolutely divine!
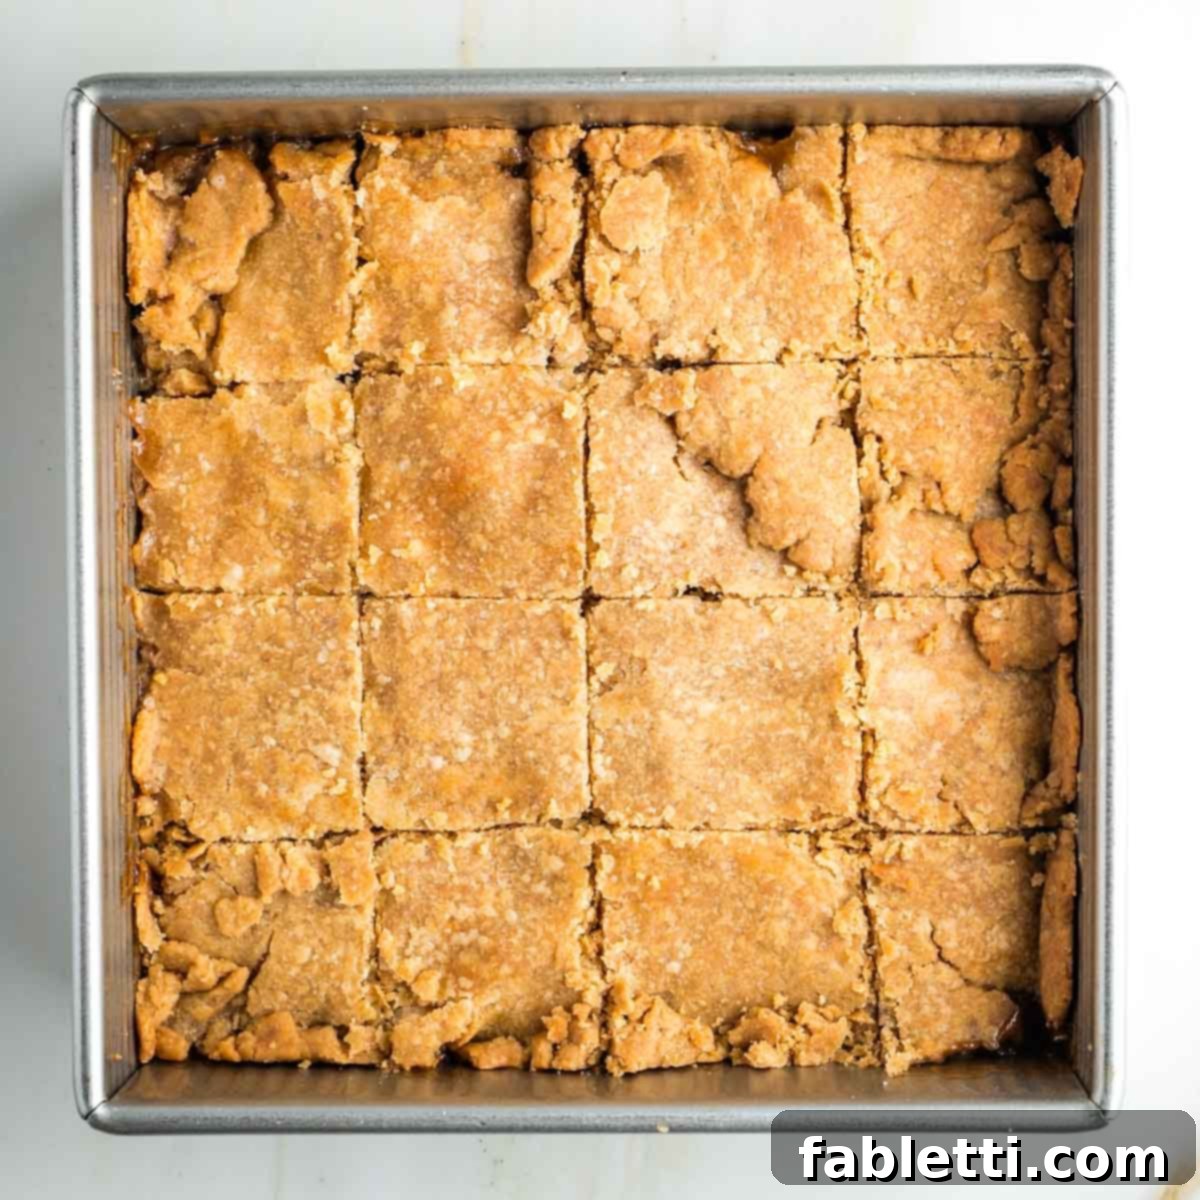
Once baked, allow the bars to cool completely in the pan before cutting. For the cleanest cuts and easiest portioning, I highly recommend placing the entire pan, covered, into the refrigerator for at least an hour, or even overnight. Chilling makes the filling firm up and the crust less prone to crumbling, resulting in perfect squares. Then, simply slice into 16 uniform pieces.
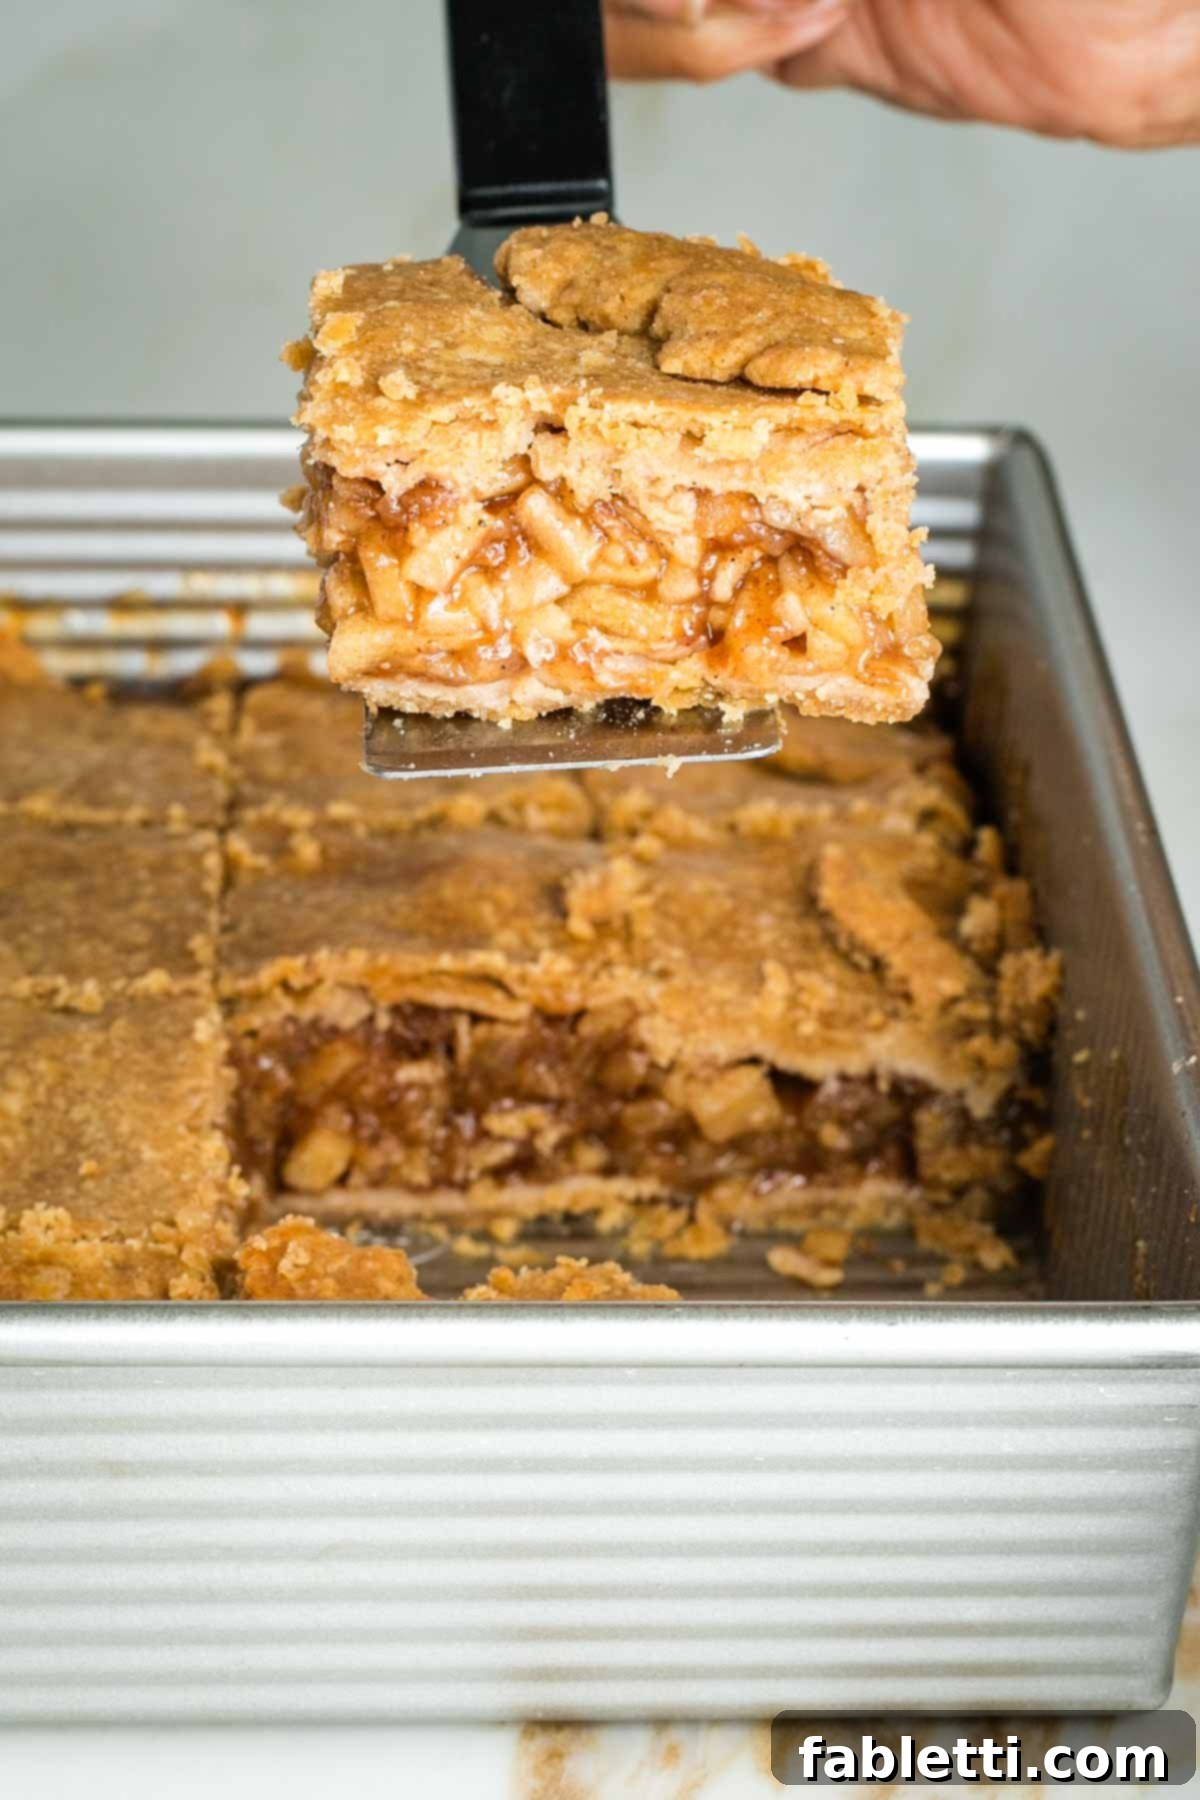
For fresh enjoyment, transfer the cooled and cut apple pie bars to an airtight container. They will keep beautifully in the refrigerator for up to a week, perfect for grabbing a quick treat or serving to unexpected guests.
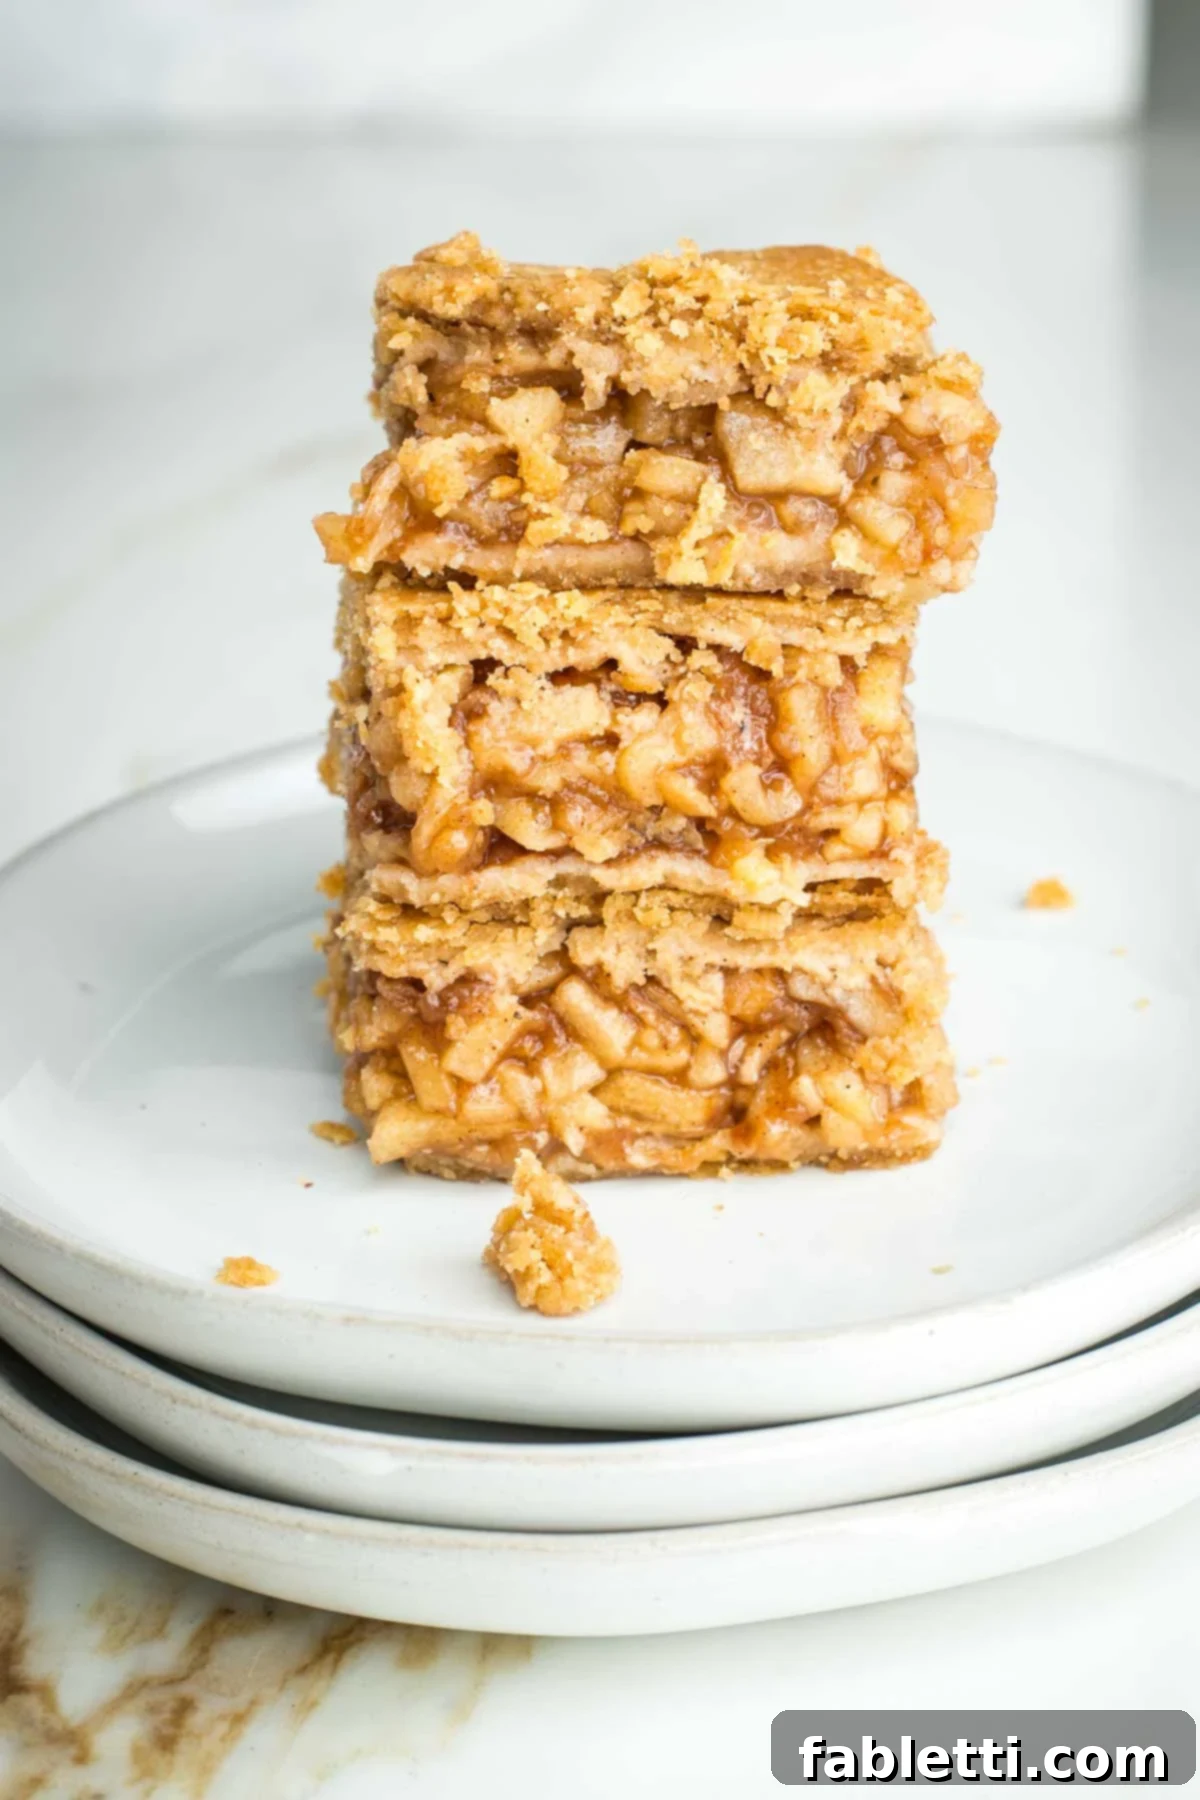
These bars are also excellent for meal prepping or future enjoyment. Place them in a freezer-safe container, with parchment paper between layers to prevent sticking, and freeze for up to 3 months. When you’re ready to indulge, simply thaw them in the refrigerator overnight for the best texture and flavor. You can also gently warm them slightly before serving for a “fresh from the oven” experience.
Debra’s Pro Tips for Perfect Vegan Apple Pie Bars
Even seasoned bakers appreciate a few extra tricks. Here are some of my top tips to ensure your vegan apple pie bars turn out flawlessly every time, making your baking experience even more enjoyable and rewarding.
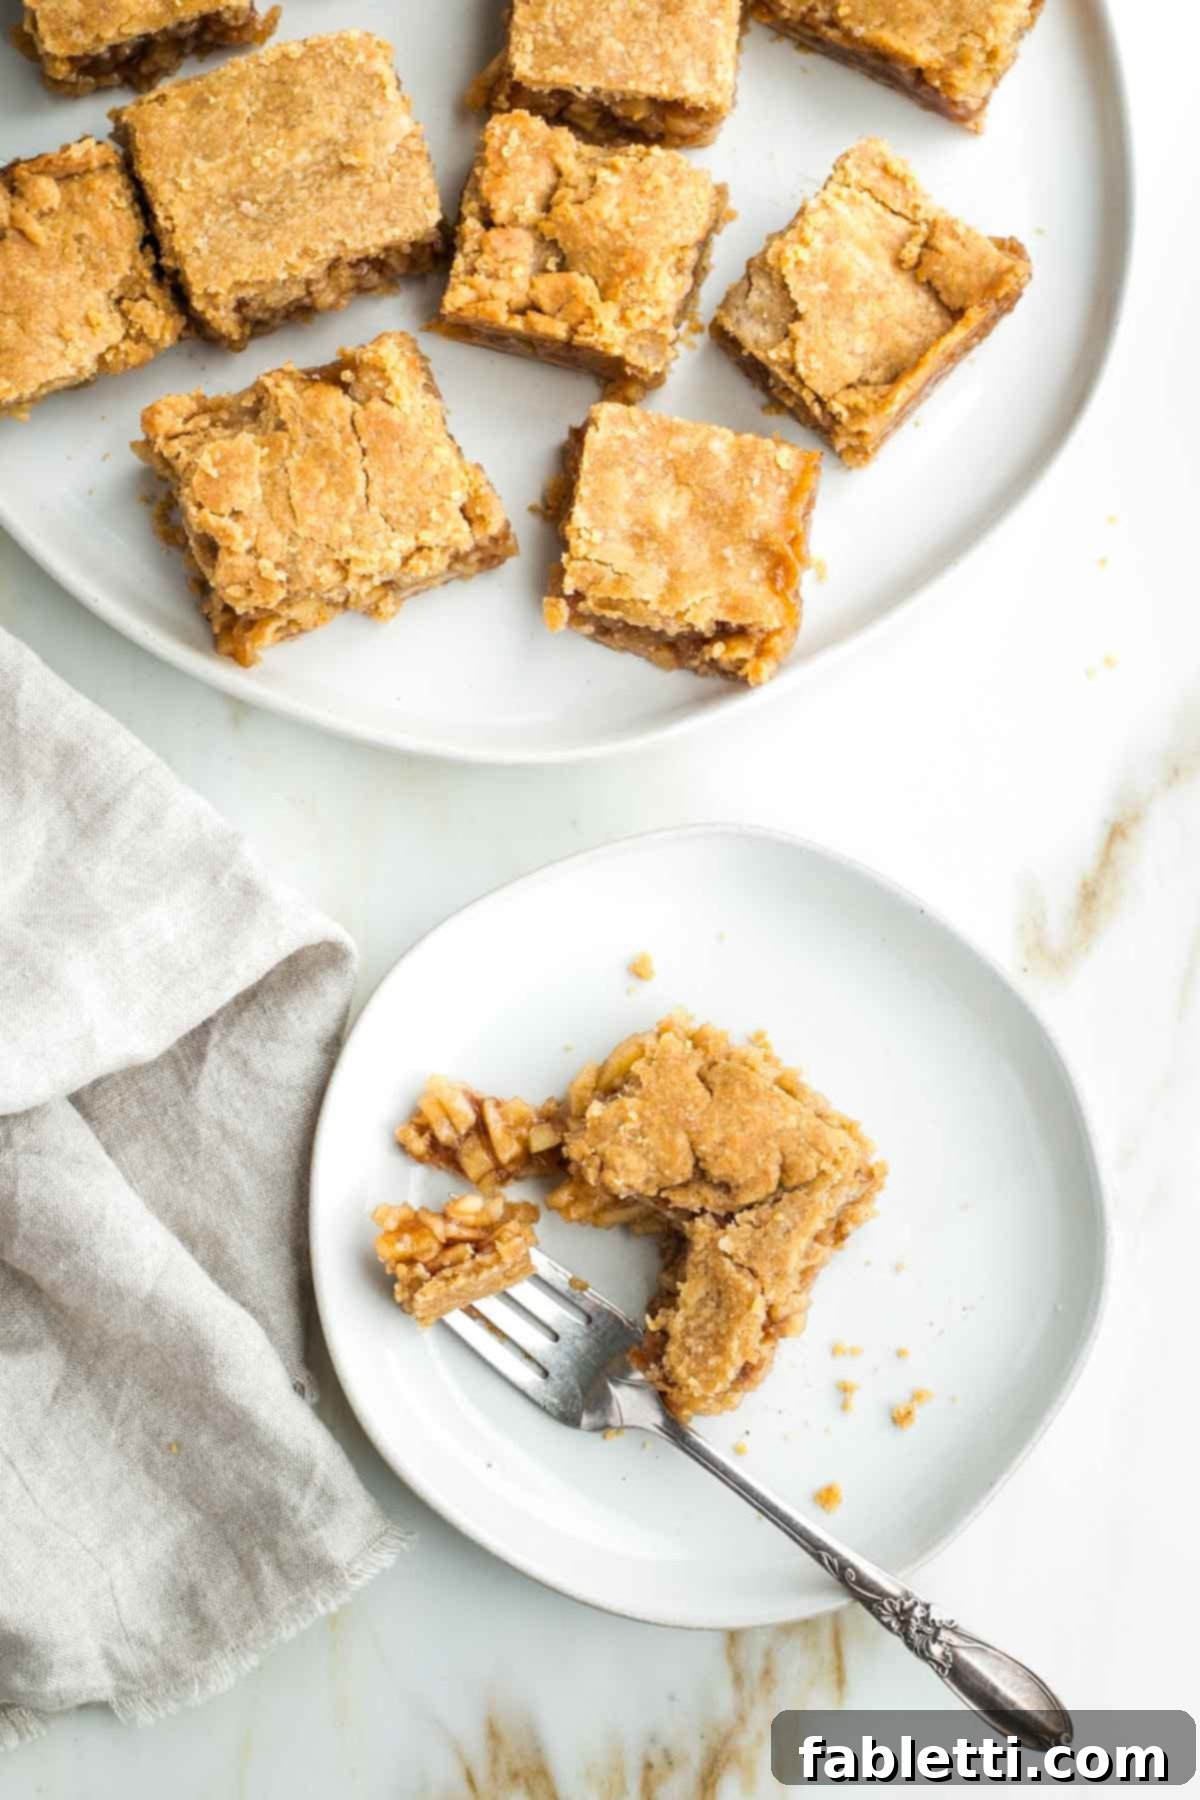
- Embrace the Cracks: If your crust cracks a little when you’re cutting the bars into squares, don’t fret! This is actually a sign of success – it means you’ve achieved that coveted, elusive flaky vegan pie crust. Pat yourself on the back for a job well done; it’s a testament to the perfect texture you’ve created!
- Prevent Apple Browning: To keep your apple filling looking fresh and vibrant, work with one apple at a time. Peel, then grate or chop, and immediately mix it into the spice mixture. The lemon juice in the mixture will act as a natural anti-browning agent, preserving the apples’ beautiful color. Then, move on to the next apple. This method ensures maximum freshness and visual appeal.
- Dough Distribution: If you find that one piece of your divided dough is slightly larger than the other, use the larger piece for the bottom crust. This provides a more robust base to hold the generous apple filling, preventing any potential leaks during baking.
- Salt in the Crust: For those on a low-sodium diet, you can certainly skip the salt in the crust. However, for everyone else, I highly recommend including it. The subtle hint of salt in the flaky crust creates a truly divine contrast with the sweet, spiced apple filling, elevating the overall flavor profile. It’s a small detail that makes a big difference!
- Smart Storage: When storing your apple pie bars in the refrigerator or freezer, place a piece of parchment paper between layers. This simple trick prevents the bars from sticking together, making it easy to grab a single serving without damaging the others.
- Chilling for Clean Cuts: As mentioned, chilling the entire pan of baked bars for at least an hour (or even overnight) before cutting is key. A cold filling is firm and less prone to squishing, ensuring you get neat, picture-perfect squares.
- Warm Serving Option: While delicious cold, gently warming a bar in the microwave for a few seconds or in a toaster oven can bring out the comforting aromas and make the filling wonderfully gooey, reminiscent of a fresh-baked pie.
Did you know commenting and rating recipes is one of the best ways to support your favorite food bloggers? If you made this recipe, please consider a five-star rating below and leave a comment. Also, please share your photos on Instagram by tagging me @dkhealthcoach and using the hashtag #debraklein. Your support means the world!
📖 Recipe
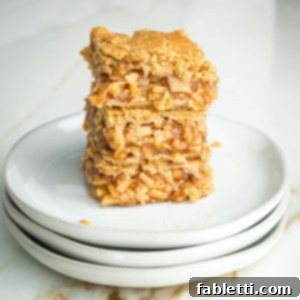
Easy Vegan Apple Pie Bars
Debra Klein
Rate this Recipe
Pin Recipe
10 minutes
40 minutes
50 minutes
Dessert
American
16
173
kcal
Equipment
- 8 x 8 Inch Square Baking Pan
Ingredients
Crust
-
½
cup
extra virgin olive oil -
¼
cup
almond milk
-
1
tablespoon
maple syrup -
1 ¾
cup
whole grain flour -
¼
teaspoon
salt
Filling
-
2
tablespoon
maple syrup -
1
tablespoon
lemon juice -
2
tablespoon
arrowroot powder
-
1
teaspoon
cinnamon -
¼
teaspoon
all spice -
⅛
teaspoon
nutmeg -
⅛
teaspoon
cardamom -
3
lbs
apples
Instructions
- Preheat oven to 375°F (190°C).
CRUST
- In a medium-sized bowl, combine 1 ¾ cups flour and ¼ teaspoon salt. Use a fork to mix and aerate for approximately one minute.
- In a 1-cup liquid measuring cup, combine ½ cup extra virgin olive oil, ¼ cup almond milk, and 1 tablespoon maple syrup. Stir well until the liquids are emulsified. Pour this mixture into the bowl with the flour.
- Continue mixing with the fork until all ingredients come together to form a dough. It may appear slightly lumpy but should not be overly dry.
- Divide the dough in half. Place one piece between two sheets of parchment paper. Roll it out until it forms an approximately 8×8-inch square (or slightly larger to cover the pan’s base).
- Carefully transfer and press this rolled dough into the bottom of an 8×8-inch brownie pan, patching any gaps if necessary to cover the entire base.
- Roll the remaining half of the crust into a similar square piece using the same parchment paper, and leave it between the parchment sheets. Set aside; this will be your top crust.
FILLING
- In a bowl, mix together 2 tablespoons arrowroot powder, 1 teaspoon cinnamon, ¼ teaspoon allspice, ⅛ teaspoon nutmeg, and ⅛ teaspoon cardamom. Use a spatula to mix in 2 tablespoons maple syrup and 1 tablespoon lemon juice until the mixture is smooth.
- Peel one apple and grate it directly into the bowl with the spice mixture. Stir well to coat the grated apple immediately, preventing it from browning.
- Peel the remaining apples and cut them into small dice (about ¼ to ½ inch pieces). Add them to the bowl as you go, stirring together with the spice mixture after each addition to ensure they are coated and do not turn brown. Continue until all 3 lbs of apples have been used, resulting in approximately 6 cups of apple mixture.
- Transfer the apple mixture evenly onto the bottom crust in the square pan. If there is any liquid remaining at the bottom of the bowl, sprinkle it over the apples. Distribute the apples into the corners to create a level layer.
TOPPING & BAKING
- Carefully transfer the second rolled pie crust (the reserved top crust) onto the apples. It’s okay if you need to piece it together or use small pieces from the edges to fill any bare spots, ensuring the entire top is covered.
- Bake in the preheated 375°F (190°C) oven for 40 minutes, or until the apple filling is bubbling and the top crust is golden brown.
- Allow the bars to cool completely in the pan. For easier and cleaner cutting, cover the pan and refrigerate for at least an hour (or overnight). Once chilled, cut into 16 pieces. Store in an airtight container in the refrigerator for up to 5 days, or freeze for up to 3 months.
Notes
Nutrition
Calories:
173
kcal
Carbohydrates:
24
g
Protein:
2
g
Fat:
8
g
Saturated Fat:
1
g
Polyunsaturated Fat:
1
g
Monounsaturated Fat:
5
g
Trans Fat:
0.003
g
Sodium:
47
mg
Potassium:
150
mg
Fiber:
3
g
Sugar:
11
g
Vitamin A:
46
IU
Vitamin C:
4
mg
Calcium:
22
mg
Iron:
1
mg
Note
The nutrition calculations were done using online tools. To obtain the most accurate representation of the nutritional information in any given recipe, you should calculate the nutritional information with the actual ingredients you used. You are ultimately responsible for ensuring that any nutritional information is accurate, complete and useful.
Did you make this recipe?
Please leave a review below, then snap a picture and tag me @dkhealthcoach or use hashtag #dkhealtcoach on Instagram so I can see it!!
