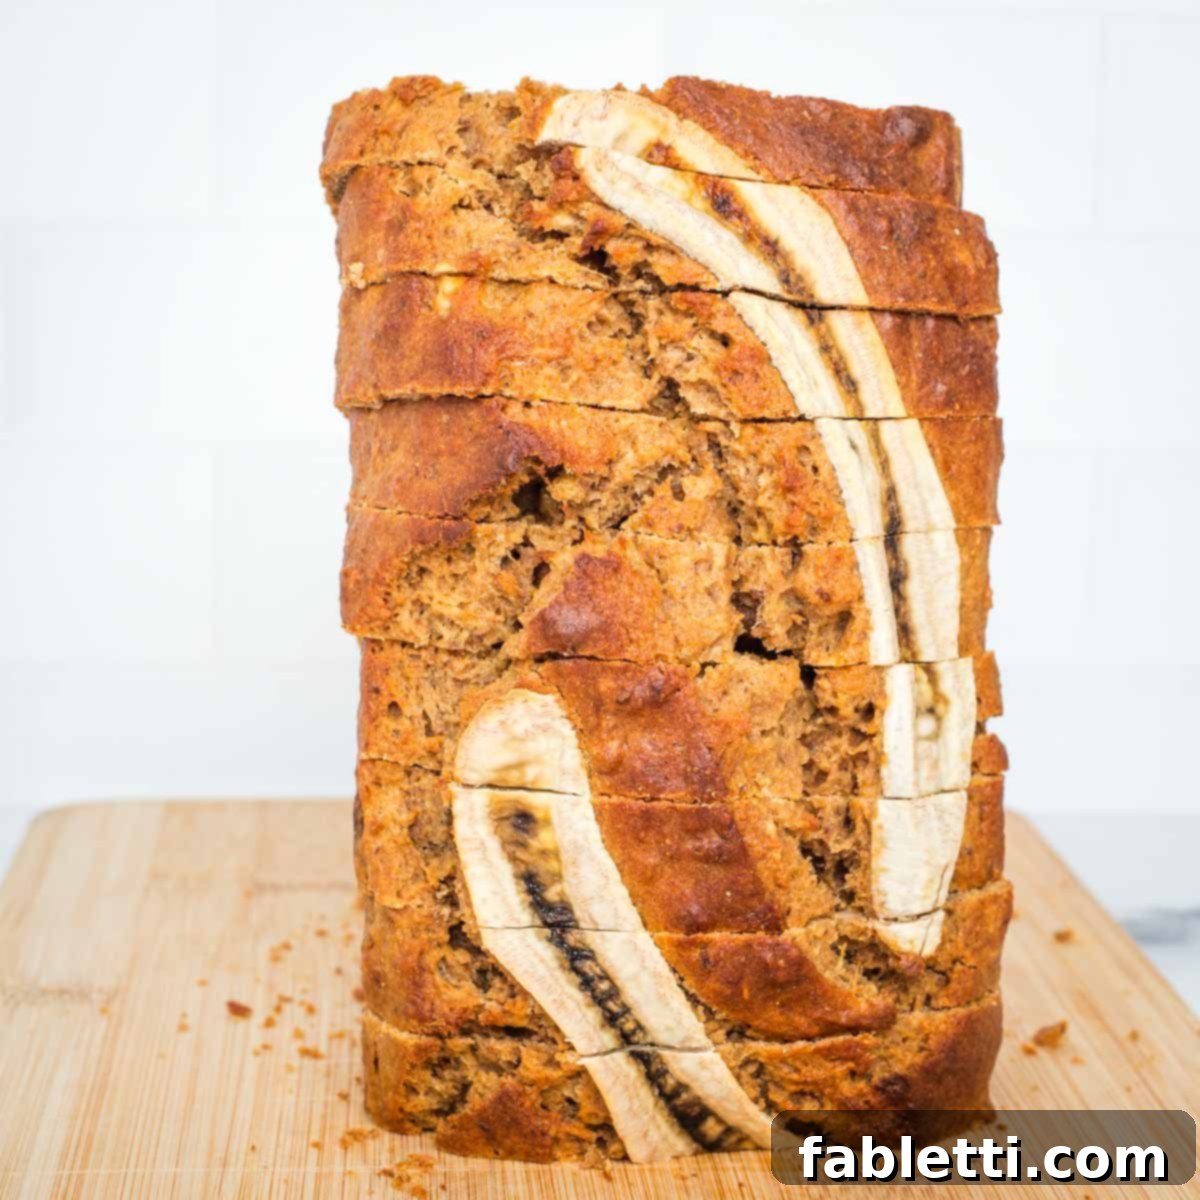
Maple Miso Banana Bread: A Savory-Sweet Delight for Any Occasion
Imagine the comforting aroma of freshly baked banana bread filling your kitchen, but with an intriguing twist that elevates it beyond the ordinary. This Maple Miso Banana Bread recipe is precisely that – a culinary revelation that marries the familiar sweetness of ripe bananas and rich maple syrup with the unexpected depth of umami from miso paste. The result is an incredibly moist, tender loaf with a delightfully crunchy top, boasting a complex flavor profile that will captivate your taste buds. Best of all, it’s naturally dairy-free and incredibly easy to adapt for a vegan lifestyle, making it a perfect treat for everyone.
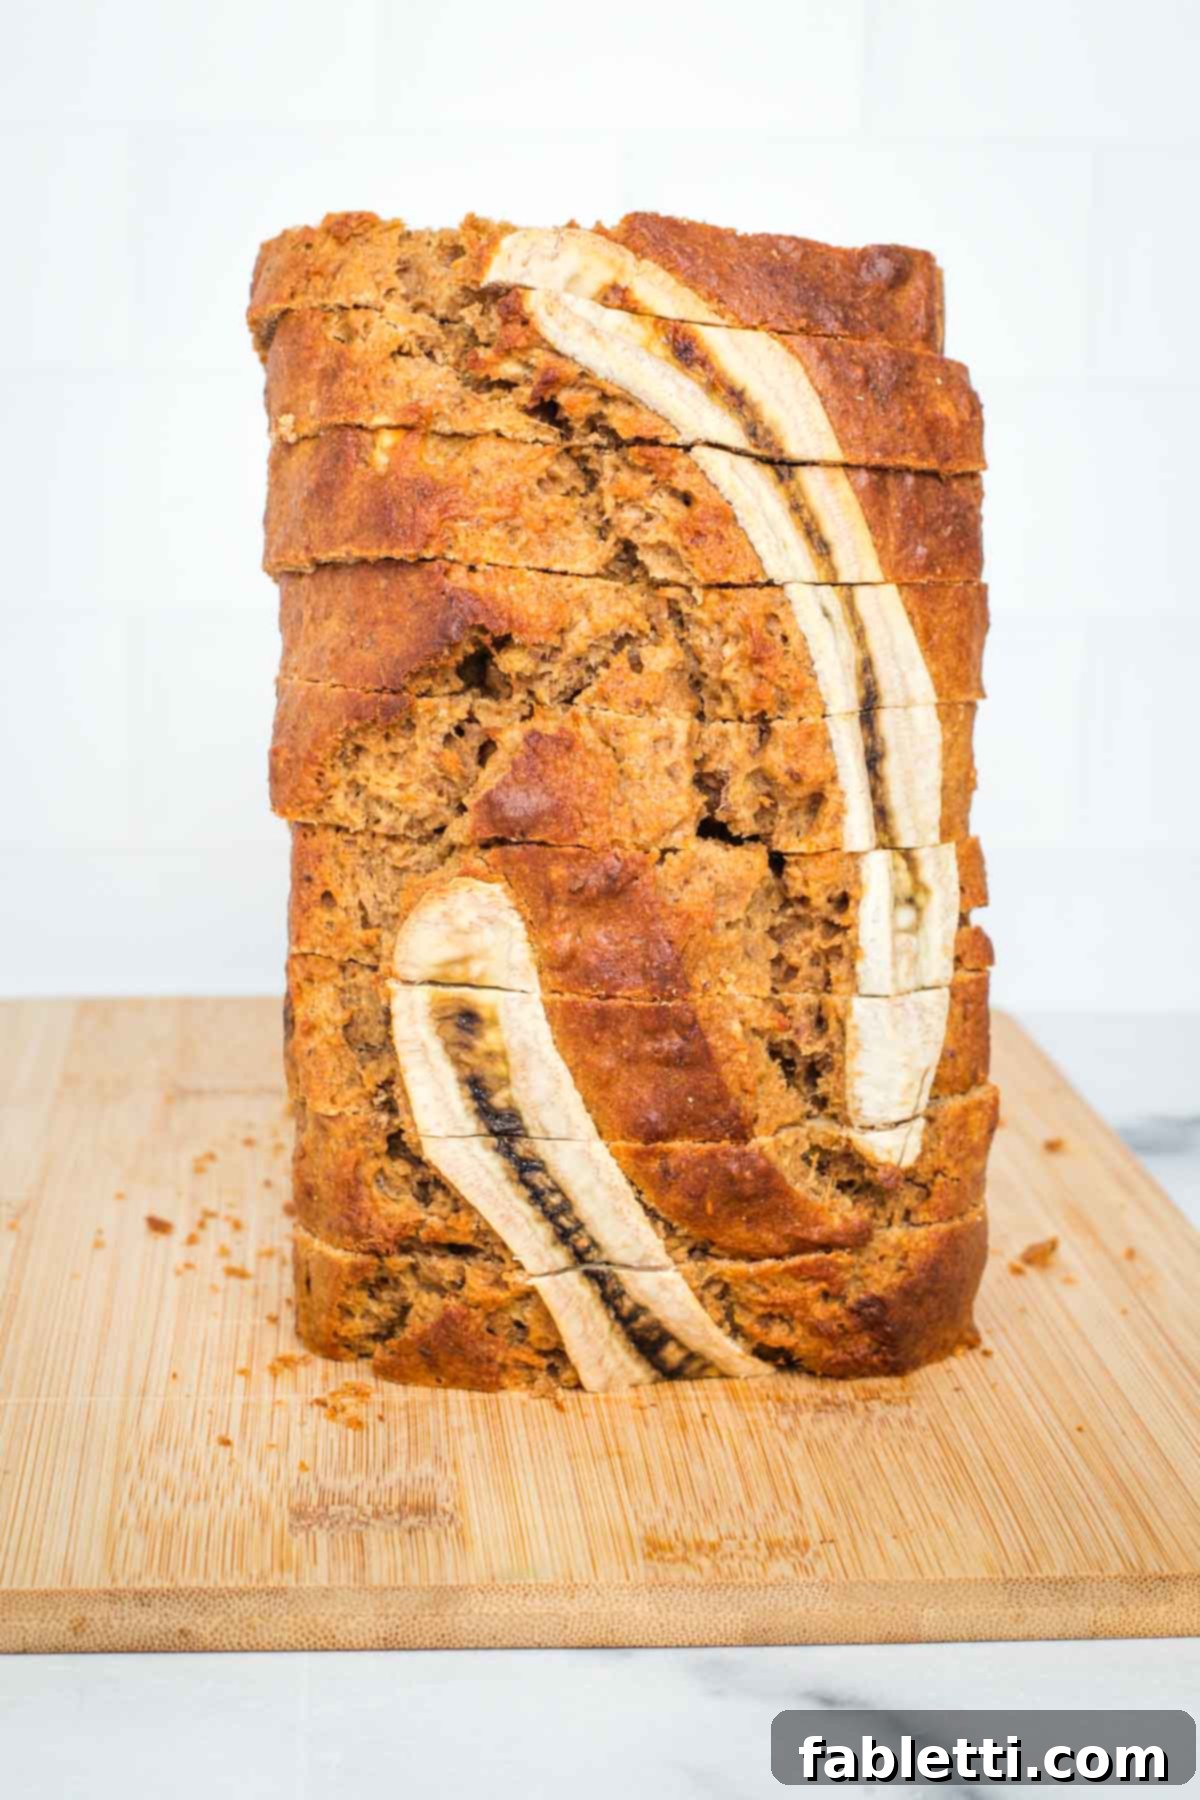
Forget everything you thought you knew about classic banana bread. This recipe embarks on a bold flavor journey, where the sweet, caramelized notes of maple syrup and the ripe essence of bananas find their perfect counterpart in the subtle, savory depth of miso. This fusion creates a truly unique and unforgettable bread that’s perfect for breakfast, a coffee break, or a comforting dessert. It’s a warm hug in food form, guaranteed to become a new favorite in your baking repertoire.
Key Ingredients for the Perfect Maple Miso Banana Bread
Each ingredient in this recipe plays a crucial role in achieving its signature flavor and texture. Understanding these components will help you create a truly exceptional loaf.
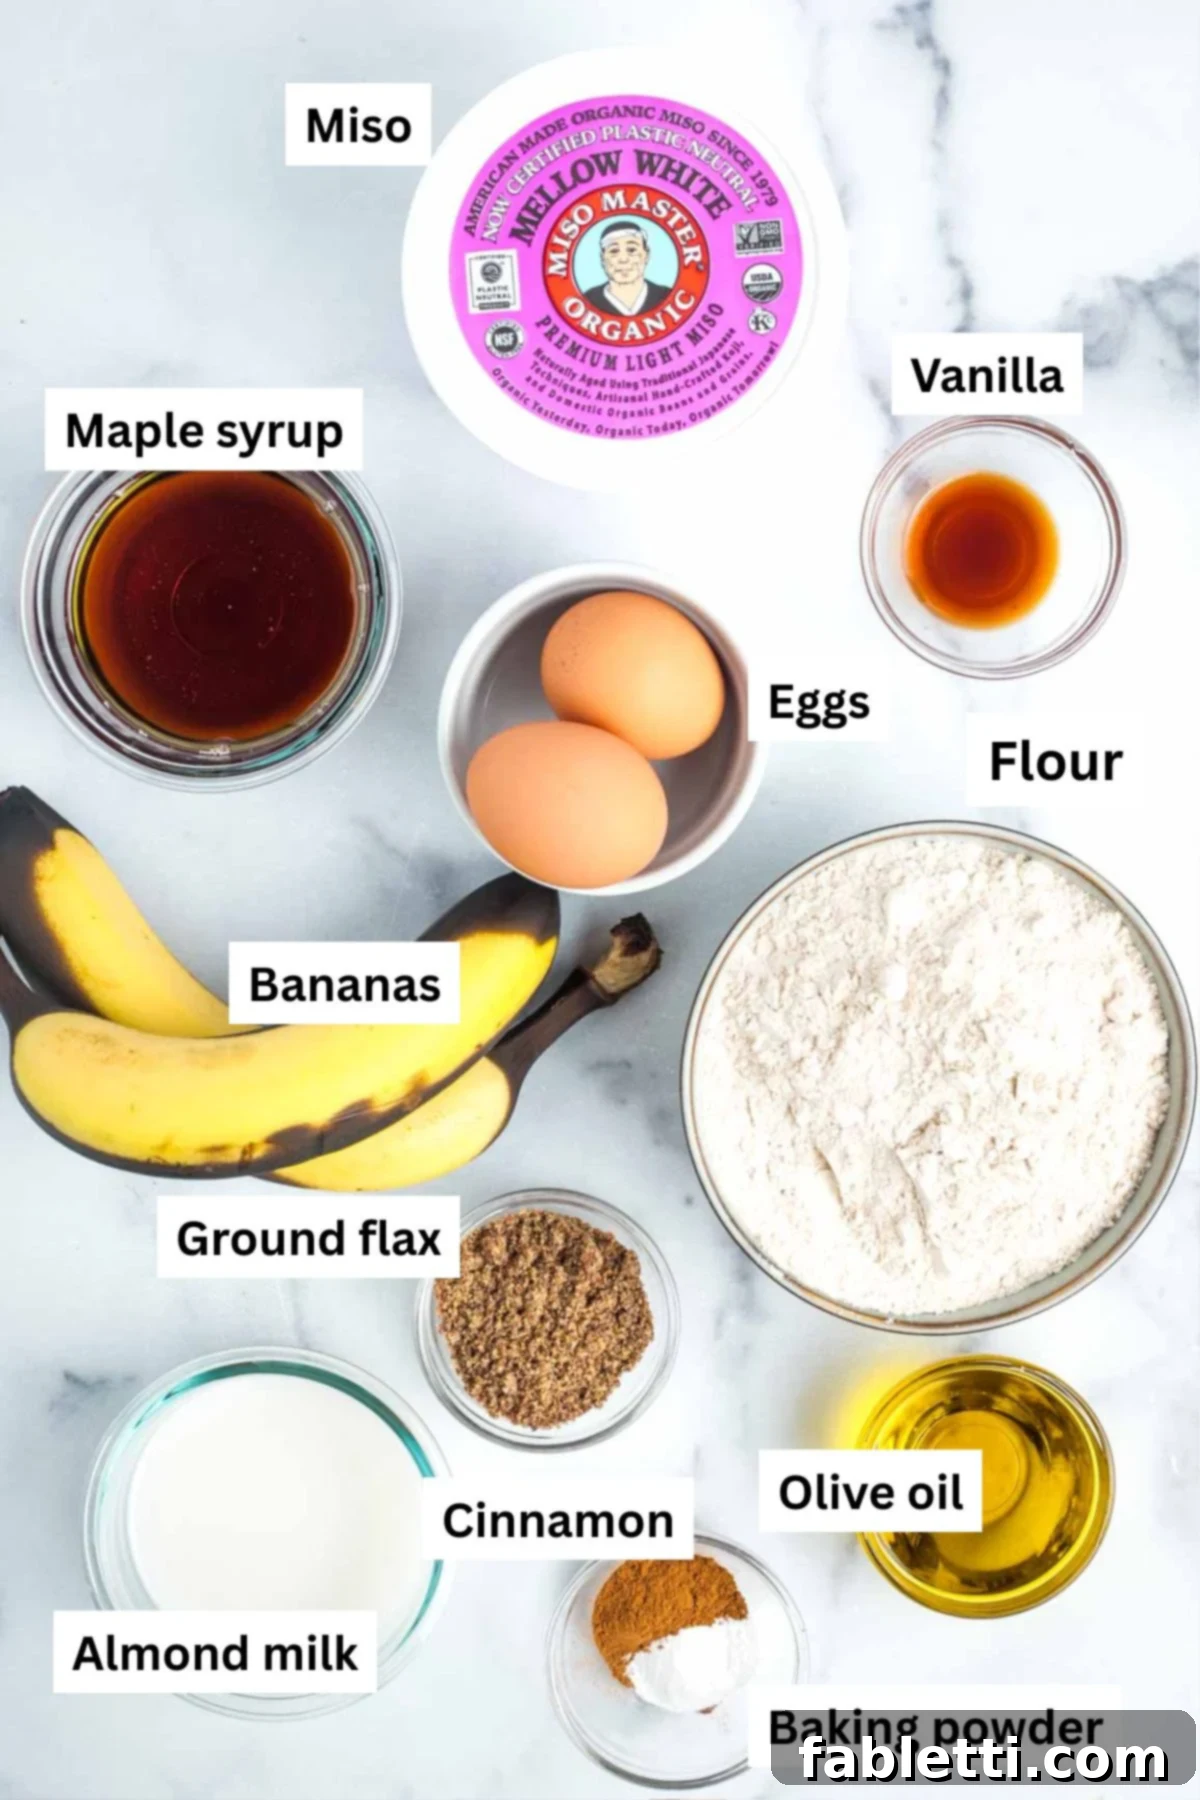
- Miso Paste: The Secret Umami Weapon: This recipe truly shines with the addition of light miso paste. Light miso, typically made from rice or barley, offers a milder, sweeter, and less salty flavor compared to darker varieties. It provides an incredible savory depth, a nuanced umami that beautifully balances the sweetness of the bananas and maple syrup without overpowering them. You can use soy, rice, or chickpea miso – just ensure it’s a “light” variety for the best results. This unique touch transforms ordinary banana bread into something extraordinary.
- Bananas: The Riper, The Better (and Sweeter!): The success of any banana bread hinges on the ripeness of your bananas. For this recipe, aim for bananas that are very ripe – think brown spots, even almost entirely black peels. The riper the banana, the more natural sugars it contains, resulting in a sweeter, more flavorful, and incredibly moist bread. They also mash much more easily, ensuring a smooth batter. If your bananas aren’t quite ripe enough, don’t fret! Check out our Pro Tips section for a quick ripening trick.
- Eggs or Flax Eggs: Binding and Structure: Eggs act as a binder, provide structure, and contribute to the rich, moist texture of the bread. For those following a vegan diet or seeking a plant-based alternative, flax eggs are an excellent substitute. To make a flax egg, simply mix 1 tablespoon of ground flaxseed with 3 tablespoons of water and let it sit for about 5 minutes until it gels. While a vegan version might not rise quite as much due to the difference in leavening properties, it will still be wonderfully moist and flavorful.
- Whole Wheat Flour: Hearty Goodness: We opt for whole wheat flour in this recipe to add a touch of wholesome nuttiness and increased fiber. It contributes to a satisfying texture without making the bread dense. If you prefer, all-purpose flour can be used as a direct substitute, though it will result in a slightly lighter crumb.
- Maple Syrup: Natural Sweetness and Flavor: Beyond its natural sweetness, maple syrup adds a distinct, rich flavor that perfectly complements the bananas and miso. It’s a healthier alternative to refined sugars and contributes to the bread’s beautiful golden-brown crust.
- Olive Oil: Moisture and Healthy Fats: A good quality olive oil provides essential moisture and healthy monounsaturated fats, keeping the banana bread tender and soft. Its mild flavor doesn’t compete with the other ingredients, allowing the stars of the show to shine.
- Almond Milk: Dairy-Free Creaminess: Unsweetened almond milk contributes to the liquid content and helps create a dairy-free batter. Feel free to use any other plant-based milk you prefer, such as oat milk or soy milk.
- Baking Powder & Cinnamon: Leavening and Spice: Baking powder is our primary leavening agent, ensuring a light and airy texture. Cinnamon adds a comforting warmth and classic banana bread aroma, enhancing the overall flavor profile.
- Vanilla Extract: Aromatic Depth: Just a touch of vanilla extract rounds out the flavors, adding an aromatic sweetness that ties all the ingredients together harmoniously.
Step-by-Step Guide: Crafting Your Maple Miso Banana Bread
Creating this unique banana bread is a straightforward process, even for novice bakers. Follow these simple steps to bake a loaf that will impress with its exceptional flavor and moist texture.
Getting Started: Prep Your Workspace
First things first, preheat your oven to 350°F (175°C). Then, prepare a standard loaf pan by lining it with unbleached parchment paper. This simple step is a game-changer for easy removal and cleanup, ensuring your beautiful loaf comes out perfectly intact.
Step 1: Combine Dry Ingredients
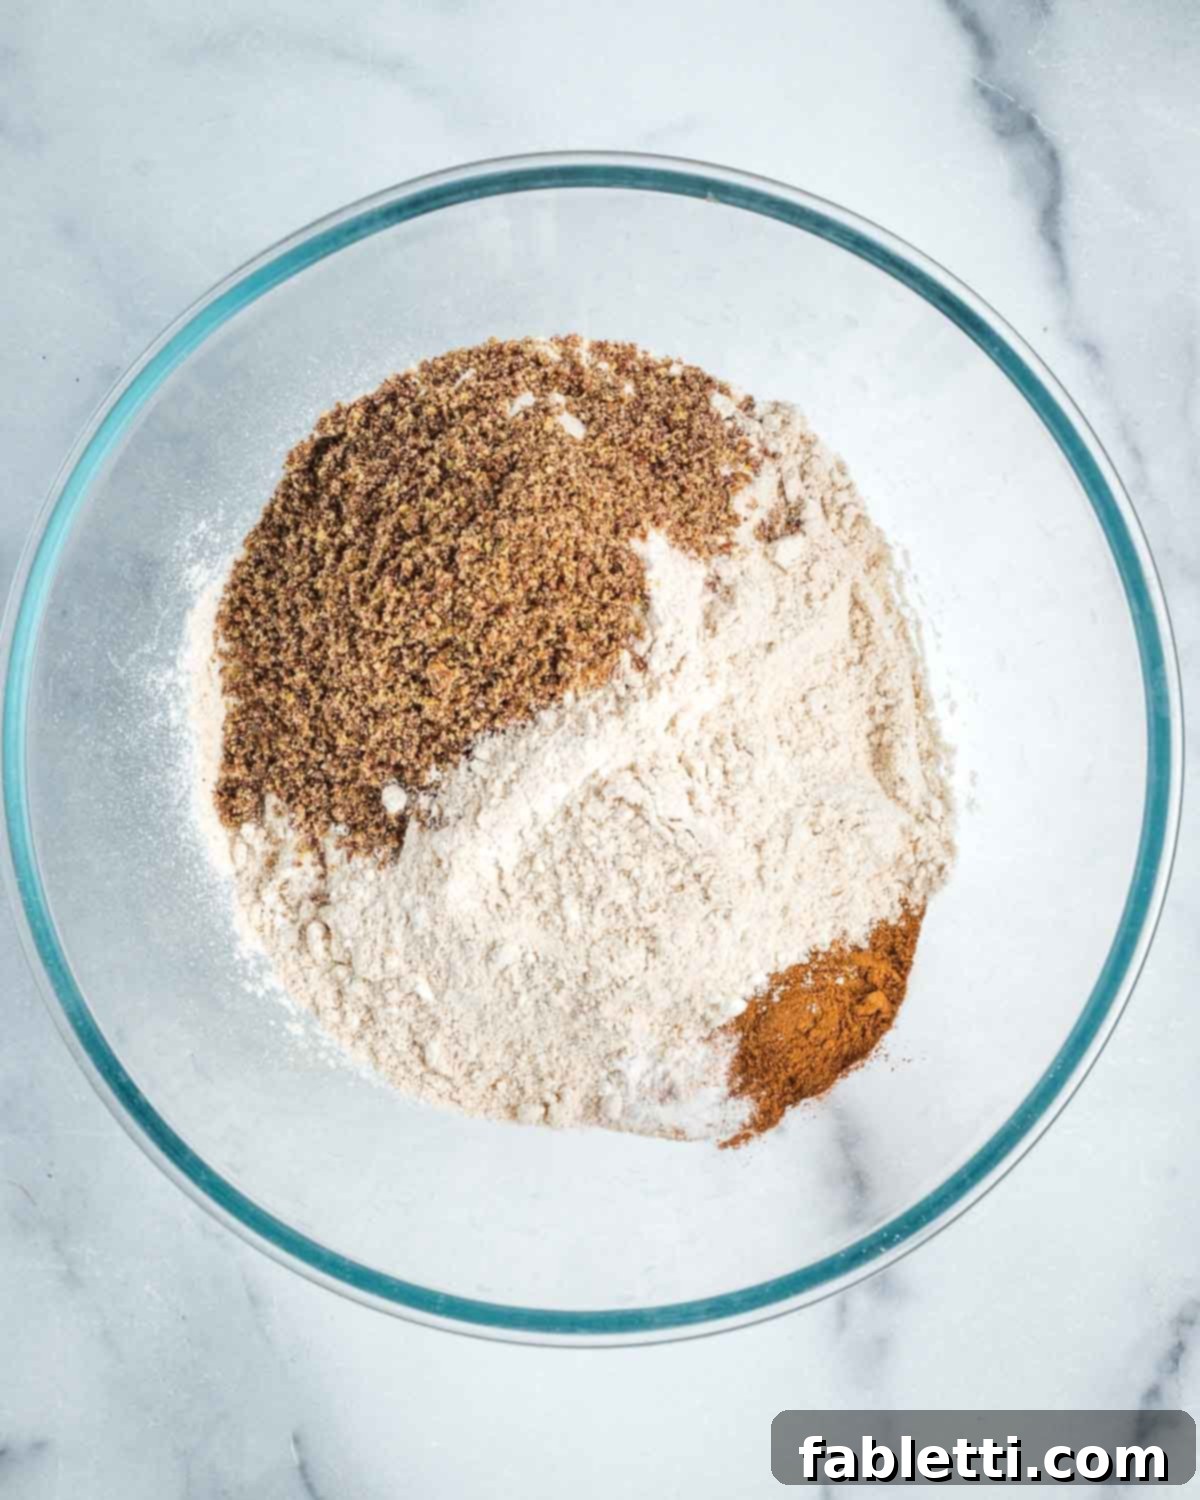
In a medium-sized mixing bowl, measure out your whole wheat flour, ground flaxseed, baking powder, and cinnamon. Precision here ensures even leavening and flavor distribution throughout your bread.
Step 2: Whisk Dry Ingredients Thoroughly
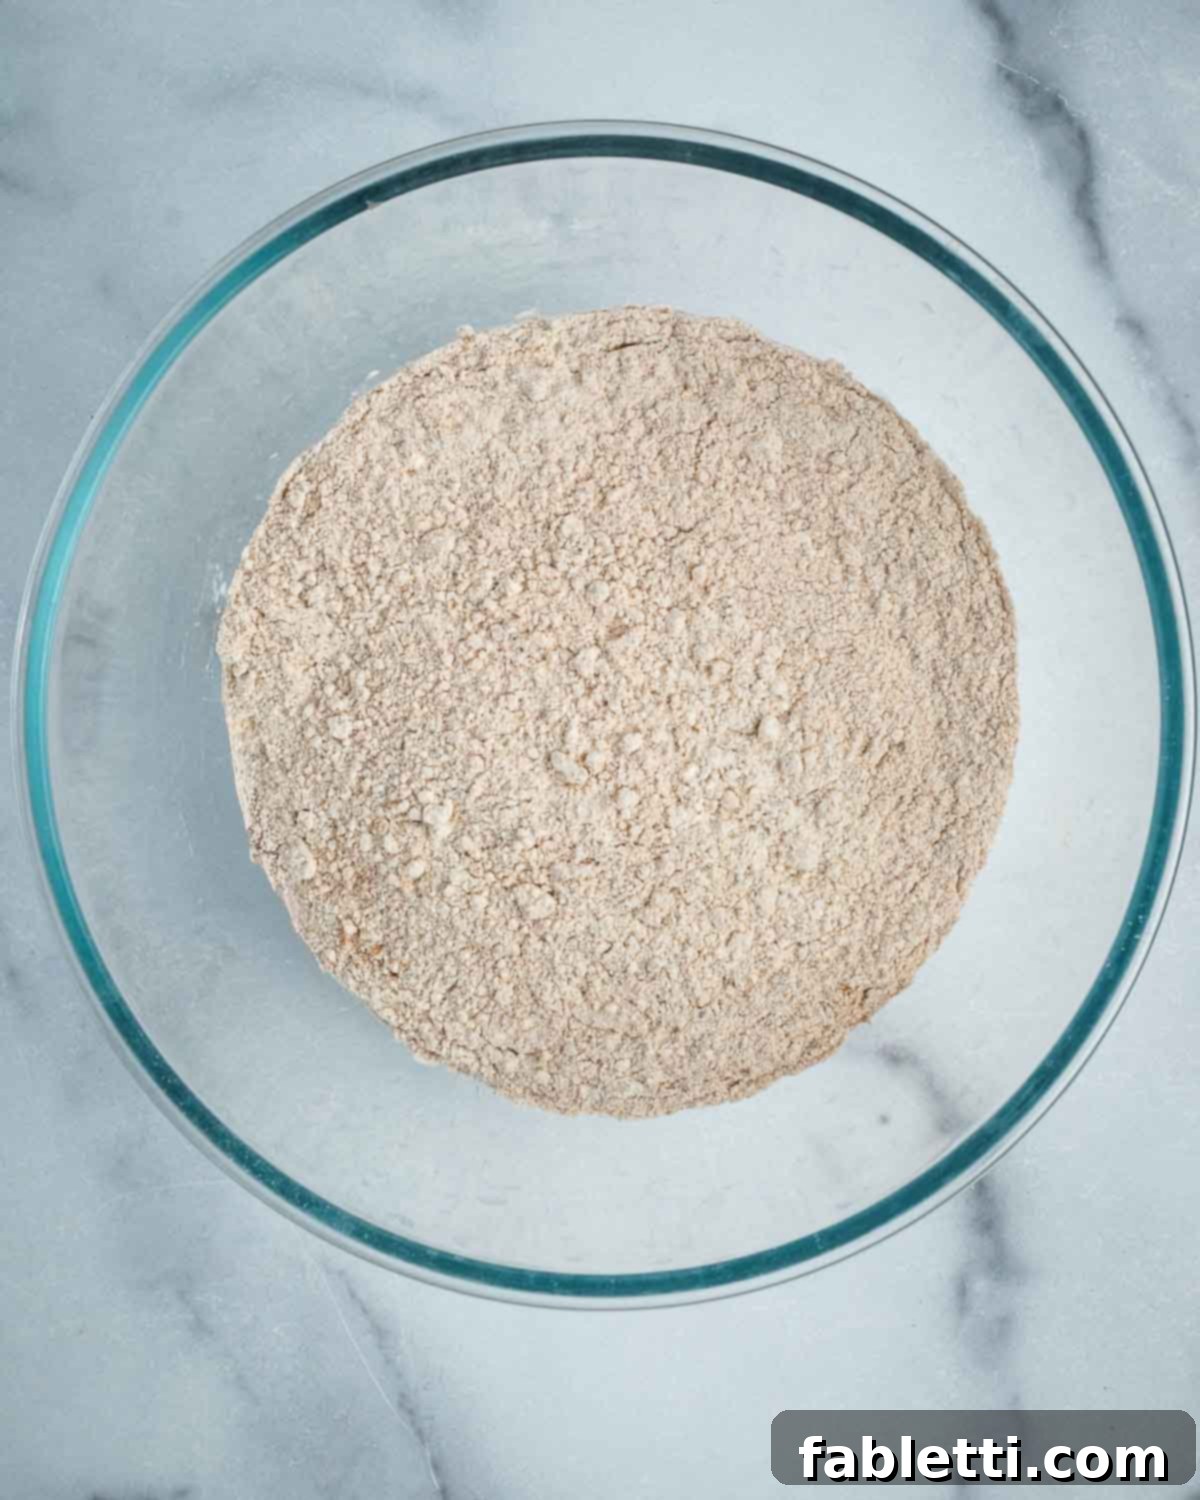
Using a whisk, thoroughly mix these dry ingredients together. This step is crucial to ensure that the baking powder and cinnamon are evenly distributed, which will help your banana bread rise beautifully and have a consistent flavor. Set this bowl aside.
Step 3: Prepare the Miso-Almond Milk Mixture
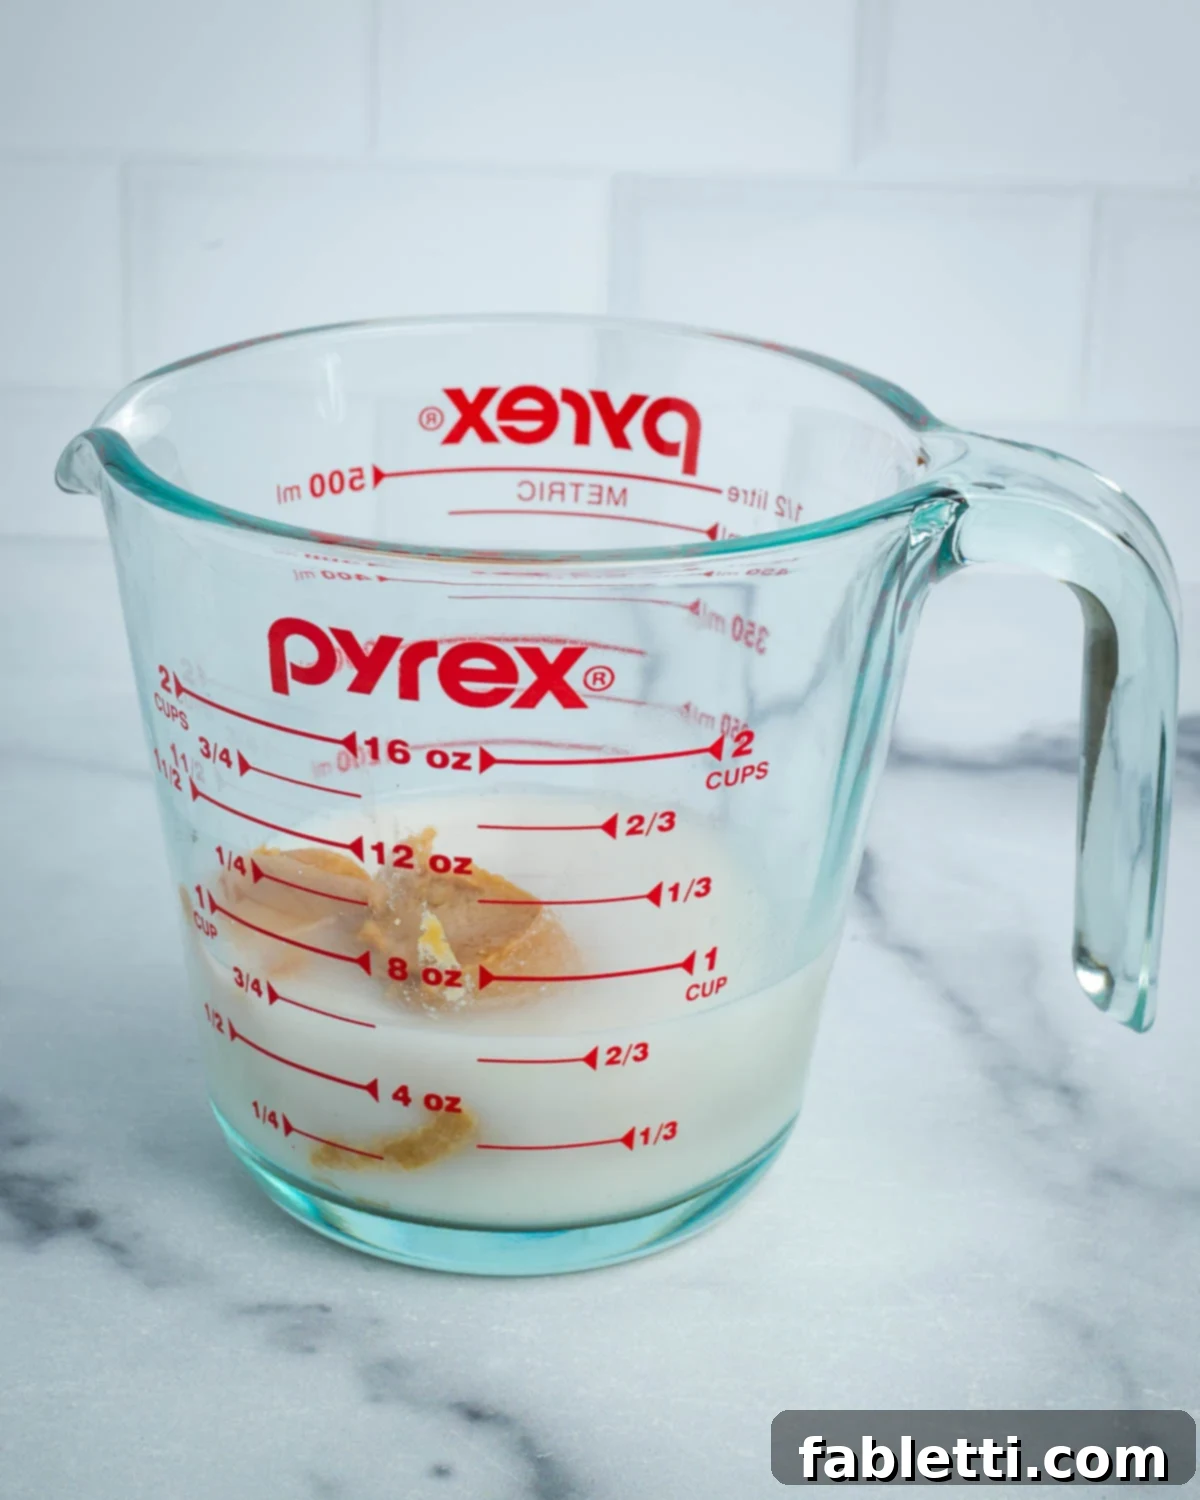
In a separate glass bowl or a 2-cup glass measuring cup, add the light miso paste to the almond milk. Using a glass container allows you to easily see the miso as it dissolves.
Step 4: Dissolve the Miso Paste
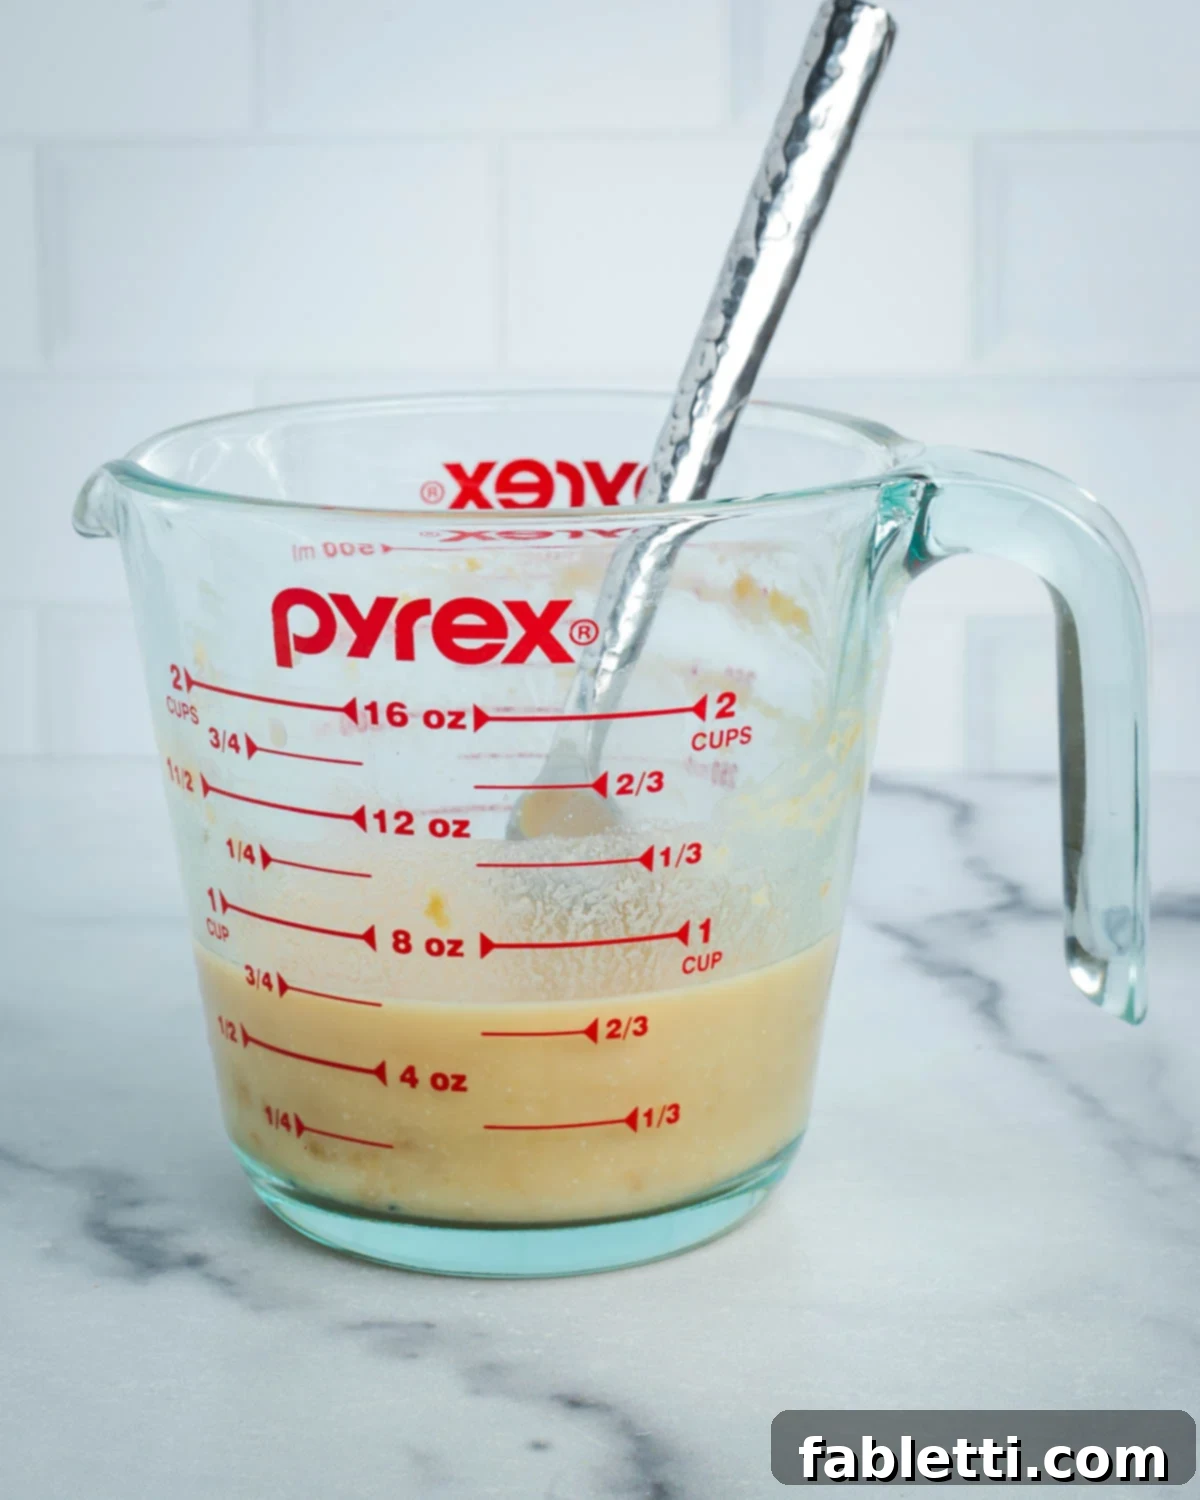
Using a fork, mash the miso paste into the sides of the cup, gradually dispersing it into the almond milk. Continue mixing until the miso is fully dissolved and no visible chunks remain. This ensures a smooth batter and prevents pockets of concentrated saltiness.
Step 5: Incorporate Eggs and Mix Well
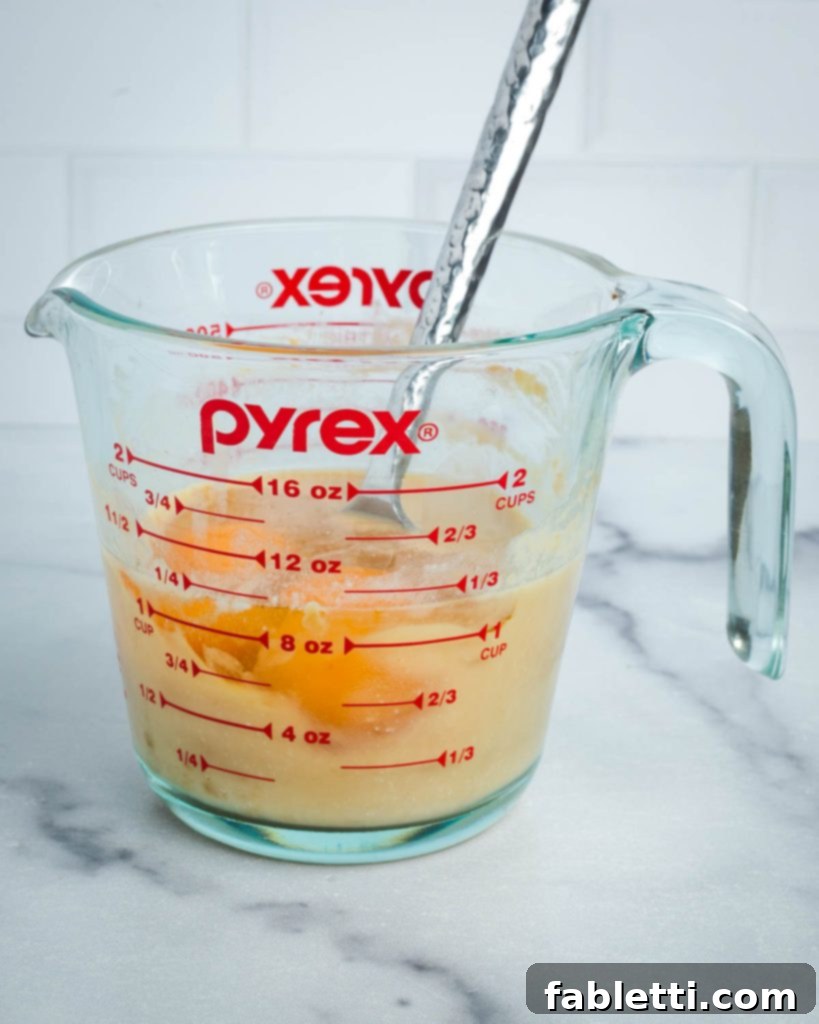
Next, add the large eggs (or prepared flax eggs for a vegan version) to the miso-almond milk mixture. Stir thoroughly until they are fully combined and the mixture is uniform. Double-check the sides of your bowl to ensure there are no hidden chunks of miso.
Step 6: Add Remaining Wet Ingredients

Now, pour in the olive oil, maple syrup, and vanilla extract. Mix everything together with your whisk until the consistency is uniform and smooth. This completes your wet ingredient mixture, ready for the mashed bananas.
Step 7: Mash Your Bananas
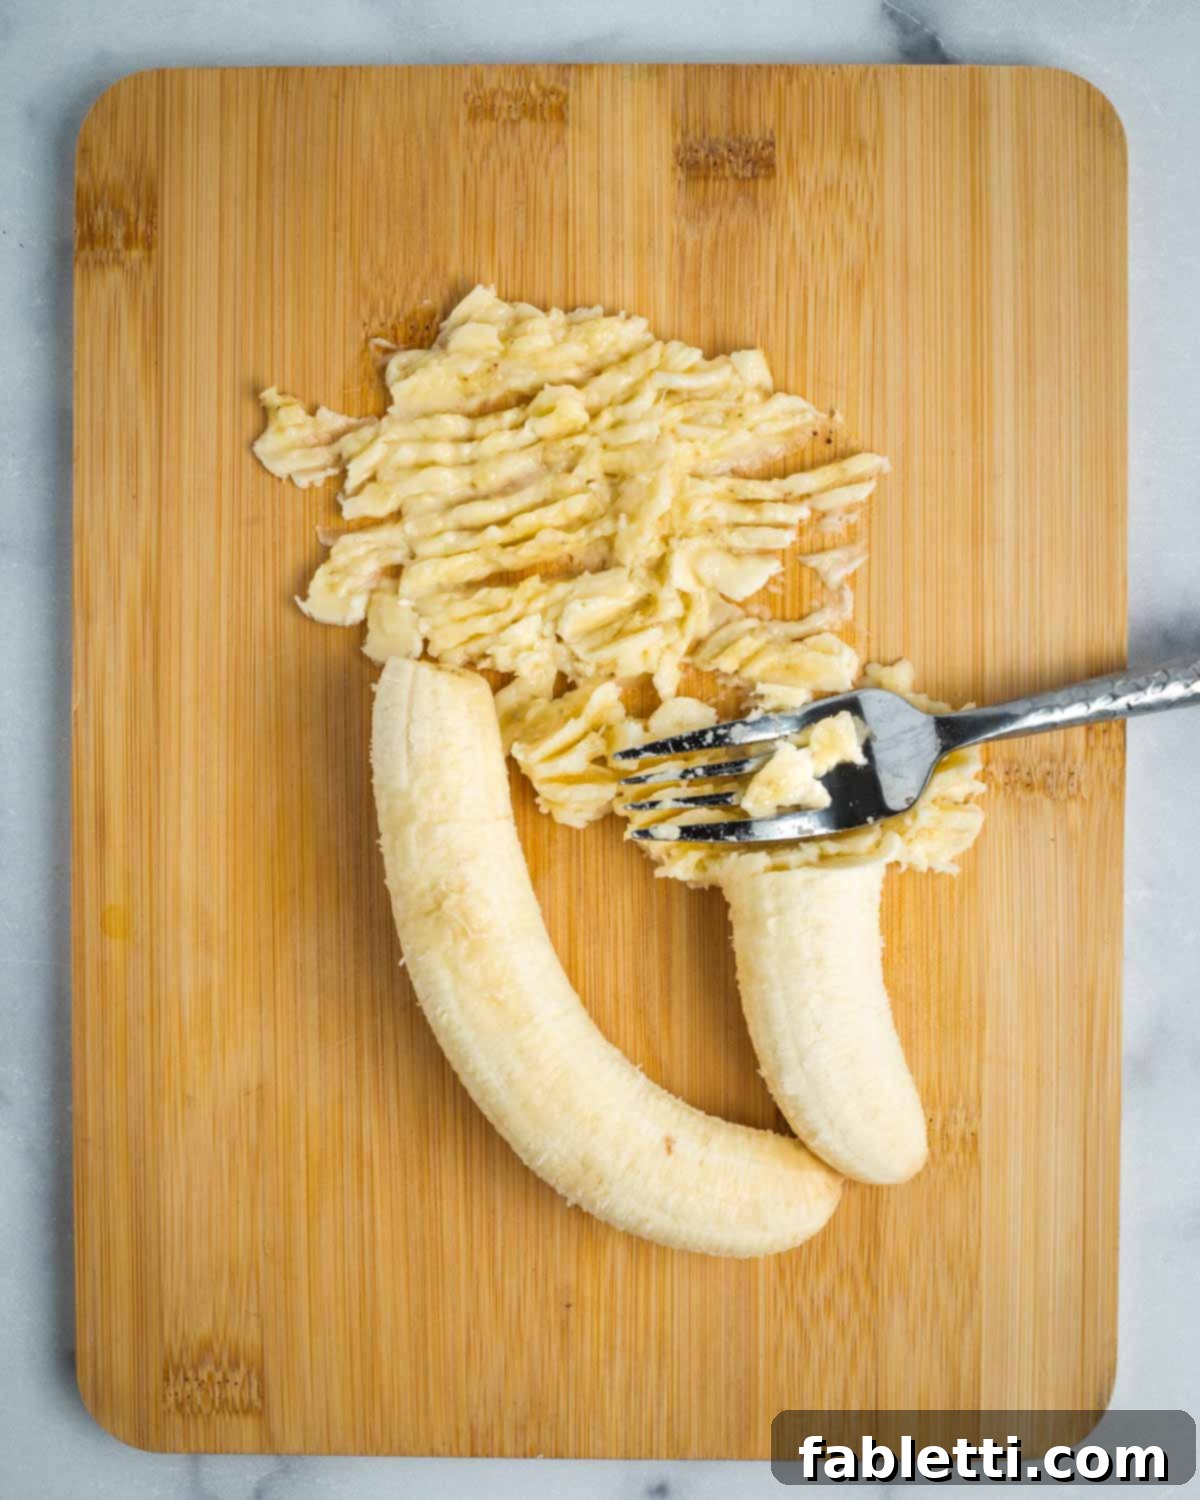
Peel your very ripe bananas and place them in a separate bowl. Use a fork or a potato masher to begin mashing them. The riper they are, the easier this step will be.
Step 8: Achieve a Smooth Banana Paste
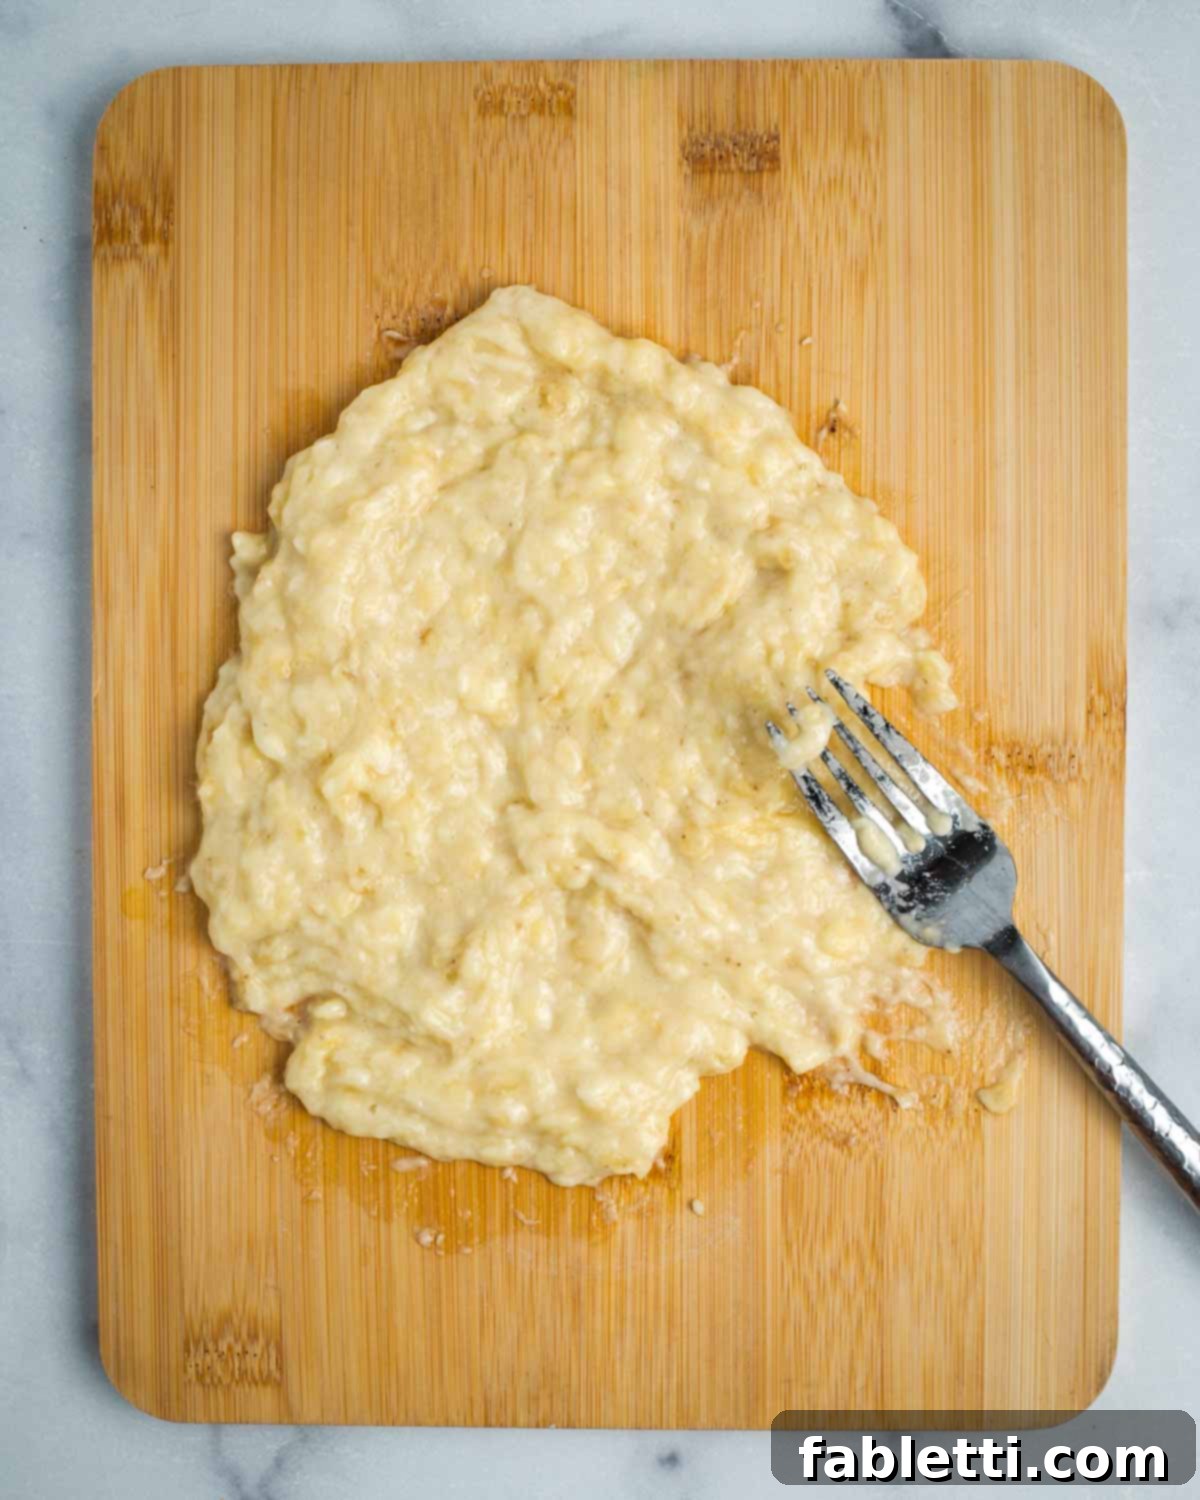
Continue mashing until you achieve a smooth, almost paste-like consistency, ideally without any large chunks of banana. This ensures an even distribution of banana flavor and moisture throughout your bread. Incorporate this mashed banana into your wet ingredients and stir well.
Step 9: Combine Wet and Dry Ingredients
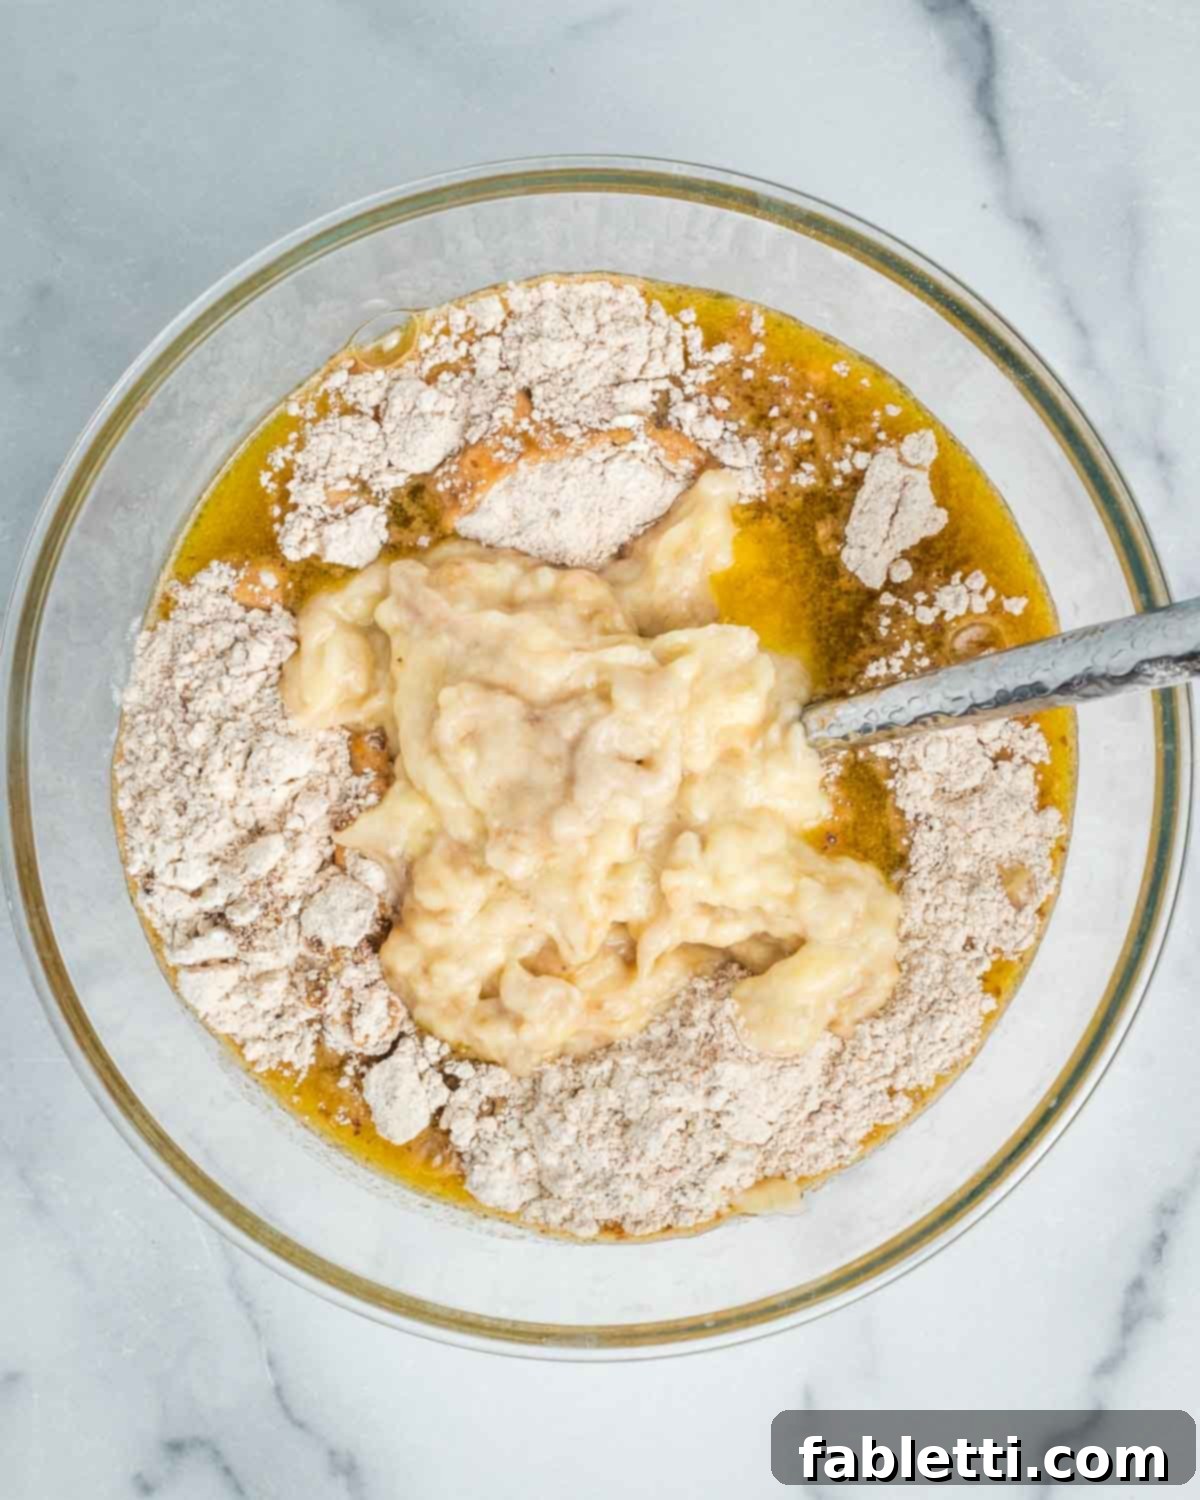
Now, pour the combined wet ingredients, including the mashed bananas, into the bowl with your dry ingredients. It’s time to bring your batter together.
Step 10: Mix Until Just Combined
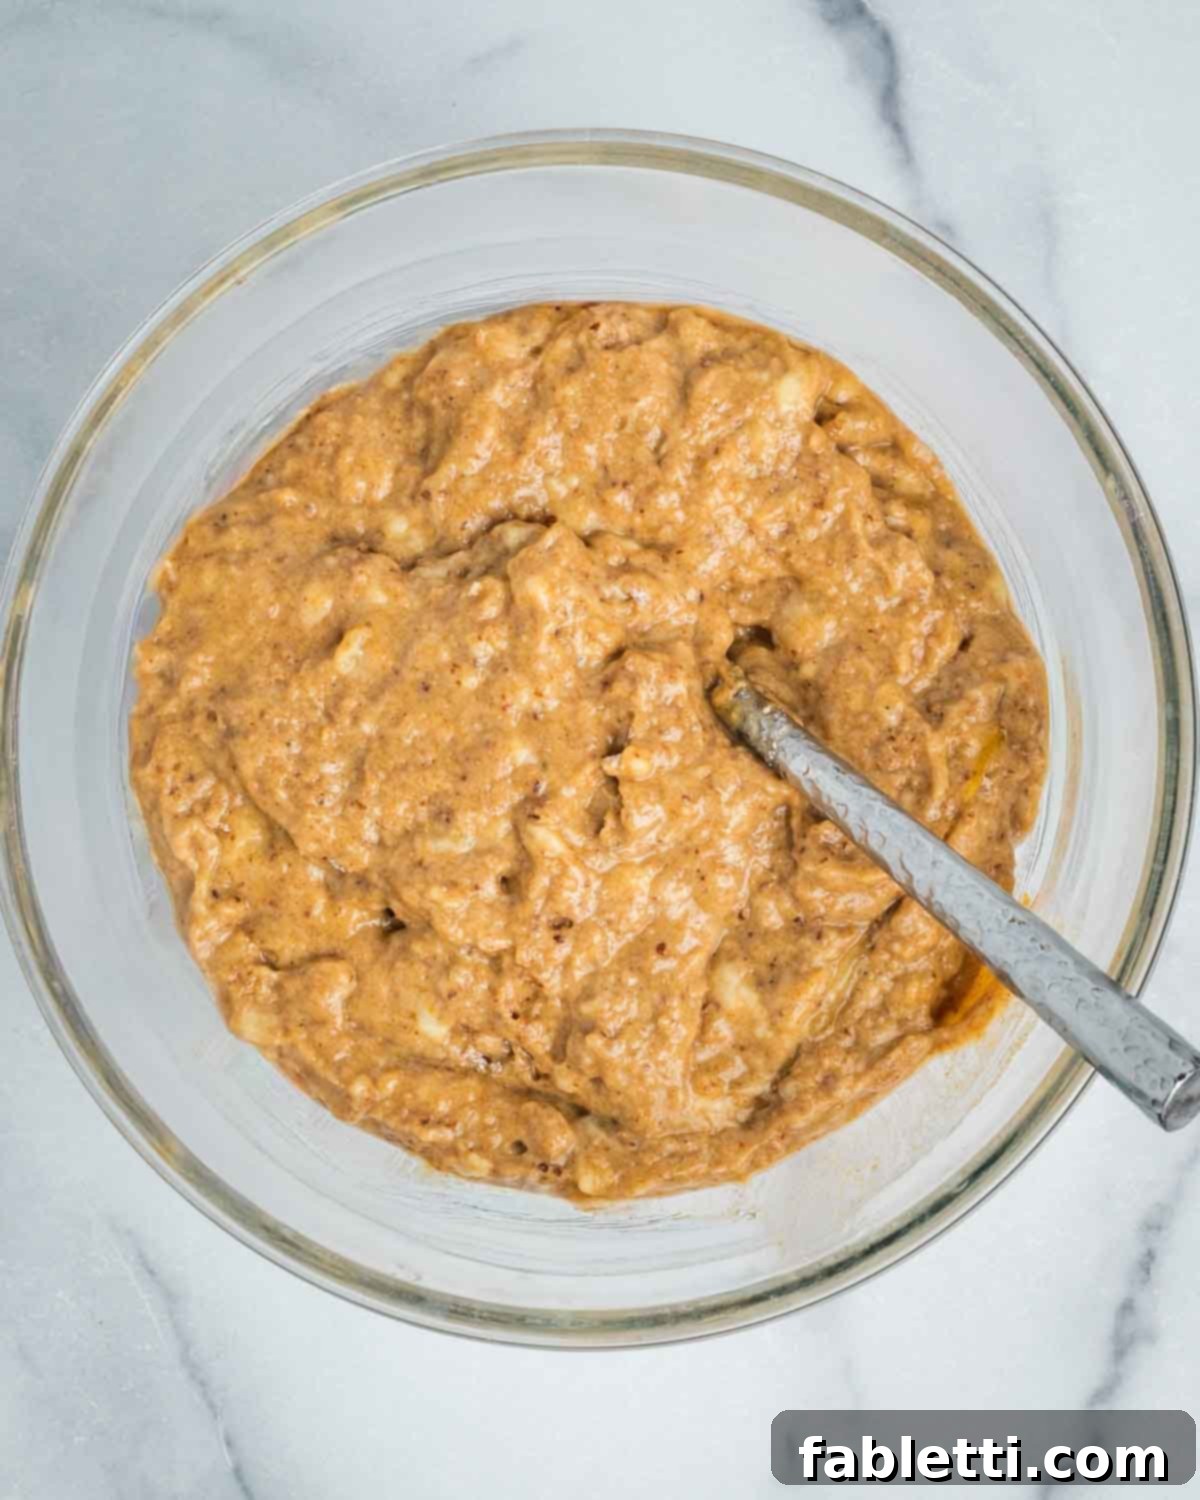
Using a spoon or spatula, gently mix the batter. Pull the flour up from the bottom of the bowl to ensure all ingredients are incorporated. Mix only until the batter is uniform in consistency and no streaks of dry flour remain. Resist the urge to overmix, as this can lead to a tough, dry banana bread.
Step 11: Transfer Batter to Loaf Pan
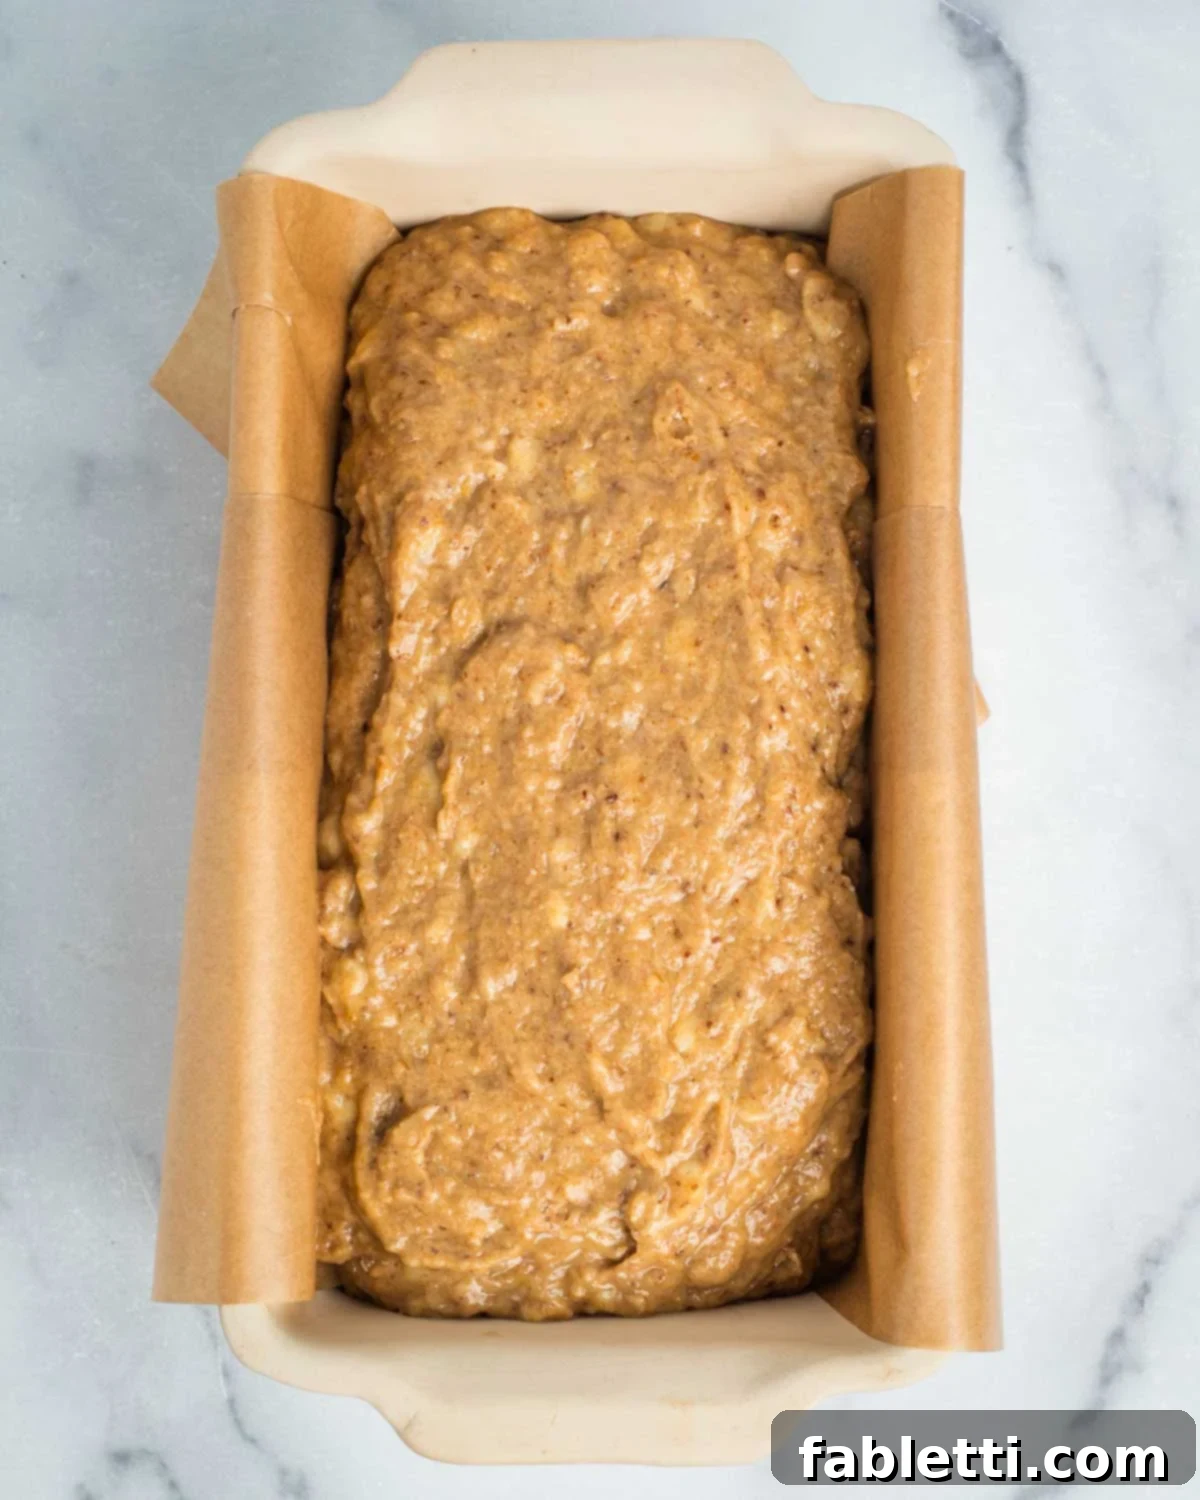
Carefully pour the banana bread batter into your prepared loaf pan. Spread it evenly with a spatula to ensure a consistent bake.
Step 12: Decorate (Optional, but Recommended!)
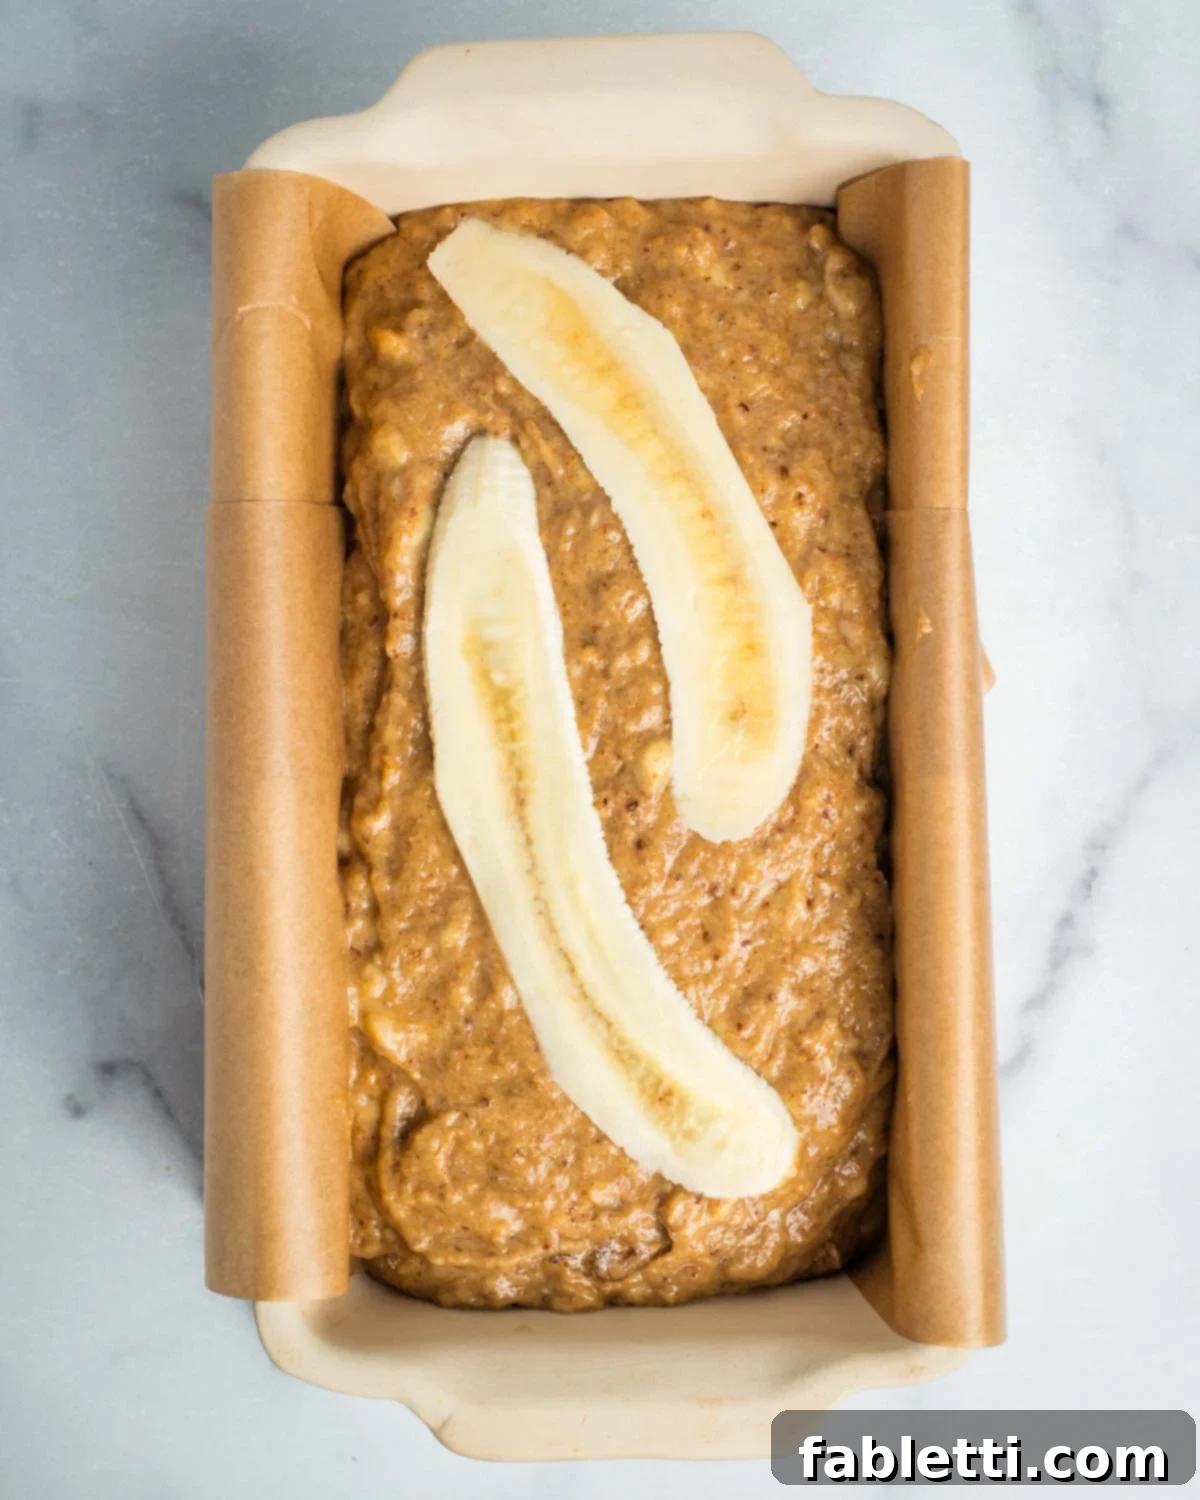
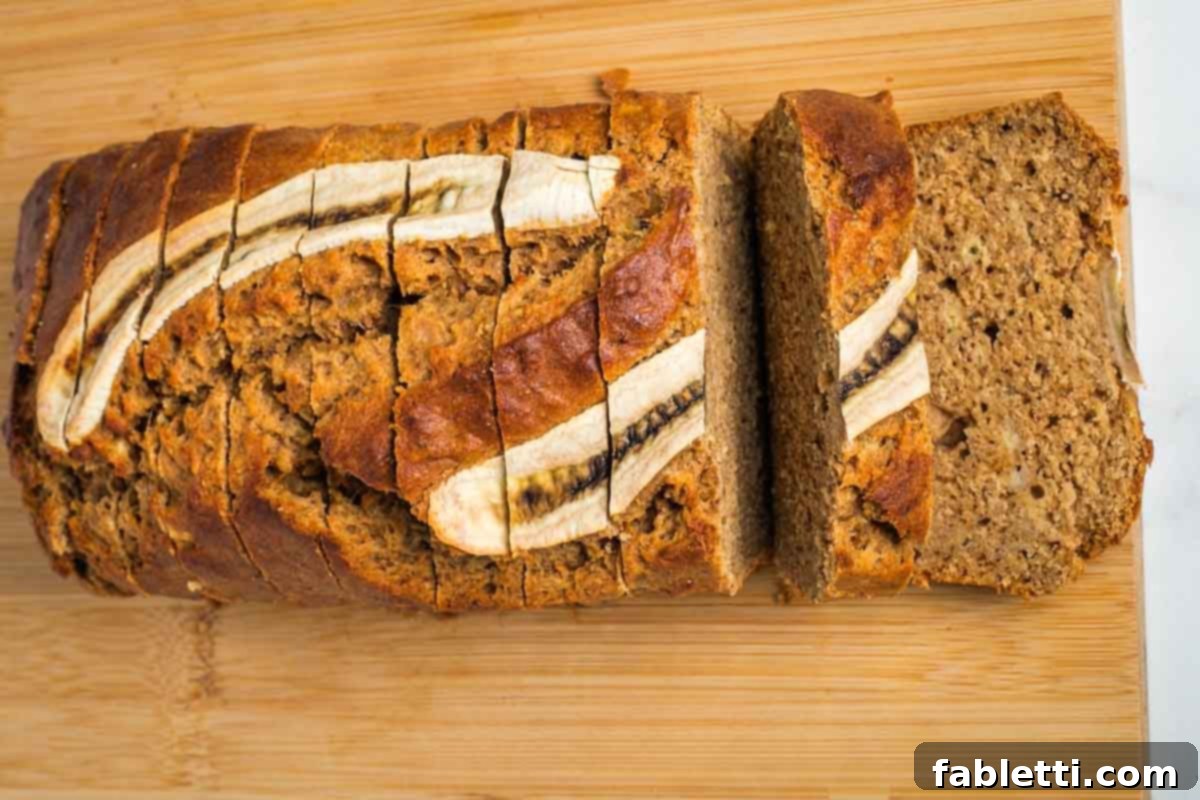
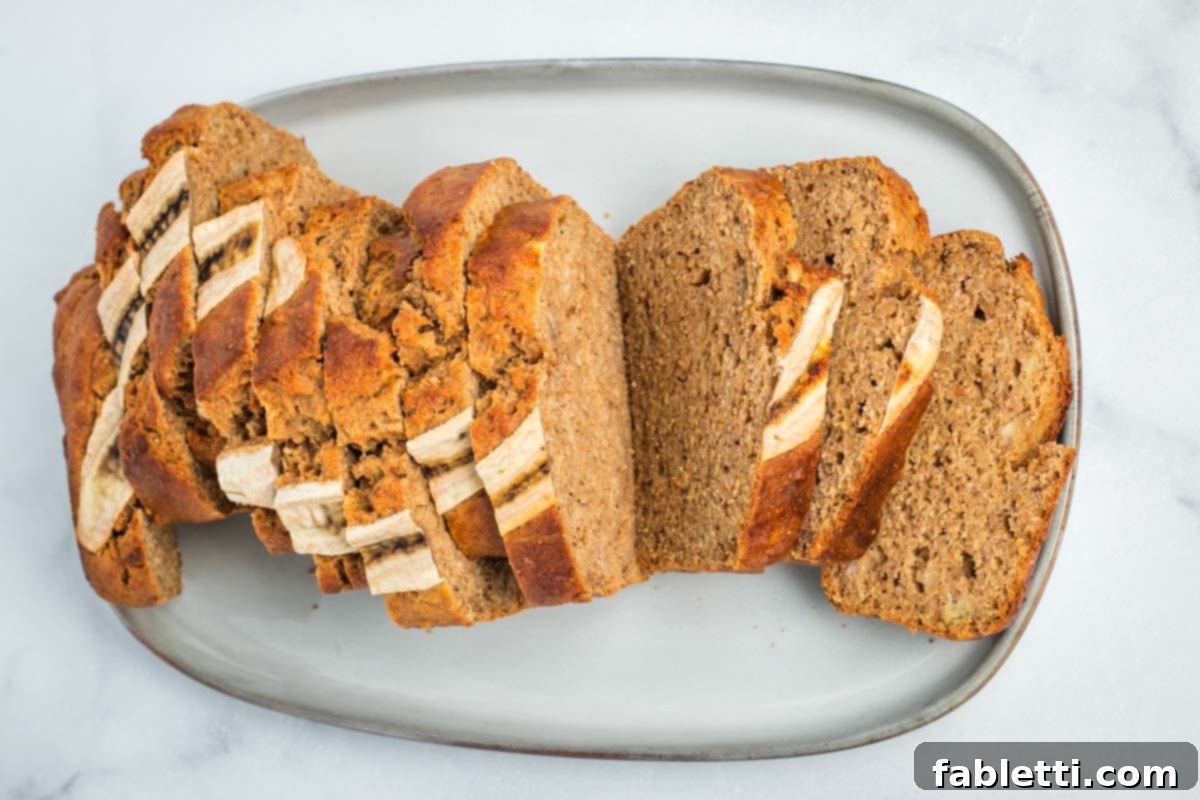
For a beautiful presentation, you can decorate the top of your loaf with a thin slice or two of banana. This will caramelize beautifully in the oven, adding visual appeal and an extra burst of banana flavor. A sprinkle of raw sugar can also enhance the crunchy top.
Step 13: Bake to Golden Perfection
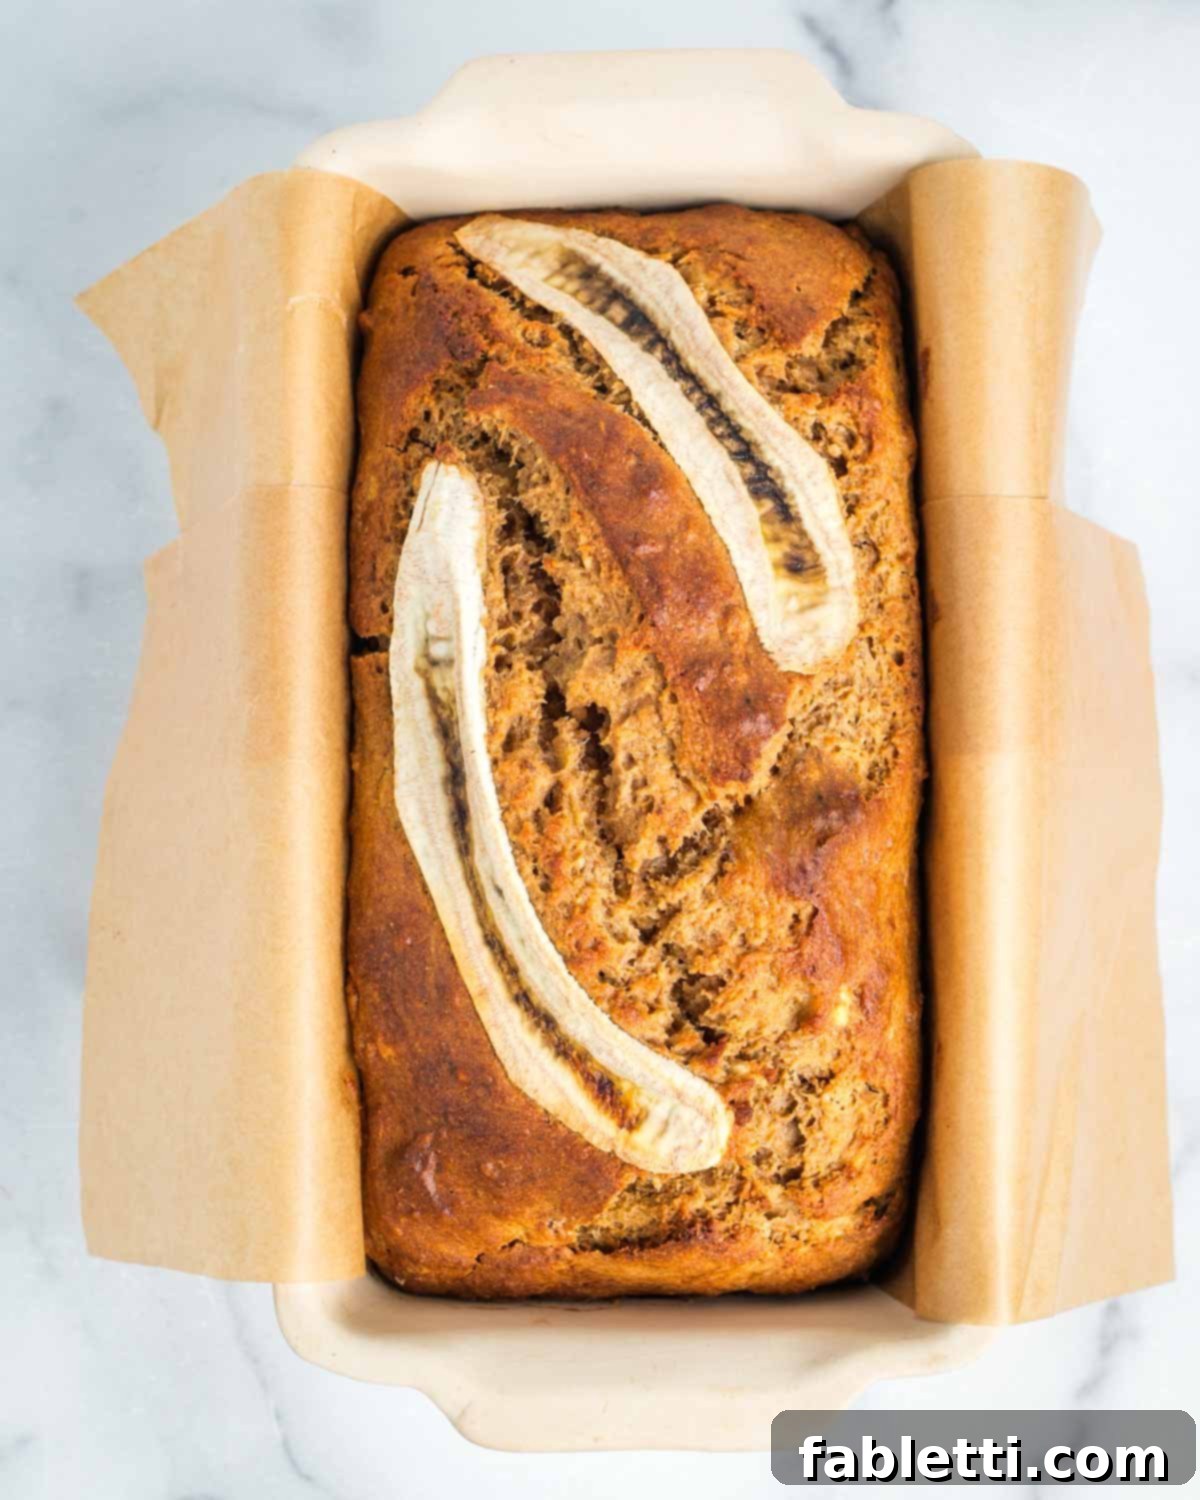
Place the loaf pan into your preheated 350°F (175°C) oven and bake for approximately 50 minutes. The banana bread is ready when the top is crisp and golden brown, and a toothpick inserted into the center comes out clean. Baking times can vary, so keep an eye on it!
Step 14: Cool Before Slicing
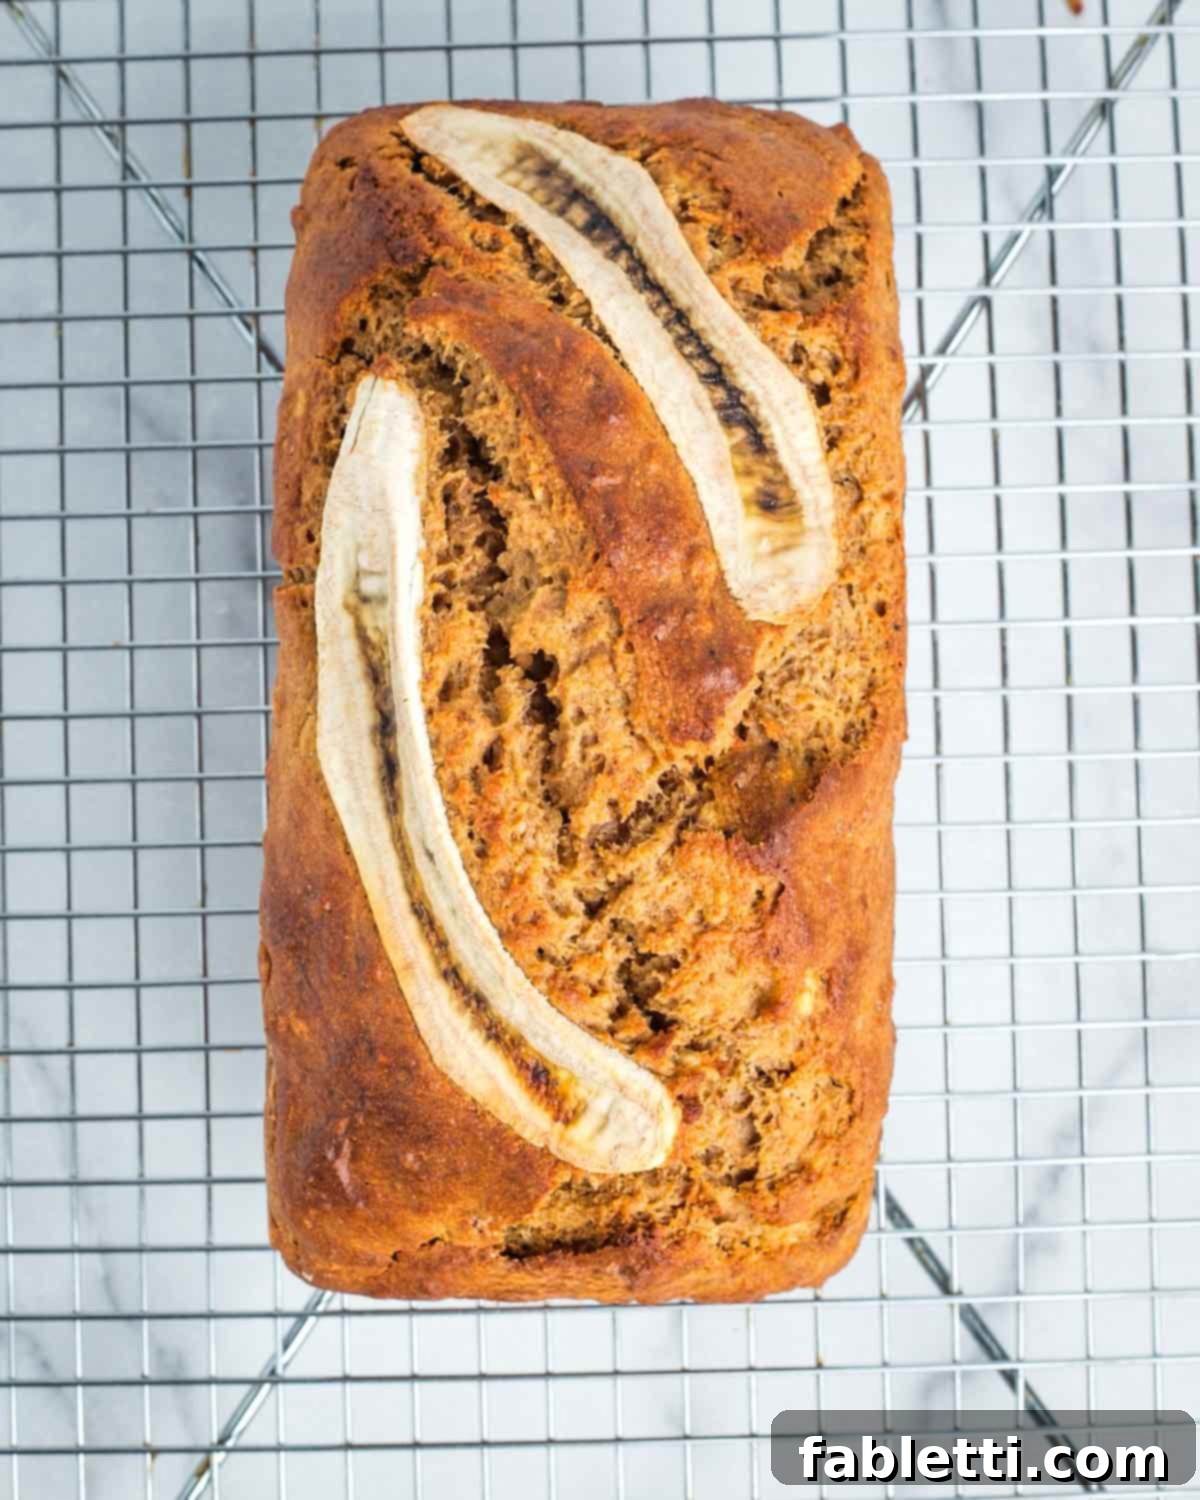
Once baked, run a knife along any exposed edges not covered by parchment paper to loosen the bread from the pan. Then, gently lift the parchment paper from the sides to transfer the entire loaf to a wire rack. Allow it to cool completely for at least 30-60 minutes before slicing. While the temptation to dig into a warm slice is undeniable, a fully cooled loaf will slice much more cleanly and evenly, giving you perfect pieces every time. But if you can’t resist, we totally understand – a warm slice straight from the oven is a little piece of heaven!
Debra’s Expert Baking Tips for Unbeatable Banana Bread
- The Ripeness Factor: Your Sweetness Scale: This cannot be stressed enough: the riper your bananas, the sweeter and more intensely flavored your banana bread will be. Look for peels that are extensively spotty and brown – almost entirely black is ideal! These bananas have converted most of their starch into sugar, giving your loaf a natural sweetness that is simply unparalleled.
- Speedy Ripening Hack: If your bananas aren’t quite up to par, but you can’t wait to bake, here’s a fantastic trick: pop them (unpeeled!) into a 300°F (150°C) oven for 5-10 minutes. Keep a close eye on them; their peels will turn black and shiny, and the insides will become incredibly soft and mushy – perfect for mashing! Let them cool slightly before handling.
- Mashing for Uniformity: For the most consistent taste and texture throughout your banana bread, make sure your mashed bananas are incredibly smooth, almost a liquid-like paste, with no large chunks. This allows them to integrate seamlessly into the batter. A fork works well for very ripe bananas, but a potato masher or even a stand mixer (with the paddle attachment) can achieve a super smooth consistency with minimal effort. Patience and a little elbow grease truly pay off here!
- The Golden Rule of Mixing: Don’t Overdo It! Once you combine the wet and dry ingredients, mix only until just combined. Overmixing develops the gluten in the flour, which can lead to a tough, chewy, and less moist banana bread. A few small lumps of flour are perfectly fine; they’ll disappear during baking.
- Customization is Key: Feel free to add your favorite mix-ins! Half a cup of chopped walnuts or pecans adds a delightful crunch. Chocolate chips (dark, milk, or white!) are always a welcome addition, especially for a sweeter treat. You could also experiment with a pinch of nutmeg or cardamom for an extra layer of spice.
- Storage for Freshness: Once cooled, store your banana bread at room temperature in an airtight container for up to 3 days to maintain its moistness. For longer storage, refrigerate for up to a week, or wrap individual slices tightly in plastic wrap and then foil, freezing for up to 3 months. Thaw at room temperature or gently warm in the microwave.
Did you love this unique savory-sweet banana bread? Your feedback is invaluable! Please consider giving this recipe a five-star rating below and leave a comment to share your experience. We love hearing from you! And don’t forget to share your beautiful photos on Instagram by tagging me @dkhealthcoach and using the hashtag #debraklein. Your support helps other home bakers discover delicious recipes!
📖 Recipe: Maple Miso Banana Bread
Maple Miso Banana Bread
Author: Debra Klein
This healthy banana bread recipe ingeniously uses whole wheat flour and a hint of miso for a delightful savory-sweet twist on a beloved classic. It’s moist, flavorful, and incredibly satisfying.
Pin Recipe
Equipment
- Loaf Pan
- Pyrex Glass Measuring Cup Set
Ingredients
- ¼ cup light miso
- ½ cup almond milk
- ¼ cup olive oil
- ½ cup maple syrup
- 2 large eggs
- 2 large bananas (very ripe)
- ½ teaspoon baking powder
- ½ teaspoon cinnamon
- 1 teaspoon vanilla extract
- 2 cups whole wheat flour
- 2 tablespoon ground flax
- 1 teaspoon baking powder
- 1 teaspoon cinnamon
Instructions
- Preheat oven to 350°F (175°C) and line a loaf pan with unbleached parchment paper.
- In a medium-sized bowl, combine whole wheat flour, ground flax, cinnamon, and baking powder. Whisk well to ensure all dry ingredients are thoroughly mixed. Set aside.
- In a separate bowl (a 2-cup Pyrex measuring cup works perfectly), combine the light miso paste and almond milk. Use a fork to mash the miso against the side of the cup until it is completely dissolved and incorporated into the milk, ensuring no chunks remain.
- Whisk the eggs (or prepared flax eggs) into the miso-almond milk mixture until well combined. Then, add the olive oil, maple syrup, and vanilla extract. Whisk again until the wet ingredients are uniform and smooth.
- Mash the very ripe bananas in a separate bowl until they are completely smooth, without any chunks. Incorporate these mashed bananas into your wet ingredient mixture and stir until fully combined.
- Pour the combined wet ingredients (including the mashed bananas) into the bowl with your dry ingredients. Gently mix with a spoon or spatula, pulling the flour mixture up from the bottom, until just combined. Be careful not to overmix; a few small lumps are acceptable.
- Pour the batter into the prepared loaf pan. Optionally, decorate the top with thin slices of banana or a sprinkle of raw sugar.
- Bake for 50 minutes, or until the top is golden brown, the edges are crisp, and a toothpick inserted into the center of the loaf comes out clean.
- Once baked, run a knife or offset spatula along any edges not covered by parchment paper to loosen the bread. Carefully lift the parchment paper from the sides to transfer the banana bread from the loaf pan to a wire rack. Allow it to cool completely before slicing for the best texture and clean cuts.
Notes
VEGAN ADAPTATION: To make this recipe completely vegan, substitute the two large eggs with flax eggs. For each egg, mix 1 tablespoon of ground flaxseed with 3 tablespoons of warm water. Let the mixture sit for 5 minutes until it thickens into a gel-like consistency, then stir it into your wet ingredients as directed.
OPTIONAL MIX-INS: Enhance your banana bread with a ½ cup of chopped walnuts or pecans for added crunch and nutty flavor. For a sweeter indulgence, feel free to mix in a handful of your favorite chocolate chips!
Nutrition
The following nutritional information is an estimation per serving. It’s based on online tools and may vary depending on exact ingredients and brands used. You are responsible for verifying accuracy for your specific needs.
Calories: 194kcal
Carbohydrates: 30g
Protein: 5g
Fat: 7g
Saturated Fat: 1g
Polyunsaturated Fat: 1g
Monounsaturated Fat: 4g
Trans Fat: 0.01g
Cholesterol: 27mg
Sodium: 297mg
Potassium: 205mg
Fiber: 3g
Sugar: 11g
Vitamin A: 59IU
Vitamin C: 2mg
Calcium: 75mg
Iron: 1mg
Please leave a review below, then snap a picture and tag me @dkhealthcoach or use hashtag #dkhealtcoach on Instagram so I can see it!!
